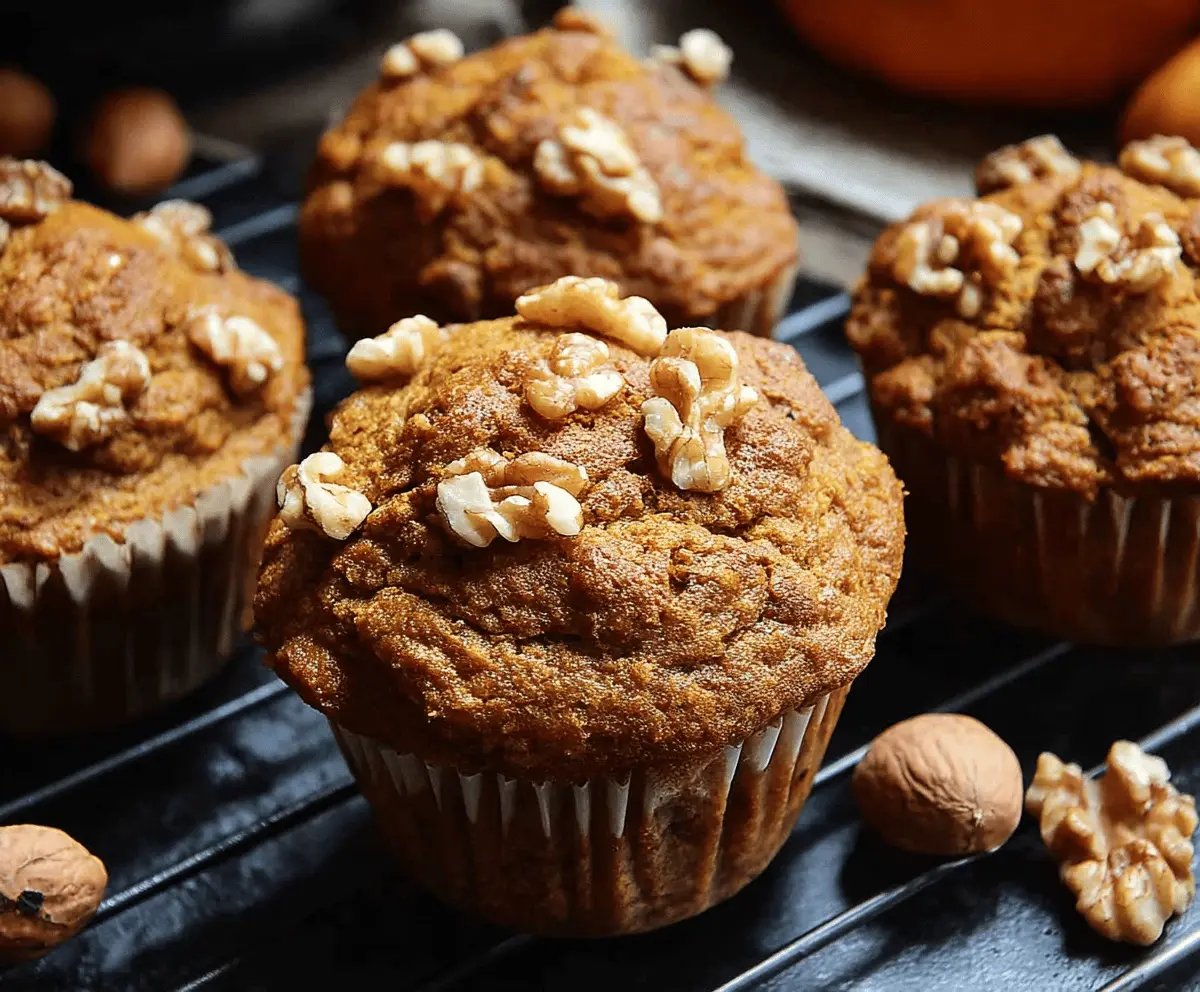
These pumpkin walnut muffins are soft, cozy, and packed with autumn flavors. Imagine a warm spiced treat with crunchy walnut pieces in every bite!
I’m always excited to bake these because they make my kitchen smell like a pumpkin patch! Plus, they’re perfect for breakfast or a snack, especially with a drizzle of honey on top.
Key Ingredients & Substitutions
All-purpose flour: This forms the base of your muffins. If you’re looking for a healthier option, try using whole wheat flour or a gluten-free blend. Just note that you may need to adjust the liquid slightly.
Pumpkin puree: Make sure to use pure pumpkin puree, not pie filling. If you can’t find pumpkin, you can substitute with applesauce for a different but delicious flavor.
Walnuts: Chopped walnuts add a nice crunch. If you have nut allergies, sunflower seeds or pumpkin seeds are great alternatives. You could also skip them altogether for a nut-free muffin.
Vegetable oil: While I prefer vegetable oil for its neutral flavor, melted butter adds a rich taste. You can also use coconut oil for a hint of coconut flavor.
Spices: The combination of cinnamon, nutmeg, and other spices is key for that cozy fall flavor. Don’t hesitate to adjust the amounts or leave out cloves and ginger if you prefer a milder flavor.
How Do I Ensure My Muffins Come Out Fluffy and Tender?
A common struggle is achieving that perfect fluffiness in muffins. Here’s how to do it:
- **Don’t overmix**: Once you add the wet ingredients to the dry, mix gently. Overmixing can lead to tough muffins.
- **Room temperature ingredients**: Make sure your eggs and oil are at room temperature. This helps create a better batter consistency.
- **Correct oven temperature**: Preheat your oven well and use an oven thermometer if needed to ensure it’s accurate.
- **Test for doneness**: Use a toothpick in the center; when it comes out clean, your muffins are ready. Overbaking can dry them out.
By following these tips, you’ll get soft, moist pumpkin walnut muffins every time! Enjoy baking!
Delicious Pumpkin Walnut Muffins Recipe
Ingredients You’ll Need:
Dry Ingredients:
- 1 3/4 cups (220g) all-purpose flour
- 1 teaspoon baking soda
- 1/2 teaspoon baking powder
- 1/2 teaspoon salt
- 1 teaspoon ground cinnamon
- 1/2 teaspoon ground nutmeg
- 1/4 teaspoon ground cloves (optional)
- 1/4 teaspoon ground ginger (optional)
Wet Ingredients:
- 1 cup (240ml) canned pumpkin puree (not pumpkin pie filling)
- 1/2 cup (100g) granulated sugar
- 1/2 cup (100g) packed light brown sugar
- 1/2 cup (120ml) vegetable oil (or melted butter)
- 2 large eggs
- 1 teaspoon vanilla extract
Add-Ins:
- 1/2 cup chopped walnuts, plus extra for topping
How Much Time Will You Need?
This recipe takes about 15 minutes to prepare and 18-22 minutes to bake. Overall, you can have these delightful muffins ready in about 40 minutes, and they’re perfect for sharing or enjoying yourself!
Step-by-Step Instructions:
1. Preheat the Oven:
Begin by preheating your oven to 350°F (175°C). This ensures your muffins bake evenly. Line a 12-cup muffin tin with paper liners or grease them well to prevent sticking.
2. Prepare the Dry Ingredients:
In a large bowl, whisk together the flour, baking soda, baking powder, salt, cinnamon, nutmeg, cloves, and ginger. This helps to evenly distribute the leavening agents and spices.
3. Combine the Wet Ingredients:
In a separate bowl, mix the pumpkin puree, granulated sugar, brown sugar, vegetable oil, eggs, and vanilla extract until smooth. This mixture is what will give your muffins moisture and flavor.
4. Mix the Wet and Dry Ingredients:
Gently add the wet ingredients to the dry mixture. Stir until just combined—be careful not to overmix, as this can make the muffins tough.
5. Add the Walnuts:
Fold in the chopped walnuts gently. They add a wonderful crunch and nutty flavor that pairs beautifully with the pumpkin.
6. Fill the Muffin Tin:
Divide the batter evenly among the muffin cups, filling each about 3/4 full. This allows room for the muffins to rise while baking.
7. Add Extra Walnuts:
Sprinkle a few walnut pieces on top of each muffin for added texture and a lovely presentation.
8. Bake the Muffins:
Place the muffin tin in the preheated oven and bake for 18-22 minutes. You’ll know they’re done when a toothpick inserted into the center comes out clean.
9. Cool Down:
Once baked, allow the muffins to cool in the tin for about 5 minutes. Then, transfer them to a wire rack to cool completely. This prevents them from getting soggy.
10. Enjoy:
These delicious muffins are best enjoyed warm or at room temperature. They pair wonderfully with your favorite tea or coffee, making for a cozy snack or breakfast!
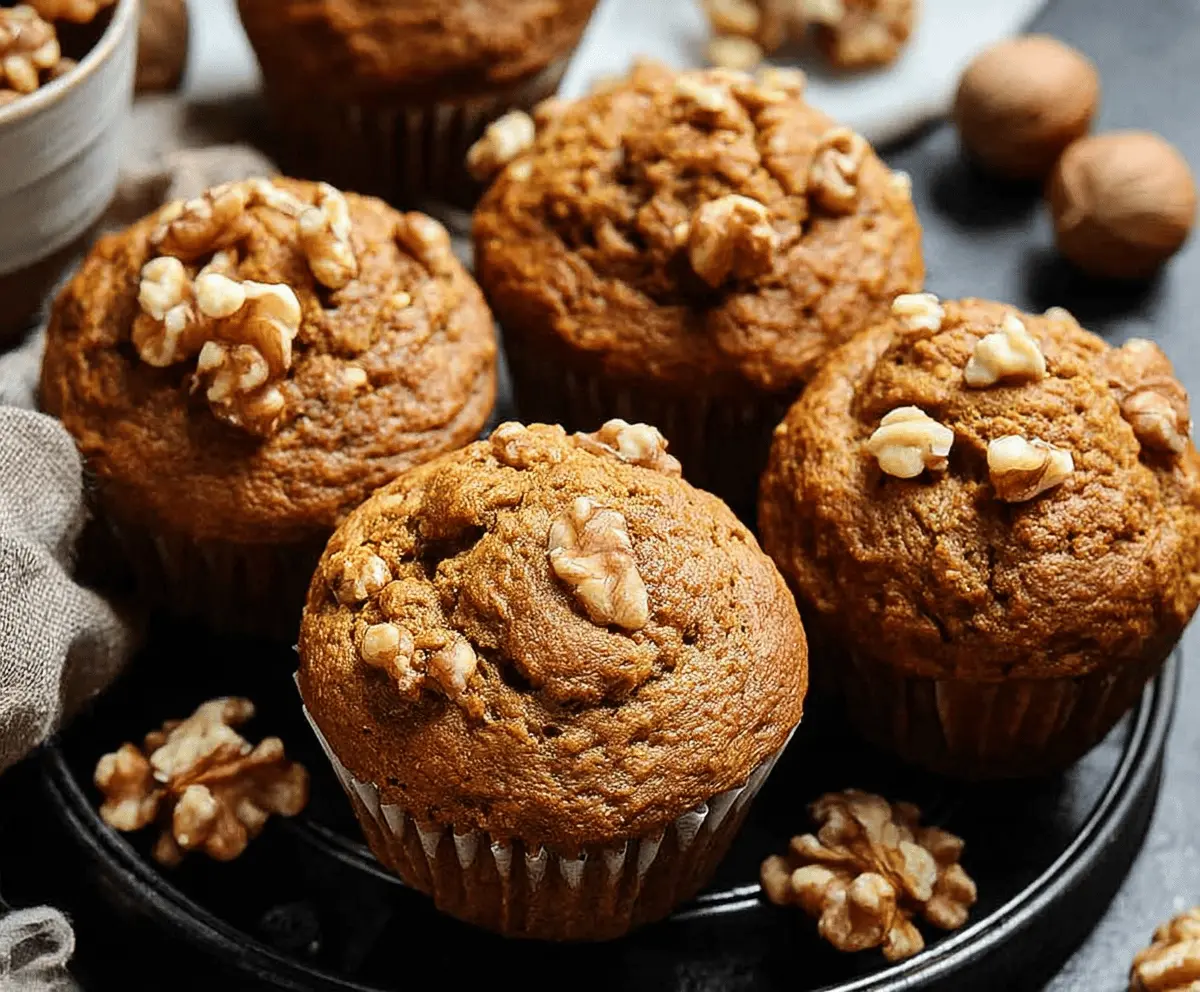
This recipe yields moist, tender pumpkin muffins with a perfect nutty crunch from the walnuts on top and inside. The warm spices enhance the pumpkin’s natural flavor beautifully, making them a delightful treat for any occasion!
Can I Use Fresh Pumpkin Instead of Canned Pumpkin Puree?
Yes, you can use fresh pumpkin! Just make sure to cook and puree it before measuring. Roast pumpkin halves at 350°F (175°C) for about 45 minutes or until tender, then scoop out the flesh and blend until smooth.
What Can I Substitute for Walnuts?
If you have nut allergies or simply don’t like walnuts, feel free to use sunflower seeds or pumpkin seeds instead. You can also leave them out altogether for a nut-free version!
How Should I Store Leftover Muffins?
Store any leftover muffins in an airtight container at room temperature for up to 3 days. If you want them to last longer, you can freeze them in a zip-top freezer bag for up to 3 months. Just thaw them at room temperature when ready to enjoy!
Can I Add Chocolate Chips to the Muffin Batter?
Absolutely! Chocolate chips make a delicious addition. Simply fold in about 1/2 cup of semi-sweet or dark chocolate chips along with the walnuts for a sweet twist on the classic recipe!