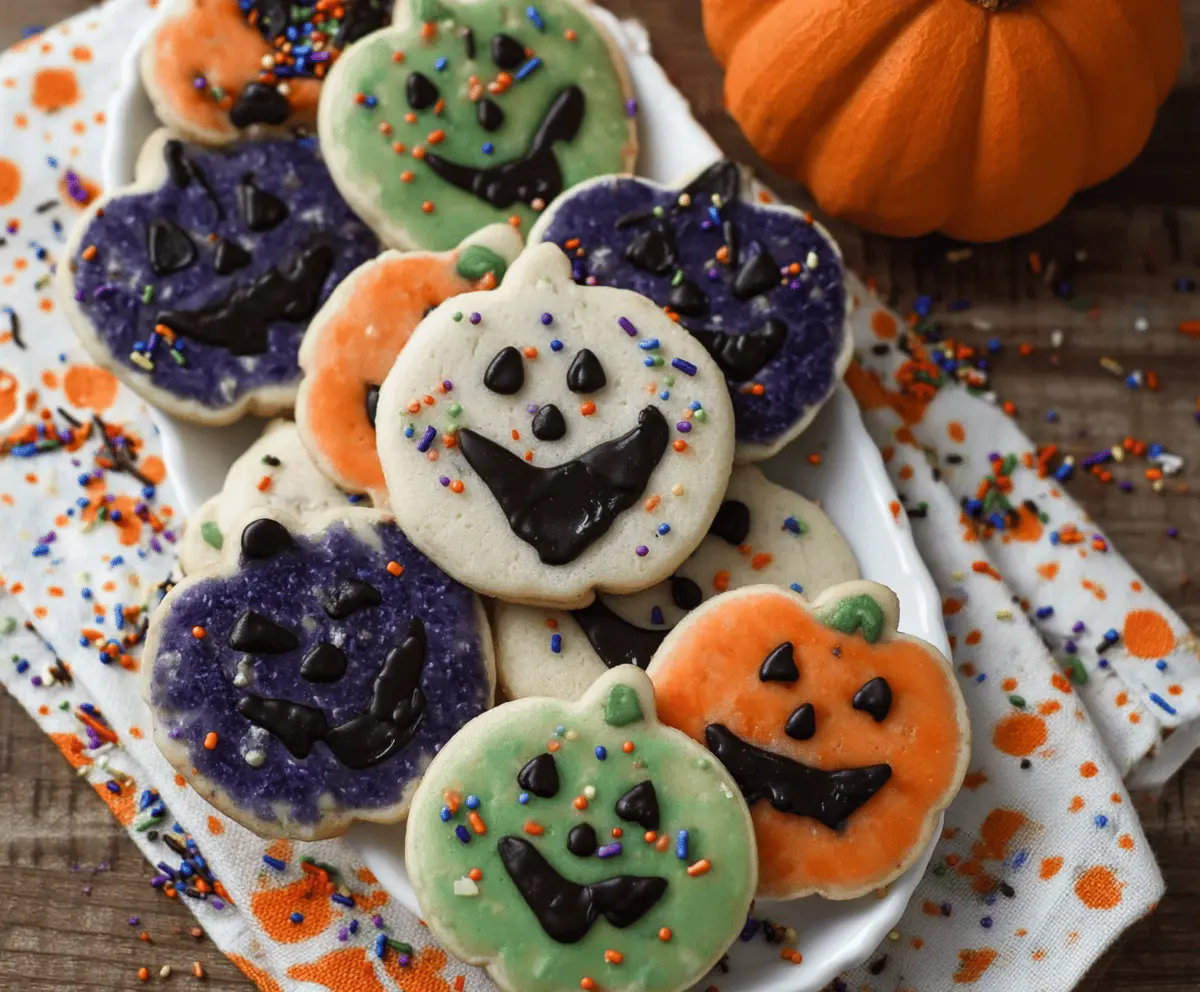
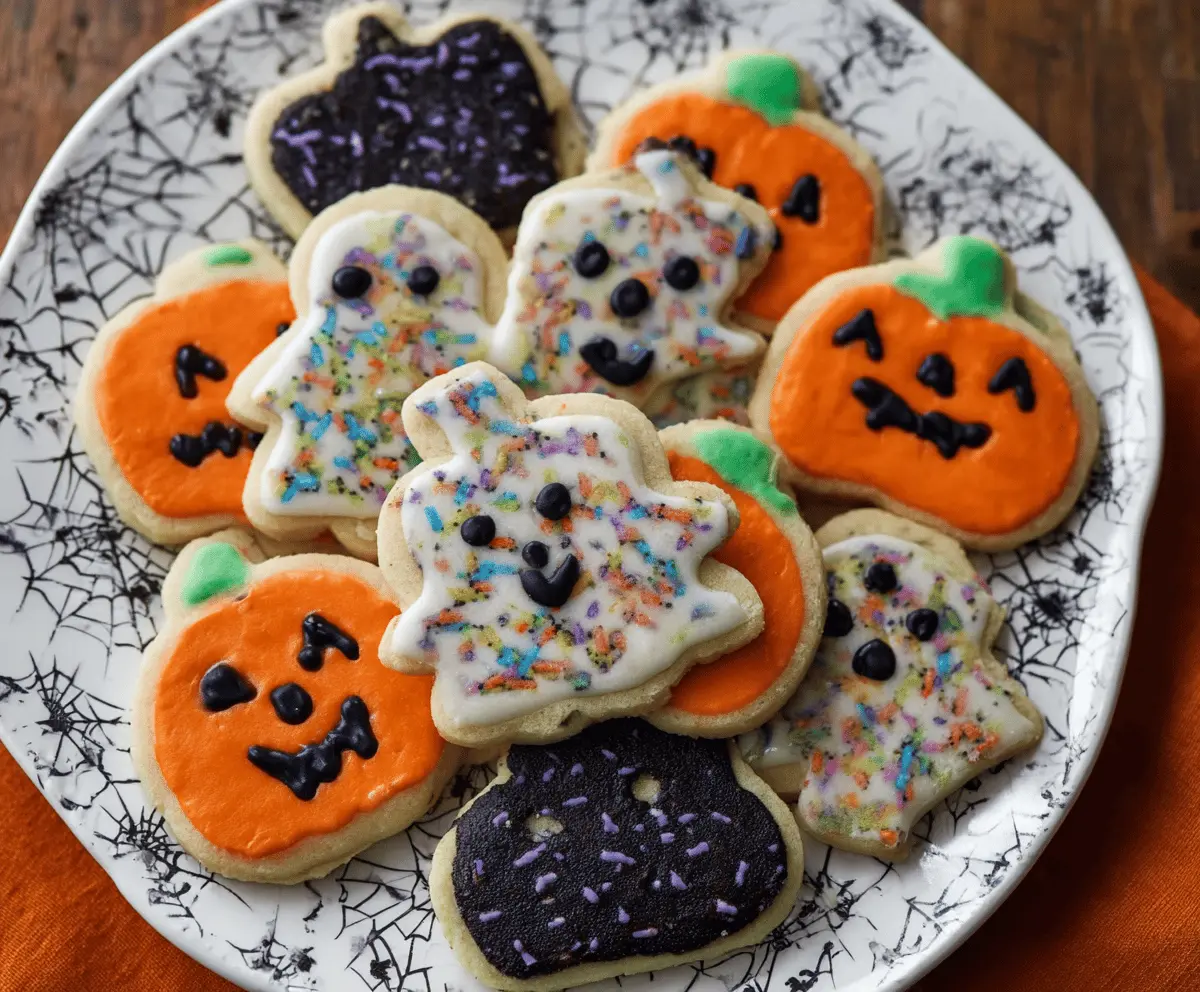
These Halloween shortbread cookies are super cute and fun! They are buttery, crumbly, and perfect for decorating. You can make them in spooky shapes like ghosts, bats, or pumpkins!
Whenever I make these, I can’t help but sneak a bite before decorating. Who can resist that buttery goodness? Plus, they are so easy to whip up for Halloween treats!
Key Ingredients & Substitutions
Unsalted Butter: The key to rich flavor, it’s important that the butter is softened. If you’re out of unsalted butter, you can use salted butter, just reduce the added salt slightly.
Granulated Sugar: This gives the cookies their sweetness. If you’re looking for a less sweet option, coconut sugar or even a sugar substitute could work as alternatives.
Vanilla Extract: This adds warmth to the cookies. If you’re short on vanilla, almond extract or another flavored extract can make a nice substitution.
All-Purpose Flour: It creates the cookie’s structure. You can swap it with gluten-free flour mixes if you’re avoiding gluten; just ensure it has a binding agent or xanthan gum.
Colored Icing & Sprinkles: While store-bought is super easy, you can make your own icing with powdered sugar and water, then color it. For sprinkles, try nuts or coconut for a healthier touch!
How Do I Get My Shortbread Cookies To Hold Their Shape?
To keep your Halloween shortbread cookies looking great, it’s crucial to handle the dough with care. Here are some tips:
- Chill the dough! Refrigerating it makes it easier to roll out and helps the cookies hold their shape.
- Roll out the dough on a floured surface and avoid over-working it; this keeps them tender.
- Use cookie cutters that are sharp for clean edges; press down firmly and lift straight up.
- Keep an eye on the baking time; pulling them out just as they begin to turn golden will maintain their shape. Happy baking!
How to Make Halloween Shortbread Cookies
Ingredients You’ll Need:
- 1 cup (2 sticks) unsalted butter, softened
- 3/4 cup granulated sugar
- 1 teaspoon vanilla extract
- 2 1/4 cups all-purpose flour
- 1/4 teaspoon salt
- Assorted colored icing (orange, black, white, green) for decorating
- Assorted sprinkles (purple, multicolor) for decoration
How Much Time Will You Need?
This recipe takes about 20 minutes of prep time and about 10-12 minutes of baking. After baking, allow the cookies to cool completely—this can take around 15-20 minutes—before decorating. Overall, plan for around 1 hour total for prep, baking, and cooling, then longer for the icing to set if you want to store them.
Step-by-Step Instructions:
1. Preheat and Prepare
Start by preheating your oven to 350°F (175°C). While the oven is heating, line your baking sheets with parchment paper so the cookies don’t stick.
2. Cream the Butter and Sugar
In a large mixing bowl, use an electric mixer to cream together the softened butter and granulated sugar. Beat the mixture until it becomes light and fluffy—this should take about 2-3 minutes. Once it’s fluffy, add in the vanilla extract and mix until combined.
3. Combine Dry Ingredients
In another bowl, whisk together the all-purpose flour and salt. This will ensure even distribution of the salt throughout the cookies.
4. Make the Cookie Dough
Gradually sprinkle the dry ingredients into the butter mixture, mixing as you go until a soft dough forms. Make sure everything is well combined but don’t overmix—just until you can form a dough.
5. Chill the Dough
Divide the dough into two equal portions. Flatten each portion into a disk shape, wrap in plastic wrap, and refrigerate for at least 1 hour. Chilling helps keep the cookies from spreading too much while baking.
6. Roll Out and Cut Shapes
After chilling, take one disk of dough out of the refrigerator and place it on a lightly floured surface. Roll it out to about 1/4 inch thickness. Use your Halloween-themed cookie cutters—pumpkins, ghosts, bats—to cut out fun shapes. Place the cutouts on the prepared baking sheets, spacing them about 1 inch apart.
7. Bake the Cookies
Pop the cookie sheets into the preheated oven and bake for about 10-12 minutes, or until the edges of the cookies are just starting to turn golden brown. Keep an eye on them to prevent overbaking.
8. Cool the Cookies
Once done, remove the cookies from the oven and carefully transfer them to wire racks to cool completely. This step is important! Make sure they are totally cool before decorating, or the icing may melt off.
9. Decorate Your Cookies
Once your cookies are cool, it’s time to get creative! Use the assorted colored icing to decorate your shapes. You can use orange icing for pumpkin bodies, black icing for spooky faces, white for ghosts topped with multicolor sprinkles, black for bats with purple sprinkles, and green for pumpkin stems!
10. Let It Set
Allow the decorated cookies to sit and let the icing set completely—this usually takes about 30 minutes. Once set, they are ready to be served or stored for later enjoyment.
11. Enjoy!
Now it’s time to dig in! Enjoy your festive and delicious Halloween shortbread cookies, perfect for sharing with family and friends!
Can I Use Margarine Instead of Butter?
Yes, you can substitute margarine for butter, but the flavor and texture may differ slightly. Make sure to choose a high-quality margarine for the best results!
How Do I Store Leftover Cookies?
Store any leftover cookies in an airtight container at room temperature for up to 5 days. If you want them to last longer, you can freeze them for up to 3 months; just make sure they are well wrapped to prevent freezer burn!
What Can I Substitute for All-Purpose Flour?
If you need a gluten-free option, you can use a gluten-free all-purpose flour blend that includes xanthan gum. You can also try almond flour, though the texture will be different—just adjust other ingredients as necessary for moisture control.
Can I Make the Dough Ahead of Time?
Absolutely! You can prepare the dough in advance. Just wrap it well in plastic wrap and refrigerate for up to 3 days or freeze for up to 3 months. If frozen, thaw it in the refrigerator overnight before rolling out.