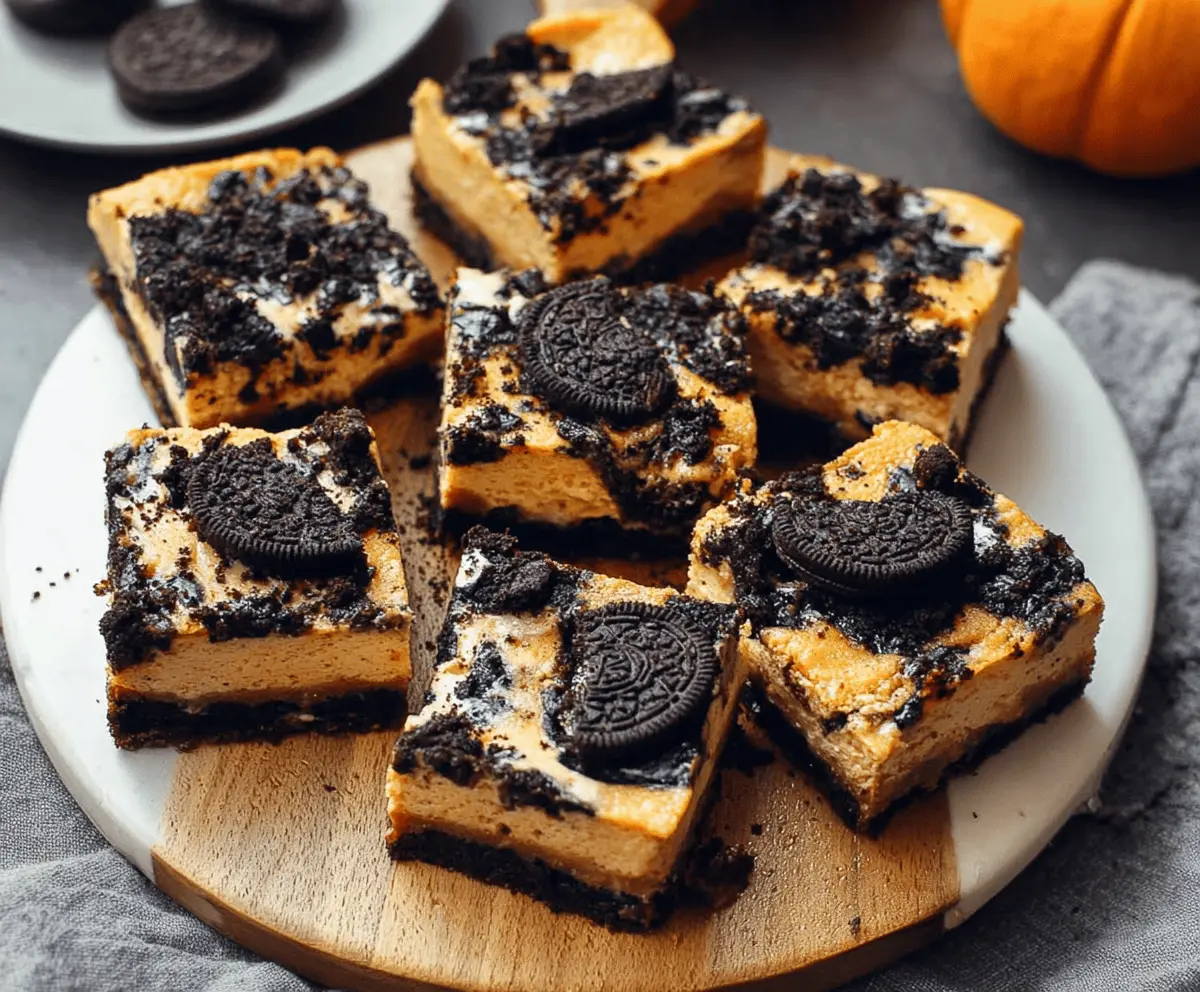
These Pumpkin Oreo Cheesecake Bars blend creamy cheesecake with a hint of pumpkin and a tasty Oreo crust. They are perfect for fall and make an easy dessert!
Honestly, they’re so good that it’s hard to stop at just one. I always have to remind myself to share—because who can resist that crunchy crust and smooth filling? 🍰
Key Ingredients & Substitutions
Oreo Cookies: Core to the flavor, they create a sweet and crunchy crust. If you’re looking for a gluten-free option, try using gluten-free chocolate sandwich cookies instead.
Cream Cheese: This gives the cheesecake its creamy texture. You can swap it with mascarpone cheese for a richer flavor or use a vegan cream cheese if you want a dairy-free version.
Pumpkin Puree: Always use pure pumpkin, not pie filling, for the best results. You can make your own puree by roasting and blending pumpkin, but canned pumpkin is super convenient! If you want a lighter option, use sweet potato puree instead.
Pumpkin Pie Spice: This spice mix gives that classic fall flavor. If you don’t have it, use a mix of cinnamon, nutmeg, and ginger. I like a bit more cinnamon for extra warmth!
How Do You Prevent Your Cheesecake Bars from Cracking?
Cracks on the surface can be a worry when baking cheesecake. Here’s how to keep your bars smooth:
- Bake at a lower temperature, like 325°F (163°C).
- Do not overmix the batter; just mix until smooth to avoid adding too much air.
- After baking, leave the cheesecake in the oven turned off for about an hour. The gradual cooling helps prevent cracking.
- Finally, chill the bars overnight for the best texture. Patience pays off!
Enjoy making these bars, and don’t forget to share—if you can resist the temptation to keep them all to yourself!
How to Make Pumpkin Oreo Cheesecake Bars
Ingredients You’ll Need:
For the Crust:
- 24 Oreo cookies, divided (about 18 for crust and 6 for topping)
- 4 tablespoons unsalted butter, melted
For the Filling:
- 16 oz (450g) cream cheese, softened
- 3/4 cup granulated sugar
- 1 cup canned pumpkin puree (pure pumpkin, not pumpkin pie filling)
- 2 large eggs
- 1 teaspoon vanilla extract
- 1 teaspoon pumpkin pie spice
- 1/4 teaspoon salt
How Much Time Will You Need?
This recipe takes about 15 minutes of preparation time, plus 40-45 minutes of baking time. After baking, it’s best to let your bars cool for 1 hour in the oven, then refrigerate for at least 4 hours, or overnight. In total, you’ll need about 6 hours and 15 minutes, including chilling time, so plan accordingly!
Step-by-Step Instructions:
1. Preheat the Oven:
First, preheat your oven to 325°F (163°C). Line a 9×9 inch square baking pan with parchment paper or grease it lightly. This will make removing the bars easier later!
2. Make the Crust:
In a food processor, place 18 Oreo cookies (include the filling) and pulse them until they are finely crushed. Then, mix the crushed Oreos with the melted butter until everything is combined well. Press this mixture firmly and evenly into the bottom of the prepared baking pan to create the crust.
3. Bake the Crust:
Put the pan in the oven and bake the crust for about 8-10 minutes until slightly set. When done, take it out and let it cool for a bit.
4. Prepare the Filling:
In a large mixing bowl, add the softened cream cheese and granulated sugar. Use a hand mixer and beat these together until smooth and creamy, which should take about 2 minutes.
5. Add Pumpkin and Spices:
Now, incorporate the pumpkin puree, eggs, vanilla extract, pumpkin pie spice, and salt into the cream cheese mixture. Beat everything together until it’s well mixed and smooth—this gives your cheesecake that delicious pumpkin flavor!
6. Add Chopped Oreos:
Roughly chop the remaining 6 Oreos into pieces. Pour half of the cheesecake batter over the baked crust, and spread it evenly. Then, sprinkle half of the chopped Oreos on top.
7. Layer the Remaining Filling:
Pour the rest of the cheesecake batter over this layer and gently spread it to cover the Oreos. Finally, sprinkle the remaining chopped Oreos on top and press some lightly into the surface for decoration.
8. Bake the Cheesecake Bars:
Return the pan to the oven and bake for about 40-45 minutes until the edges are set and the center is just slightly jiggly. A little jiggle is okay; it will set more as it cools.
9. Cool Carefully:
After baking, turn off the oven and leave the cheesecake bars inside for about 1 hour. This gradual cooling helps prevent cracking on the surface.
10. Chill and Serve:
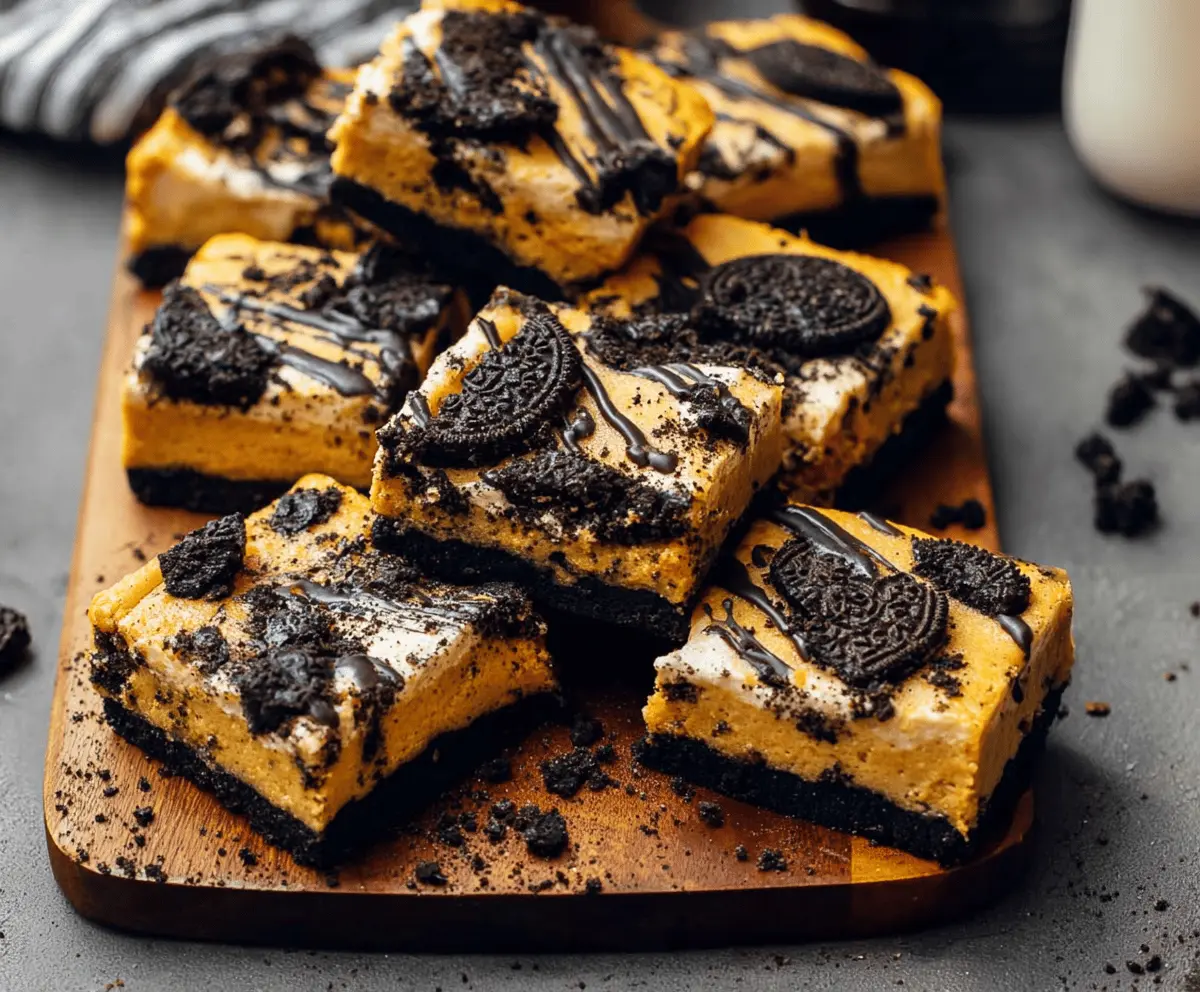
Remove the bars from the oven and let them cool completely at room temperature. Once cooled, refrigerate for at least 4 hours or overnight for the best texture. When you’re ready to serve, cut them into squares, and enjoy your delicious, creamy Pumpkin Oreo Cheesecake Bars!
These bars are a delightful treat and perfect for sharing with family and friends during the fall season. Enjoy every bite!
Can I Use a Different Type of Cookie for the Crust?
Absolutely! If you want to switch things up, you can use chocolate graham crackers or any chocolate sandwich cookie. Just make sure they have a similar texture for the best results!
How Do I Store Leftover Pumpkin Oreo Cheesecake Bars?
Store any leftovers in an airtight container in the refrigerator for up to 3 days. If you want to keep them longer, you can freeze the bars for up to 2 months. Just make sure to wrap them well to prevent freezer burn!
Can I Make These Bars Gluten-Free?
Yes, you can! Simply use gluten-free Oreos or gluten-free chocolate cookies for the crust and topping. The rest of the recipe remains the same!
What If I Don’t Have Pumpkin Pie Spice?
If you don’t have pumpkin pie spice, you can easily make your own mix using common spices. Combine 1 teaspoon cinnamon, 1/2 teaspoon nutmeg, and 1/4 teaspoon ginger. This blend will provide similar warm flavors to your cheesecake bars!