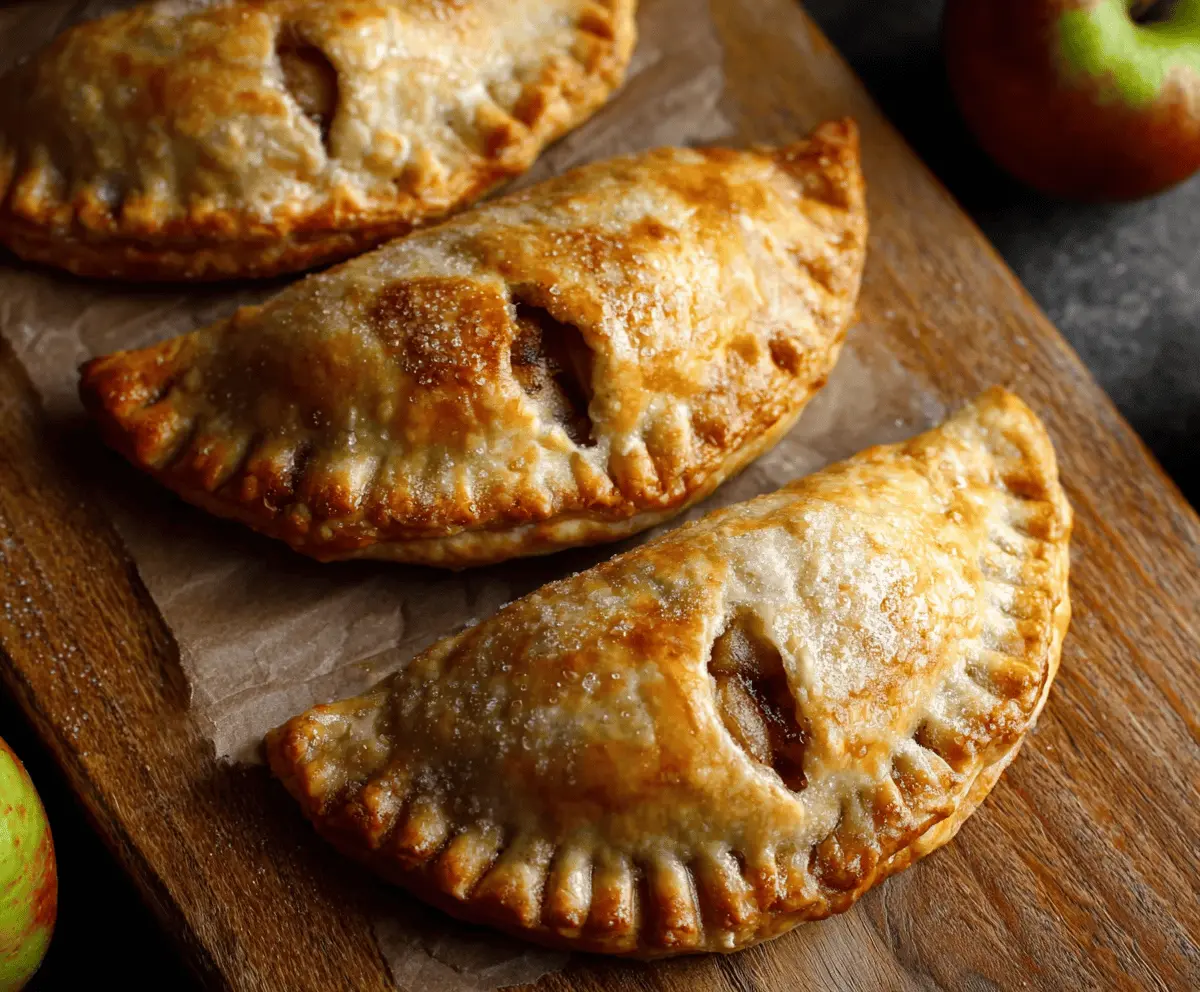
These Apple Hand Pies are like little pockets of happiness! With a flaky crust and sweet, cinnamon-spiced apple filling, they’re a perfect treat for any time of day.
Honestly, who can resist a warm pie? I love making these for a cozy afternoon snack. And hey, they’re great for sharing—if you want to! 😉
Key Ingredients & Substitutions
Apples: I recommend using Granny Smith for their tartness or Honeycrisp for additional sweetness and crunch. You can mix types for a flavor twist. If you can’t find fresh apples, canned pie filling is a simple substitute, but be ready to adjust sugar since it’s often sweetened.
Sugar: If you want to cut down on refined sugar, consider using coconut sugar or honey instead. Just keep in mind that honey can add moisture, so you might need to adjust the flour a bit to maintain the filling’s consistency.
Spices: While cinnamon and nutmeg are classics, feel free to add a pinch of allspice or cloves for extra warmth. If you prefer a non-spiced filling, you can simply omit these spices and let the apple flavor shine.
Pie Crust: Store-bought crust is super convenient, but homemade is always a nice touch! If you need a gluten-free option, try using a gluten-free pie crust mix. You can also use phyllo dough for a lighter, flakier pie.
How Do I Seal Apple Hand Pies Properly?
Sealing the edges of your hand pies is a crucial step to ensure your filling doesn’t leak during baking. Here’s how to do it right:
- Lightly brush the edges of the dough with water. This moisture helps the crust stick together.
- Fold the dough over the filling to form a half-moon shape, making sure the filling stays inside.
- Press the edges firmly with your fingers, then use a fork to crimp and secure them. This not only seals them but also gives a pretty design.
Remember, the more airtight, the better! Happy baking!
How to Make Apple Hand Pies
Ingredients You’ll Need:
For the Filling:
- 2 medium apples (such as Granny Smith or Honeycrisp), peeled, cored, and diced
- 1/4 cup granulated sugar
- 1/4 cup brown sugar
- 1 teaspoon ground cinnamon
- 1/4 teaspoon ground nutmeg
- 1 tablespoon all-purpose flour
- 1 teaspoon lemon juice
For the Crust:
- 1 package (14 oz) refrigerated pie crusts (or homemade pie dough)
For Finishing Touches:
- 1 egg, beaten (for egg wash)
- Coarse sugar (optional, for sprinkling)
How Much Time Will You Need?
This delightful recipe takes about 15 minutes to prepare and an additional 25-30 minutes to bake, giving you a total time of around 45-60 minutes from start to finish. In no time, you’ll have warm, delicious apple hand pies ready to enjoy!
Step-by-Step Instructions:
1. Prepare the Oven and Baking Sheet:
Begin by preheating your oven to 375°F (190°C). This ensures that your hand pies bake evenly. While the oven is heating, line a baking sheet with parchment paper to prevent sticking and make cleanup easier.
2. Mix the Filling:
In a medium bowl, combine the diced apples, granulated sugar, brown sugar, cinnamon, nutmeg, flour, and lemon juice. Stir well to make sure all the apple pieces are coated evenly with the sweet and spicy mixture. This will help create a delicious filling!
3. Roll Out the Pie Crust:
Take your pie crusts and roll them out on a lightly floured surface. Use a cookie cutter or the rim of a glass to cut out circles about 4 to 5 inches in diameter. You can make as many circles as the dough allows, and re-roll the scraps if needed.
4. Fill the Dough Circles:
Place approximately 2 tablespoons of the apple filling in the center of each dough circle. Be careful not to overfill; you want to leave a small border around the edges for sealing. This filling will bubble and expand during baking, so it’s important to have that space!
5. Seal the Pies:
Lightly brush the edges of the dough with water to help the crust stick together. Fold the dough over the filling to create a half-moon shape. Press the edges together to seal them well, then use a fork to crimp the edges and make sure they’re secure.
6. Prepare for Baking:
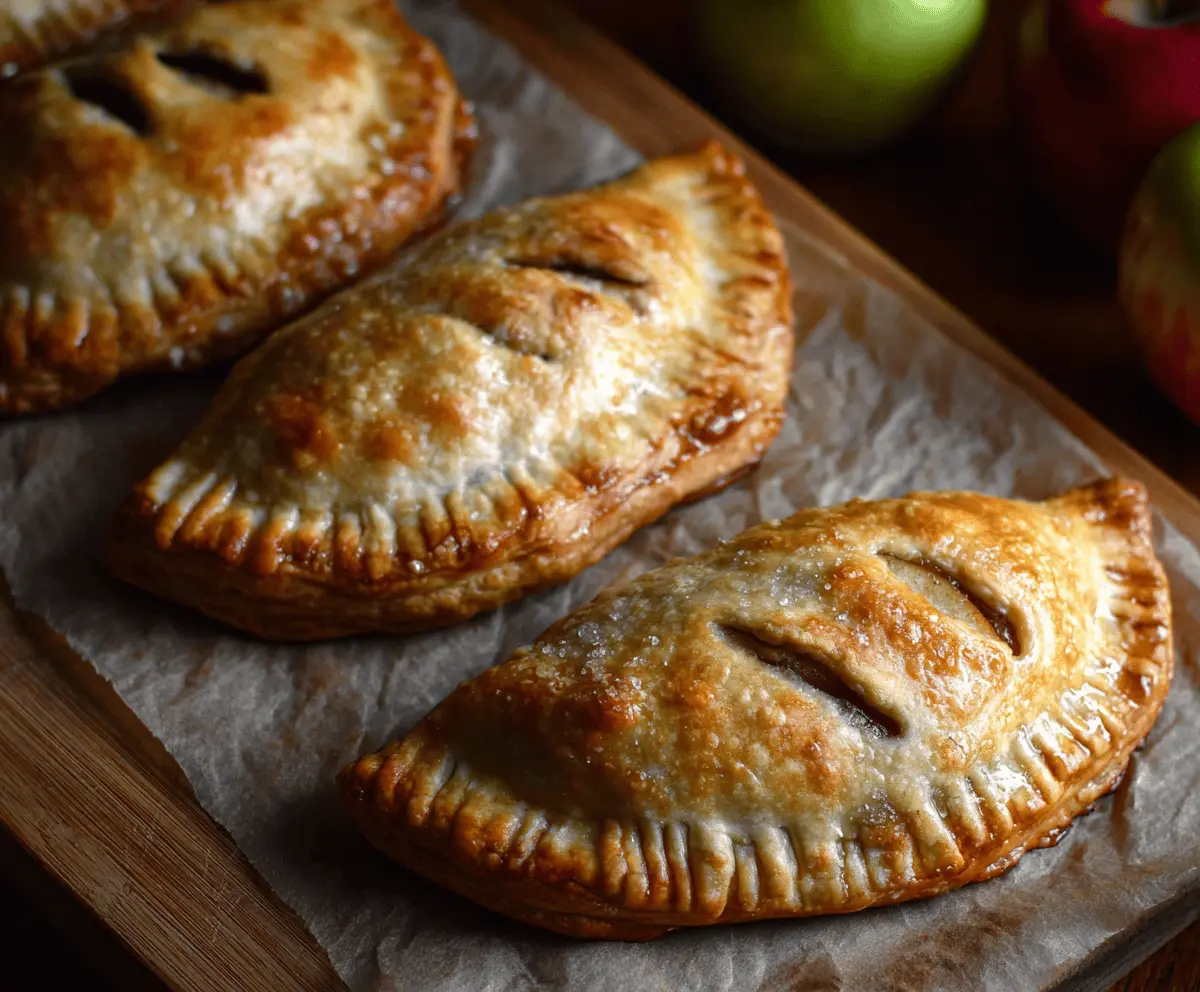
Place your hand pies on the lined baking sheet. To allow steam to escape and prevent any bursting, cut a couple of small slits on the top of each pie. This step adds a little character to your pies, too!
7. Brush and Sprinkle:
Brush the tops of the hand pies with the beaten egg wash for a beautiful golden finish while baking. If you like, sprinkle some coarse sugar on top for extra sweetness and a nice crunch.
8. Bake the Hand Pies:
Put the baking sheet in the preheated oven and bake for about 25-30 minutes. You want to see the crust turn golden brown, and the filling should be bubbling a bit—this indicates they’re perfectly cooked!
9. Cool and Serve:
After removing the hand pies from the oven, let them cool slightly on the baking sheet. Once they’re cool enough to handle but still warm, they’re ready to be enjoyed. You can serve them as is or with a scoop of vanilla ice cream—heavenly!
Enjoy your delicious, golden apple hand pies!
Can I Use Different Fruits for These Hand Pies?
Absolutely! You can substitute apples with other fruits like peaches, pears, or even berries. Just be sure to adjust the sugar and spices based on the sweetness and flavor of the fruit you choose. For example, with berries, you may want to reduce the sugar slightly.
How Do I Store Leftover Hand Pies?
Store any leftovers in an airtight container at room temperature for up to 2 days. If you want to keep them longer, refrigerate them for up to a week. Reheat them in the oven at 350°F (175°C) until warmed through for the best texture!
Can I Freeze Apple Hand Pies?
Yes, you can freeze uncooked hand pies! Assemble them up to the baking stage, then place them on a baking sheet in the freezer until solid. Once frozen, transfer them to a freezer bag. When you’re ready to bake, cook from frozen, adding a few extra minutes to the baking time.
What Can I Use Instead of Egg Wash?
If you’re looking for an egg-free alternative, you can use milk or a non-dairy milk as a wash for a lovely finish. For a vegan option, a mixture of water and a little cornstarch also works well!