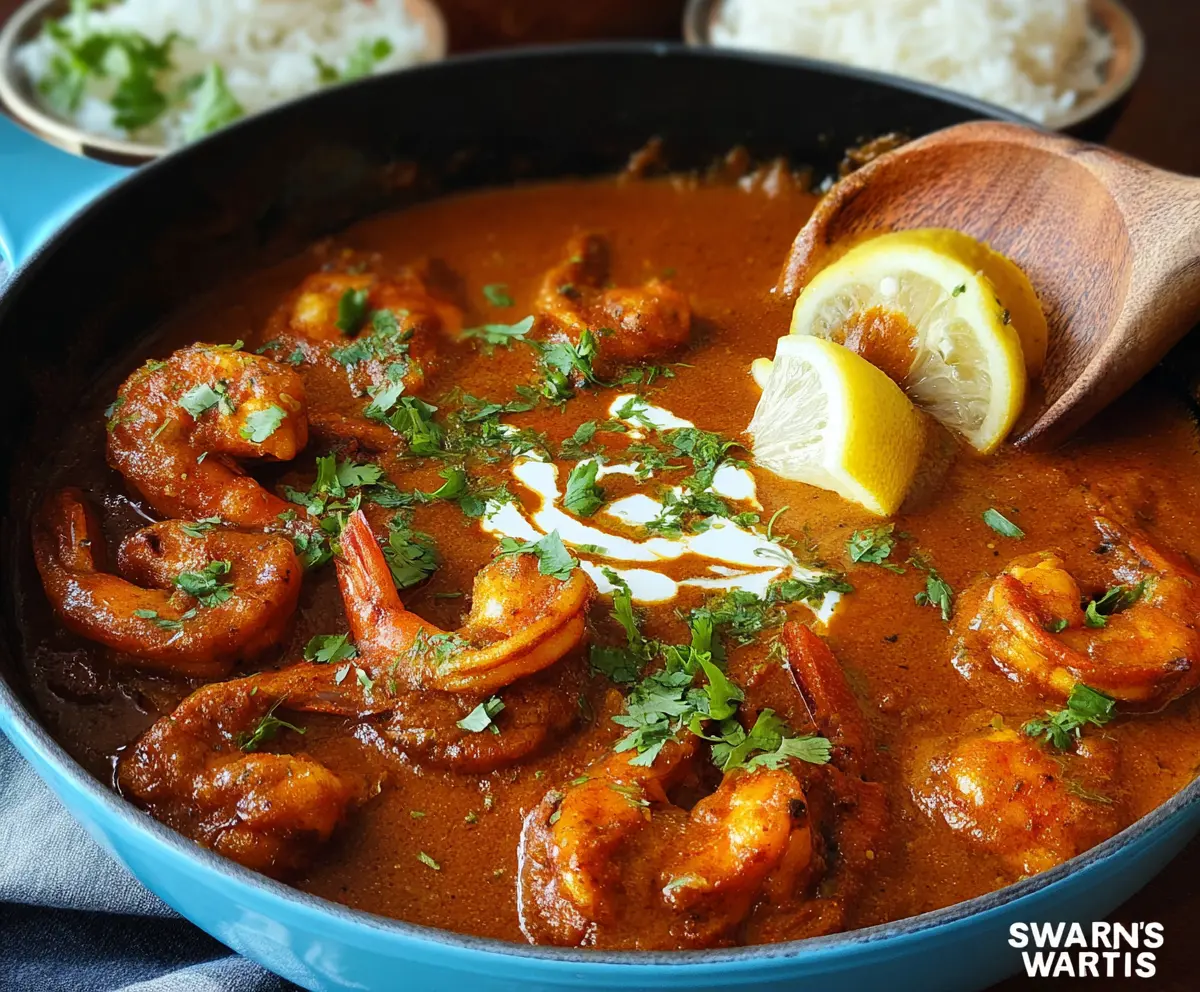
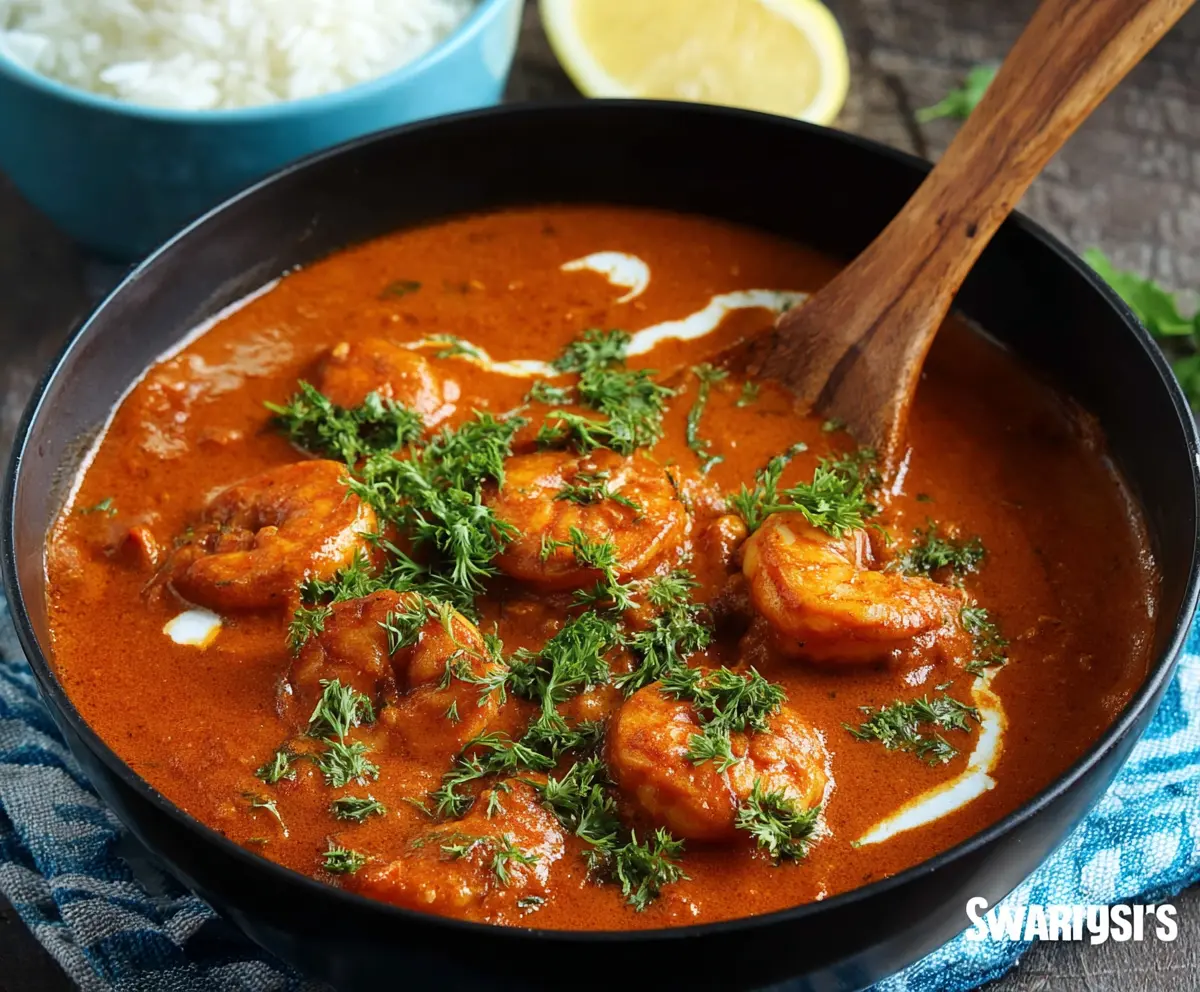
This Shrimp Tikka Masala features tender shrimp smothered in a creamy, spiced sauce that’s bursting with flavor. It’s quick to make and simply delightful!
I love serving it over fluffy rice or with warm naan. Trust me, you’ll be tempted to lick the plate clean. Who can resist that creamy goodness? 😄
Key Ingredients & Substitutions
Shrimp: Large shrimp are perfect for this dish. If you’re looking for a change, you can use chicken or tofu instead. Just ensure they are cooked properly through each method.
Yogurt: This adds creaminess to the marinade. If you’re dairy-free, try coconut yogurt or a nut-based yogurt. Both work well and still give that nice tangy flavor!
Spices: Cumin, coriander, garam masala, turmeric, and chili powder are essential for flavor. If you’re missing any, you can use a curry powder blend instead or simply adjust the remaining spices to balance it out.
Cream: Heavy cream will give richness, but coconut cream is a great substitute for a dairy-free option. It adds a subtle sweetness that pairs well with the spices!
Tomatoes: Crushed tomatoes create a rich base. If you don’t have any, diced tomatoes or even a tomato sauce will do. Just be mindful of the sauce’s consistency.
How Do I Make the Sauce Perfectly Creamy?
The sauce is where the magic happens in Shrimp Tikka Masala, and it’s all about balancing flavors and achieving creaminess. Start by cooking your onions until they are golden brown; this adds depth to the sauce.
- After adding garlic and ginger, don’t rush. Let those flavors bloom for a minute before adding tomatoes.
- Once the tomatoes are in, simmer them well. You want them thick, so let the moisture reduce a bit.
- Finally, when you stir in the cream, lower the heat to avoid boiling, helping retain that smooth texture!
Adjust seasoning as needed and taste along the way – this helps develop the optimal flavor that’s rich and delicious!
Shrimp Tikka Masala
Ingredients You’ll Need:
For the Shrimp Marinade:
- 1 lb (450g) large shrimp, peeled and deveined
- 2 tbsp plain yogurt
- 1 tbsp lemon juice
- 1 tsp ground cumin
- 1 tsp ground coriander
- 1 tsp garam masala
- 1/2 tsp turmeric powder
- 1/2 tsp chili powder (adjust to taste)
- 1 tsp paprika (for color)
- Salt to taste
For the Sauce:
- 2 tbsp vegetable oil or ghee
- 1 large onion, finely chopped
- 3 garlic cloves, minced
- 1-inch piece of ginger, grated
- 1-2 green chilies, finely chopped (optional)
- 1 can (14 oz / 400g) crushed tomatoes or tomato puree
- 1/2 cup heavy cream or coconut cream
- 1/2 cup water or stock
For Garnish:
- Fresh cilantro, chopped
- Lemon wedges for serving
- Optional: a dollop of cream or yogurt for garnish
How Much Time Will You Need?
This delicious Shrimp Tikka Masala takes about 30-40 minutes total. You’ll need around 20-30 minutes for the shrimp to marinate and 10-15 minutes for cooking the dish. Perfect for a tasty weeknight meal!
Step-by-Step Instructions:
1. Marinate the Shrimp:
In a medium bowl, combine the yogurt, lemon juice, cumin, coriander, garam masala, turmeric, chili powder, paprika, and salt. Add the shrimp and coat them well with this mixture. Cover and let it marinate for at least 20-30 minutes for maximum flavor.
2. Cook the Shrimp:
Heat 1 tablespoon of oil in a large skillet over medium-high heat. Add the marinated shrimp and cook for about 2 minutes on each side, just until they are cooked through and turn pink. Remove the shrimp from the skillet and set them aside.
3. Prepare the Sauce:
In the same skillet, add the remaining tablespoon of oil. Toss in the chopped onions and sauté until they are golden brown, which usually takes about 5-7 minutes. This adds a lovely flavor base for your sauce.
4. Add Aromatics:
Stir in the minced garlic, grated ginger, and green chilies (if using). Cook this mixture for another 1-2 minutes until everything is fragrant and combined.
5. Build the Sauce:
Add the crushed tomatoes to the skillet. Let them cook, stirring occasionally, for about 8-10 minutes. You’ll know it’s ready when the sauce thickens and oil starts to separate from it.
6. Creamy Finishing Touch:
Stir in the water or stock to loosen the sauce a bit, then add the heavy cream or coconut cream. Mix until combined and let it simmer for another 2-3 minutes. This will give your sauce that creamy texture!
7. Combine and Adjust Seasoning:
Return the cooked shrimp to the skillet and gently mix to coat them in the creamy sauce. Allow everything to cook together for another 2 minutes. Taste the sauce and adjust salt and chili powder if needed.
8. Garnish and Serve:
Garnish your dish with freshly chopped cilantro and a swirl of cream or yogurt. Serve it hot with fluffy basmati rice or warm naan bread, and don’t forget the lemon wedges on the side for a refreshing squeeze!
Enjoy your rich and flavorful Shrimp Tikka Masala!
Can I Use Frozen Shrimp for This Recipe?
Yes! Just ensure to thaw the frozen shrimp completely before marinating. You can do this by leaving them in the fridge overnight or placing them in a sealed bag and submerging it in cold water for quicker thawing. Pat them dry before marinating to avoid excess moisture.
Can I Make This Dish Vegetarian?
Absolutely! You can substitute the shrimp with cubed paneer, tofu, or even vegetables like bell peppers and zucchini. Just cook them appropriately and adjust the cooking times as needed.
How Can I Make the Sauce Less Spicy?
If you prefer a milder sauce, you can reduce or omit the chili powder and green chilies. Additionally, adding a bit more cream or yogurt can help tone down the heat while enhancing creaminess!
What’s the Best Way to Store Leftovers?
Store any leftovers in an airtight container in the fridge for up to 3 days. Reheat gently in a skillet over low heat or in the microwave, adding a splash of water or cream if needed to bring back the sauce’s consistency.