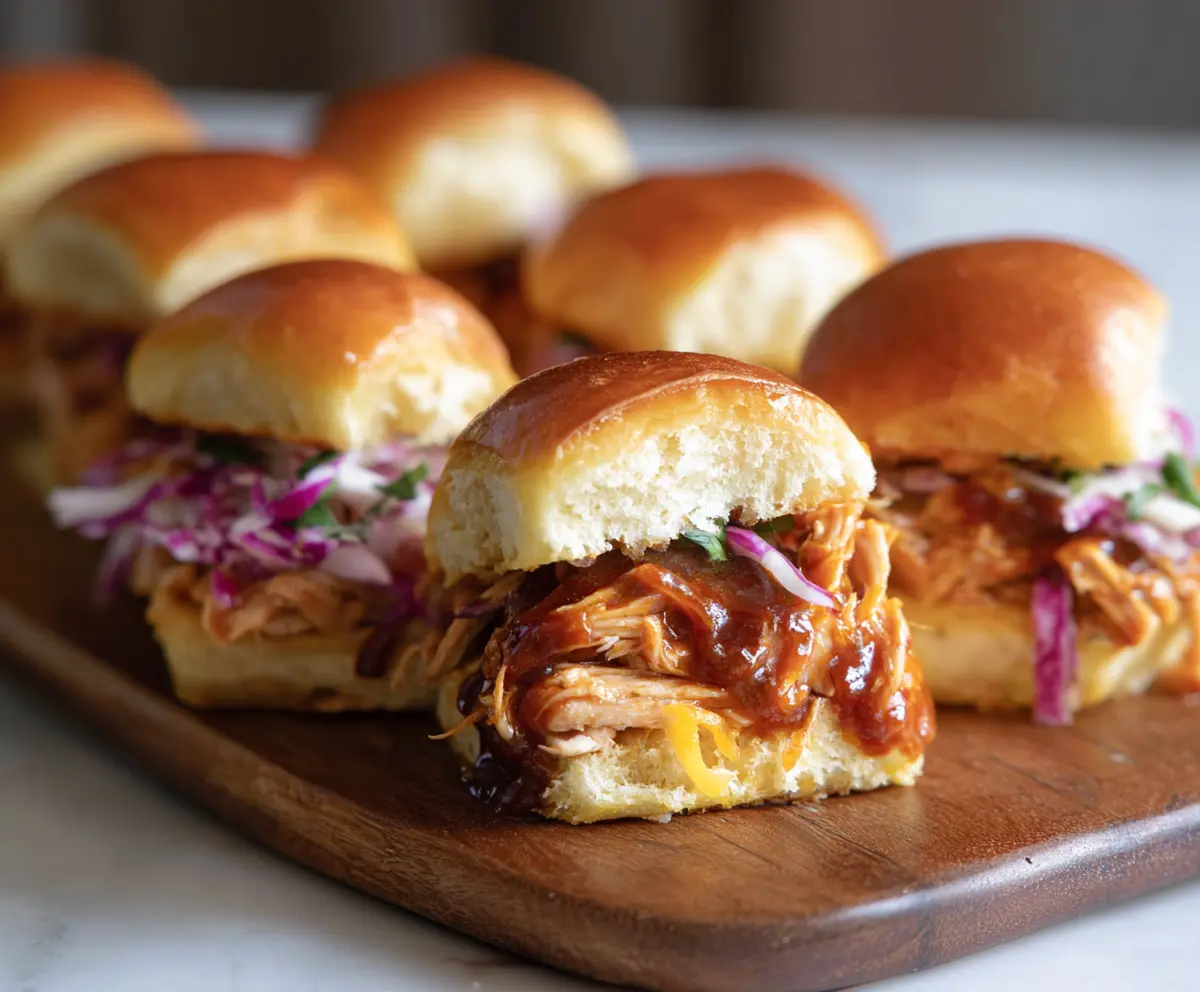
These BBQ Chicken Sliders are juicy and full of flavor! With tender shredded chicken mixed in a tasty barbecue sauce, they make a perfect meal for any day.
Honestly, who can resist a mini sandwich? I love piling on extra pickles for some crunch. They’re great for parties or a fun family dinner!
Making them is a breeze; just mix, assemble, and enjoy! Plus, the leftovers are fantastic in lunchboxes the next day. 😋
Key Ingredients & Substitutions
Shredded Chicken: I love using rotisserie chicken for its convenience and flavor. If you want a healthier option, you can boil and shred your own chicken breast. Canned chicken could work too, but it’s not quite as tender.
Barbecue Sauce: Choose your favorite store-bought barbecue sauce, or make your own for a personal touch. If you’re looking for a healthier version, try using a low-sugar or homemade sauce. Some people even enjoy a spicy version for a kick!
Slider Buns: Soft dinner rolls are perfect for sliders. If you’re looking for a healthier option, whole wheat or gluten-free buns can be substituted. You could also use lettuce leaves for a low-carb version!
Shredded Cheese: Cheddar adds creaminess, but feel free to substitute with Monterrey Jack, pepper jack for some spice, or even mozzarella for a milder flavor.
Coleslaw: While it’s optional, adding coleslaw gives a nice crunch. If you’re short on time, a store-bought mix works well. You could also skip it altogether or use a simple salad, like crispy lettuce, instead.
How do I ensure my sliders are perfectly assembled?
Assembling the sliders thoughtfully helps them stay delicious and intact. Here are some tips to ensure they come out great:
- Layer the cheese first. It helps to create a delicious barrier that keeps the buns from getting soggy.
- Don’t overload on chicken or coleslaw. Make sure it’s piled just right, so the buns can hold everything without falling apart.
- Brushing butter on the buns not only gives a nice shine but adds a flavorful touch. Don’t skip this step!
- Keep an eye on them while baking. You’re looking for melted cheese and lightly golden tops, which usually happens quickly.
With these steps, your BBQ Chicken Sliders should come out just right, ready to enjoy!
BBQ Chicken Sliders
Ingredients You’ll Need:
For the Sliders:
- 2 cups cooked shredded chicken (rotisserie or boiled)
- 1 cup barbecue sauce (your favorite brand or homemade)
- 8 slider buns (soft dinner rolls)
- 1 cup shredded cheddar cheese
- 1 cup coleslaw (optional, for topping; can use a mix of shredded purple and green cabbage with a light dressing)
- 1 tablespoon butter, melted (for brushing buns)
- Fresh cilantro or parsley (optional, for garnish)
How Much Time Will You Need?
This recipe requires about 15 minutes for prep and about 10-12 minutes for baking time, totaling around 30 minutes. You can whip these up quickly for a fun family meal, game day, or any casual gathering.
Step-by-Step Instructions:
1. Prepare the Chicken:
In a medium bowl, combine the cooked shredded chicken with the barbecue sauce. Stir until the chicken is evenly coated and all saucy. This is where the flavor starts!
2. Preheat the Oven:
While you’re mixing, go ahead and preheat your oven to 350°F (175°C). It’ll be ready by the time you’re done assembling the sliders.
3. Slice the Buns:
Carefully slice the slider buns in half horizontally (like you’re making mini sandwiches). Place the bottom halves on a baking tray or an oven-safe dish to prepare for building your sliders.
4. Add Cheese:
Sprinkle the shredded cheddar cheese evenly across all the bottom buns. This layer provides a delicious melty base for the chicken!
5. Add the BBQ Chicken:
Evenly distribute the BBQ chicken mixture over the cheese layer. Make sure each slider gets a good amount of chicken—you want every bite to be flavorful!
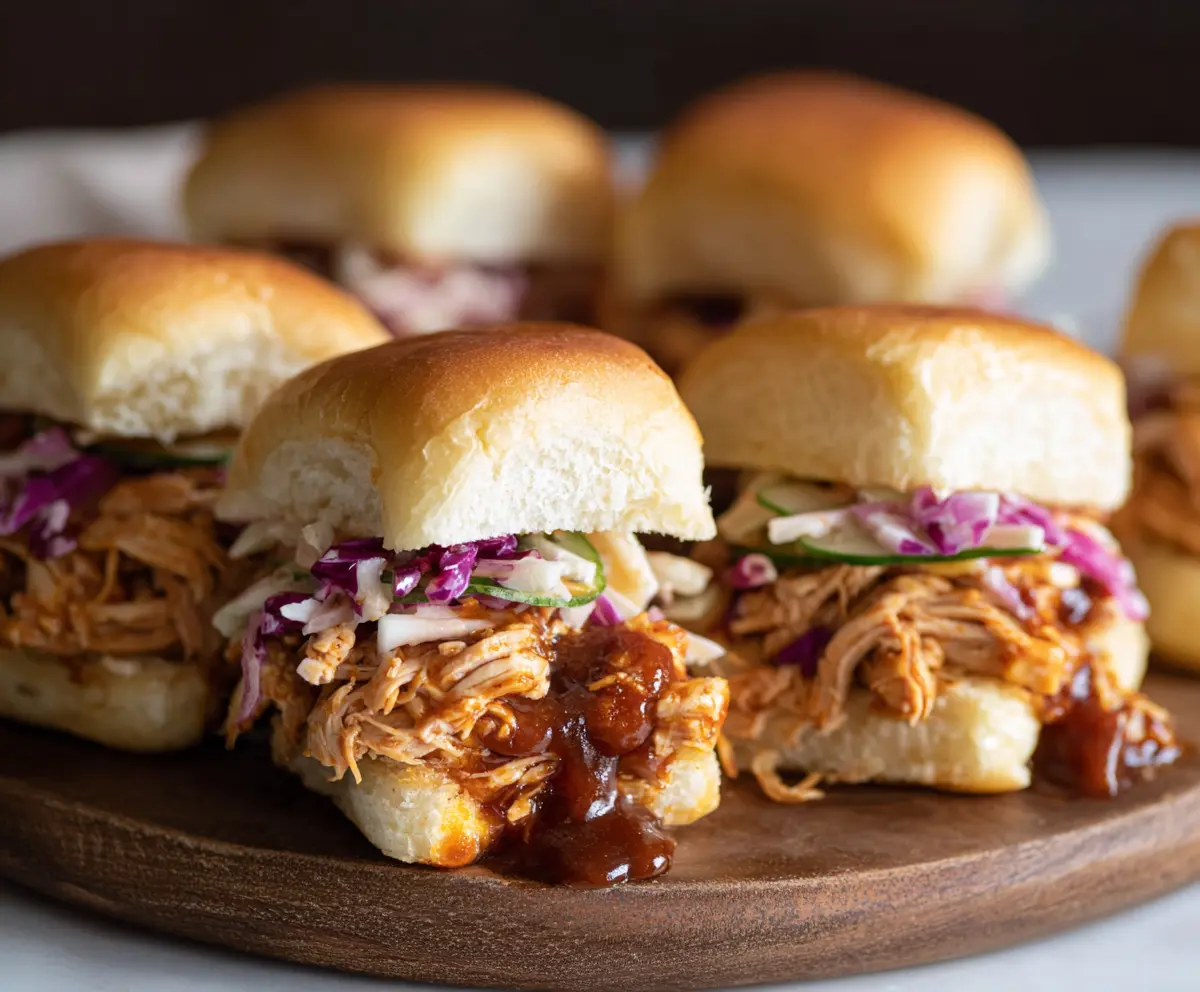
6. Top with Coleslaw:
If you like, add a spoonful of coleslaw on top of the BBQ chicken for awesome crunch and freshness. It adds a nice contrast to the richness of the chicken.
7. Close the Sliders:
Place the top halves of the buns over the coleslaw, gently pressing them down to hold everything together.
8. Brush with Butter:
Using a pastry brush, lightly brush the tops of the buns with melted butter. This not only makes them look nice but also adds a delightful flavor.
9. Bake:
Put the assembled sliders in the preheated oven and bake for about 10-12 minutes. Keep an eye on them until the cheese is melted and the buns are warm and slightly golden.
10. Serve and Enjoy:
Once they’re done, take them out of the oven and let them cool for a moment. If desired, garnish with chopped fresh cilantro or parsley for a pop of color. Serve immediately and enjoy every bite of these delicious sliders!
These BBQ Chicken Sliders are sure to be a hit, whether it’s game day, a family gathering, or just a cozy night in. Happy cooking!
Can I Use Frozen Chicken for This Recipe?
Yes, you can use frozen chicken! Just make sure to fully thaw it beforehand. The best method is to refrigerate overnight. You can also use the quick-thaw method by placing the sealed chicken in cold water for about an hour.
How Can I Store Leftover Sliders?
Store any leftover sliders in an airtight container in the refrigerator for up to 3 days. To reheat, simply warm them in the oven at 350°F (175°C) for about 10 minutes or until heated through, ensuring they stay deliciously soft!
Can I Make These Sliders Ahead of Time?
Absolutely! You can assemble the sliders without baking them, cover them tightly, and refrigerate for up to a day. When you’re ready, just pop them in the preheated oven and bake as directed. This is a great time-saver for parties!
What Type of Barbecue Sauce Should I Use?
Feel free to use your favorite store-bought barbecue sauce, or you can make your own! Depending on your taste preference, you might want a sweeter, smokier, or spicier sauce. Tasting and adjusting before mixing with the chicken can help achieve your desired flavor.