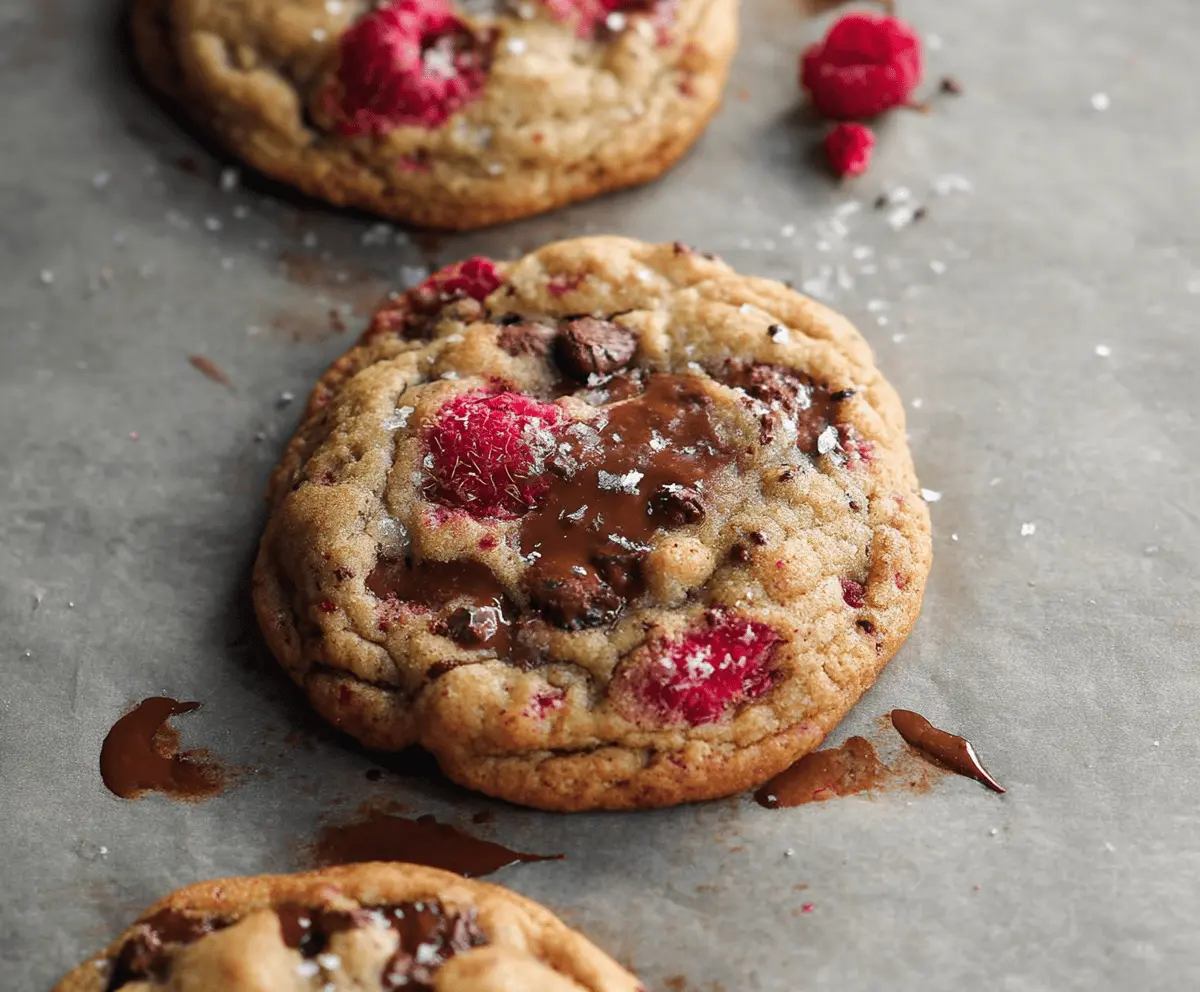
These Brown Butter Raspberry Chocolate Chip Cookies are a tasty treat! They’re soft and chewy, with bursts of juicy raspberries mixed with chocolatey chips. What’s not to love?
I can’t resist the sweet smell of browning butter while making these! Whenever I bake a batch, they disappear fast. The combo of chocolate and fruit is a true winner! 🍪
Key Ingredients & Substitutions
Unsalted Butter: Brown butter is the star here! It’s crucial for that nutty flavor. If you’re in a pinch, you can use salted butter but reduce the added salt slightly.
Granulated & Brown Sugar: I stick to both because they provide great texture and moisture. For a healthier option, try coconut sugar or a sugar substitute like erythritol, but results may vary.
Eggs: Eggs add richness and bind the dough. If you’re vegan, you can use flax eggs (1 tablespoon ground flaxseed mixed with 2.5 tablespoons water) for a similar effect.
All-Purpose Flour: This is your basic flour choice that works best. If needed, you could substitute with gluten-free flour (like a 1:1 blend), though the texture can be different.
Chocolate Chips: I love semisweet chocolate, but dark chocolate works amazingly too! For a dairy-free version, use vegan chocolate chips.
Fresh Raspberries: Fresh raspberries give the best flavor, but if they’re out of season, you could use frozen ones—just make sure to thaw and drain excess moisture to avoid soggy cookies.
How Do You Brown Butter Perfectly?
Browning butter is an important step and really enhances the flavor in these cookies. Here’s how to do it just right:
- Use a light-colored saucepan to easily monitor the butter’s color as it cooks.
- Keep the heat on medium to medium-high and stir frequently to prevent burning.
- When you see foam and brown bits forming at the bottom, it’s almost done! Watch carefully until it turns golden brown and smells nutty—a beautiful amber color is key!
- Immediately remove from heat to stop the cooking, as it can go from brown to burnt quickly.
Let it cool slightly before using, and trust me, the aroma is irresistible!

Brown Butter Raspberry Chocolate Chip Cookies
Ingredients:
- 1 cup (2 sticks) unsalted butter
- 3/4 cup granulated sugar
- 3/4 cup packed brown sugar (light or dark)
- 1 large egg
- 1 large egg yolk
- 1 1/4 cup all-purpose flour
- 1/2 teaspoon baking soda
- 1/2 teaspoon kosher salt
- 1 teaspoon vanilla extract
- 1 cup semisweet or dark chocolate chips
- 1 cup fresh raspberries, gently rinsed and dried
- Flaky sea salt, for sprinkling
Time Needed:
This recipe takes about 20 minutes to prepare and another 10-12 minutes to bake. If you choose to chill the dough, add an extra 30 minutes for the chilling time. Overall, you can whip up some delicious cookies in less than an hour, plus a little waiting time for chilling.
Instructions:
1. Brown the Butter:
Start by melting the butter in a medium saucepan over medium heat. Keep swirling it often until it becomes foamy and turns a lovely golden brown color with a nutty aroma, which should take about 5-7 minutes. Once it’s browned, remove it from the heat and let it cool for about 10 minutes.
2. Mix Sugars and Butter:
In a large mixing bowl, combine your cooled browned butter with granulated and brown sugars. Whisk the mixture together until it’s smooth.
3. Add Eggs and Vanilla:
Beat in the egg and then the egg yolk, one at a time. After that, stir in the vanilla extract.
4. Combine Dry Ingredients:
In another bowl, whisk together the all-purpose flour, baking soda, and salt until well combined.
5. Mix It All Together:
Gradually add the dry ingredients to the wet mixture, mixing until just combined. Be careful not to overmix, as you want your cookies to stay soft.
6. Fold in Chocolate Chips:
Gently fold the chocolate chips into the dough, making sure they’re evenly distributed.
7. Add Raspberries:
Now carefully fold in the fresh raspberries. Try to do this gently so they don’t get too smashed!
8. Chill the Dough (Optional):
Cover the dough with plastic wrap and chill it in the fridge for at least 30 minutes. This step is optional, but it really helps improve the texture of the cookies.
9. Preheat the Oven:
While the dough is chilling, preheat your oven to 350°F (175°C) and line a baking sheet with parchment paper.
10. Form the Cookies:
Once chilled, scoop out about 2 tablespoons of dough for each cookie and place them on the baking sheet, leaving about 2 inches of space between them.
11. Bake:
Put your baking sheet in the oven and bake the cookies for 10-12 minutes, or until they’re golden brown around the edges but still soft in the center.
12. Finish and Cool:
As soon as they come out of the oven, sprinkle a little flaky sea salt on top of each cookie. Let them cool on the baking sheet for 5 minutes before transferring them to a wire rack to cool completely.
Now, enjoy these delightfully buttery, chocolatey cookies bursting with fresh raspberry goodness!
Can I Use Frozen Raspberries Instead of Fresh?
Yes, you can use frozen raspberries! Just make sure to thaw and drain them first to avoid excess moisture in the cookies. Gentle folding is also key to keep them from mushing too much!
How Should I Store the Cookies?
Store any leftovers in an airtight container at room temperature for up to 3 days. You can also refrigerate them for up to a week or freeze for up to 3 months!
Can I Make the Dough Ahead of Time?
Absolutely! You can prepare the dough up to 2 days in advance. Just wrap it tightly in plastic wrap and refrigerate. When ready to bake, scoop and bake directly from the fridge; you may need to add a couple of extra minutes to the baking time.
What If My Cookies Spread Too Much While Baking?
If your cookies spread too much, try chilling the dough longer next time or adding a bit more flour to the mixture. Ensure that your baking sheet is ungreased or lined with parchment paper for better cookie structure!