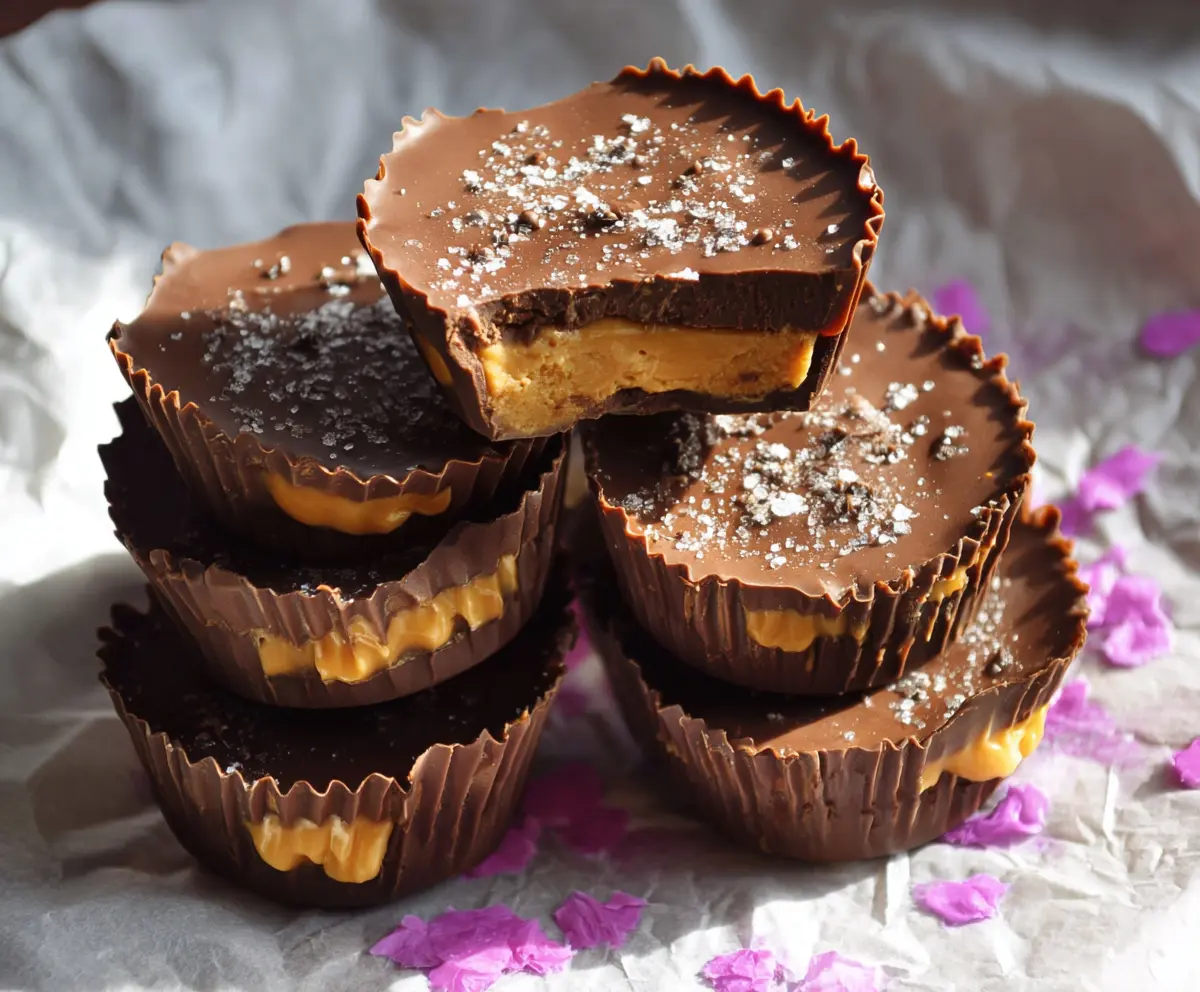
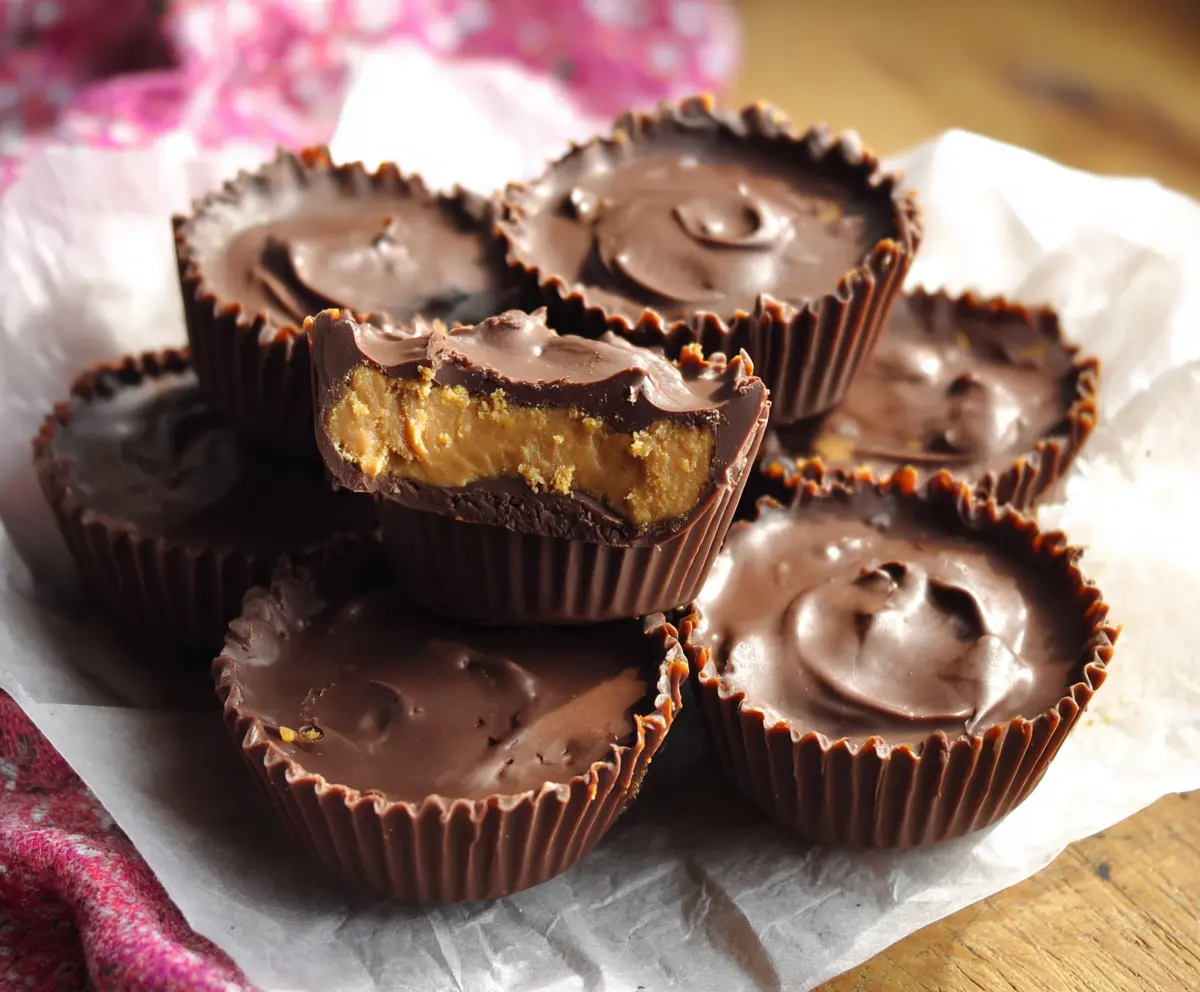
These Chocolate Peanut Butter Cups are a sweet treat that combines rich chocolate and creamy peanut butter. They’re so easy to make, you’ll want to whip up a batch every week!
Honestly, who can resist that gooey peanut butter center? I could eat these for breakfast, lunch, and dinner! 😂 Pair them with a glass of milk for a perfect snack.
Key Ingredients & Substitutions
Semi-sweet chocolate: This adds rich flavor to your cups. You can substitute milk chocolate for a sweeter taste or dark chocolate if you prefer something less sweet. Simply adjust the amount of sugar if using a sweeter chocolate.
Creamy peanut butter: While creamy is ideal for a smooth filling, you can use crunchy peanut butter for extra texture. Nut butters such as almond or cashew also work if you’re looking for a different flavor.
Powdered sugar: This sweetens the peanut butter mixture effectively. If you’re trying to cut down on sugar, you can use stevia or erythritol in equal amounts. Just keep in mind it may change the texture slightly.
Unsalted butter: This adds creaminess to the filling. You can substitute coconut oil for a dairy-free version, but it may result in a slightly different texture.
Vanilla extract: Always a lovely addition, but if you’re out, you can skip it. Almond extract is a great substitute too for a unique flavor twist.
How do I get the chocolate to melt smoothly?
Melted chocolate can be tricky, but there are a few simple tips to get it just right. Here’s how to ensure you have smooth melted chocolate for your cups:
- Use a microwave-safe bowl and heat in 20-30 second increments, stirring in between. This helps distribute the heat evenly.
- If you’re not a fan of microwaving, you can melt the chocolate using a double boiler. Place a bowl over simmering water and stir until melted.
- Be careful not to overheat it, as chocolate can seize up. If it starts to look grainy, you’re probably cooking it too long.
Remember, patience is key! You’re aiming for a glossy, smooth consistency that spreads easily.
How to Make Chocolate Peanut Butter Cups
Ingredients You’ll Need:
For the Chocolate Cups:
- 1 1/2 cups semi-sweet chocolate chips or chopped chocolate
For the Peanut Butter Filling:
- 1 cup creamy peanut butter (divided)
- 1/4 cup powdered sugar
- 2 tablespoons unsalted butter, softened
- 1/4 teaspoon salt (optional, plus more for sprinkling)
- 1 teaspoon vanilla extract
Other:
- Mini cupcake liners
How Much Time Will You Need?
This recipe takes about 15-20 minutes to prepare, plus 30 minutes to set in the refrigerator. So, in less than an hour, you’ll have delicious homemade chocolate peanut butter cups ready to enjoy!
Step-by-Step Instructions:
1. Prep Your Muffin Tin:
Start by lining a mini muffin tin with cupcake liners. This will help you easily remove the cups once they are set. Set the lined tin aside for now.
2. Melt the Chocolate:
In a microwave-safe bowl, add 1 cup of the chocolate chips. Heat them in the microwave for 20-30 seconds at a time, stirring between each interval until the chocolate is smooth and melted. Be careful not to overheat!
3. Form the Base Layer:
Spoon about 1 teaspoon of the melted chocolate into the bottom of each cupcake liner and spread it slightly up the sides for a nice base. Then, put the muffin tin in the refrigerator for about 10 minutes to let the chocolate set.
4. Make the Peanut Butter Filling:
In a small bowl, mix the remaining peanut butter (reserve some for topping), powdered sugar, softened butter, salt, and vanilla extract. Stir until the mixture is smooth and creamy. This will be your delicious filling.
5. Add the Peanut Butter Mixture:
Once your chocolate bases are firm, take the muffin tin out of the fridge. Spoon about 1 teaspoon of the peanut butter mixture on top of each chocolate base. Gently press down to spread the peanut butter.
6. Finish with More Chocolate:
Melt the remaining 1/2 cup of chocolate chips the same way as before. Once melted, spoon the chocolate over the peanut butter layer, making sure to cover it completely.
7. Add a Touch of Salt:
For a little extra flavor, sprinkle a pinch of sea salt on top of each cup, if desired. This adds a delightful contrast to the sweetness!
8. Chill to Set:
Put the muffin tin back in the refrigerator and let the peanut butter cups set for at least 30 minutes. This will make them firm and easier to enjoy.
9. Enjoy Your Treats!
Once set, carefully remove the chocolate peanut butter cups from the liners and enjoy your tasty creations! If you happen to have leftovers, store them in an airtight container in the refrigerator. But I doubt they’ll last long!
These delightful chocolate peanut butter cups are sure to satisfy your sweet cravings. Enjoy your delicious treat and share with friends or keep them all to yourself! 😉
Can I Use Dark Chocolate Instead of Semi-Sweet?
Absolutely! Dark chocolate will give a richer flavor and is a great option if you prefer less sweetness. Just keep in mind that it may slightly alter the overall taste of the cups.
How to Store Leftovers?
Store any leftover chocolate peanut butter cups in an airtight container in the refrigerator for up to a week. This keeps them fresh and provides a nice chill when you’re ready to enjoy them again!
Can I Make These Vegan?
Yes! To make vegan chocolate peanut butter cups, simply use dairy-free chocolate chips and substitute vegan butter or coconut oil for the regular butter. The peanut butter and powdered sugar are already vegan-friendly!
What If My Chocolate Seized While Melting?
If your chocolate seizes, try adding a small amount of vegetable oil or coconut oil to it while stirring. This can help smooth it out. Next time, ensure you’re melting it at lower power settings and stirring frequently!