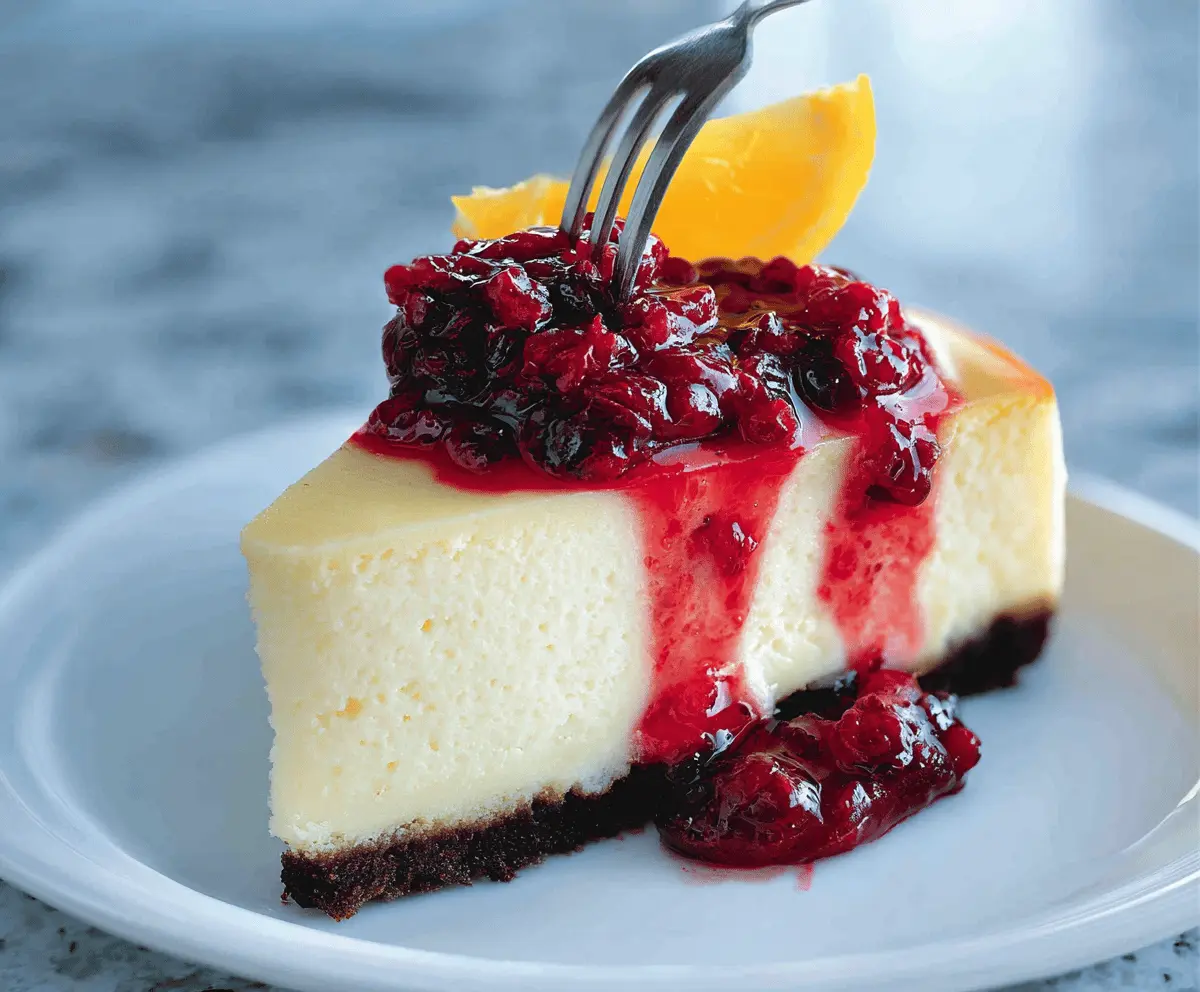
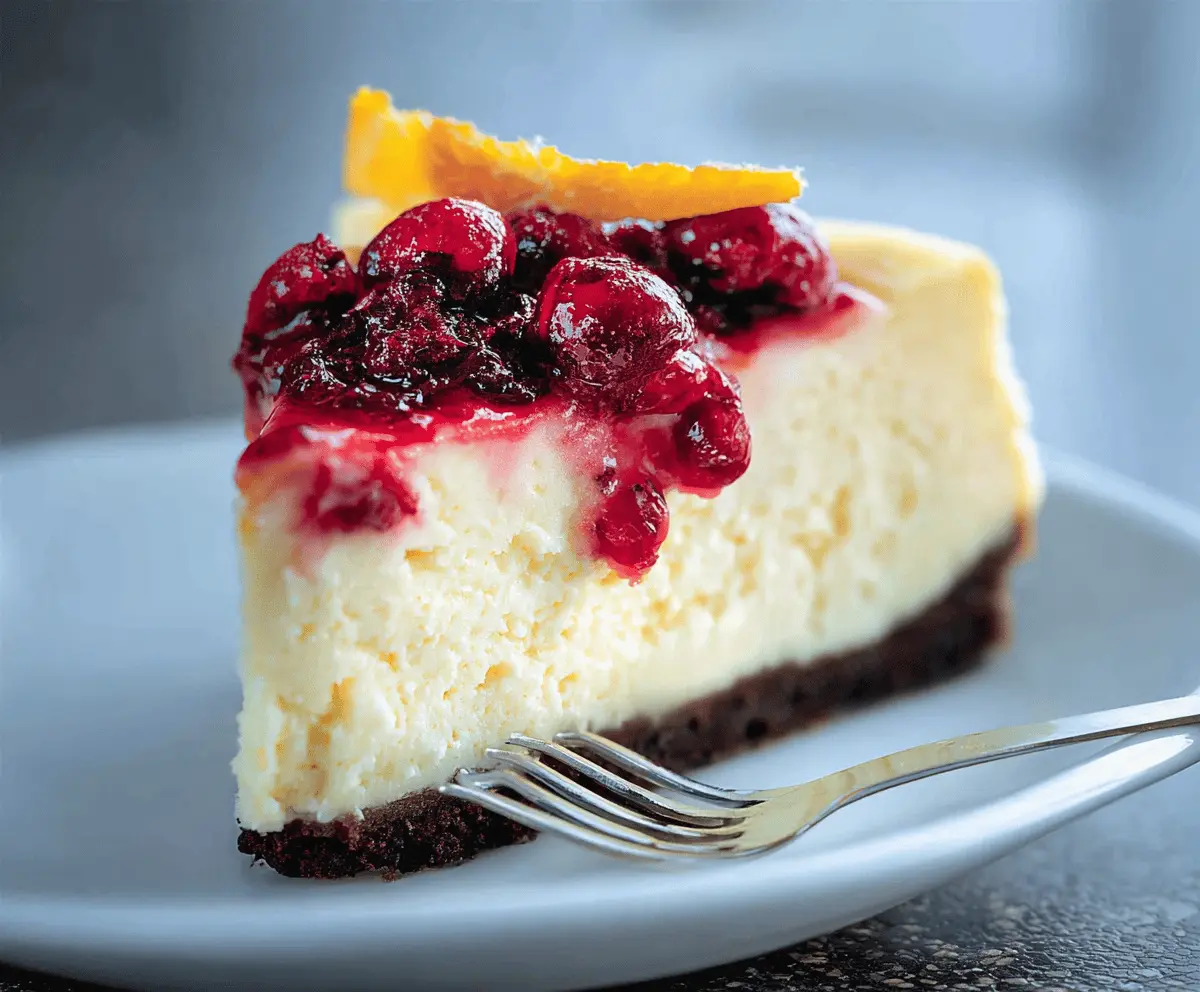
This lovely cheesecake combines the tartness of cranberries with the bright taste of oranges. It’s creamy, fruity, and oh-so-satisfying!
The burst of flavor will have your taste buds dancing! I love serving it with a dollop of whipped cream on top. Trust me, it’s a treat you won’t want to miss! 🎉
Key Ingredients & Substitutions
Chocolate Cookie Crumbs: I use Oreos for a rich and sweet crust. If you’re avoiding chocolate, graham cracker crumbs or vanilla wafer crumbs work nicely too!
Cream Cheese: This gives the cheesecake its creamy texture. You can use low-fat cream cheese or Neufchâtel for a lighter version. Just remember, regular cream cheese is my favorite for maximum creaminess!
Orange Zest and Juice: Fresh orange zest brightens the flavor. You can substitute lemon zest for a similar tartness, but the orange adds a unique taste that I love.
Cranberries: Fresh cranberries are best, but frozen ones do just fine. If cranberries aren’t available, you can substitute with blueberries or raspberries for a different fruity topping.
How Do You Prevent Cracks in Your Cheesecake?
Cracks in a cheesecake are a common concern, but with a few tips, you can keep your cheesecake smooth. Here’s what to do:
- Don’t overmix the batter; just mix until combined.
- Let the cheesecake cool in the oven after baking. This gradual cooling helps prevent sudden temperature changes that can cause cracks.
- Use a water bath (bain-marie) for even baking, but if you prefer not to, just remember to crack the oven door during cooling.
These steps help ensure a beautiful cheesecake without those pesky cracks!

How to Make Cranberry Orange Cheesecake
Ingredients You’ll Need:
For the Crust:
- 1 1/2 cups chocolate cookie crumbs (such as Oreos, finely crushed)
- 1/4 cup unsalted butter, melted
For the Cheesecake Filling:
- 4 (8-ounce) packages cream cheese, softened
- 1 cup granulated sugar
- 1 teaspoon vanilla extract
- 2 teaspoons orange zest (from about 2 oranges)
- 4 large eggs
- 1/2 cup sour cream
- 1/4 cup fresh orange juice
For the Cranberry Orange Topping:
- 2 cups fresh or frozen cranberries
- 3/4 cup granulated sugar
- 1/2 cup fresh orange juice
- 1 teaspoon orange zest
- 1 tablespoon cornstarch mixed with 2 tablespoons water
Garnish:
- Orange slices or twists
How Much Time Will You Need?
This delicious cheesecake requires about 30 minutes of prep time, plus 1 hour for baking. You’ll need to chill it for at least 4 hours, but overnight is even better. Total time including cooling: about 5 hours and 30 minutes.
Step-by-Step Instructions:
1. Preheat the Oven:
Start by preheating your oven to 325°F (163°C). While that’s heating up, lightly grease a 9-inch springform pan to prepare for the cheesecake.
2. Make the Crust:
In a medium bowl, combine the chocolate cookie crumbs and melted butter until everything is evenly moistened. Press this mixture firmly into the bottom and up the sides of your springform pan to create an even layer. Pop it in the oven and bake for 10 minutes, then take it out and let it cool.
3. Whip Up the Cheesecake Filling:
In a large mixing bowl, beat the softened cream cheese with an electric mixer on medium speed until it’s smooth and creamy—about 2-3 minutes. Gradually add the sugar, mixing until well combined. Stir in the vanilla extract and orange zest to brighten the flavor.
4. Add the Eggs:
Add the eggs one at a time, mixing on low speed after each addition just until combined. Be careful not to overmix at this stage!
5. Combine With Sour Cream and Juice:
Finally, blend in the sour cream and fresh orange juice until the mixture is smooth and creamy. This adds richness to your filling.
6. Pour and Smooth:
Pour the cheesecake filling over the cooled crust in your springform pan. Use a spatula to smooth the top.
7. Bake the Cheesecake:
Bake your cheesecake for 55-65 minutes. You’ll know it’s done when the edges are set and the center is slightly jiggly when you gently shake the pan. Don’t worry, it’ll firm up as it cools!
8. Cool in the Oven:
Turn off the oven and crack the oven door open. Let the cheesecake cool in the oven for about 1 hour to help prevent cracking.
9. Chill in the Fridge:
Remove the cheesecake from the oven and chill it in the refrigerator for at least 4 hours, preferably overnight. This helps the flavors meld and the texture set perfectly.
10. Make the Topping:
While the cheesecake is chilling, prepare the cranberry topping. In a medium saucepan, combine cranberries, sugar, orange juice, and orange zest. Cook over medium heat, stirring occasionally, until the cranberries start to burst and the mixture thickens, about 10 minutes.
11. Thicken the Topping:
Stir in the cornstarch slurry and continue to cook for another 1-2 minutes until the mixture thickens further. Once done, remove it from the heat and let it cool to room temperature.
12. Assemble the Cheesecake:
Once the cheesecake is fully chilled and the topping has cooled, spread the cranberry topping evenly over the cheesecake. Decorate with fresh orange slices or twists for that beautiful final touch.
13. Serve Your Cheesecake:
Slice the cheesecake and serve it chilled. Enjoy the delightful flavors of this Cranberry Orange Cheesecake!
Can I Use a Different Type of Cookie for the Crust?
Absolutely! While chocolate cookie crumbs offer a rich flavor, you can use graham cracker crumbs or even digestive biscuits for a different taste. Just make sure to adjust the amount of butter if the cookie type requires it.
What Should I Do If My Cheesecake Cracks?
If your cheesecake cracks, don’t worry! It’s still delicious. To help prevent this in the future, remember to cool the cheesecake slowly in the oven after baking and avoid overmixing the batter, which can incorporate too much air.
Can I Make This Cheesecake in Advance?
Definitely! This cheesecake can be made up to 2-3 days in advance. Just cover it well and store it in the refrigerator. Add the cranberry topping right before serving for the freshest taste.
How Should I Store Leftover Cheesecake?
Store any leftover cheesecake in an airtight container in the fridge for up to 5 days. To keep the topping fresh, you can store it separately and add it just before serving.
