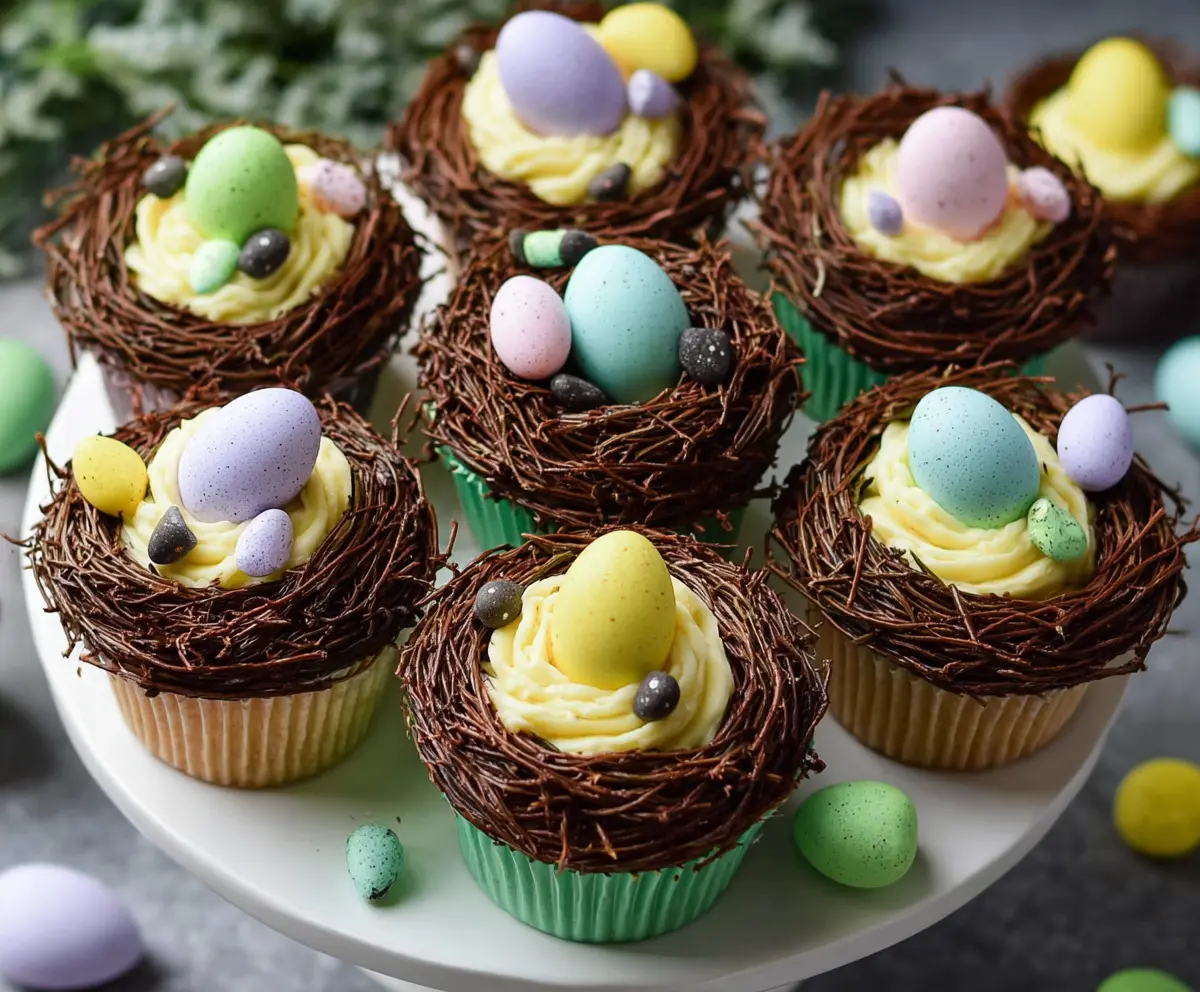
These fun Easter Egg Nest Cupcakes are a treat for your eyes and taste buds! Topped with chocolate frosting and crunchy coconut, they look like little nests filled with candy eggs.
Kids and adults will love picking their favorite candy! 🐣 I enjoy making these colorful cupcakes with my family, making it a great way to celebrate the season together!
Key Ingredients & Substitutions
All-Purpose Flour: This is the backbone of the cupcake’s texture. If you need a gluten-free option, try a 1:1 gluten-free all-purpose flour blend. It often works well in baking!
Unsalted Butter: It adds richness to the cupcakes and frosting. If you’re dairy-free, you can use vegan butter or coconut oil instead. Just keep in mind it can slightly change the flavor.
Sugar: Granulated sugar sweetens the cupcakes perfectly. If you’re looking for a healthier option, coconut sugar can be used for a similar sweetness, but it may add a slight caramel flavor.
Candy-Coated Chocolate Eggs: These are fun and colorful! If you want a healthier twist, consider using small fruit candies or chocolate-covered nuts instead. They’ll add a unique touch!
How Do I Achieve the Best Buttercream Frosting Consistency?
The buttercream frosting is crucial for both flavor and look. Start by beating the softened butter until creamy, as this helps incorporate air for a light texture. Gradually add the powdered sugar—this keeps it from being too gritty.
- Beat the sugar in thoroughly; this makes blending easier.
- If the mixture gets too thick, add milk or cream just a bit at a time until you reach your desired consistency for piping.
- For a vibrant yellow color, add a few drops of food coloring and mix well!
What’s the Best Way to Create Chocolate Nests?
Making chocolate nests sounds tricky, but it’s quite simple! Melt chocolate chips slowly to avoid burning. Once melted, let it cool a bit; this prevents it from being too runny when shaping.
- Use a fork or a piping bag to create thin lines in a circular pattern on parchment paper, forming nest shapes.
- You want them to be sturdy, so give enough time to harden before lifting them.
- Using melted chocolate to glue thin sticks together helps reinforce the nest structure.
How to Make Easter Egg Nest Cupcakes
Ingredients You’ll Need:
For the Cupcakes:
- 1½ cups all-purpose flour
- 1½ tsp baking powder
- ¼ tsp salt
- ½ cup unsalted butter, softened
- 1 cup granulated sugar
- 2 large eggs
- 2 tsp vanilla extract
- ½ cup whole milk
For the Buttercream Frosting:
- 1 cup unsalted butter, softened
- 3-4 cups powdered sugar, sifted
- 2 tsp vanilla extract
- 2-3 tbsp whole milk or heavy cream
- Yellow food coloring (for the “nest lining”)
For the Nest Decoration:
- 1½ cups semisweet chocolate chips
- 2 tbsp vegetable oil or coconut oil
For Garnish:
- Candy-coated chocolate eggs in pastel colors (different sizes)
How Much Time Will You Need?
This recipe will take about 30 minutes of prep time and 22 minutes of baking time, plus cooling time for the cupcakes. Plan for about an hour to make everything and then a couple of hours to let the cupcakes cool completely before frosting. It’s a fun and festive project!
Step-by-Step Instructions:
1. Prepare the Cupcakes:
First, preheat your oven to 350°F (175°C) and line a muffin tin with cupcake liners. In a medium bowl, mix together the flour, baking powder, and salt. Set that bowl aside.
In a large mixing bowl, cream the softened butter and granulated sugar together until it’s light and fluffy—this will make your cupcakes nice and airy. Add the eggs one at a time, making sure to beat well after each addition. Stir in the vanilla extract to add that lovely flavor.
Now, it’s time to combine! Gradually alternate adding the dry ingredients and the milk to the butter mixture, starting and ending with the dry ingredients. Mix just until everything is combined—don’t overdo it!
Divide the batter evenly into your cupcake liners, filling each about 2/3 full. Pop them in the oven and bake for 18-22 minutes. You can test them by inserting a toothpick; if it comes out clean, they’re ready! Allow them to cool completely on a wire rack.
2. Make the Buttercream Frosting:
In a clean mixing bowl, beat the softened butter until it’s creamy. Slowly add the powdered sugar, one cup at a time, fully incorporating it before adding more. This will help avoid mess and ensure a smooth frosting.
Add the vanilla extract and 2 tablespoons of milk or cream. Beat on high until your frosting is light and fluffy! If it’s too thick, add a little more milk until you get a nice piping consistency. For a fun touch, add a few drops of yellow food coloring to create a lovely pastel shade. Transfer the frosting to a piping bag fitted with a star or round tip to decorate your cupcakes.
3. Make the Chocolate Nests:
In a microwave-safe bowl, melt the chocolate chips with the vegetable oil, doing it in 20-second increments and stirring in between until it’s smooth. Let it cool slightly so it doesn’t harden too quickly.
On parchment or wax paper, use a fork or a small brush to create thin, twigs-like shapes with the melted chocolate. You can also pipe them into thin sticks. While the chocolate is still pliable, shape them into little nests. If they harden too much, reheat slightly and assemble them with melted chocolate as glue. Allow them to set at room temperature or in the fridge until firm.
4. Assemble the Cupcakes:
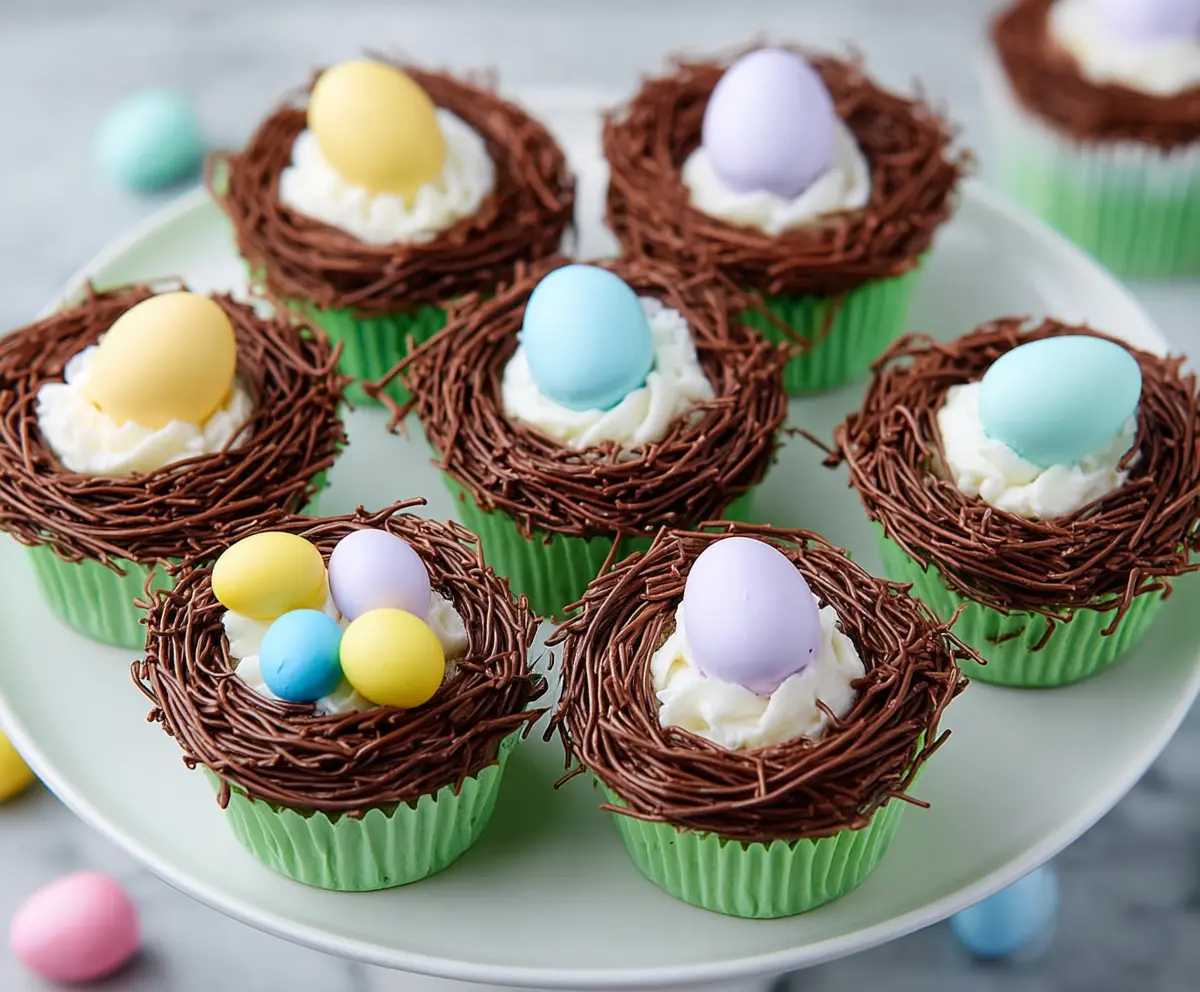
Now for the fun part! Pipe yellow buttercream swirls on top of each cooled cupcake—this will be the soft base for your nest. Place a chocolate nest gently on top of the buttercream swirl. Finally, decorate each nest with pastel-colored candy eggs, placing one larger egg and a couple of smaller ones inside each nest. They’re starting to look like little Easter masterpieces!
5. Serve and Enjoy:
Present your beautiful cupcakes on a cake stand or a festive platter. They’re perfect for sharing at Easter celebrations. To keep them fresh, store in an airtight container at room temperature for up to 2 days or in the fridge for up to 4 days—let them come to room temperature before serving for the best taste!
And there you have it! These delightful Easter Egg Nest Cupcakes are sure to be a hit. Enjoy the sweet treat and the festivities!
Can I Use Cake Flour Instead of All-Purpose Flour?
Yes, you can use cake flour for a softer texture! Just remember that cake flour is lighter, so you may need to adjust the amount slightly. Try starting with about 1¼ cups of cake flour, and see how your batter looks.
What Can I Use Instead of Eggs?
If you need an egg substitute, you can use 1/4 cup of unsweetened applesauce, 1/4 cup of yogurt, or a flax egg (1 tablespoon ground flaxseed mixed with 2.5 tablespoons water, let it sit for 5 minutes). Each substitute will slightly change the flavor and texture, but they work well in cupcakes!
How Do I Make My Chocolate Nests More Sturdy?
For sturdier chocolate nests, make sure to let the melted chocolate cool slightly before shaping. You can also double the layer of chocolate to make them thicker, or reinforce the nests by using extra melted chocolate as glue where the twigs meet.
Can I Freeze the Cupcakes for Later?
Yes, you can! Freeze the cooled cupcakes without the frosting for up to 2 months. Wrap them individually in plastic wrap and then place them in an airtight container. When ready to enjoy, thaw at room temperature and frost them afterward!