
This homestyle turkey gravy is rich and warm, perfect for drizzling over your favorite holiday dishes. Made from turkey drippings, it adds a special touch to your meal!
Key Ingredients & Substitutions
Turkey Drippings: These are essential for flavor. If you don’t have enough drippings, you can combine them with extra broth for a tasty base. I like saving all the drippings, even if it’s a small amount.
Broth: Homemade broth is best, but store-bought works too. Low-sodium is great for controlling taste, or vegetable broth can be used for a lighter version. Sometimes, I mix turkey and chicken broth to achieve a balanced flavor.
All-Purpose Flour: This is used to thicken the gravy. Gluten-free flour can be used for a gluten-free version, but make sure to follow the package instructions for best results. I prefer using a whisk to keep things lump-free!
Herbs: Fresh herbs provide great flavor. If you don’t have what’s listed, try using poultry seasoning as an alternative. I find that adding a little extra thyme brightens the gravy’s taste.
How Do You Make a Smooth Roux?
Making a roux is a vital step in achieving a smooth gravy without lumps. Here’s how to get it right:
- In a medium saucepan, melt butter and add the skimmed turkey fat together over medium heat.
- Add flour while whisking continuously to prevent any clumping. Cook for 2-3 minutes until it turns a light golden color.
- Make sure the roux is not browned, as this could affect the gravy’s taste and color.
A smooth roux is the secret to a rich and velvety gravy, so be patient and whisk well during this step!
Homestyle Turkey Gravy
Ingredients You’ll Need:
- 4 cups turkey drippings and pan juices (from roasted turkey)
- 4 cups turkey or chicken broth (preferably homemade or low sodium)
- 1/2 cup all-purpose flour
- 1/4 cup unsalted butter
- 1 teaspoon fresh thyme leaves (or 1/2 tsp dried thyme)
- 1/2 teaspoon fresh sage, finely chopped (or 1/4 tsp dried sage)
- Salt and freshly ground black pepper to taste
How Much Time Will You Need?
This recipe will take about 10 minutes to prepare and an additional 10-15 minutes to cook, making a total of around 20-25 minutes. It’s quick and rewarding, perfect for a delicious holiday meal!
Step-by-Step Instructions:
1. Prepare the Drippings:
After roasting your turkey, carefully pour the drippings into a measuring cup or bowl. Let it sit for a moment so the fat rises to the top. Skim off about 1/4 cup of the fat and set it aside, but don’t toss the rest of the drippings!
2. Make the Roux:
In a medium saucepan, add the reserved turkey fat and the butter over medium heat. Once melted, whisk in the flour to create a roux. Keep stirring for 2-3 minutes until it turns a light golden color and has a pleasant smell. Be careful not to let it brown!
3. Combine Drippings and Broth:
Gradually whisk the turkey drippings and the broth into your roux. This will help avoid lumps. Take your time with this step, and don’t rush!
4. Season the Gravy:
Add in the fresh thyme and sage, whisking continuously as the gravy heats up. Bring it to a gentle boil and then lower the heat, letting it simmer for 5-7 minutes. Stir occasionally until it thickens and can coat the back of a spoon nicely.
5. Final Seasoning:
Now it’s time to season! Add salt and freshly ground black pepper to taste. If you prefer an extra smooth gravy, you can strain it through a fine mesh sieve at this stage.
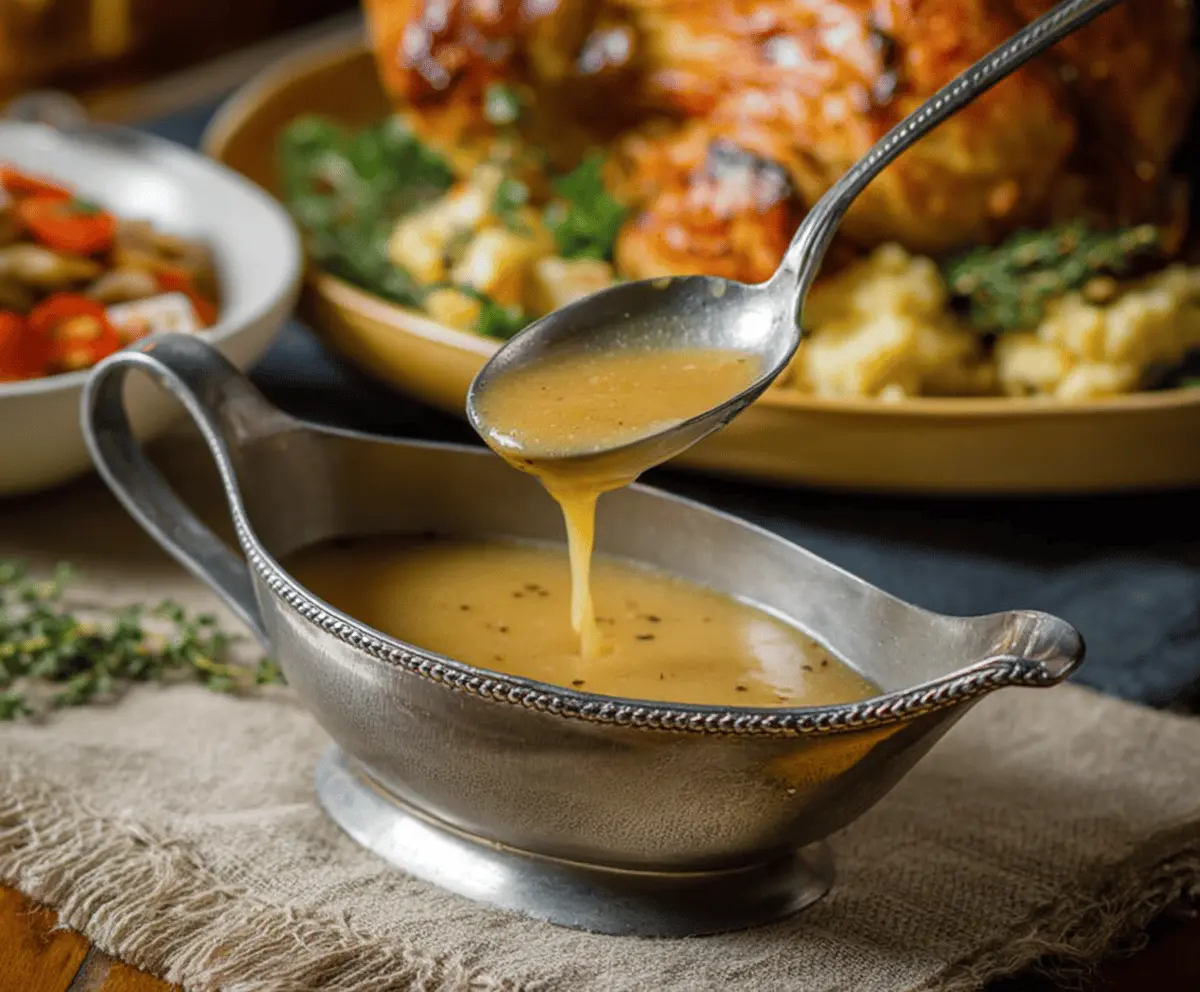
6. Serve and Enjoy:
Transfer the gravy to a gravy boat and serve it warm alongside your roasted turkey, mashed potatoes, and other favorite sides. Enjoy every delicious bite!
This rich and flavorful gravy is sure to become a staple at your holiday table!
Can I Use Store-Bought Broth Instead of Homemade?
Absolutely! Store-bought broth works just fine, especially if you choose a low-sodium option. It saves time and still delivers great flavor to your gravy.
What If I Don’t Have Enough Drippings?
No problem! If you don’t have enough turkey drippings, just supplement with additional broth. This way, you can maintain the necessary liquid for a delicious gravy.
How Can I Make This Gravy Gluten-Free?
To make gluten-free gravy, simply substitute all-purpose flour with a gluten-free flour blend or cornstarch. If using cornstarch, mix it with a little cold water to create a slurry before adding it to the sauce to thicken the gravy.
How Do I Store Leftover Gravy?
Store any leftover gravy in an airtight container in the fridge for up to 3 days. To reheat, gently warm it on the stove, adding a splash of broth or water if it’s too thick.