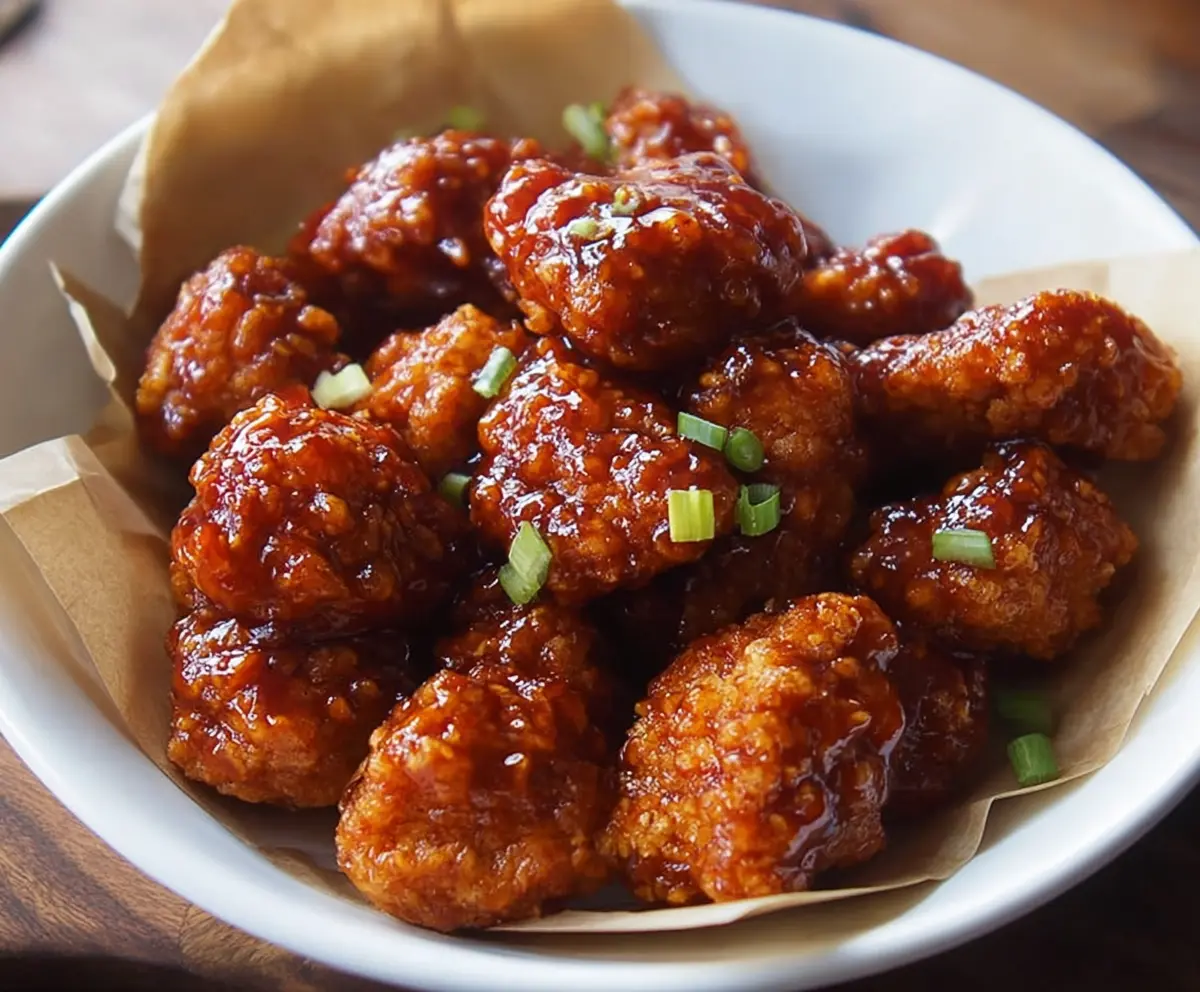
This Honey BBQ Popcorn Chicken is a fun and tasty dish that’s perfect for snacking or game night! It’s crunchy, sweet, and has just the right amount of BBQ flavor to keep you reaching for more.
Who doesn’t love popcorn chicken? Toss it in honey BBQ sauce, and you’ve got a winning combo. I love serving it with a side of ranch for dipping—yum!
Key Ingredients & Substitutions
Chicken: You can use chicken breasts or thighs depending on your preference. Thighs are juicier, while breasts are leaner. If you’re looking for a lighter option, use turkey or even tofu for a vegetarian version!
Buttermilk: If you don’t have buttermilk, mix 1 cup of milk with 1 tablespoon of vinegar or lemon juice and let it sit for 5 minutes. This creates a similar tangy flavor that helps tenderize the chicken.
Flour and Cornstarch: Both are used for coating. For a gluten-free option, substitute with a blend of gluten-free flour and cornstarch. Some people prefer using panko breadcrumbs for an extra crunch, too!
BBQ Sauce: Feel free to use your favorite store-bought BBQ sauce or make a homemade version. You can also switch it up by using teriyaki sauce or a spicy chili sauce for a different twist.
How Do You Achieve Extra Crispy Popcorn Chicken?
Getting that perfect crunch is all about the coating process! Here’s how to make sure your popcorn chicken is crispy:
- Use buttermilk to marinate the chicken for at least 30 minutes—this helps it stay juicy while adding flavor.
- When you coat the chicken, don’t rush! Make sure each piece is thoroughly covered in the flour mixture for a solid crunch.
- Double dredging by dipping the chicken back into the buttermilk and then the flour again really boosts the crispiness.
- Fry in batches to avoid crowding the pan. This helps maintain the oil temperature and ensures even cooking.
Enjoy your cooking and get ready for some delicious bites!
Honey BBQ Popcorn Chicken
Ingredients You’ll Need:
For the Chicken:
- 1 lb boneless, skinless chicken breasts or thighs, cut into bite-sized pieces
- 1 cup buttermilk
- 1 cup all-purpose flour
- 1/2 cup cornstarch
- 1 tsp garlic powder
- 1 tsp onion powder
- 1 tsp smoked paprika
- 1/2 tsp salt
- 1/2 tsp black pepper
- Vegetable oil, for frying
For the Honey BBQ Sauce:
- 1/2 cup BBQ sauce (your favorite brand or homemade)
- 2 tbsp honey
- 1 tbsp butter
- 1/2 tsp garlic powder (optional)
Garnish:
- Chopped green onions or chives (optional)
How Much Time Will You Need?
This recipe takes about 30 minutes to prepare and an additional 30 minutes for marinating. Cooking time will be approximately 15 minutes. So, all in all, set aside about 1 hour and 15 minutes to enjoy this delicious treat!
Step-by-Step Instructions:
1. Marinate the Chicken:
In a medium bowl, add the bite-sized chicken pieces and pour in the buttermilk. Ensure all pieces are covered. Cover the bowl with plastic wrap and let it marinate in the fridge for at least 30 minutes to 1 hour. This step is super important as it helps tenderize the chicken and keeps it juicy while cooking!
2. Prepare the Coating:
While your chicken is marinating, take a large bowl and mix together the flour, cornstarch, garlic powder, onion powder, smoked paprika, salt, and black pepper. This mix will create a deliciously crispy coating for your chicken!
3. Heat the Oil:
In a deep frying pan or deep fryer, heat the vegetable oil to 350°F (175°C). If you don’t have a thermometer, drop a small piece of bread in the oil; if it sizzles and turns golden brown in about 60 seconds, the oil is ready!
4. Dredge the Chicken:
Take the marinated chicken out of the buttermilk, letting any excess drip off. Then, coat each piece thoroughly in the flour mixture. For an extra crunch, you can double-dredge by quickly dipping the chicken back into the buttermilk, and then coating with the flour mixture again.
5. Fry the Chicken:
Carefully place the coated chicken pieces in the hot oil, cooking them in small batches. Fry each batch for about 4-6 minutes or until they are golden brown and cooked through. When done, use a slotted spoon to transfer the popcorn chicken to a paper towel-lined plate to drain any extra oil.
6. Make the Honey BBQ Sauce:
While the chicken is frying, prepare the sauce. In a small saucepan over low heat, mix together the BBQ sauce, honey, butter, and optional garlic powder. Stir until the butter has melted and everything is combined nicely. This will give your popcorn chicken a sweet and tangy flavor!
7. Toss & Serve:
Once all the chicken is fried, place it in a large bowl and pour the warm honey BBQ sauce over it. Toss gently until the chicken is evenly coated in the sauce. This step makes it extra delicious!
8. Garnish and Enjoy:
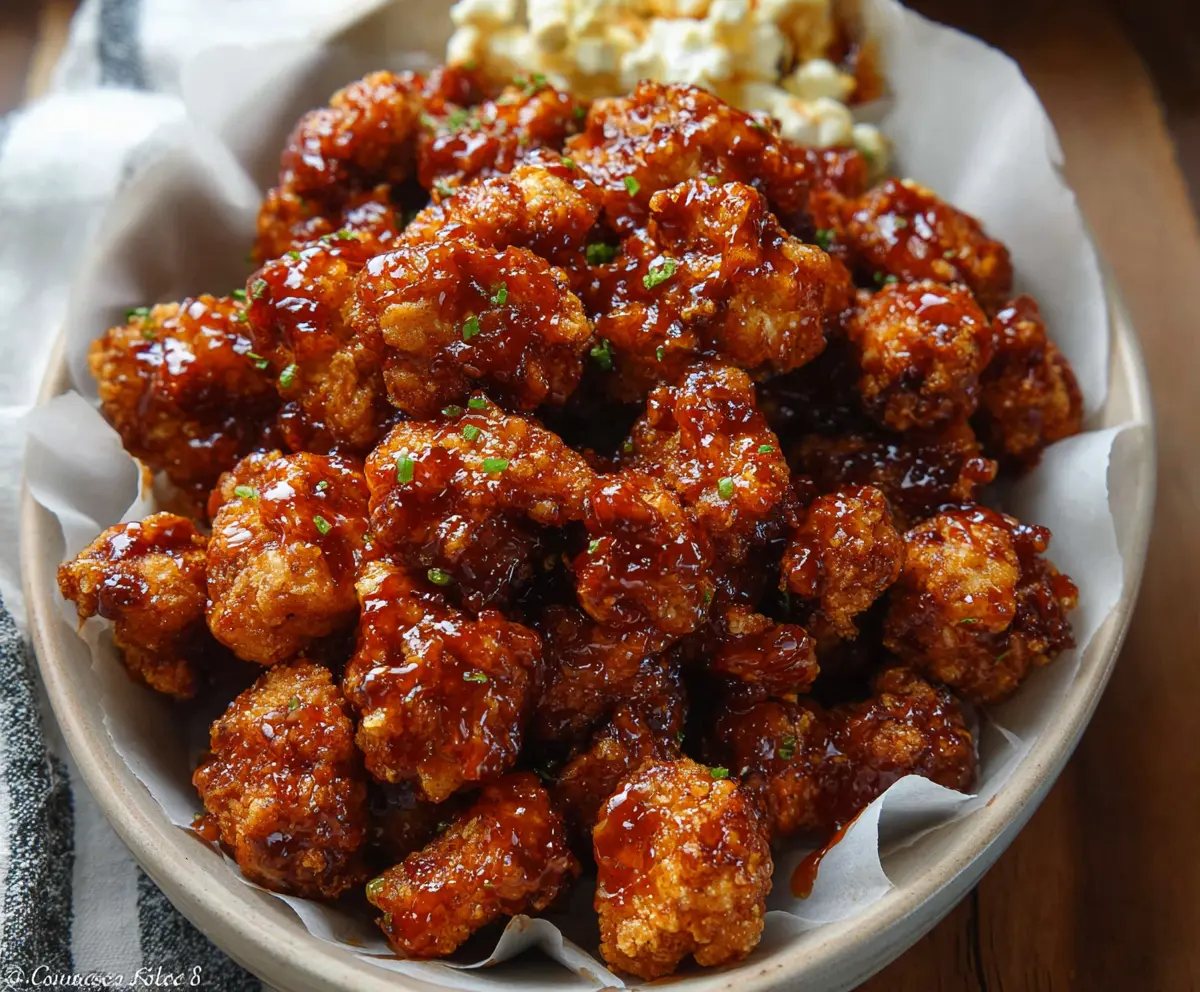
Serve your Honey BBQ Popcorn Chicken immediately, garnished with chopped green onions or chives if you like. It’s amazing on its own but also pairs perfectly with ranch or any other dipping sauce you enjoy!
Enjoy your crispy, juicy, and flavorful Honey BBQ Popcorn Chicken!
Can I Use Frozen Chicken in This Recipe?
Yes, but be sure to thaw the chicken completely before marinating. It’s best to thaw chicken in the refrigerator overnight or you can quickly defrost it in a sealed plastic bag submerged in cold water for about 1-2 hours.
How Can I Make This Recipe Gluten-Free?
To make this Honey BBQ Popcorn Chicken gluten-free, simply substitute the all-purpose flour with a gluten-free flour blend and ensure your BBQ sauce is also gluten-free. The cornstarch is already gluten-free, so it will work perfectly!
Can I Prepare the Chicken Ahead of Time?
Absolutely! You can marinate the chicken in buttermilk up to 24 hours in advance. Just keep it covered in the refrigerator. The longer it marinates, the more flavorful and tender it will be!
How Do I Store Leftovers?
Store any leftover popcorn chicken in an airtight container in the refrigerator for up to 3 days. To reheat, place it in the oven at 350°F (175°C) for 10-15 minutes to regain some of its crispiness, or microwave on low power if you don’t mind softer chicken.