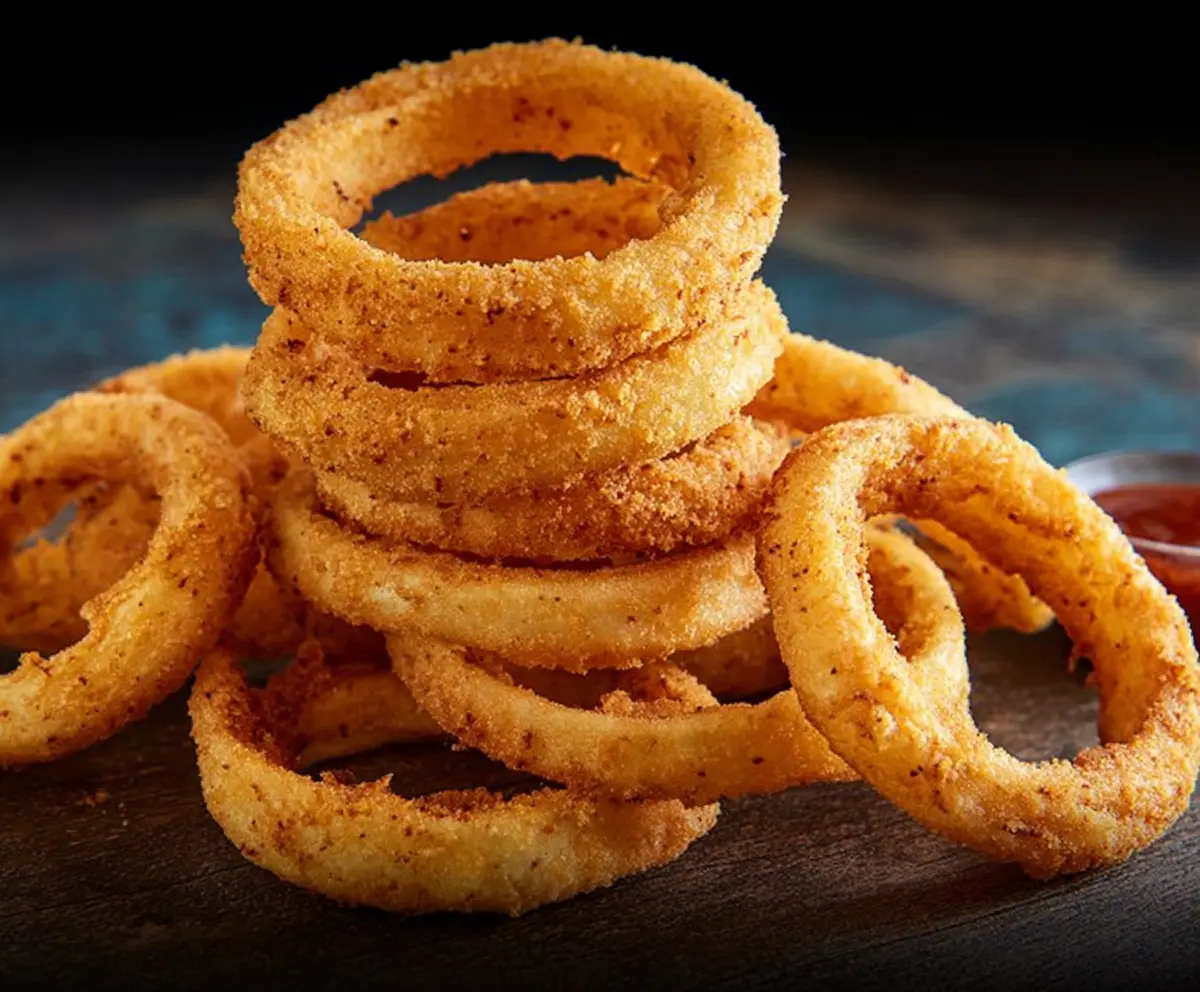
These crispy onion rings are the perfect crunchy snack! They are made by coating onion slices in a light batter and frying them until golden brown—yum!
I love munching on them while watching a movie or serving them at parties. Just be prepared for someone to steal a few—they’re that good! 😄
Making onion rings at home is a breeze! Just slice, dip, and fry. You can even spice them up with your favorite seasonings for extra flavor. Enjoy every bite!
Key Ingredients & Substitutions
Onions: White or yellow onions work best for onion rings. They have a nice balance of sweetness and flavor. If you want something milder, try using sweet onions like Vidalia or Walla Walla.
Panko Breadcrumbs: These give that perfect crunch. If you can’t find panko, traditional breadcrumbs will work, but the texture won’t be as crispy. You could also use crushed cornflakes for a fun twist!
Buttermilk: Buttermilk adds a nice tang and helps the batter stick. If you’re out of it, mix regular milk with a tablespoon of vinegar or lemon juice and let it sit for a few minutes.
Vegetable Oil: For frying, neutral oils like canola or sunflower work well, but peanut oil can add extra flavor if you’re feeling adventurous.
How Do I Get My Onion Rings Extra Crispy?
To achieve that perfect crunch, it’s all about the coating and frying technique. Here’s what to do:
- First, make sure to separate the onion rings completely after slicing. This helps them cook evenly.
- Use a three-step breading process: coat in seasoned flour, dip in the egg mixture, and finally coat with panko. Don’t rush—make sure they are well coated!
- Fry in small batches to prevent crowding in the oil. This keeps the heat consistent, leading to crispier results.
- Make sure your oil is hot enough (350°F/175°C) before adding the rings. If the oil isn’t hot, the breading will soak up oil and become greasy.
Allow the fried rings to drain on paper towels to keep them crispy before serving. Enjoy every bite!
Crispy Homemade Onion Rings
Ingredients:
- 2 large onions (white or yellow)
- 1 cup all-purpose flour
- 1 teaspoon baking powder
- 1 teaspoon salt
- 1/2 teaspoon black pepper
- 1/2 teaspoon paprika (optional, for flavor)
- 1 cup buttermilk (or regular milk with 1 tablespoon vinegar)
- 1 large egg
- 1 1/2 cups panko breadcrumbs or cornmeal (for extra crunch)
- Vegetable oil, for frying
Time Estimate:
This recipe takes about 15 minutes to prepare and 15-20 minutes to fry, making a total time of around 30-35 minutes before you can enjoy your crunchy onion rings!
Step-by-Step Instructions:
1. Prepare the Onions:
Start by peeling the onions and slicing them into rings about 1/4 to 1/2 inch thick. Gently separate the rings and place them aside. A tip: use a sharp knife to make clean cuts and avoid tearing the onion layers.
2. Make the Flour Mixture:
In a medium bowl, whisk together the all-purpose flour, baking powder, salt, black pepper, and paprika if you choose to use it. This mixture will give a nice flavor to your onion rings!
3. Prepare the Wet Mixture:
In another bowl, combine the buttermilk and the egg, whisking until they are well blended. This will help the batter stick to the onion rings.
4. Set Up Your Breading Station:
Place the panko breadcrumbs or cornmeal in a shallow dish. This will be your final coating before frying. Having everything ready will make the process easier and quicker!
5. Heat the Oil:
In a deep pan or fryer, heat about 2 inches of vegetable oil to 350°F (175°C). You want the oil to be hot enough for frying without burning. A kitchen thermometer is helpful here, but you can also drop a small piece of leftover batter into the oil to check if it sizzles!
6. Bread the Onion Rings:
Now it’s time to coat the onion rings! First, dip each ring into the flour mixture, shaking off any excess flour. Next, coat it in the buttermilk mixture, and finally, roll it in the panko breadcrumbs until well covered. Make sure each ring has an even coating.
7. Fry the Onion Rings:
Carefully drop a few onion rings into the hot oil at a time. Fry them for about 2-3 minutes on each side until they are golden brown and crispy. Avoid crowding the pan to ensure they cook evenly!
8. Drain and Cool:
Once fried, use a slotted spoon to remove the onion rings from the oil and place them on paper towels to drain any excess oil. This will keep them nice and crispy!
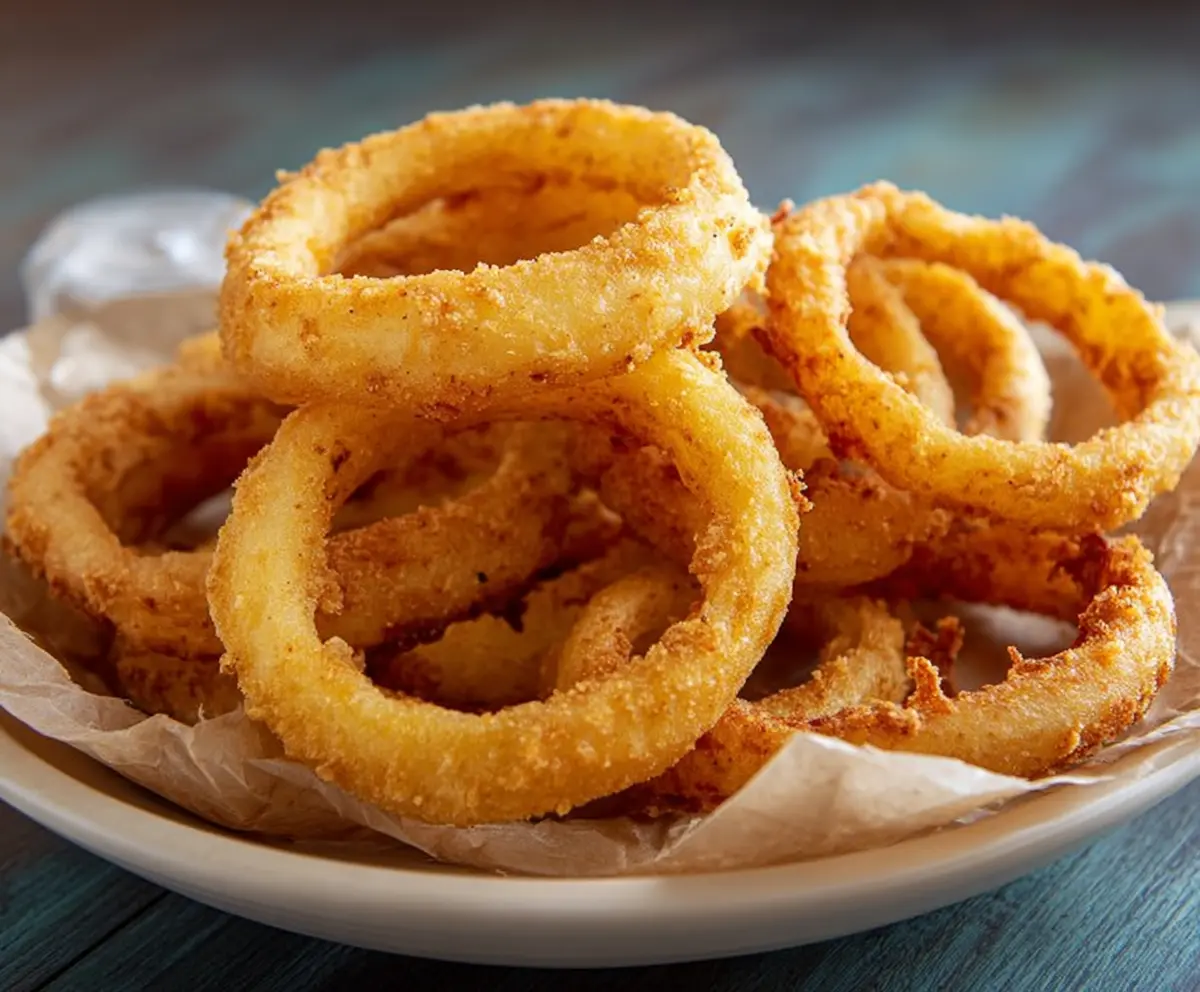
9. Serve and Enjoy:
Serve your crispy onion rings hot with ketchup, ranch dip, or your favorite dipping sauce. Enjoy this delicious snack with family and friends!
Bon appétit!
Can I Use Any Type of Onion for This Recipe?
Absolutely! While white and yellow onions are commonly used for their balance of sweetness and flavor, you can also experiment with sweet onions like Vidalia or even red onions for a slightly different taste!
How Can I Make These Onion Rings Gluten-Free?
To make gluten-free onion rings, simply replace the all-purpose flour with a gluten-free flour blend and ensure your breadcrumbs are gluten-free as well. The texture may vary slightly, but they’ll still be delicious!
What Should I Do If I Don’t Have Buttermilk?
No worries! You can easily make a buttermilk substitute by mixing one cup of regular milk with one tablespoon of vinegar or lemon juice. Let it sit for about 5-10 minutes until it thickens a bit before using it in the recipe.
How Do I Store Leftover Onion Rings?
To store the leftovers, place them in an airtight container and refrigerate for up to 3 days. When reheating, use an oven or air fryer to help them regain their crispiness instead of the microwave, which may make them soggy.