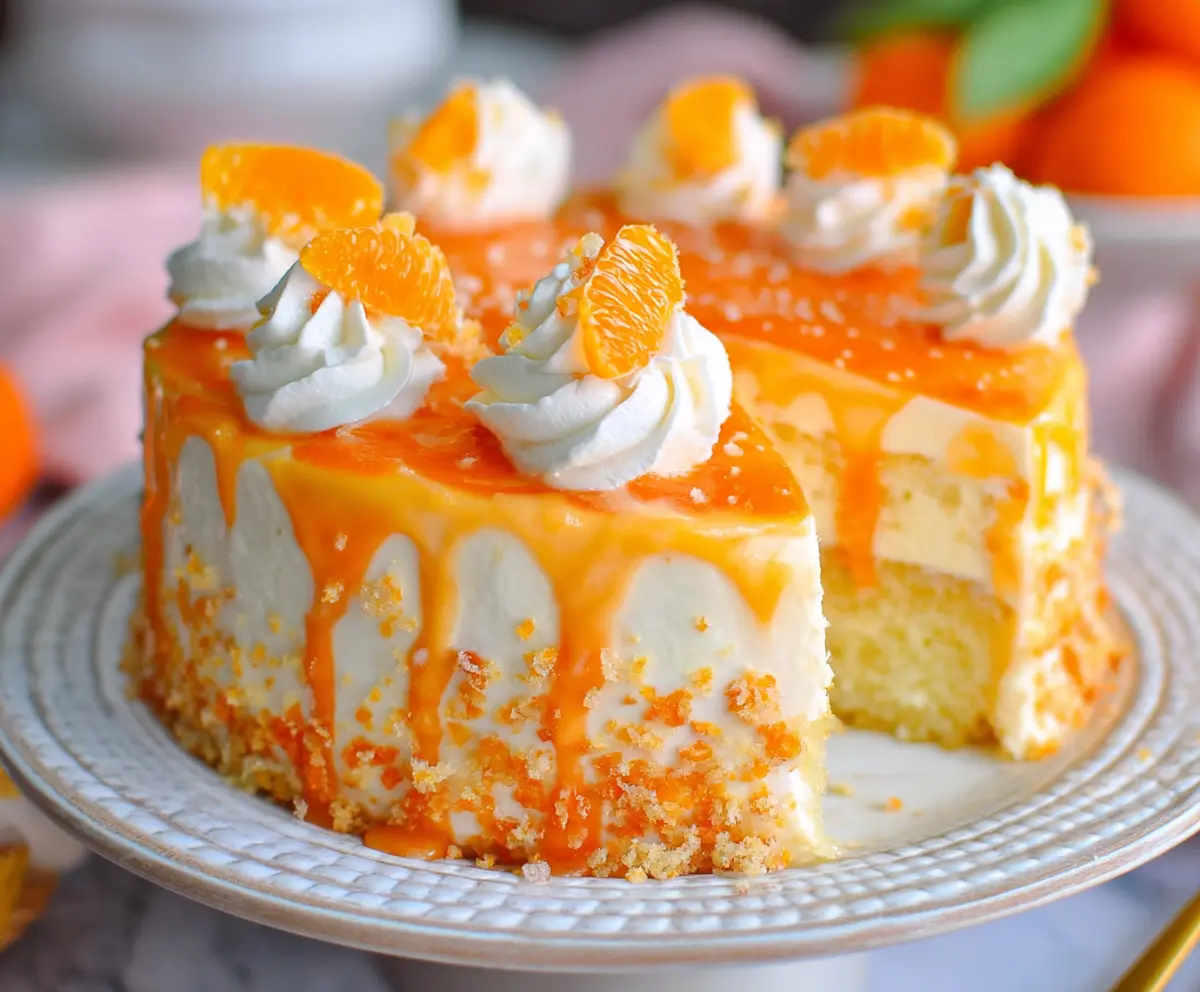
This Orange Creamsicle Cake is a sunny delight that combines soft cake with creamy orange flavor. It’s like a summer treat you can enjoy any time!
Don’t be surprised if you find yourself daydreaming about those orange popsicles from childhood while you bake this! I love serving it with a scoop of ice cream on top—yum!
Key Ingredients & Substitutions
All-Purpose Flour: This is the base for the cake. If you’re looking for a gluten-free option, you can use a gluten-free baking blend. Just ensure it’s a one-to-one swap for the best results.
Butter: Unsalted butter is recommended for better flavor control. If you need a dairy-free option, coconut oil or a vegan butter substitute works well!
Eggs: Eggs add richness and structure. If vegan or egg-free, consider using 1/4 cup unsweetened applesauce or a flax egg (1 tbsp ground flaxseed + 2.5 tbsp water). This will help with moisture.
Orange Zest and Juice: Fresh zest and juice bring vibrant flavor. If fresh oranges aren’t available, bottled juice can work as a substitute, but fresh is always best for the zest.
Cream Cheese: For the frosting, full-fat cream cheese gives the best flavor. I prefer using it, but you can use a dairy-free cream cheese if needed.
How Do You Achieve the Perfect Cake Texture?
To make a fluffy and tender cake, pay attention to the mixing process. Start by creaming together the butter and sugar until it’s light and airy. This incorporates air pockets which help the cake rise!
- Always beat in your eggs one at a time to incorporate them fully.
- When adding the flour and milk mixtures, mix just until combined to avoid a dense cake. Overmixing activates the gluten in the flour.
- Divide the batter evenly between the pans to ensure even baking.
Lastly, allow your cakes to cool before frosting – this prevents the frosting from melting off!
How to Make Orange Creamsicle Cake?
Ingredients You’ll Need:
For the Cake:
- 2 ½ cups all-purpose flour
- 2 ½ tsp baking powder
- ½ tsp salt
- 1 cup unsalted butter, softened
- 1 ¾ cups granulated sugar
- 4 large eggs
- 1 ½ tsp vanilla extract
- 1 tbsp orange zest (from about 2 oranges)
- 1 cup whole milk
- ¼ cup fresh orange juice
For the Orange Cream Cheese Frosting:
- 8 oz cream cheese, softened
- ½ cup unsalted butter, softened
- 4 cups powdered sugar, sifted
- 1 tsp vanilla extract
- 2 tbsp fresh orange juice
- 1 tsp orange zest
For the Orange Glaze:
- ½ cup fresh orange juice
- ½ cup granulated sugar
- 1 tbsp cornstarch
- 2 tbsp water
For Decoration:
- Whipped cream (for piping)
- Mandarin orange segments or small orange slices
- Crushed vanilla wafer cookies or cake crumbs (optional)
How Much Time Will You Need?
This delightful cake takes about 30 minutes to prepare and 25-30 minutes to bake. After baking, allow the cake to cool and then chill for at least 1 hour before serving. Expect to spend around 2-3 hours from start to finish, including all the prep, baking, and chilling times.
Step-by-Step Instructions:
1. Prepare the Cake:
First, preheat your oven to 350°F (175°C). Grease and flour two 8-inch round cake pans to prevent sticking. In a bowl, sift together the flour, baking powder, and salt; this will help the cake rise evenly, so set it aside. In a large bowl, beat the softened butter and granulated sugar with a mixer until it’s light and fluffy. This will take about 3-5 minutes. Next, add the eggs one at a time, mixing well after each addition to ensure everything is well combined. Then, add the vanilla extract and orange zest, mixing just until incorporated.
Now, you’ll alternate adding the flour mixture and the milk mixed with fresh orange juice. Start with the flour mixture and end with it, mixing until just combined; don’t overmix! Once your batter is ready, divide it evenly between the two prepared pans. Bake for 25-30 minutes, or until a toothpick inserted in the center comes out clean. After baking, let the cakes cool in the pans for about 10 minutes before transferring them to a wire rack to cool completely.
2. Make the Orange Cream Cheese Frosting:
While your cakes are cooling, make the frosting! In a bowl, beat the softened cream cheese and butter together until smooth and creamy. Gradually add the powdered sugar, mixing until it’s fluffy and well combined. Finally, mix in the vanilla extract, fresh orange juice, and orange zest until everything is well blended. Set this aside for later.
3. Prepare the Orange Glaze:
Next, you’ll create the orange glaze. In a small saucepan, whisk together the fresh orange juice, granulated sugar, cornstarch, and water. Cook this mixture over medium heat, stirring constantly. You’ll know it’s ready when it thickens and becomes translucent. Once thickened, remove it from the heat and let it cool slightly.
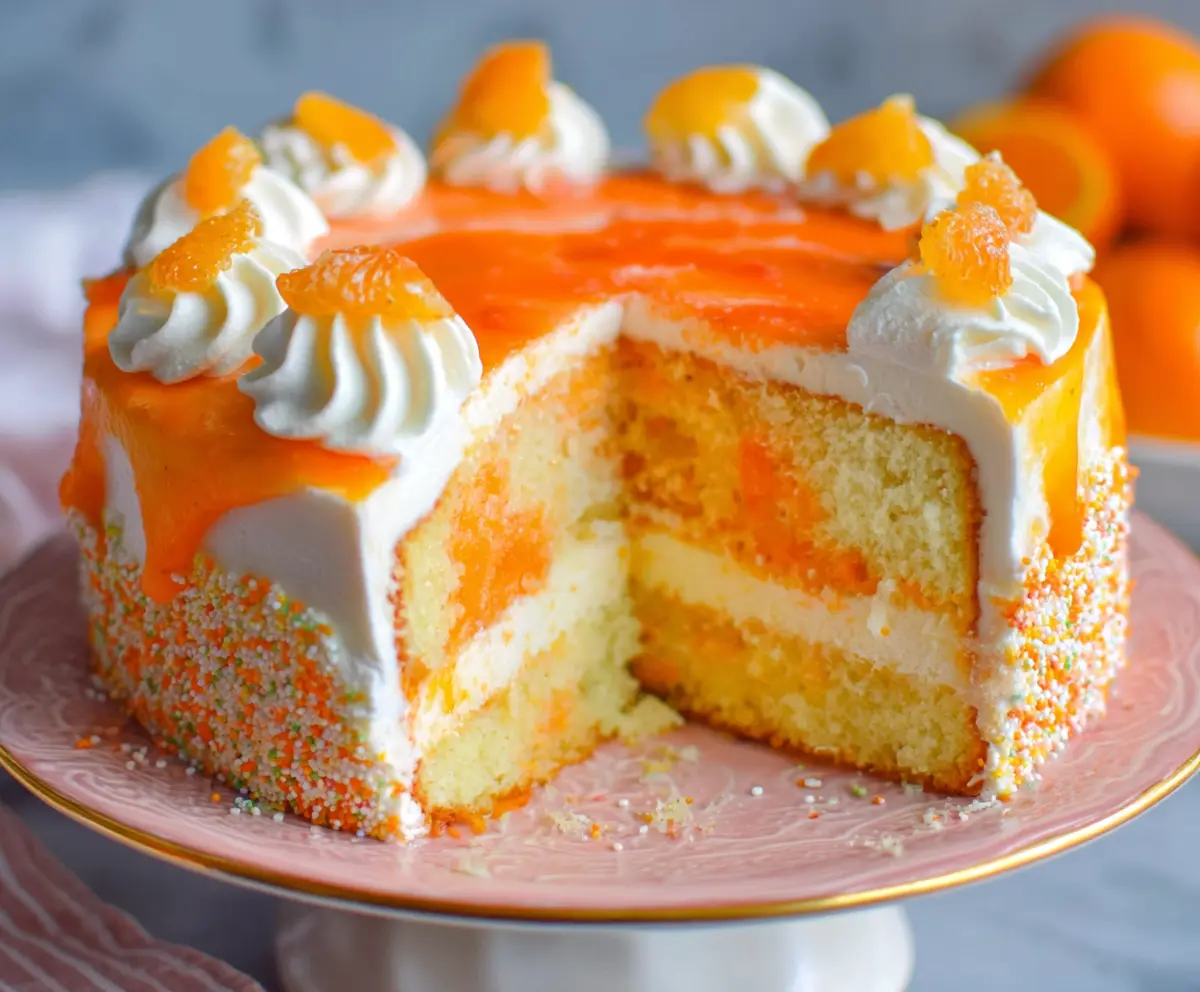
4. Assemble the Cake:
It’s time to put everything together! Place one of the cake layers on a serving plate. Spread a generous layer of orange cream cheese frosting over the top. Then, carefully place the second cake layer on top. Frost the entire cake with the remaining cream cheese frosting, smoothing it out nicely. Finally, pour the orange glaze over the top, letting it cascade down the sides for a beautiful finish.
5. Decorate:
Get creative with your decorations! Pipe swirls of whipped cream on top of the cake, and place mandarin orange segments or small orange slices on each swirl. If you like, sprinkle crushed vanilla wafer cookies or cake crumbs around the sides for added texture and a pop of flavor.
6. Chill and Serve:
Once decorated, chill the cake in the refrigerator for at least 1 hour to set everything nicely. When ready to serve, slice the cake and enjoy the creamy, citrusy flavors reminiscent of a refreshing orange creamsicle. Perfect for any celebration or just as a treat for yourself!
Can I Use a Different Kind of Juice?
Yes! If you prefer a different flavor, you can substitute fresh orange juice with other fruit juices like lemon or tangerine. Just be aware that this will change the overall taste of the cake.
Can I Make This Cake Ahead of Time?
Absolutely! You can make the cake layers and frosting a day in advance. Store the cooled cake layers wrapped in plastic wrap at room temperature, and keep the frosting in the refrigerator. Assemble the cake the day you plan to serve it for the best freshness.
Is There a Gluten-Free Option for This Cake?
Yes! You can use a gluten-free flour blend instead of all-purpose flour. Make sure to choose a blend designed for baking for the best results.
How Should I Store Leftovers?
Store any leftover cake in an airtight container in the fridge for up to 3 days. Make sure to keep layers separated with parchment paper if they’re stacked, to maintain the frosting and glaze.