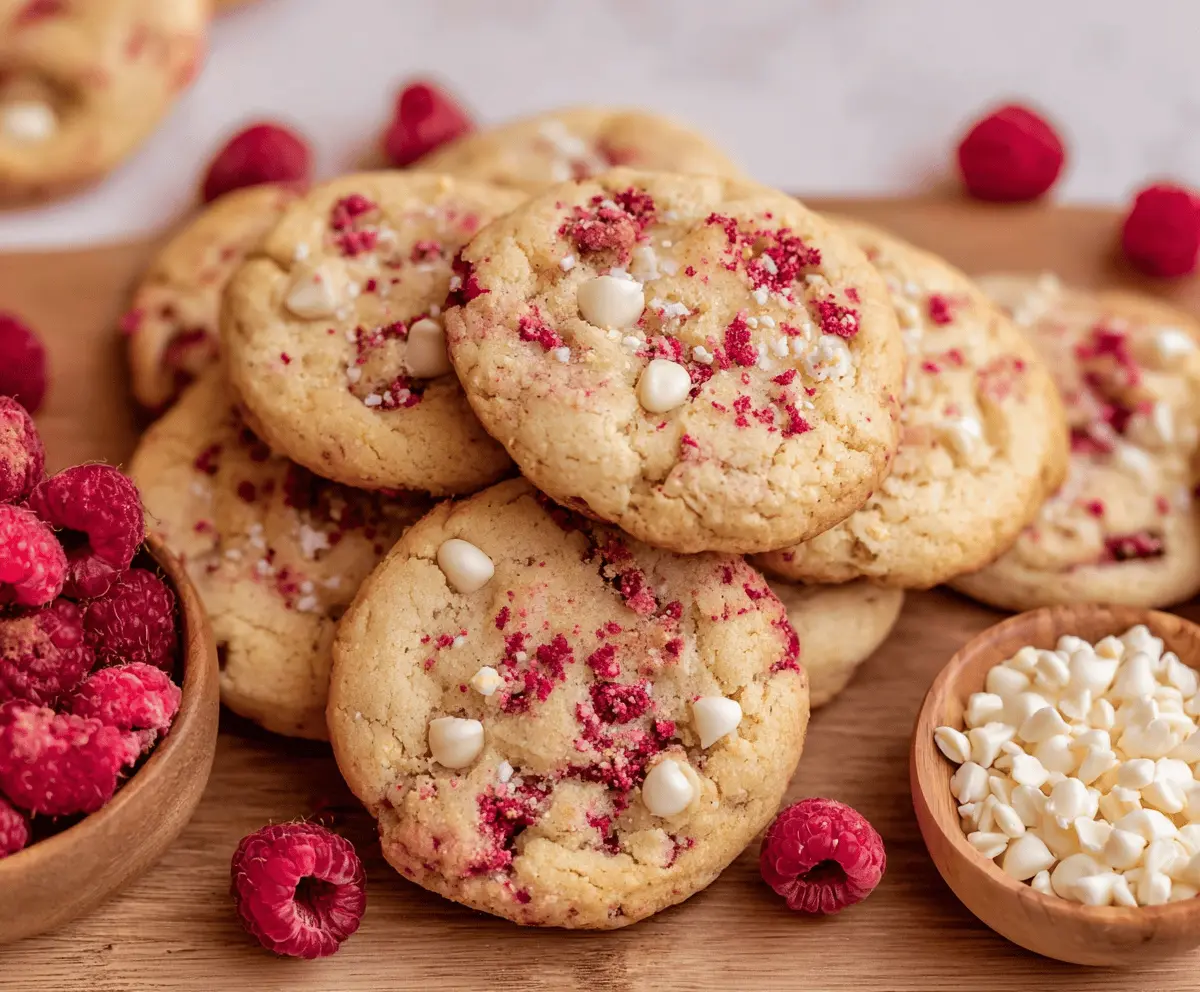
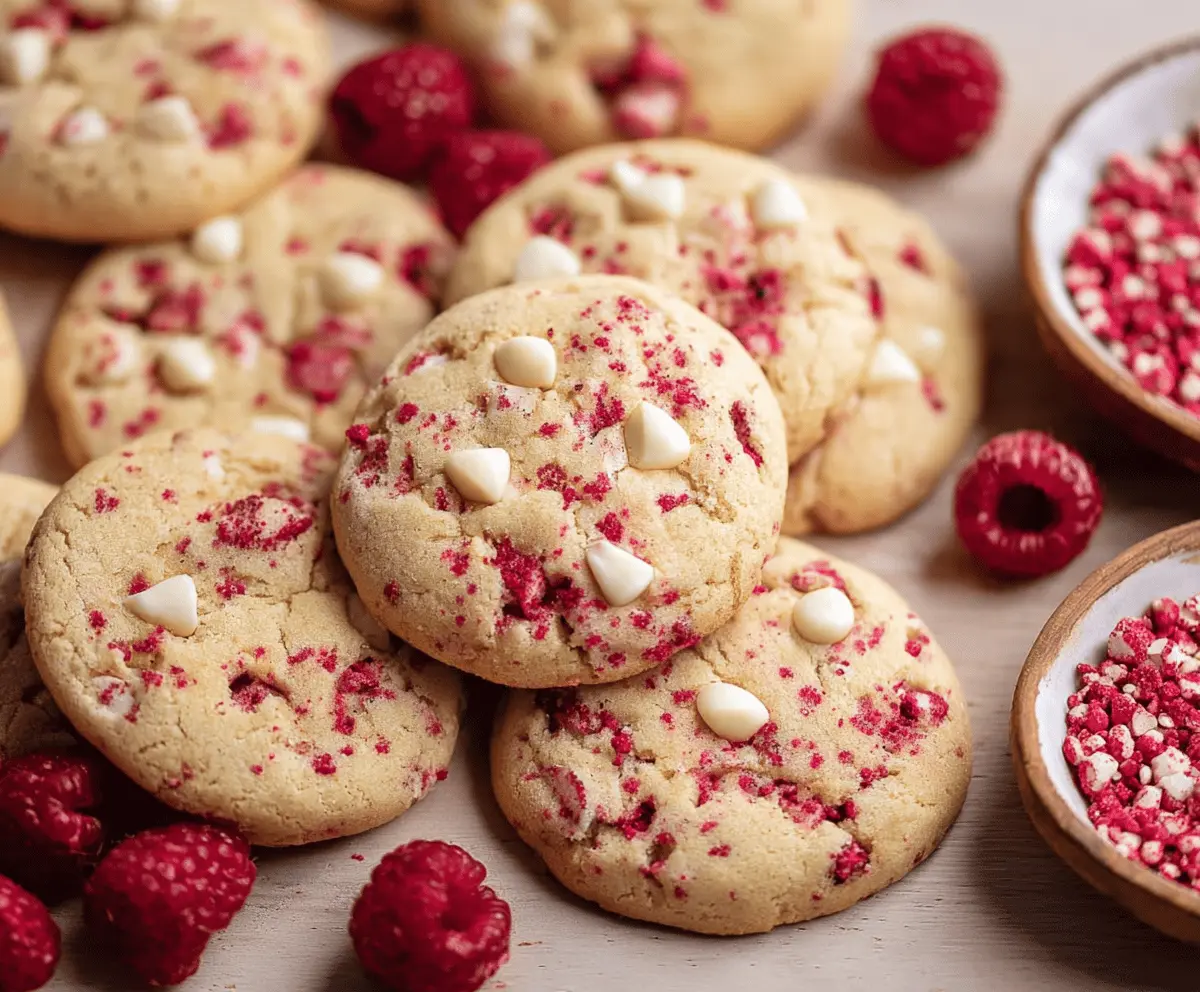
These Raspberry Cheesecake Cookies are little bites of heaven! Soft and chewy, they blend the flavors of sweet raspberries and creamy cheesecake in every cookie.
Imagine enjoying a cookie that tastes like dessert and is fun to make! I love how the bright raspberry bits pop against the creaminess. Perfect with a cup of tea or coffee!
Key Ingredients & Substitutions
All-Purpose Flour: This is the foundation of your cookies. If you need a gluten-free option, you can use a 1:1 gluten-free flour blend. Just be sure it’s suitable for baking!
Cream Cheese: Essential for that cheesecake flavor! You can swap it out for Neufchâtel cheese for a lighter option. You could also use vegan cream cheese for a dairy-free version.
White Chocolate Chips: They add sweetness and richness. If you’re not a fan, try dark chocolate chips or even semi-sweet chocolate for a different flavor profile.
Freeze-Dried Raspberries: These provide a burst of raspberry flavor. If they aren’t available, fresh raspberries can work, but they might make the dough a little wetter. Just fold them in gently!
How Do I Keep My Cookies Soft and Chewy?
Getting that perfect texture in cookies can be tricky. To keep your Raspberry Cheesecake Cookies soft and chewy, pay attention to a few key steps:
- Don’t overmix the dough. Mix just until combined to avoid tough cookies.
- Start with softened butter and cream cheese. This helps the mixture become airy and fluffy, leading to softer cookies.
- Don’t overbake! Keep an eye on them; you want them barely set in the middle when you take them out.
- Let them cool on the baking sheet for a bit before moving them to a wire rack. This helps them firm up without drying out.
By following these tips, your cookies will come out soft, chewy, and utterly delicious—perfect for any dessert lover!
How to Make Delicious Raspberry Cheesecake Cookies
Ingredients You’ll Need:
For the Cookies:
- 2 ½ cups all-purpose flour
- ½ teaspoon baking soda
- ¼ teaspoon salt
- ½ cup unsalted butter, softened
- 8 ounces cream cheese, softened
- 1 cup granulated sugar
- ½ cup brown sugar, packed
- 1 large egg
- 1 teaspoon vanilla extract
- 1 cup white chocolate chips
- ½ cup freeze-dried raspberries, crushed (or fresh raspberries, gently folded in)
How Much Time Will You Need?
This recipe is pretty quick! You’ll spend about 15 minutes preparing the cookie dough, plus around 10-12 minutes baking time. After that, let the cookies cool for about 5 minutes on the baking sheet before transferring them to a wire rack. In total, plan for about 30 minutes before you can enjoy these treats!
Step-by-Step Instructions:
1. Preheat the Oven:
Start by preheating your oven to 350°F (175°C). Line a baking sheet with parchment paper to prevent sticking and make clean-up easier!
2. Mix the Dry Ingredients:
In a medium bowl, whisk together 2 ½ cups of all-purpose flour, ½ teaspoon of baking soda, and ¼ teaspoon of salt. Set this mixture aside as it will help keep our cookies fluffy.
3. Cream Butter and Cream Cheese:
In a larger bowl, beat together ½ cup of softened unsalted butter and 8 ounces of softened cream cheese. Mix until the mixture is smooth and creamy. This is where the magic happens for that cheesecake flavor!
4. Add the Sugars:
Next, add in 1 cup of granulated sugar and ½ cup of packed brown sugar. Beat this mixture until it is light and fluffy, which should take a couple of minutes. This helps to create a nice texture for the cookies.
5. Incorporate Egg and Vanilla:
Add 1 large egg and 1 teaspoon of vanilla extract to the mixture. Mix until everything is well combined.
6. Combine Wet and Dry Ingredients:
Gradually add the dry ingredient mixture to the wet ingredients. Stir just until everything is combined. Be careful not to overmix, as we want soft cookies!
7. Fold in the Goodies:
Gently fold in 1 cup of white chocolate chips and ½ cup of crushed freeze-dried raspberries. If you decide to use fresh raspberries, fold those in carefully to avoid breaking them up too much.
8. Scoop the Dough:
Scoop the dough into tablespoon-sized balls and place them about 2 inches apart on your prepared baking sheet. This gives them room to spread while baking.
9. Decorate (Optional):
If you like, press a few extra white chocolate chips and some freeze-dried raspberry pieces on top of each cookie for decoration before baking!
10. Bake the Cookies:
Place the baking sheet in the oven and bake for 10-12 minutes. You want to see lightly golden edges while the centers still look a bit soft. This means they will stay chewy!
11. Cooling Time:
Once baked, remove the cookies from the oven and let them cool on the baking sheet for about 5 minutes. Then, gently transfer them to a wire rack to cool completely.
12. Enjoy!
Now that your Raspberry Cheesecake Cookies are ready, grab a cookie (or two!) and enjoy them with a warm cup of tea or milk. They’re deliciously soft and packed with flavor!
Can I Use Fresh Raspberries Instead of Freeze-Dried?
Yes, you can use fresh raspberries! Just be sure to gently fold them into the dough to avoid smashing them. Keep in mind that fresh raspberries may add a bit more moisture to the cookies, so be cautious with the mixing to maintain the right texture.
How Long Do the Cookies Last?
These Raspberry Cheesecake Cookies can be stored in an airtight container at room temperature for up to 3 days. For longer storage, consider freezing them! Just make sure they’re completely cooled and then freeze in a single layer before transferring to a freezer bag or container.
Can I Substitute the Cream Cheese?
Absolutely! You can replace cream cheese with Neufchâtel cheese for a lighter option. If you’re looking for a dairy-free alternative, vegan cream cheese works well too!
How Do I Make These Cookies Chewy?
To keep your cookies chewy, avoid overmixing the dough once you add the dry ingredients. Also, be sure not to overbake them; they should look slightly underbaked in the center when you take them out of the oven.