
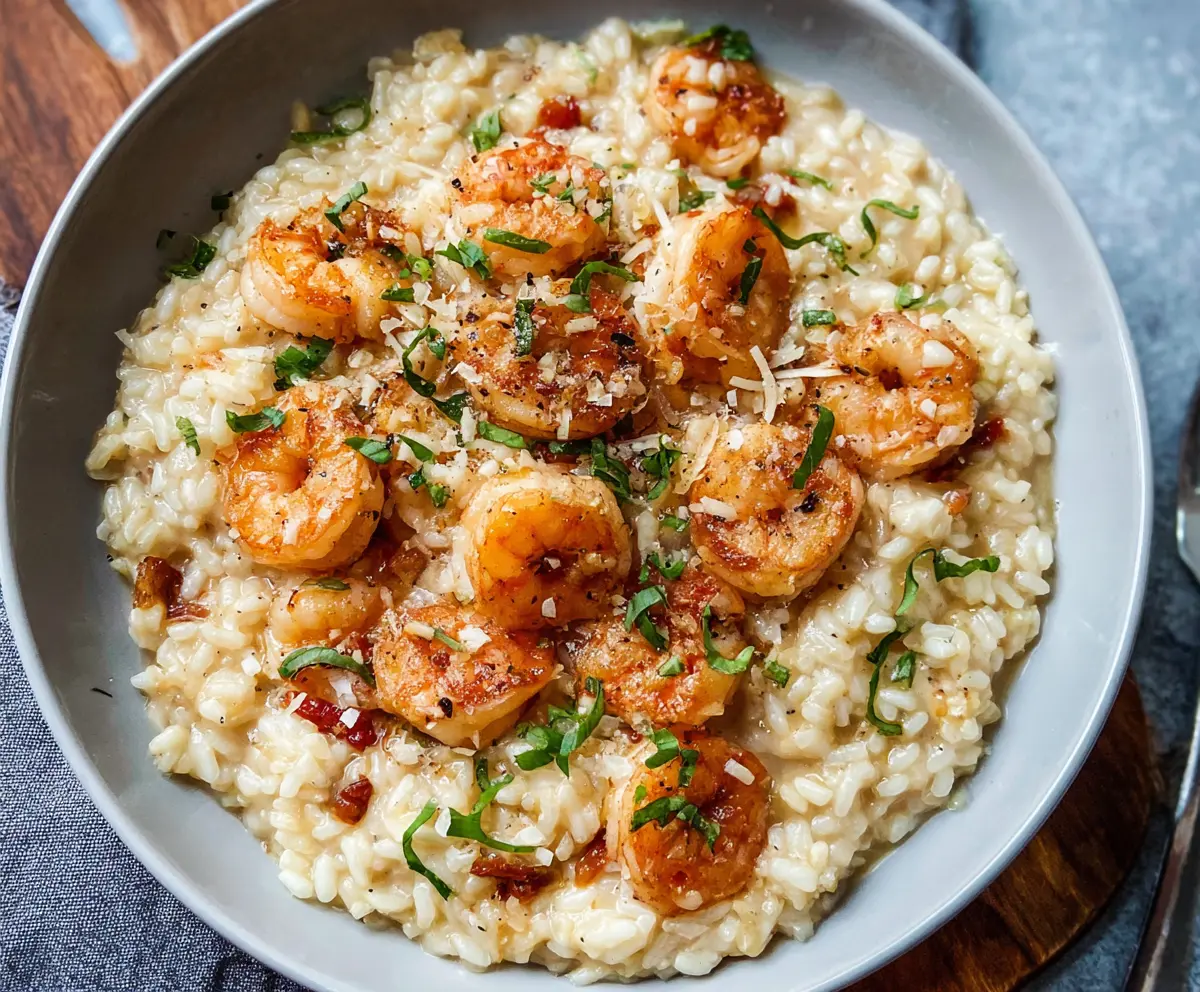
This creamy shrimp risotto is a comforting dish that’s perfect for any occasion! With fresh shrimp and creamy rice, it’s both tasty and filling.
I love how the rice gets so creamy as it cooks, and the shrimp adds a nice touch of sweetness. It’s like a warm hug on a plate! Plus, it’s fun to stir away while it cooks! 😊
Key Ingredients & Substitutions
Shrimp: Fresh or frozen shrimp work well. I often go for large shrimp because they stay juicy while cooking. If you’re not a shrimp lover, try diced chicken or sautéed mushrooms for a different protein option.
Arborio Rice: This specific rice is key to achieving the creamy texture of risotto. If you can’t find Arborio, you can use Carnaroli or Vialone Nano. For a gluten-free option, you could use quinoa, but the texture will be different.
Broth: I prefer chicken broth for extra flavor, but vegetable broth is just as good. Homemade stock is fantastic, but store-bought works well in a pinch too. Remember to warm it up, so it doesn’t cool down the cooking process.
Parmesan Cheese: Freshly grated Parmesan gives the best flavor! If you’re looking for a substitute, Pecorino Romano adds a sharper taste, while nutritional yeast can work for a dairy-free option.
How Do You Get That Creamy Risotto Texture?
Cooking risotto is all about the right technique. The key here is patience and constant stirring. Here’s how you can achieve that perfect creaminess:
- Start by sautéing the onions and garlic in olive oil and butter, allowing the flavors to meld before adding the rice.
- When you add the Arborio rice, toast it for a couple of minutes. This step enhances flavor.
- Add the wine and let it mostly absorb before gradually incorporating warmed broth—one ladle at a time.
- Keep the rice moving! Stirring helps release the starches, which creates the creamy texture you want.
- Finally, finish with butter and Parmesan to enhance richness.
Trust me, the effort is totally worth it for a delicious, creamy risotto! Enjoy the process and savor the flavor! 😊
How to Make Delicious Shrimp Risotto
Ingredients You’ll Need:
For the Risotto:
- 1 lb large shrimp, peeled and deveined
- 1 1/2 cups Arborio rice
- 4 cups chicken or vegetable broth, warmed
- 1/2 cup dry white wine
- 2 tbsp olive oil
- 3 tbsp butter, divided
- 1 small onion, finely chopped
- 2 cloves garlic, minced
- 1/2 cup grated Parmesan cheese
- 1/2 cup diced tomatoes (optional)
- Salt and black pepper to taste
- Fresh basil leaves, thinly sliced (for garnish)
- Lemon wedges (optional, for serving)
How Much Time Will You Need?
This recipe requires about 10 minutes of prep time and around 30 minutes of cooking time. In total, you’ll have a delicious shrimp risotto ready in about 40 minutes. Easy peasy!
Step-by-Step Instructions:
1. Cook the Shrimp:
Start by heating 1 tablespoon of olive oil and 1 tablespoon of butter in a large skillet over medium heat. Add the shrimp to the skillet, seasoning them with salt, pepper, and a sprinkle of dried herbs if you have some on hand. Cook for 2-3 minutes on each side until they turn pink and opaque, then remove them from the skillet and set aside. Don’t forget those tasty shrimp juices left in the pan!
2. Sauté Onion and Garlic:
In the same skillet, add the remaining olive oil and butter. Toss in the finely chopped onion and minced garlic, and sauté for about 3-4 minutes, or until the onion is translucent and the garlic is fragrant. This is where the magic begins!
3. Toast the Rice:
Add the Arborio rice to the skillet and stir continuously for about 2 minutes. This toasting step enhances the flavor and helps the rice absorb the liquids better.
4. Add the Wine:
Pour in the dry white wine and cook, stirring often, until most of the liquid is absorbed. This step adds depth to the dish, so don’t rush it!
5. Stir in the Broth:
Now, it’s time for the broth! Begin adding the warmed chicken or vegetable broth one ladle at a time, stirring constantly. Wait until the broth is almost fully absorbed before adding the next ladle. Keep this up until the rice is creamy and tender but still slightly firm to the bite (about 18-20 minutes).
6. Add Tomatoes (optional):
If you’re using diced tomatoes, stir them in about halfway through the cooking process. They’ll add a nice touch of color and flavor!
7. Finish with Cheese:
Once the rice is cooked to perfection, stir in grated Parmesan cheese. Mix it in well, and season with additional salt and pepper to taste. It should be creamy and delicious!
8. Fold in the Shrimp:
Gently fold the cooked shrimp back into the risotto, allowing them to warm through. Your kitchen should smell incredible by now!
9. Serve and Garnish:
Serve your shrimp risotto immediately, garnished with fresh basil leaves and lemon wedges if desired. It’s a beautiful presentation and tastes even better!
Enjoy this rich, creamy shrimp risotto that’s bursting with incredible flavor. Perfect for a cozy dinner at home! 🍤✨
Can I Use Frozen Shrimp for This Recipe?
Absolutely! Just make sure to thaw the shrimp completely before adding them to the risotto. You can thaw them overnight in the fridge or quickly in a sealed bag submerged in cold water.
How Do I Store Leftover Risotto?
To store leftovers, place the risotto in an airtight container and refrigerate for up to 3 days. When you’re ready to enjoy again, you can reheat it on the stove with a splash of broth or water to bring back the creaminess.
Can I Make This Risotto in Advance?
While risotto is best fresh, you can prepare the base (without the shrimp) ahead of time, refrigerate it, and then finish it off with the shrimp when you’re ready to serve. It only takes a few extra minutes!
What Can I Substitute for Arborio Rice?
If you can’t find Arborio rice, you can use Carnaroli or Vialone Nano, both of which are good substitutes. For a different texture, try using farro or even quinoa, but keep in mind the cooking times and methods may vary.