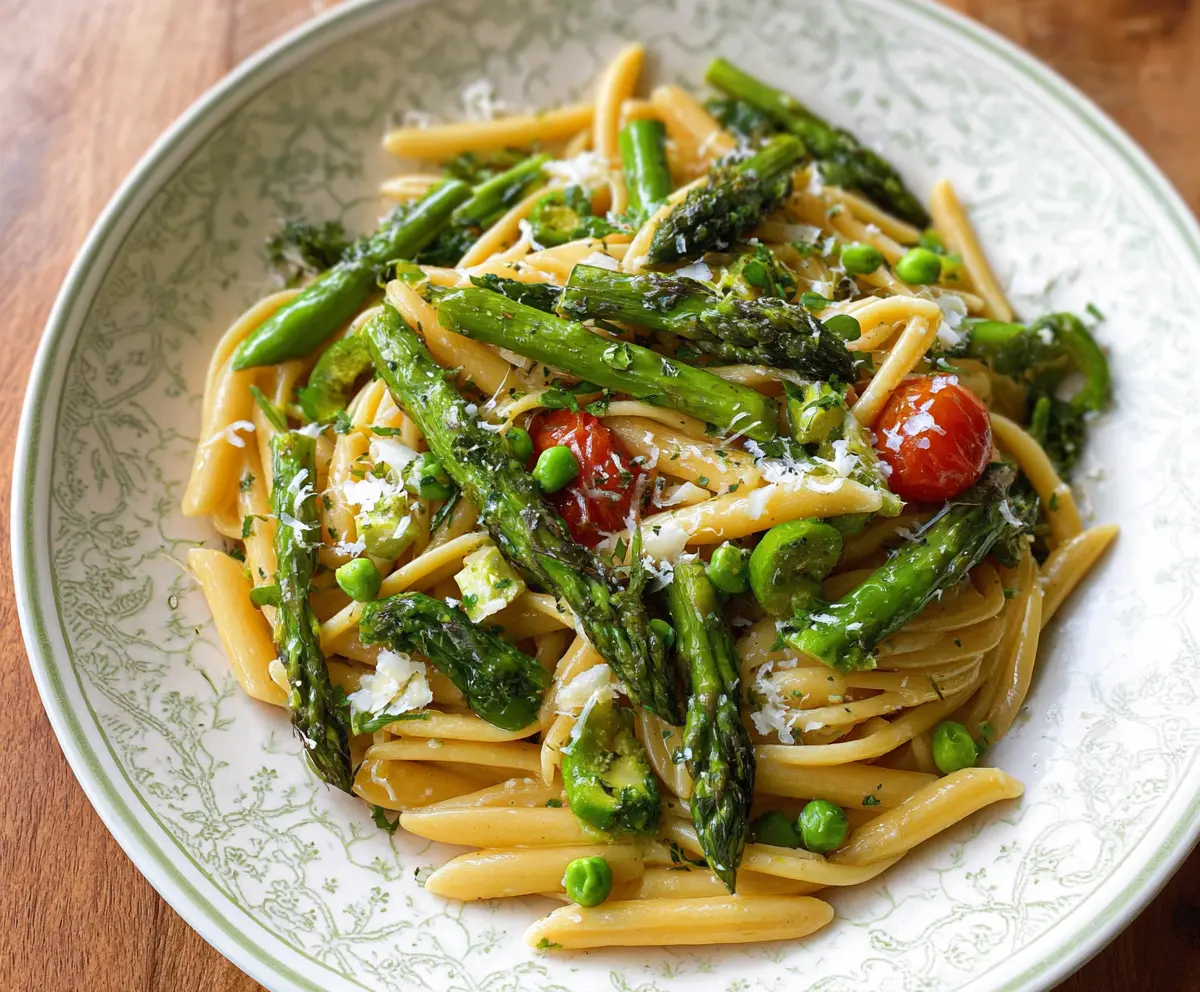
This Spring Vegetable Pasta is vibrant and fresh, packed with colorful veggies like peas, bell peppers, and zucchini. It’s a perfect dish to celebrate the season!
Honestly, the combo of crunch and pasta makes it a winner. I love adding a drizzle of olive oil and a sprinkle of cheese on top—yum! It’s a breeze to whip up for any meal.
Key Ingredients & Substitutions
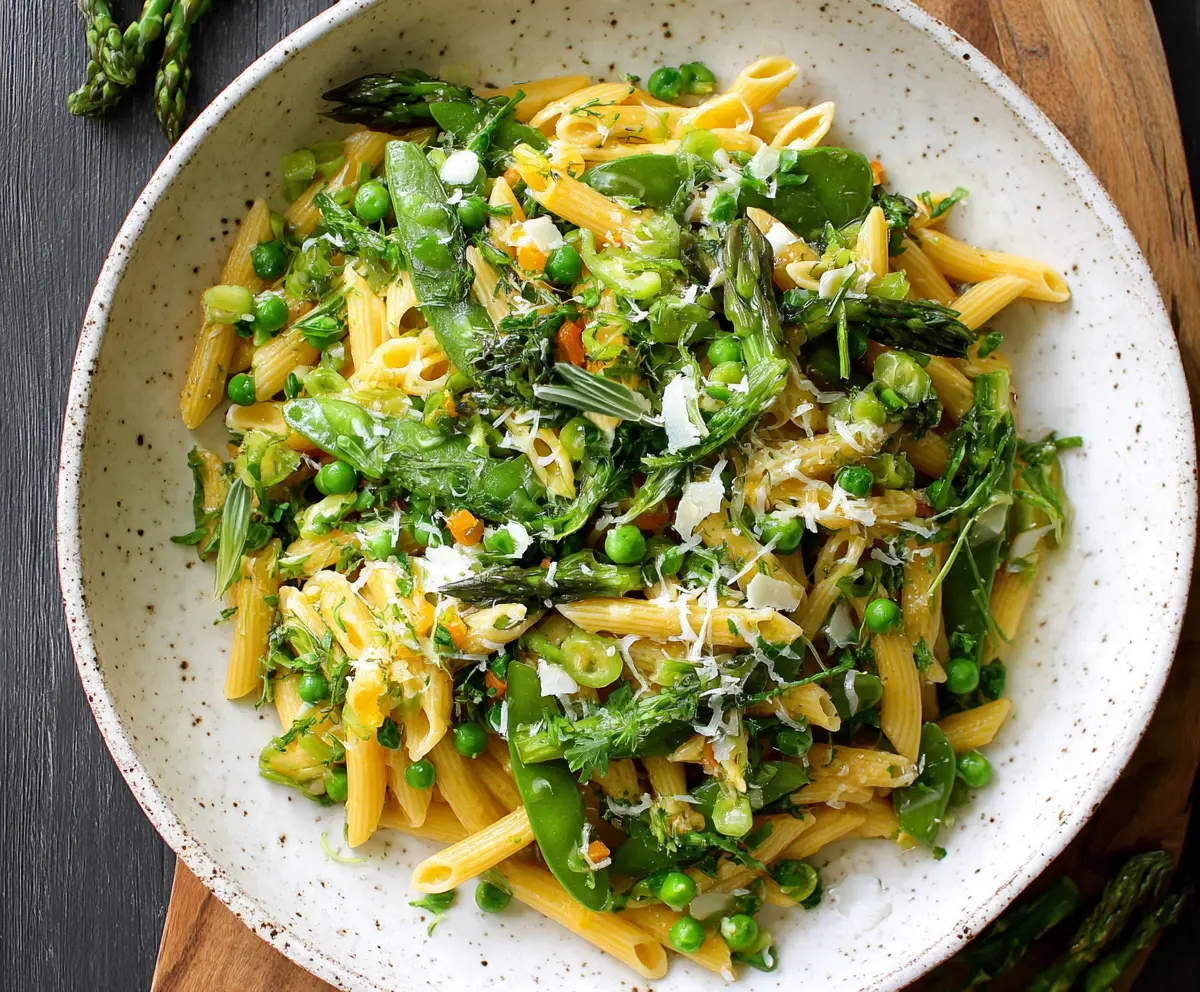
Pasta: Casarecce is a great choice for this dish due to its shape, which holds onto sauce well. You can swap it with any short pasta like fusilli or penne if you prefer or need something different.
Asparagus: Fresh asparagus adds a lovely crunch. If it’s not in season, you can use green beans or broccoli as substitutes. Both have a great texture!
Fiddlehead fern: These add a unique touch to your dish. If they’re unavailable or you want an easier option, consider using spinach or zucchini, which offer a nice flavor and texture.
Cherry tomatoes: These bring sweetness and juiciness to the dish. You can use grape tomatoes or even sun-dried tomatoes if you like a more intense flavor. Just chop them up!
Parmesan Cheese: Goes beautifully in this pasta. If you’re looking for a dairy-free option, nutritional yeast gives a cheesy flavor without the dairy. Alternatively, Pecorino or Grana Padano works if you want to change it up.
How Do You Cook Vegetables Just Right in Pasta?
Getting your vegetables right in this dish is key! You want them tender but still crisp. To do this:
- Cook the pasta until it’s *almost* done—about 3 minutes remaining.
- Add the asparagus, peas, and fiddleheads to the boiling pasta water at the same time. They can cook together to blend flavors.
- Check the vegetables for doneness. They should be bright in color and tender but still have a bit of a bite to them.
Don’t forget to reserve that pasta water—it’s liquid gold for creating your sauce later! Use it to achieve the perfect creamy texture when you mix everything together.
How to Make Spring Vegetable Pasta
Ingredients You’ll Need:
For the Pasta Dish:
- 12 oz casarecce or similar short pasta
- 1 bunch asparagus, trimmed and cut into 2-inch pieces
- 1 cup fresh or frozen green peas
- 1 cup cherry tomatoes
- 1 cup fiddlehead ferns or similar spring vegetable (optional)
- 3 cloves garlic, minced
- 3 tbsp olive oil
- 1/2 cup grated Parmesan cheese, plus extra for serving
- Zest of 1 lemon
- 2 tbsp fresh parsley, chopped
- Salt and freshly ground black pepper, to taste
How Much Time Will You Need?
This Spring Vegetable Pasta takes about 25 minutes to prepare and cook. You’ll spend around 10 minutes getting everything ready and boiling the pasta, and then another 15 minutes sautéing the veggies and combining everything into a delicious dish!
Step-by-Step Instructions:
1. Cooking the Pasta:
Start by bringing a large pot of salted water to a boil. Once it’s bubbling, add the casarecce pasta and cook according to the package instructions until it’s *al dente*, which means it should be firm to the bite. This usually takes about 8-10 minutes.
2. Adding the Fresh Veggies:
With about 3 minutes left for the pasta to cook, toss in the asparagus, green peas, and fiddlehead ferns (if you’re using them) into the boiling water. They should cook quickly and become tender but still have a little crunch. Once everything is cooked, drain the pasta and vegetables together, but make sure to reserve 1 cup of that starchy pasta water for later!
3. Sautéing the Garlic:
While your pasta is cooking, grab a large skillet and heat the olive oil over medium heat. Add the minced garlic to the pan and sauté it for 1-2 minutes, just until it becomes fragrant. Be careful not to let it brown, as that can make it taste bitter!
4. Cooking the Tomatoes:
Next, add the cherry tomatoes to the skillet. Cook them for about 3-4 minutes until they soften and start to release their juicy goodness. You want them to burst a little to add flavor to your dish.
5. Combining Everything:
Now it’s time for the fun part! Add the drained pasta and vegetables directly into the skillet with the tomatoes and garlic. Toss everything together gently so that it all combines nicely.
6. Adding the Flavor:
Stir in the grated Parmesan cheese, lemon zest, and chopped parsley. Here’s where that reserved pasta water comes in—add it a little at a time, mixing until everything is well coated and creamy. You might not need all of it, but it helps bring everything together!
7. Final Seasoning:
Before serving, taste your pasta. Add salt and freshly ground black pepper to suit your liking. Remember, the cheese adds some saltiness, so go easy on the extra salt!
8. Serve and Enjoy:
Serve your vibrant Spring Vegetable Pasta warm, garnished with extra Parmesan and a drizzle of olive oil if you like. It’s a fresh, delightful dish perfect for any springtime meal!
Can I Use Frozen Vegetables Instead?
Absolutely! Frozen green peas work great, and you can use frozen asparagus or other mixed vegetables for convenience. Just add them straight to the boiling pasta water when the cooking timer indicates three minutes left, and they’ll heat through nicely.
What Can I Substitute for Parmesan Cheese?
If you’re looking for a non-dairy option, nutritional yeast provides a cheesy flavor without the dairy. You can also use Pecorino Romano for a sharper taste or any grated cheese you enjoy, like Grana Padano.
How Do I Store Leftovers?
Let the pasta cool down completely, then transfer it to an airtight container. It will stay fresh in the refrigerator for up to 3 days. For reheating, add a splash of water or olive oil and microwave or warm it gently on the stove to prevent it from drying out.
Can I Make This Pasta Dish Vegan?
Yes! Simply omit the Parmesan cheese or substitute it with nutritional yeast for a cheesy flavor. You can also enhance the dish with additional vegetables or plant-based proteins like chickpeas or tofu for a filling meal.