
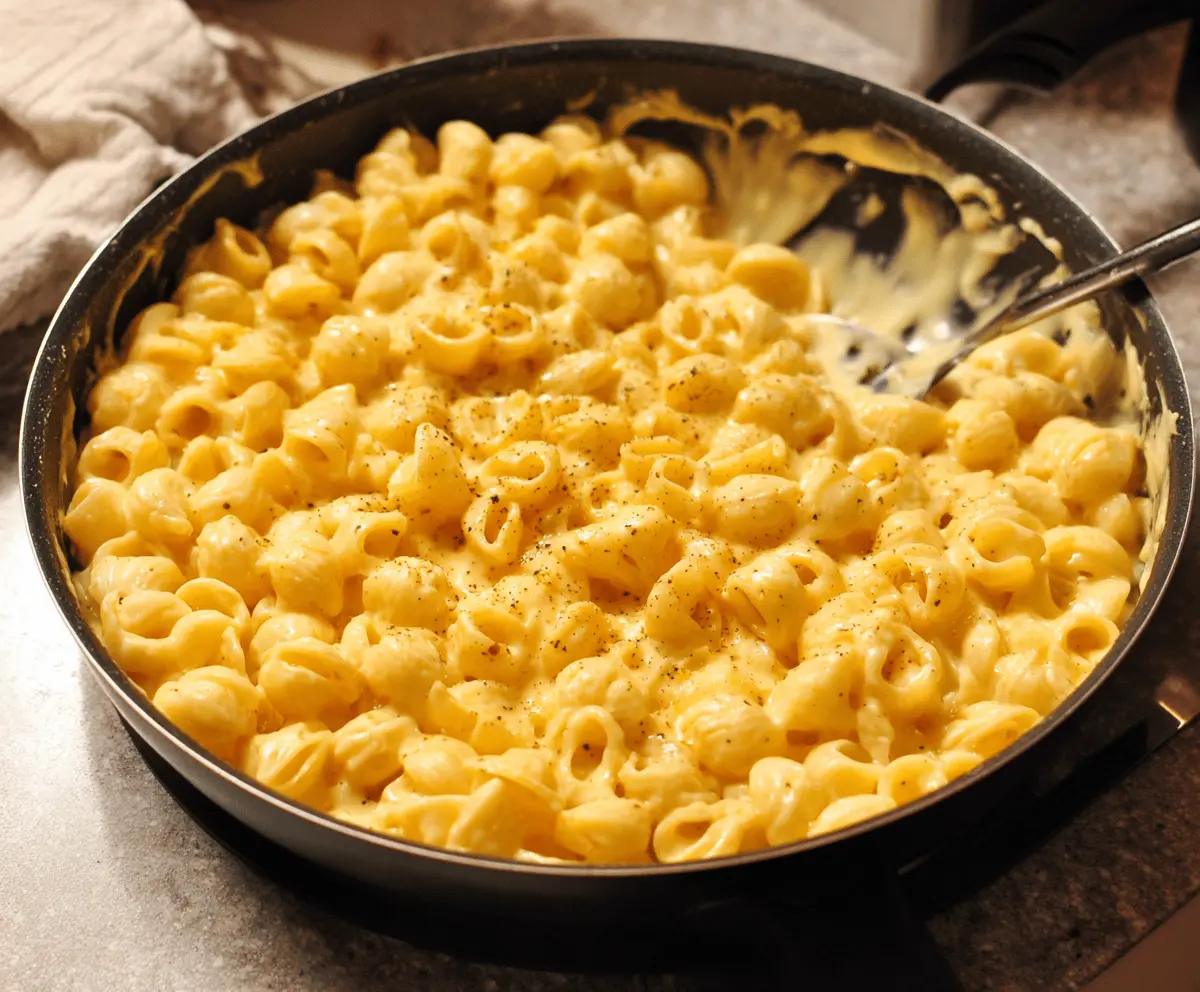
This stovetop mac and cheese is creamy, cheesy, and ready in just minutes! With pasta cooked right in the pot, it makes a simple and comforting meal.
Honestly, there’s nothing like a warm bowl of mac and cheese on a rainy day. I love adding some crispy breadcrumbs on top for a little crunch—yum!
Making this dish is so easy. You just cook the pasta, mix in the cheese, and enjoy! It’s perfect for those nights when you want something quick and delicious.
Key Ingredients & Substitutions
Elbow Macaroni: This shape is classic for mac and cheese, but other pasta types like shells or cavatappi work well too. Just ensure the pasta can hold onto the cheese sauce!
Milk: Whole milk gives it a rich texture, but you can use 2% milk or a dairy-free alternative like almond or oat milk. Just keep in mind that dairy-free milks may alter the flavor a bit.
Cheese: Sharp cheddar is a must for flavor. I love combining it with mozzarella for extra creaminess, but feel free to try other cheeses like Gouda or Monterey Jack. If you’re keeping it dairy-free, look for vegan cheese options that melt well.
Panko Breadcrumbs: They create a delightful crunchy topping! If you don’t have panko, regular breadcrumbs are fine, but the texture won’t be as crispy. You could also skip the toppings for a simpler version.
How Do I Ensure My Cheese Sauce Is Smooth?
Making a smooth cheese sauce can be tricky, but here’s how to nail it!
- Cook the roux (butter and flour) without browning—this helps the sauce thicken properly.
- Add milk slowly to the roux while whisking continuously. This prevents lumps from forming.
- Cook until the mixture thickens slightly before adding cheese, which ensures a creamy, smooth sauce.
Remember, patience is key. Stirring is essential, so keep at it until everything blends beautifully for that perfect cheesy goodness!
Stovetop Mac and Cheese
Ingredients You’ll Need:
For the Mac and Cheese:
- 8 ounces elbow macaroni (about 2 cups)
- 3 cups milk (whole milk preferred)
- 2 tablespoons unsalted butter
- 2 tablespoons all-purpose flour
- 2 cups shredded sharp cheddar cheese
- 1/2 cup shredded mozzarella cheese (optional, for extra creaminess)
- 1/2 teaspoon salt
- 1/4 teaspoon black pepper
- 1/4 teaspoon paprika
- 1/4 teaspoon garlic powder (optional)
For the Crunchy Topping:
- 1/2 cup panko breadcrumbs
- 1 tablespoon olive oil or melted butter (for breadcrumb topping)
- Fresh parsley, chopped (for garnish)
How Much Time Will You Need?
This delicious stovetop mac and cheese takes about 15-20 minutes to prepare. You’ll spend roughly 10 minutes cooking the pasta and another 10 minutes mixing everything together and preparing for broiling. It’s quick and easy, perfect for a weeknight meal!
Step-by-Step Instructions:
1. Cooking the Pasta:
In a large pot, bring water to a boil. Add a pinch of salt to the water for flavor. Cook the elbow macaroni according to the package directions until al dente (this usually takes about 7-8 minutes). Once done, drain the pasta and set it aside.
2. Preparing the Cheese Sauce:
In the same pot or a large skillet over medium heat, melt the unsalted butter. Once melted, whisk in the all-purpose flour, cooking for 1-2 minutes until it bubbles but doesn’t brown. This will create a roux that thickens your cheese sauce.
3. Adding the Milk:
Slowly add the milk in small increments while whisking continuously. This method helps prevent lumps from forming. Keep cooking and whisking until the mixture thickens slightly, which should take about 4-5 minutes.
4. Melting the Cheese:
Lower the heat, then add the shredded cheddar cheese and mozzarella (if using). Stir continuously until the cheese is fully melted and the sauce is smooth and creamy. This is the delicious base for your mac and cheese!
5. Seasoning the Sauce:
Now, season your cheese sauce with salt, pepper, paprika, and garlic powder (if you like a hint of garlic). Give it a taste and adjust the seasoning to your preference.
6. Mixing in the Pasta:
Add the cooked macaroni to the cheese sauce. Stir gently until the pasta is completely coated with the creamy cheese sauce. This is where all the magic happens!
7. Preparing the Topping:
If you want a crunchy topping, preheat your broiler on low or grab a kitchen torch. In a small bowl, toss together the panko breadcrumbs and olive oil or melted butter until they are well coated.
8. Assembling for Broiling:
Transfer the mac and cheese mixture to a cast-iron skillet or another oven-safe dish. Evenly sprinkle the buttery panko breadcrumbs on top, giving it that irresistible crispy layer.
9. Broiling the Topping:
Place the dish under the broiler or use the kitchen torch to toast the breadcrumbs until they are golden and crispy, about 2-3 minutes. Keep a close eye on it to avoid burning!
10. Serving Your Dish:
Once done, garnis with freshly chopped parsley for a pop of color and flavor. Serve your creamy, cheesy stovetop mac and cheese immediately while it’s warm and gooey. Enjoy every cheesy bite!
Can I Use Whole Wheat Pasta Instead?
Absolutely! Whole wheat pasta is a great alternative and will add a bit more fiber to your dish. Just keep in mind that it may require a slightly longer cooking time, so check the package for instructions.
What If I Don’t Have Panko Breadcrumbs?
If you don’t have panko, regular breadcrumbs will work just fine, though they might not be as crunchy. Alternatively, you can skip the breadcrumb topping altogether for a simple mac and cheese experience!
How Do I Store Leftovers?
Store any leftovers in an airtight container in the fridge for up to 3 days. Reheat in the microwave or on the stovetop, adding a splash of milk to help restore creaminess if needed.
Can I Make This Recipe Dairy-Free?
Yes! Use dairy-free milk (like almond or oat) and replace the cheese with a dairy-free cheese alternative. Just keep in mind that the flavor might change slightly, but it’ll still be delicious!