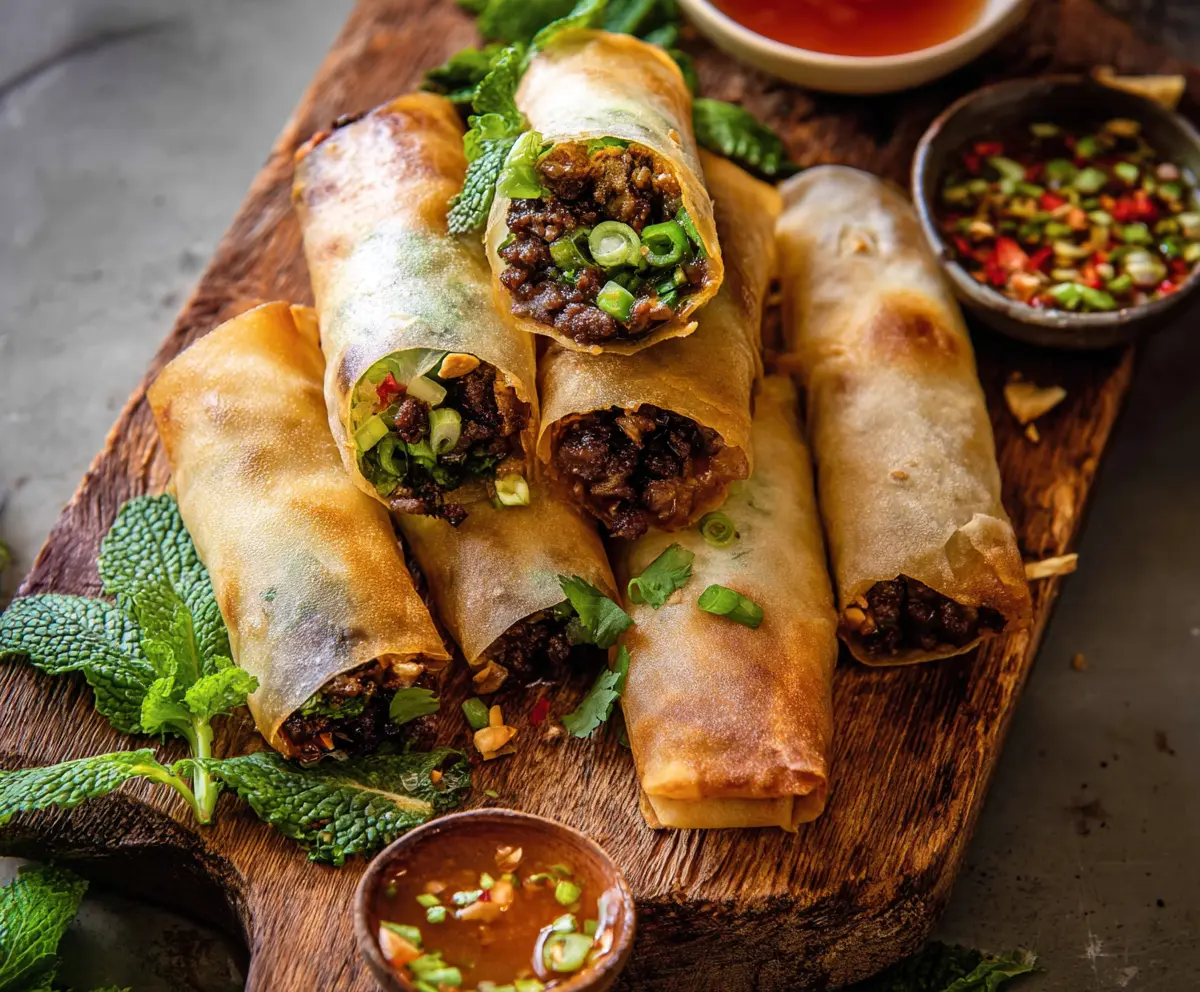
These Thai Beef Spring Rolls are a fun and fresh treat! Packed with tasty beef, crunchy veggies, and wrapped in rice paper, they’re perfect for snacking or sharing.
Making these rolls can be a bit like a puzzle, but that’s what makes it fun! I love dipping them in peanut sauce for an extra kick. Yum!
Key Ingredients & Substitutions
Ground Beef: Using lean ground beef works well but you can swap it for ground turkey or chicken for a lighter option. If you prefer a vegetarian version, try mashed tofu or a mix of mushrooms and veggies!
Spring Roll Wrappers: If you can’t find spring roll wrappers, rice paper is a great substitute. Just be sure to soak them briefly in warm water before filling.
Fresh Mint: Mint adds a refreshing taste, but if you don’t have it, consider basil or cilantro as alternatives. They each give a different flair to the rolls.
Sauces: For the fish sauce, you can use soy sauce if you need a vegetarian option, but keep in mind it won’t have the same umami depth. You could also experiment with coconut aminos for a gluten-free twist.
How Do I Ensure My Spring Rolls Are Crispy and Delicious?
Getting crispiness just right is key! Start by heating your oil to the right temperature (350°F/175°C) before frying, as this prevents the rolls from soaking up oil and becoming soggy.
- Use enough oil to fully submerge the spring rolls.
- Fry in small batches – if the oil temperature drops too low, they’ll become greasy.
- Don’t overcrowd the pan; give each roll space to fry evenly.
After frying, let them drain on paper towels to remove excess oil. Perfectly crispy! Enjoy your cooking!
How to Make Delicious Thai Beef Spring Rolls
Ingredients You’ll Need:
For the Spring Rolls:
- 12 spring roll wrappers
- 1 lb (450g) ground beef
- 2 tbsp vegetable oil
- 1 small onion, finely chopped
- 3 cloves garlic, minced
- 1 tbsp fresh ginger, grated
- 2 green onions, finely chopped (plus extra for garnish)
- 1/2 cup shredded carrots
- 1/2 cup chopped fresh mint leaves (plus extra for garnish)
- 2 tbsp soy sauce
- 1 tbsp fish sauce
- 1 tbsp oyster sauce
- 1 tbsp brown sugar
- 1 tsp chili flakes or fresh chopped chili (adjust to taste)
- Salt and pepper to taste
- Oil for frying (vegetable or canola oil)
For the Dipping Sauce:
- 1/4 cup fish sauce
- 1/4 cup lime juice
- 2 tbsp sugar
- 1 clove garlic, minced
- 1 small red chili, finely chopped
- 2 tbsp water
How Much Time Will You Need?
This recipe will take about 30 minutes to prepare and cook, plus any additional time you might need to chill the filling before rolling. Let’s dive in!
Step-by-Step Instructions:
1. Sauté the Aromatics:
Start by heating the vegetable oil in a large skillet over medium heat. Once hot, add the chopped onion, minced garlic, and grated ginger. Sauté these until the onions are translucent and fragrant, which should take about 3-4 minutes.
2. Cook the Beef:
Add the ground beef to the skillet. Use a spoon to break it up as it cooks, frying it until browned and cooked through, which should take around 6-8 minutes.
3. Combine the Flavors:
Mix in the soy sauce, fish sauce, oyster sauce, brown sugar, and chili flakes. Cook everything together for another 2-3 minutes. This allows the flavors to meld together and become slightly caramelized. Don’t forget to season with salt and pepper to taste!
4. Add Vegetables and Cool:
Once the beef mixture is done, remove it from the heat. Stir in the chopped green onions, shredded carrots, and chopped mint leaves. Mix everything well, and allow the filling to cool slightly before you start rolling.
5. Prepare for Frying:
Next, preheat oil in a deep frying pan or wok to 350°F (175°C). This temperature is important for achieving crispy spring rolls!
6. Roll the Spring Rolls:
Lay a spring roll wrapper on a flat surface. Spoon about 2 tablespoons of the beef mixture near one edge of the wrapper. Fold the sides over the filling, then roll tightly to seal. Use a bit of water to moisten the edges and ensure they stick together.
7. Fry the Rolls:
Continue this process with the remaining wrappers and filling. Fry the spring rolls in batches until they turn golden brown and crispy, which should take about 3-5 minutes. Once done, drain them on paper towels to remove excess oil.
8. Make the Dipping Sauce:
In a small bowl, whisk together the fish sauce, lime juice, sugar, minced garlic, chopped chili, and water until the sugar fully dissolves. This sauce adds a wonderful kick to the spring rolls!
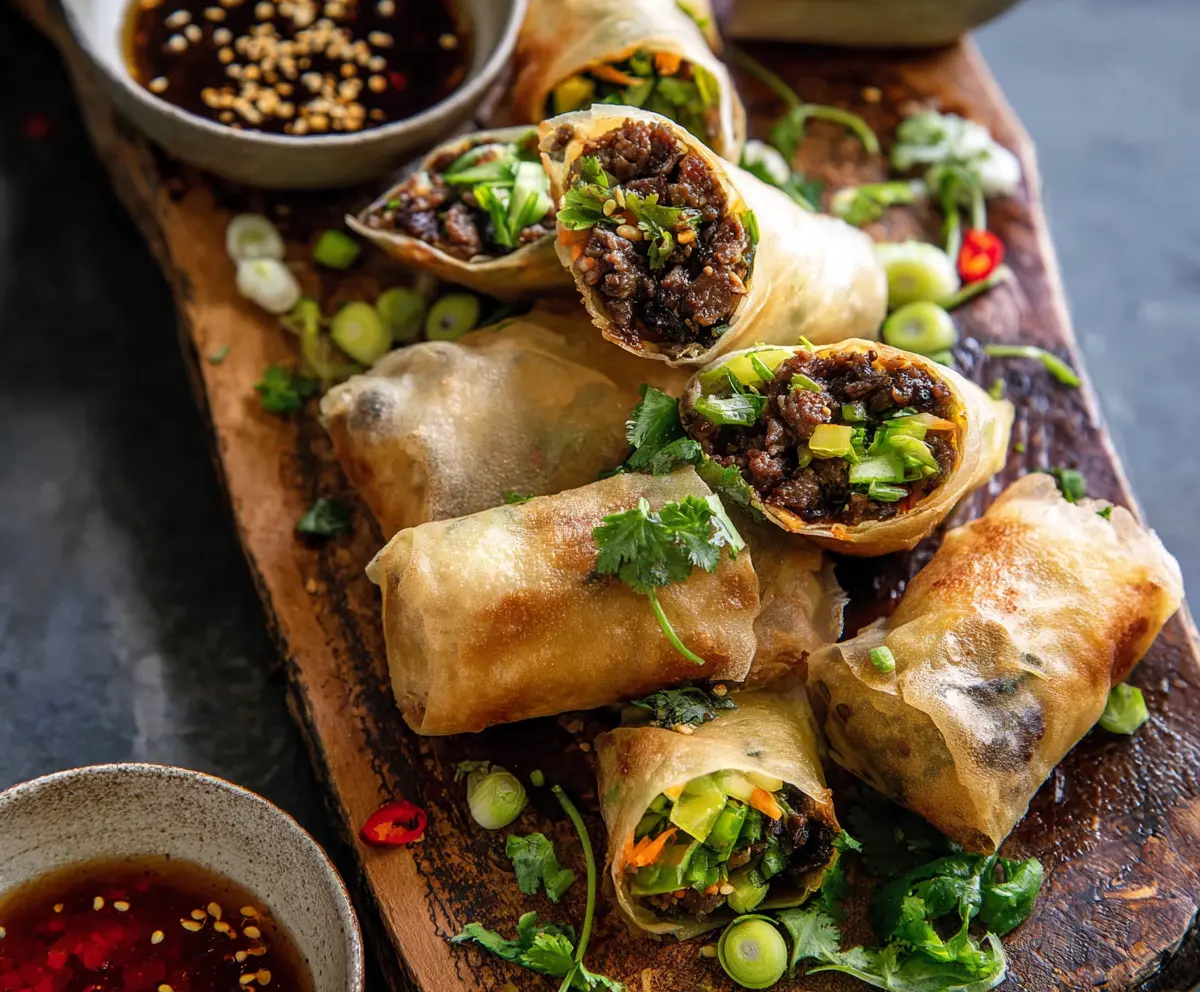
9. Serve and Enjoy:
Serve your hot spring rolls garnished with extra green onions and fresh mint leaves, accompanied by the dipping sauce. Enjoy the crispy delight!
Now you’re all set to impress with these tasty Thai Beef Spring Rolls! Enjoy every bite!
Can I Use Different Proteins for the Filling?
Absolutely! You can substitute ground beef with ground turkey, chicken, or even shrimp for a unique twist. If you want a vegetarian option, try using mashed tofu or a mix of finely chopped mushrooms and bell peppers!
How Can I Store Leftover Spring Rolls?
Store any leftover spring rolls in an airtight container in the fridge for up to 3 days. To keep them crispy, place parchment paper between layers if stacking. For reheating, it’s best to use an oven or air fryer instead of a microwave to restore their crunch!
What If I Don’t Have Fish Sauce?
If you’re out of fish sauce or prefer not to use it, you can substitute it with an equal amount of soy sauce combined with a splash of lemon juice for acidity. Coconut aminos also work well as a gluten-free alternative!
Can I Make the Filling Ahead of Time?
Yes, you can prepare the beef filling in advance! Just let it cool completely before transferring it to an airtight container. It will keep in the fridge for up to 2 days, making it super easy to roll and fry when you’re ready!