These almond flour pumpkin waffles bake up crisp at the edges, tender in the middle, and sturdy enough to hold a real pour of maple syrup without going soft right away. The pumpkin brings warmth and moisture, but the flavor stays balanced instead of heavy, with cinnamon and pumpkin pie spice doing just enough work to make the waffles taste like fall without turning them into dessert.
The texture comes from using almond flour with a little coconut flour for structure. Almond flour gives richness and that nutty, golden finish, while coconut flour helps absorb the extra moisture from the pumpkin puree. The batter is thicker than regular waffle batter on purpose, and that’s what keeps these waffles from spreading too thin or steaming themselves pale in the iron.
Below, I’ll show you the small things that matter most here: how long to let the waffles cook, why extra greasing makes a difference, and what to swap if you need a dairy-free version or just want to use what’s already in the kitchen.
The waffles turned out crisp outside and soft inside, and I was surprised how well they held together even with all that pumpkin. I cooked them the full 5 minutes and they released cleanly after a good spray of oil.
Save these almond flour pumpkin waffles for a crisp, grain-free breakfast with pumpkin spice and maple syrup on top.
The Reason These Waffles Crisp Instead of Turning Dense
Almond flour waffles can go soft and heavy fast if the batter is too wet or if the iron is opened before the crust has set. Pumpkin puree adds moisture, which is great for tenderness but can work against crisp edges, so the balance here matters more than in a standard flour waffle. The small amount of coconut flour is doing real work: it absorbs extra liquid and helps the waffles hold their shape without needing a lot of starch.
The other thing that matters is heat. A medium-high iron gives the batter enough force to set the outside before the pumpkin steam makes the center gummy. If your waffles stick, the usual problem is not enough grease or not enough time in the iron. Almond flour batters need both. Pull them too early and they’ll tear; leave them long enough and they release with a deeper color and a cleaner edge.
What Each Ingredient Is Doing in These Pumpkin Waffles
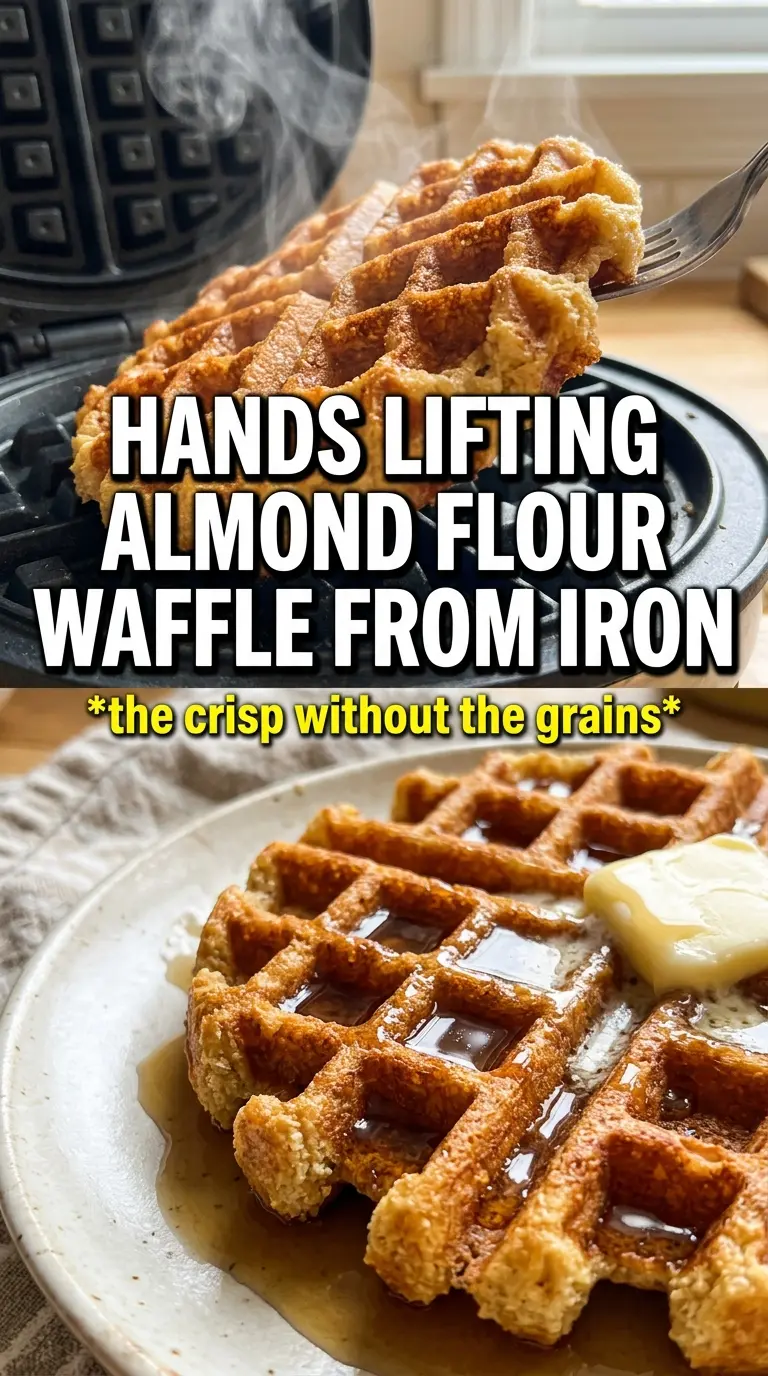
- Almond flour — This is the base of the waffles, and the finely ground kind works best because it bakes more evenly. Almond meal will make the texture a little rougher and heavier. If you buy one ingredient with care, make it this one.
- Coconut flour — You only need a little, but it keeps the batter from spreading too much and helps the waffles set. There isn’t a true one-to-one substitute here, so if you skip it, expect softer waffles that are harder to crisp.
- Pumpkin puree — Use plain pumpkin puree, not pumpkin pie filling. Pie filling already has sugar and spices mixed in, and that throws off both texture and flavor. If the puree looks watery, stir it well first so you don’t end up with excess moisture in the batter.
- Eggs — These hold everything together and give the waffles lift. With almond flour batters, the eggs matter more than people expect; they’re what keep the waffles from crumbling when you open the iron.
- Maple syrup or honey — This adds gentle sweetness and helps the waffles brown. Maple syrup gives the cleanest flavor with pumpkin, while honey makes them a little deeper and more floral.
- Coconut oil or butter — Melted fat keeps the waffles tender and helps with browning. Coconut oil works well if you want a dairy-free version, but butter gives a richer finish and slightly better browning around the edges.
Getting the Batter Right and Letting the Iron Do Its Job
Whisk the dry ingredients first
Start by mixing the almond flour, coconut flour, baking powder, pumpkin pie spice, cinnamon, and salt until the color looks even. That keeps the baking powder from clumping and makes the spice flavor distribute through the whole batch instead of landing in random pockets. Almond flour tends to settle in the bag, so break up any soft lumps with your fingers before you measure.
Build the wet mixture until it looks smooth
Whisk the pumpkin puree, eggs, milk, maple syrup, melted coconut oil, and vanilla until the mixture looks uniform and glossy. The eggs should be fully blended before the dry ingredients go in, or you’ll get streaks of egg white in the batter. If your coconut oil is hot enough to cook the eggs, let it cool for a minute first.
Let the batter stay thick
Fold the wet ingredients into the dry just until combined. The batter should be thicker than pancake batter and closer to a scoopable dough. That’s normal. If it seems loose, the waffles will spread too thin and won’t crisp well. Give the mixture a minute to sit before cooking so the coconut flour can hydrate and thicken a bit more.
Cook until the crust actually sets
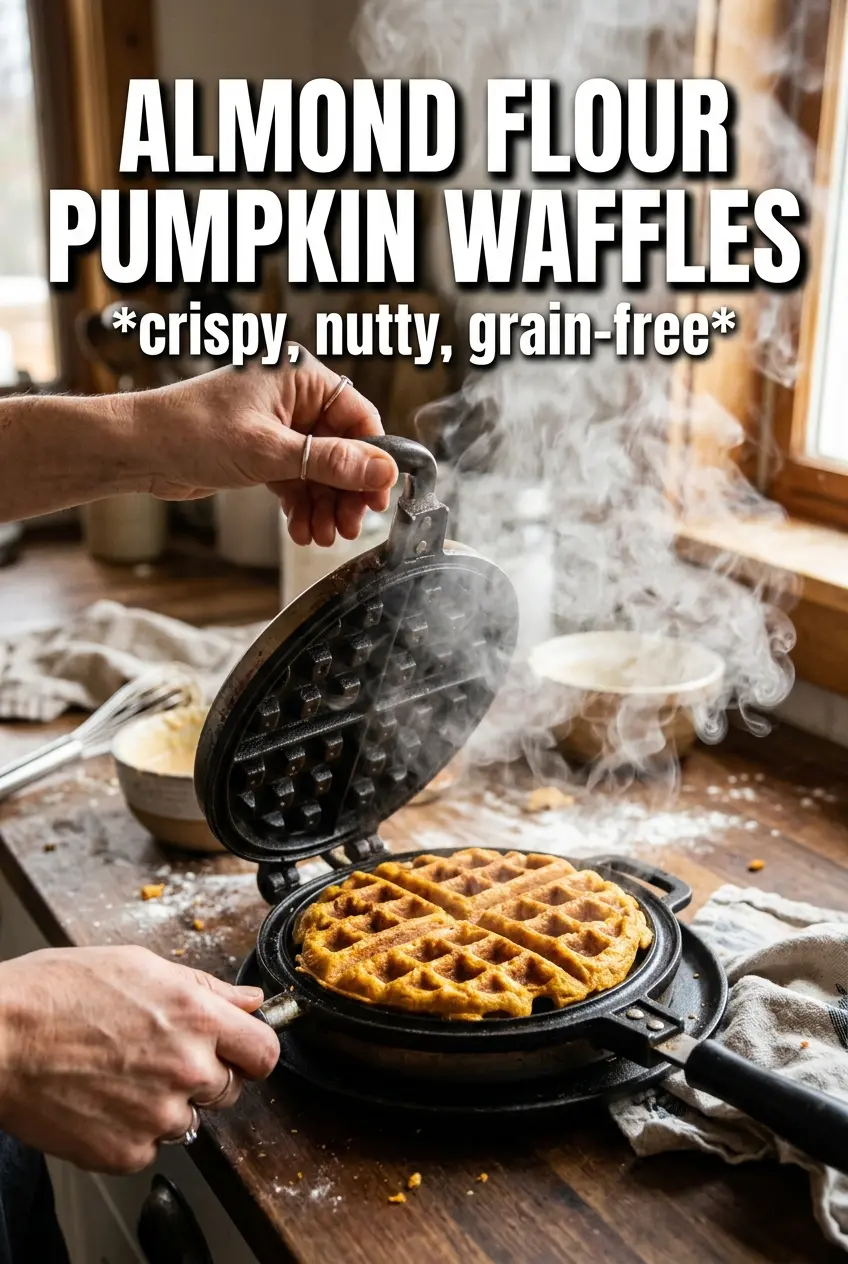
Grease the waffle iron generously and cook each waffle for 4 to 5 minutes, or until the outside is deeply golden and crisp. Don’t open the iron early just to check. Almond flour waffles often look pale before they’re ready, and pulling them too soon is the fastest way to make them tear. When they’re done, they should lift cleanly and smell toasty around the edges.
How to Adapt These Waffles for Different Mornings
Dairy-Free Version
Use almond milk and coconut oil, then serve with maple syrup instead of butter. The waffles stay crisp and rich, with a slightly lighter finish than the butter version.
Using Butter Instead of Coconut Oil
Butter gives the waffles a deeper, more familiar breakfast flavor and browns the edges a touch faster. Melt it first, then let it cool slightly before whisking it into the eggs so you don’t scramble anything.
Lower-Sugar Option
Cut the maple syrup back to 1 tablespoon if you want a less sweet waffle, then add a little extra vanilla to keep the flavor round. The waffles will still brown, but they’ll taste more like a savory-sweet breakfast base than a brunchy treat.
Storage and Reheating
- Refrigerator: Store cooled waffles in an airtight container for up to 4 days. They soften a bit in the fridge, which is normal for almond flour waffles.
- Freezer: Freeze in a single layer, then stack with parchment between each waffle. They freeze well for up to 2 months and reheat with good texture if you don’t pile them up while warm.
- Reheating: Toast them straight from the fridge or freezer in a toaster or 375°F oven until hot and crisp again. The common mistake is microwaving them, which makes the edges soggy and the center rubbery.
Questions I Get Asked About This Recipe
Almond Flour Pumpkin Waffles
Ingredients
Equipment
Method
- Preheat a waffle iron to medium-high and grease well.
- Whisk almond flour, coconut flour, baking powder, pumpkin pie spice, cinnamon, and salt.
- Whisk pumpkin, eggs, milk, maple syrup, melted coconut oil, and vanilla until smooth.
- Fold wet into dry until combined; the batter will be thicker than traditional waffle batter.
- Pour batter into the greased waffle iron and spread evenly.
- Cook for 4-5 minutes until golden and crispy, keeping the iron closed.
- Continue cooking the remaining batter, greasing extra as needed and allowing longer time since almond flour waffles need it.
- Serve immediately with maple syrup and toasted almonds.