An American flag charcuterie board turns a pile of good snacks into the kind of centerpiece people gather around before they’ve even set their drinks down. The trick is in the contrast: tight, tidy rows for the stripes, a packed blue canton that reads instantly from across the table, and enough variety in texture that every section feels intentional instead of random.
This version works because the ingredients are chosen for shape as much as flavor. Rolled salami gives the “stars” area height and definition, blueberries create a dense blue field that holds together, and the mix of pepperoni, prosciutto, mozzarella, and provolone keeps the red-and-white stripes looking full. If you’ve ever tried to build a themed board and had it blur into a generic snack tray, the fix is simple: work in rows, keep the edges sharp, and don’t leave too much empty space between ingredients.
Below, I’ll walk you through the order that makes the layout easier, the small placement tricks that keep the board looking crisp, and a few ways to adapt it when you need to feed a bigger crowd.
I followed the row-by-row layout and the board held its shape the whole time. The blueberries stayed packed in the canton, and the salami rolled up just enough to look like little stars without falling apart.
Planning a patriotic spread? Save this American flag charcuterie board for the clean canton, crisp stripes, and easy party layout.
The Board Looks Best When You Build the Flag in Layers, Not by Scattering Snacks
The easiest mistake with a themed board is treating it like a pile of ingredients instead of a layout. A flag board needs structure first: map the canton, set the stripes, then go back and tighten the edges so the design reads cleanly from above. If you start filling gaps too early, the red and white bands drift, the blue corner shrinks, and the whole thing starts looking more like a mixed snack tray than a flag.
The other thing that matters is density. Blueberries need to be packed close enough to act like a solid field, and the sliced meats need overlap so the stripes feel continuous. Empty board space breaks the illusion fast, especially on a rectangular tray where every line is exposed.
- The canton should be slightly more compact than you think. That keeps the upper left corner looking like a real flag field instead of a loose square of fruit.
- The stripes need clean, straight runs across the board. Let the slices overlap just enough to hide gaps without becoming bulky.
- The garnish belongs at the edges. Rosemary gives the board a finished frame and keeps the design from feeling abrupt.
What Each Ingredient Is Doing on This Board
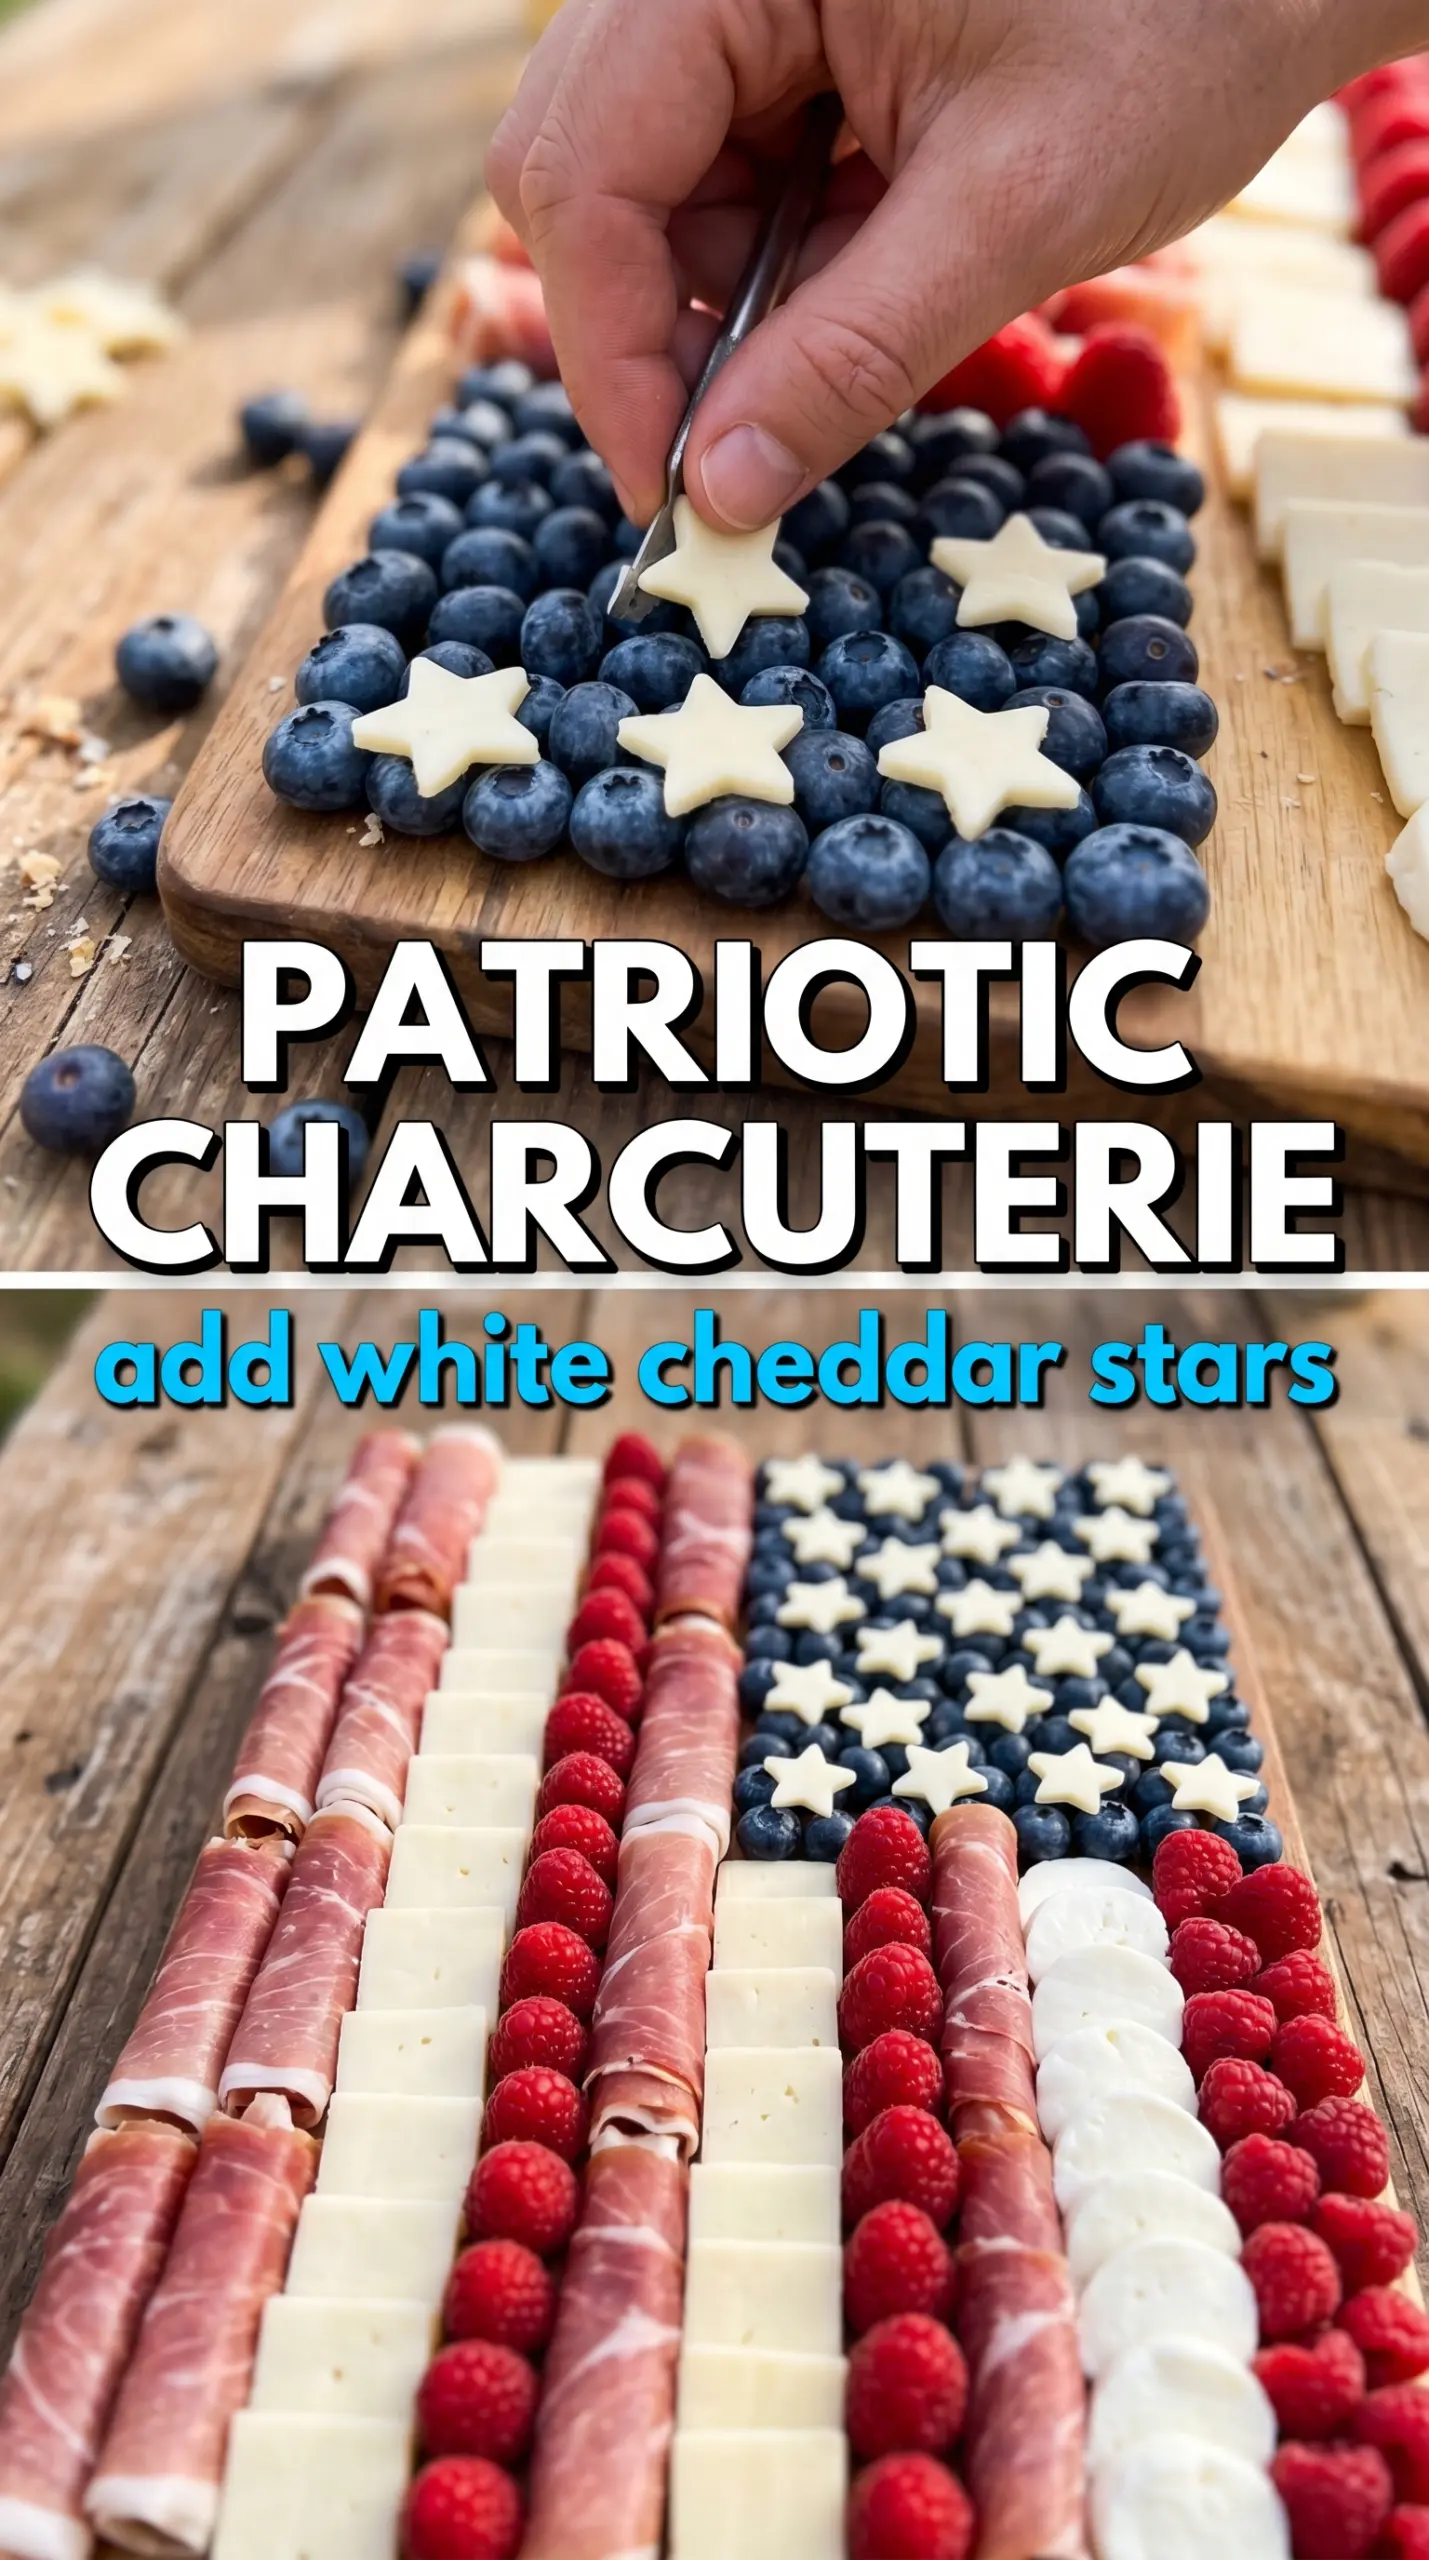
Blueberries are what make the canton read instantly. They’re small, round, and easy to pack tightly, which gives you that solid blue block without any extra effort.
Rolled salami adds shape and height in the canton. Thin slices roll neatly and stay put, so they create the star effect without needing any special tools.
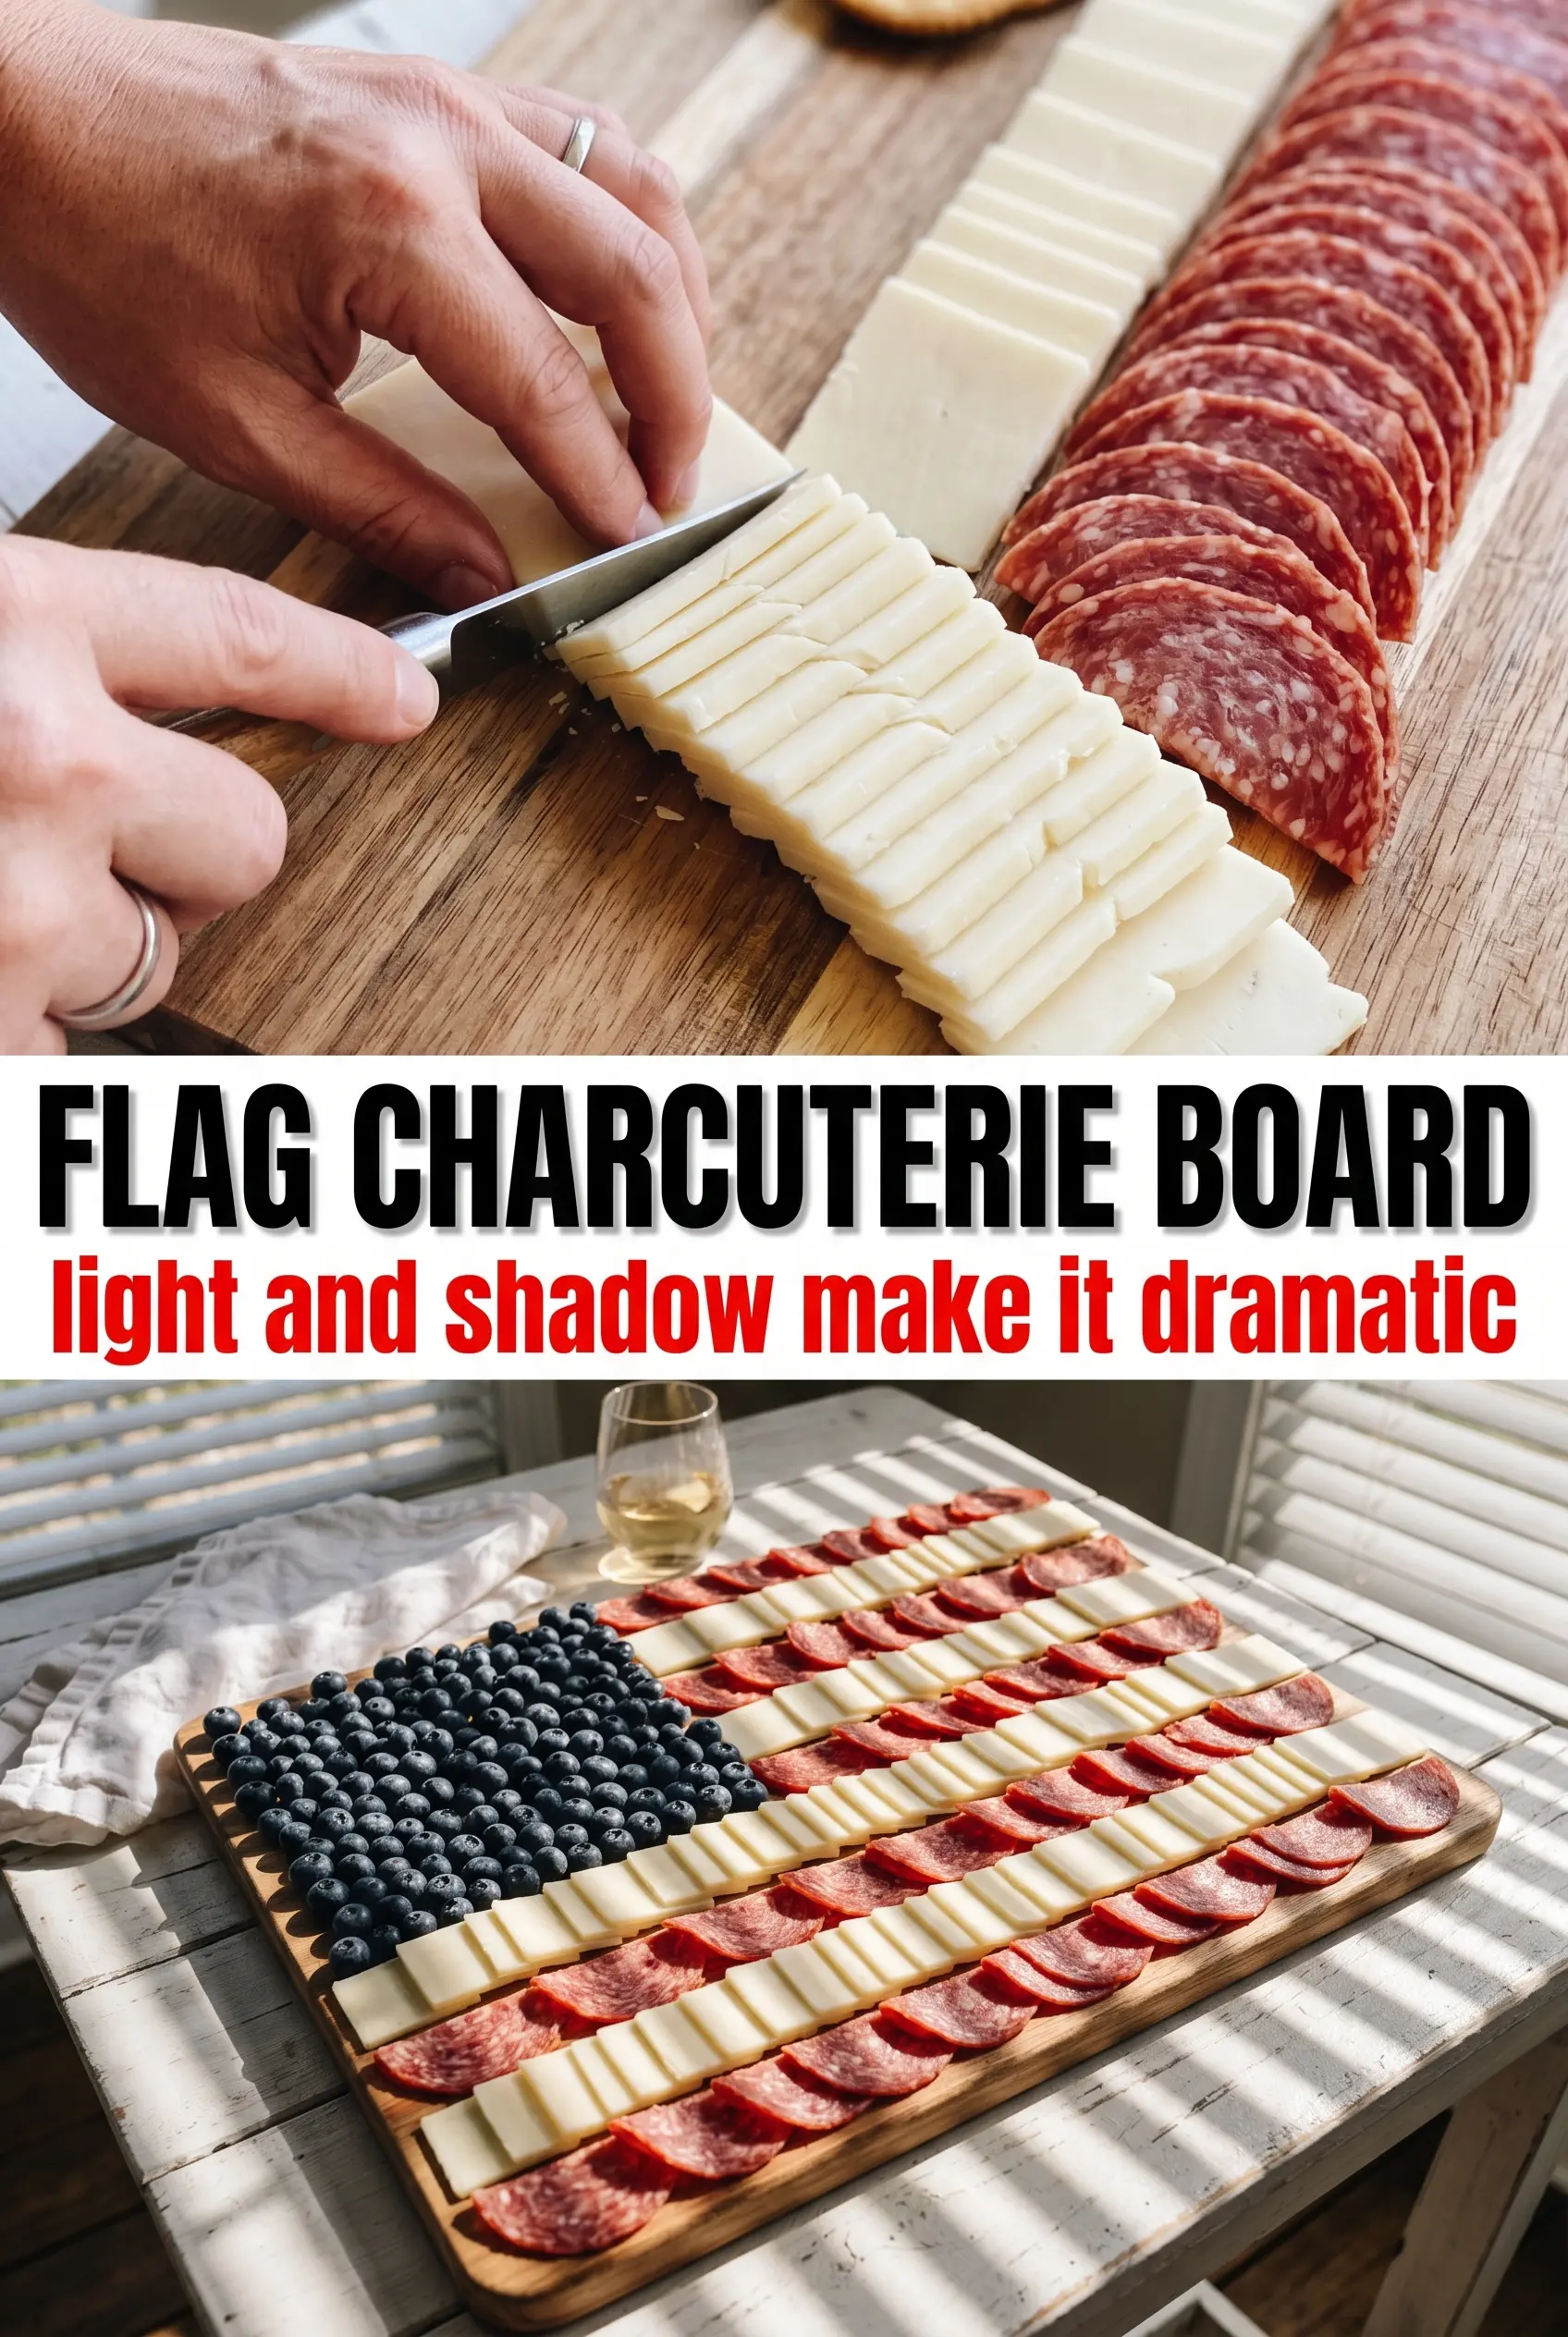
Pepperoni, prosciutto, mozzarella, and provolone do the heavy lifting for the stripes. Pepperoni gives you a bold red line, prosciutto softens the look with a more folded texture, and the cheeses keep the white stripes bright and distinct. If you need a backup, regular sliced provolone works better than soft cheese here because it holds its shape on the board.
Strawberries help reinforce the red stripes and fill awkward gaps. Halved berries tuck in faster than whole ones and help the board look abundant instead of sparse.
Crackers belong around the perimeter, not inside the flag layout. That keeps the design clean and gives people something to grab without disturbing the pattern.
Building the Canton and Stripes Without Losing the Shape
Mark the Flag Before You Start Filling
Set the board on a flat surface and mentally divide off the upper left corner before you place a single berry. That space controls the whole design, and if it grows too large, the stripes on the right side lose their impact. Once the canton is placed, the rest of the board becomes a row-by-row fill job instead of a guessing game.
Pack the Blue Corner First
Fill the canton with blueberries in a tight, even layer so the color reads as a solid block. Don’t scatter them loosely; gaps make the blue area look unfinished and thin. Tuck the rolled salami pieces into the center of the blueberry field, where they stand out like raised stars and give the corner a little texture.
Lay the Red and White Rows Across the Board
Start at the top right and work across the full width of the board with alternating stripes. Use pepperoni for the red bands, then follow with provolone slices or mozzarella balls for the white bands, keeping each row as straight as possible. If one stripe looks thinner than the others, press the next row a little closer rather than adding random pieces later.
Finish the Edges and Add the Crackers Last
Use prosciutto folds and strawberry halves to strengthen any stripes that look patchy. The goal is a full board with crisp lines, not a board where every ingredient is equally visible. Add rosemary sprigs at the corners and edges, then ring the board with crackers after the flag is finished so they don’t interrupt the design.
How to Adapt This Board for Different Crowds and Diets
Make it gluten-free without changing the layout
Skip the crackers or set out a separate gluten-free cracker assortment around the perimeter. The board itself is already naturally gluten-free, so you keep the same visual effect with no changes to the striped arrangement.
Use turkey or chicken slices for a lighter version
Deli turkey or chicken can stand in for some of the salami and prosciutto if you want a lighter board. The tradeoff is less rich color and a softer folded look, so use tighter rows and extra strawberries to keep the red stripes strong.
Scale it up for a larger party
Use a second board or a larger serving tray and extend the stripe pattern instead of widening the canton too much. Bigger boards look best when the lines stay long and even, which means adding more of the same ingredients rather than introducing new ones that break the flag pattern.
Storage and Reassembly
- Refrigerator: Store leftovers in separate airtight containers for up to 2 days. The berries and cut cheese will release a little moisture, so the board won’t look as sharp once it’s been assembled.
- Freezer: Don’t freeze the finished board. The cheeses, fruit, and cured meats lose their texture and the layout won’t hold up after thawing.
- Reheating: No reheating needed. If you’re serving leftovers, let the cheese sit at room temperature for 15 to 20 minutes so the flavors come back before reassembling the board.
Questions I Get Asked About This Recipe
American Flag Charcuterie Board
Ingredients
Equipment
Method
- Use a large rectangular wooden board or serving tray and mentally divide the upper left into a canton rectangle. Keep your layout space cleared so the stripes can run edge to edge.
- Fill the canton with fresh blueberries packed tightly together, forming a solid blue block. Visually check that the canton edges look crisp and squared off.
- Tuck rolled salami pieces in the center of the blue canton to resemble stars. Place them so the rolls are clustered and visible from an overhead angle.
- Create a red stripe by layering pepperoni slices in a clean row across the full width of the board, starting from the top right. Press gently so the row stays straight and continuous.
- Create the white stripes using rows of sliced white cheddar or provolone, alternating with the red stripes down the full board. Arrange the cheese in even lines for full-length coverage.
- Add prosciutto folds or strawberry halves to reinforce the red stripes and fill any gaps. Use them like patches so the stripes look unbroken.
- Tuck rosemary sprigs at the corners and edges to frame the board. Place sprigs so they peek out without covering the canton.
- Arrange crackers around the perimeter and serve. Set them so guests can reach them without disturbing the flag design.