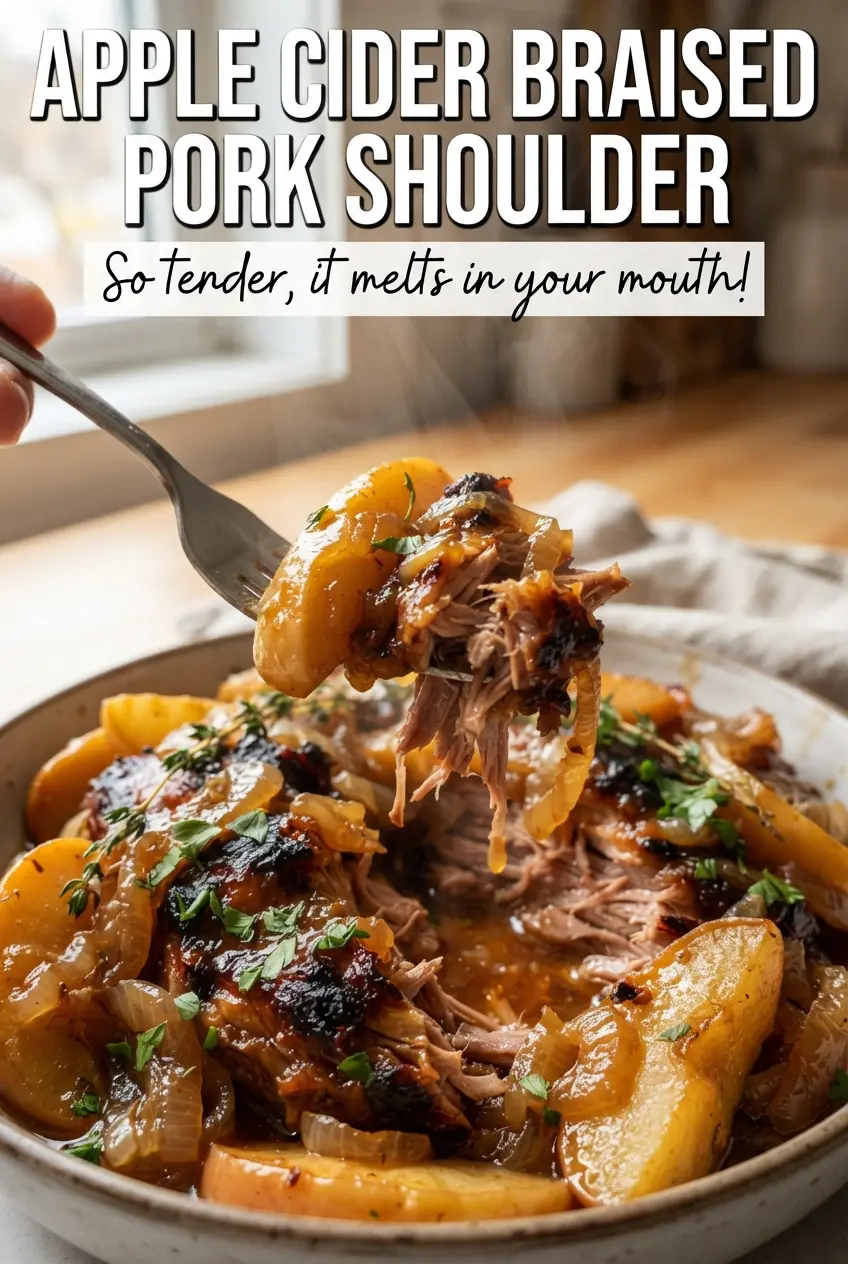
Apple cider braised pork shoulder turns into the kind of dinner that fills the house with the smell of onions, herbs, and sweet cider long before it’s ready to eat. The pork comes out deeply browned, spoon-tender, and rich without feeling heavy, and the apples melt just enough to perfume the sauce without disappearing completely. It’s the kind of pot of food that makes people linger at the table and go back for seconds.
What makes this version work is the balance in the braising liquid. Apple cider gives it a clean sweetness, Dijon sharpens it, vinegar keeps it from tasting flat, and broth stretches everything into a sauce that tastes slow-cooked instead of sugary. Browning the pork first matters, too. Those dark bits on the bottom of the pot become the base of the whole dish once the cider goes in and loosens them up.
Below, I’ll walk through the part that matters most: getting the braise tender without drying it out, adding the apples at the right point, and reducing the sauce so it clings to the pork instead of pooling thinly on the plate.
The pork shredded into big tender chunks and the cider sauce reduced into this glossy gravy with just enough tang. Adding the apples near the end kept them from turning to mush.
Save this apple cider braised pork shoulder for a cozy braise with tender pork, soft apples, and a glossy cider pan sauce.
The Braise Gets Tender Because the Acid Stays in the Background
Pork shoulder can handle a long cook, but it still needs a braising liquid that tastes balanced from the start. Too much cider and the sauce turns sweet and one-note; too much vinegar and it tastes sharp instead of round. The mix here works because the cider gives body, the broth keeps the liquid savory, and the vinegar and Dijon stop the finished sauce from tasting heavy.
The other mistake people make is rushing the braise. Pork shoulder needs time for the connective tissue to relax, and that happens quietly in the oven, not on the stovetop. If the pork still feels tight after the first braising window, give it more time. Fork-tender pork doesn’t look dramatic while it’s cooking; it just starts giving way cleanly when you press it.
- Pork shoulder — This cut is built for braising. Boneless works fine here, and cutting it into two large pieces gives you more browned surface area and helps it cook a little more evenly.
- Apple cider — Use real cider, not apple cider vinegar and not apple juice unless that’s all you have. Juice is sweeter and thinner, so if you swap it in, reduce the brown sugar a bit and expect a lighter sauce.
- Dijon mustard — It doesn’t make the dish taste mustardy. It sharpens the sauce and helps it emulsify slightly at the end so it feels fuller on the tongue.
- Fresh thyme and rosemary — Fresh herbs hold up better through a long braise than dried ones. If you use dried, cut the amount sharply or they’ll dominate the cider.
What Each Ingredient Is Actually Doing in This Recipe

- Primary ingredient (the star) — Quality matters most. Choose the best you can find.
- Cooking medium (oil, butter, or broth) — This carries flavors and prevents dryness.
- Seasonings (salt, pepper, spices, herbs) — Layer flavors so nothing overpowers. Build depth gradually.
- Aromatics (garlic, onion, herbs) — Cook with fat to bloom flavors. Become the foundation.
- Supporting ingredients — Complement the main ingredient without overpowering it.
- Sauce or liquid (if applicable) — Brings flavors together. Balance richness with acid.
- Acid (lemon, vinegar, wine, or other) — Brightens and prevents flat-tasting results.
- Final finish (garnish, glaze, or sauce) — Prevents one-dimensional taste and adds visual appeal.
Building the Braise So the Sauce Turns Glossy, Not Watery
Season and sear the pork first
Coat the pork with salt, pepper, and smoked paprika, then sear it in hot oil until the surface is deeply browned on all sides. That crust is the difference between a broth that tastes flat and a sauce that tastes layered. If the meat sticks at first, leave it alone; it will release once the crust forms. Crowding the pot steals heat, so brown in batches if your Dutch oven feels tight.
Cook the onion until it softens and sweetens
Once the pork comes out, the onion goes into the same pot and picks up the browned bits left behind. Cook it until it turns soft and translucent with a little color at the edges, then add the garlic just long enough for it to smell fragrant. If the garlic goes in too early, it can burn during the liquid step and turn bitter in the finished sauce.
Build the braising liquid and cover the meat
Stir in the cider, broth, vinegar, Dijon, and brown sugar, scraping the bottom until the pot is clean. That scraping step matters because the browned bits dissolve into the sauce instead of staying stuck to the pan. Return the pork with the thyme and rosemary, cover tightly, and move it into the oven. A loose lid lets steam escape and can dry the braise out before the pork is ready.
Add the apples at the end
The apples go in only after the pork has already had time to turn tender. If they go in from the beginning, they break down completely and disappear into the sauce. Added late, they soften just enough to hold their shape and soak up the cider flavor without turning mealy.
Reduce the liquid before serving
When the pork is fork-tender, shred it into large pieces and move the liquid to the stovetop for a short simmer. This is where the sauce turns from thin braising liquid into something that clings to the pork. If it still looks loose, keep reducing it a few minutes longer; if you boil it hard, it can turn sharp instead of silky.
How to Adapt This Braised Pork Shoulder for Different Tables
Gluten-Free as Written
This recipe is naturally gluten-free as long as your Dijon and broth are certified gluten-free. The braise gets its body from the reduced cider and pork juices, not from flour, so you don’t need a thickener to make the sauce feel complete.
Less Sweet, More Savory
If you want a drier, more savory finish, cut the brown sugar in half and use the sharper end of a tart apple cider. You’ll lose a little roundness, but the sauce will read more like a pan gravy than a sweet cider glaze.
No Fresh Herbs on Hand
You can swap in dried thyme and rosemary, but use less than you would think. Dried herbs are more concentrated and can take over a long braise, so the goal is a background note, not a piney finish.
Storage and Reheating
- Refrigerator: Store for up to 4 days. The flavor gets deeper overnight, and the sauce may thicken as it chills.
- Freezer: This freezes well for up to 3 months. Cool it completely first and freeze the pork with plenty of sauce so it doesn’t dry out when reheated.
- Reheating: Reheat gently on the stove over low heat with a splash of broth or cider if needed. The common mistake is boiling it hard, which tightens the meat and makes the sauce taste flat.