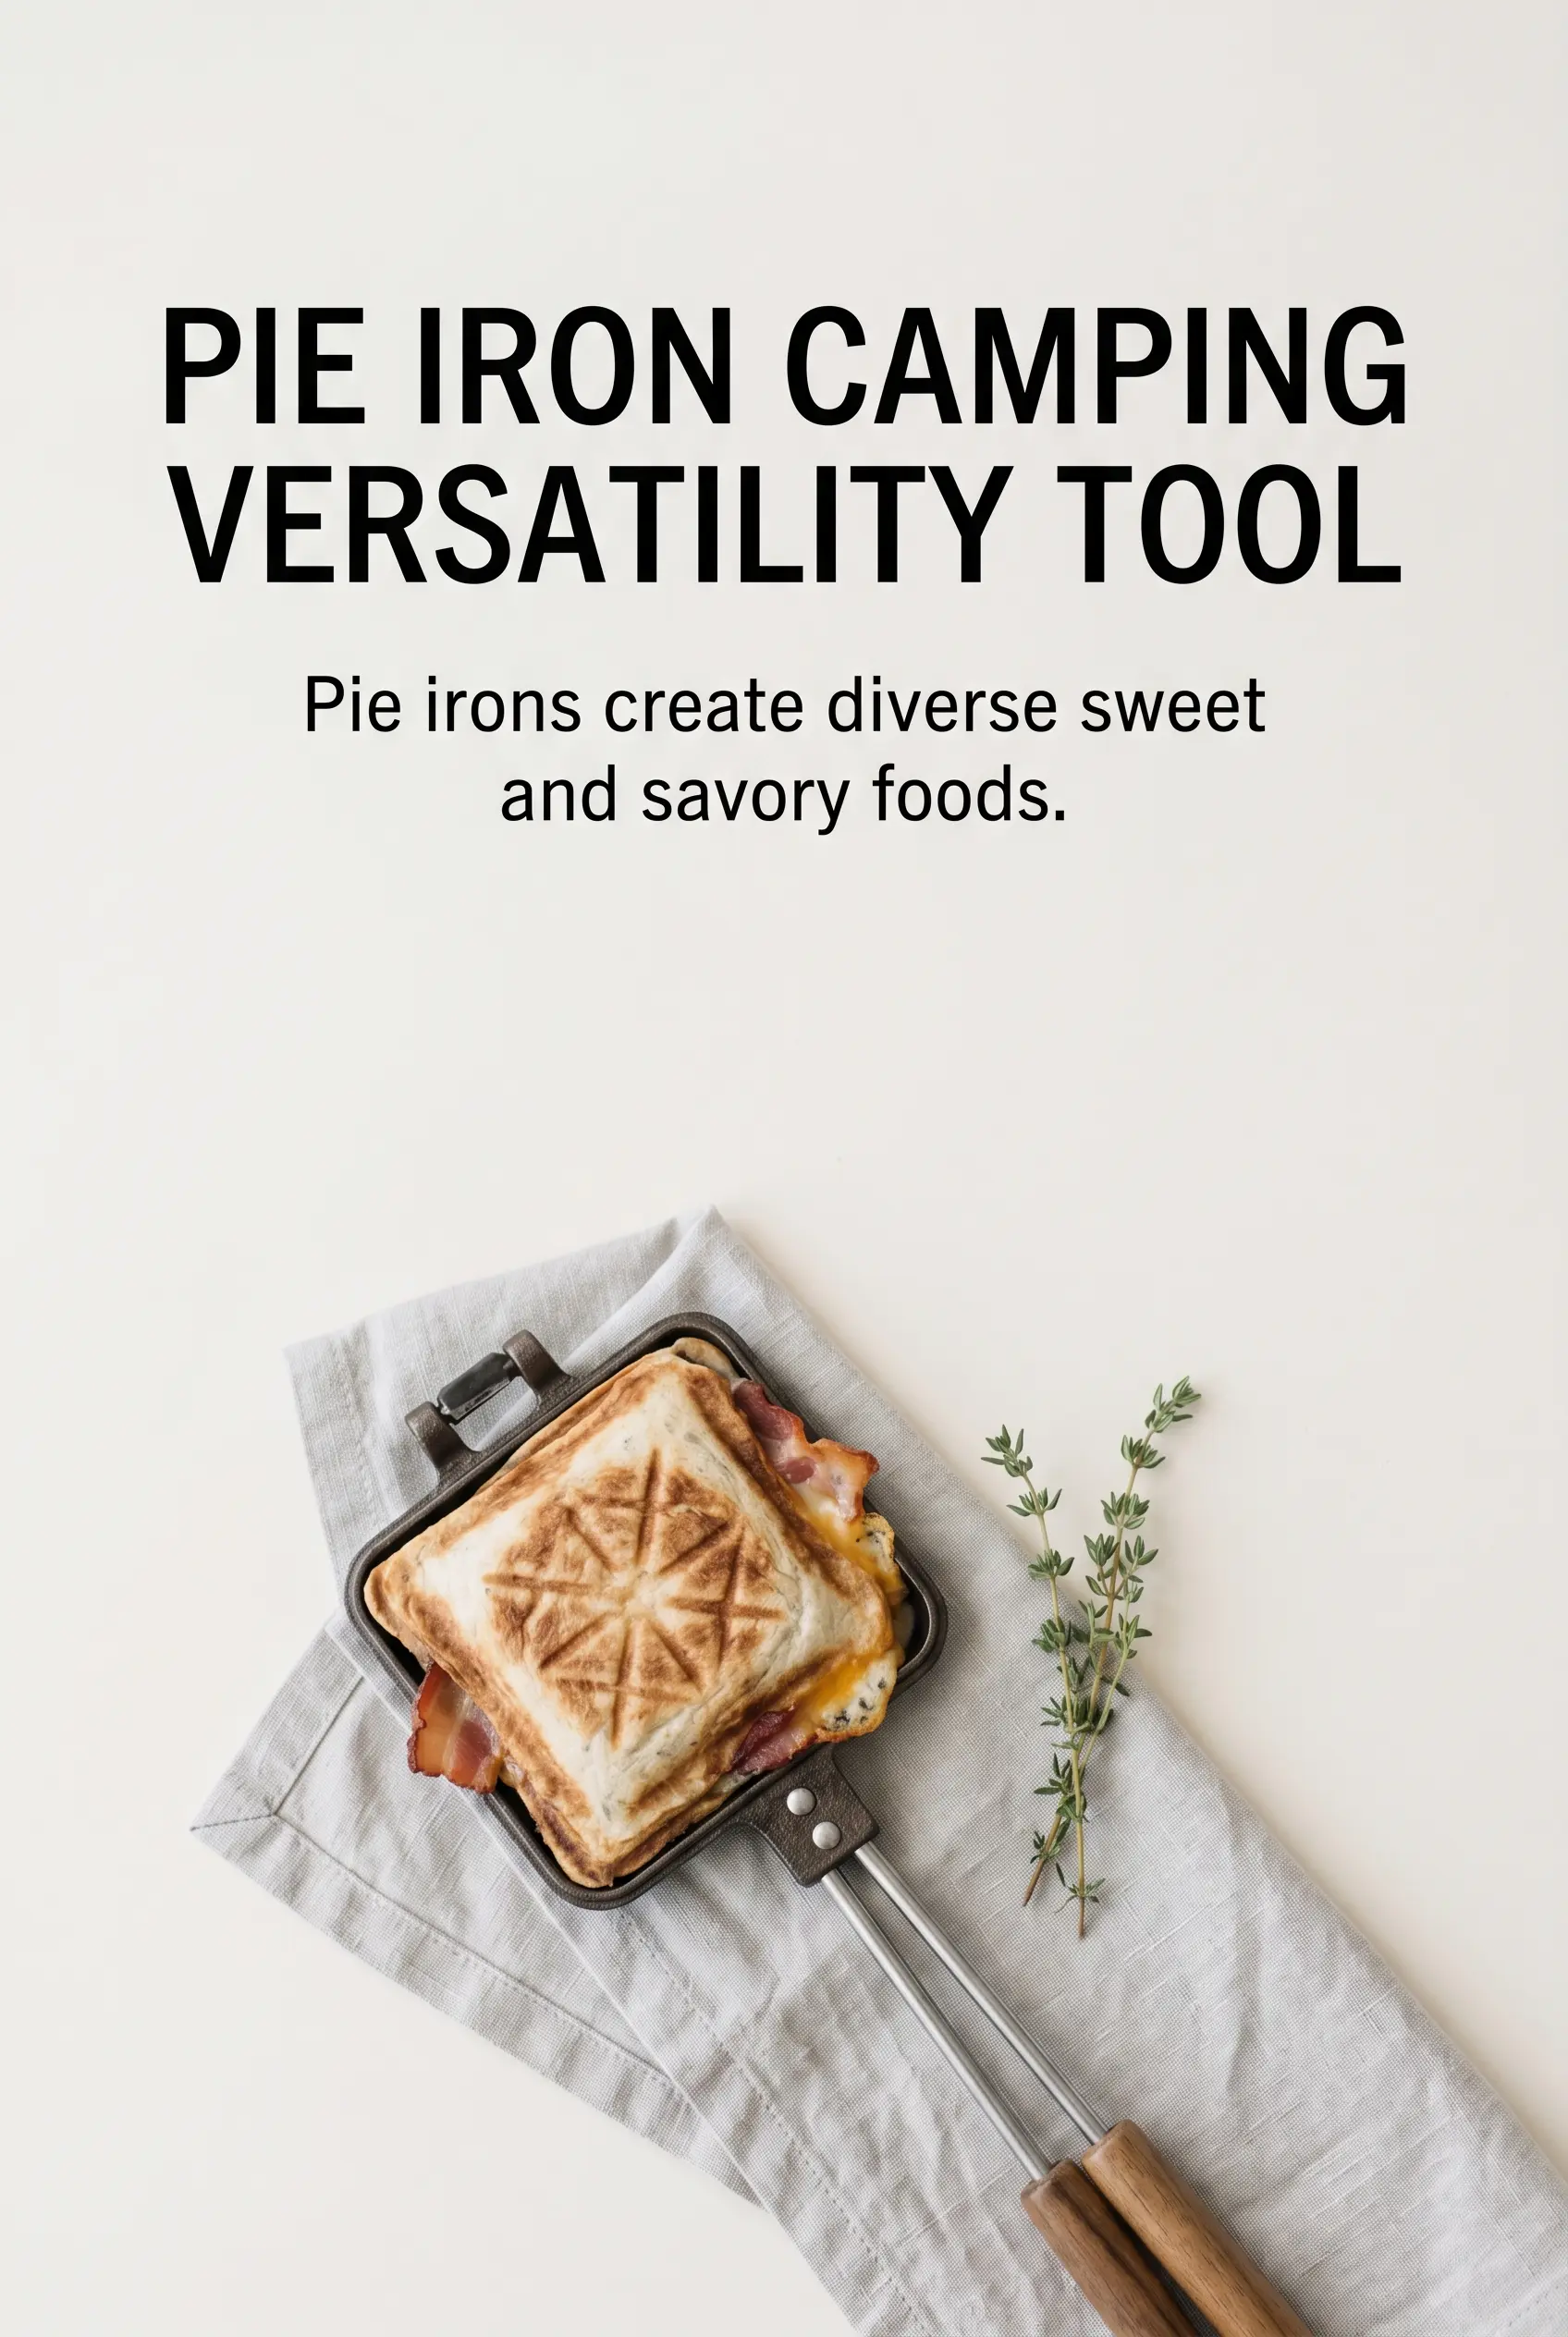
Bacon pie irons turn a simple breakfast into something crisp, melty, and worth gathering around the fire for. The bread gets deeply toasted on the outside while the eggs, bacon, and cheddar settle into a hot, savory center that eats like a handheld diner sandwich. When it’s done right, the edges are browned and the cheese oozes just enough to hold everything together without spilling out the sides.
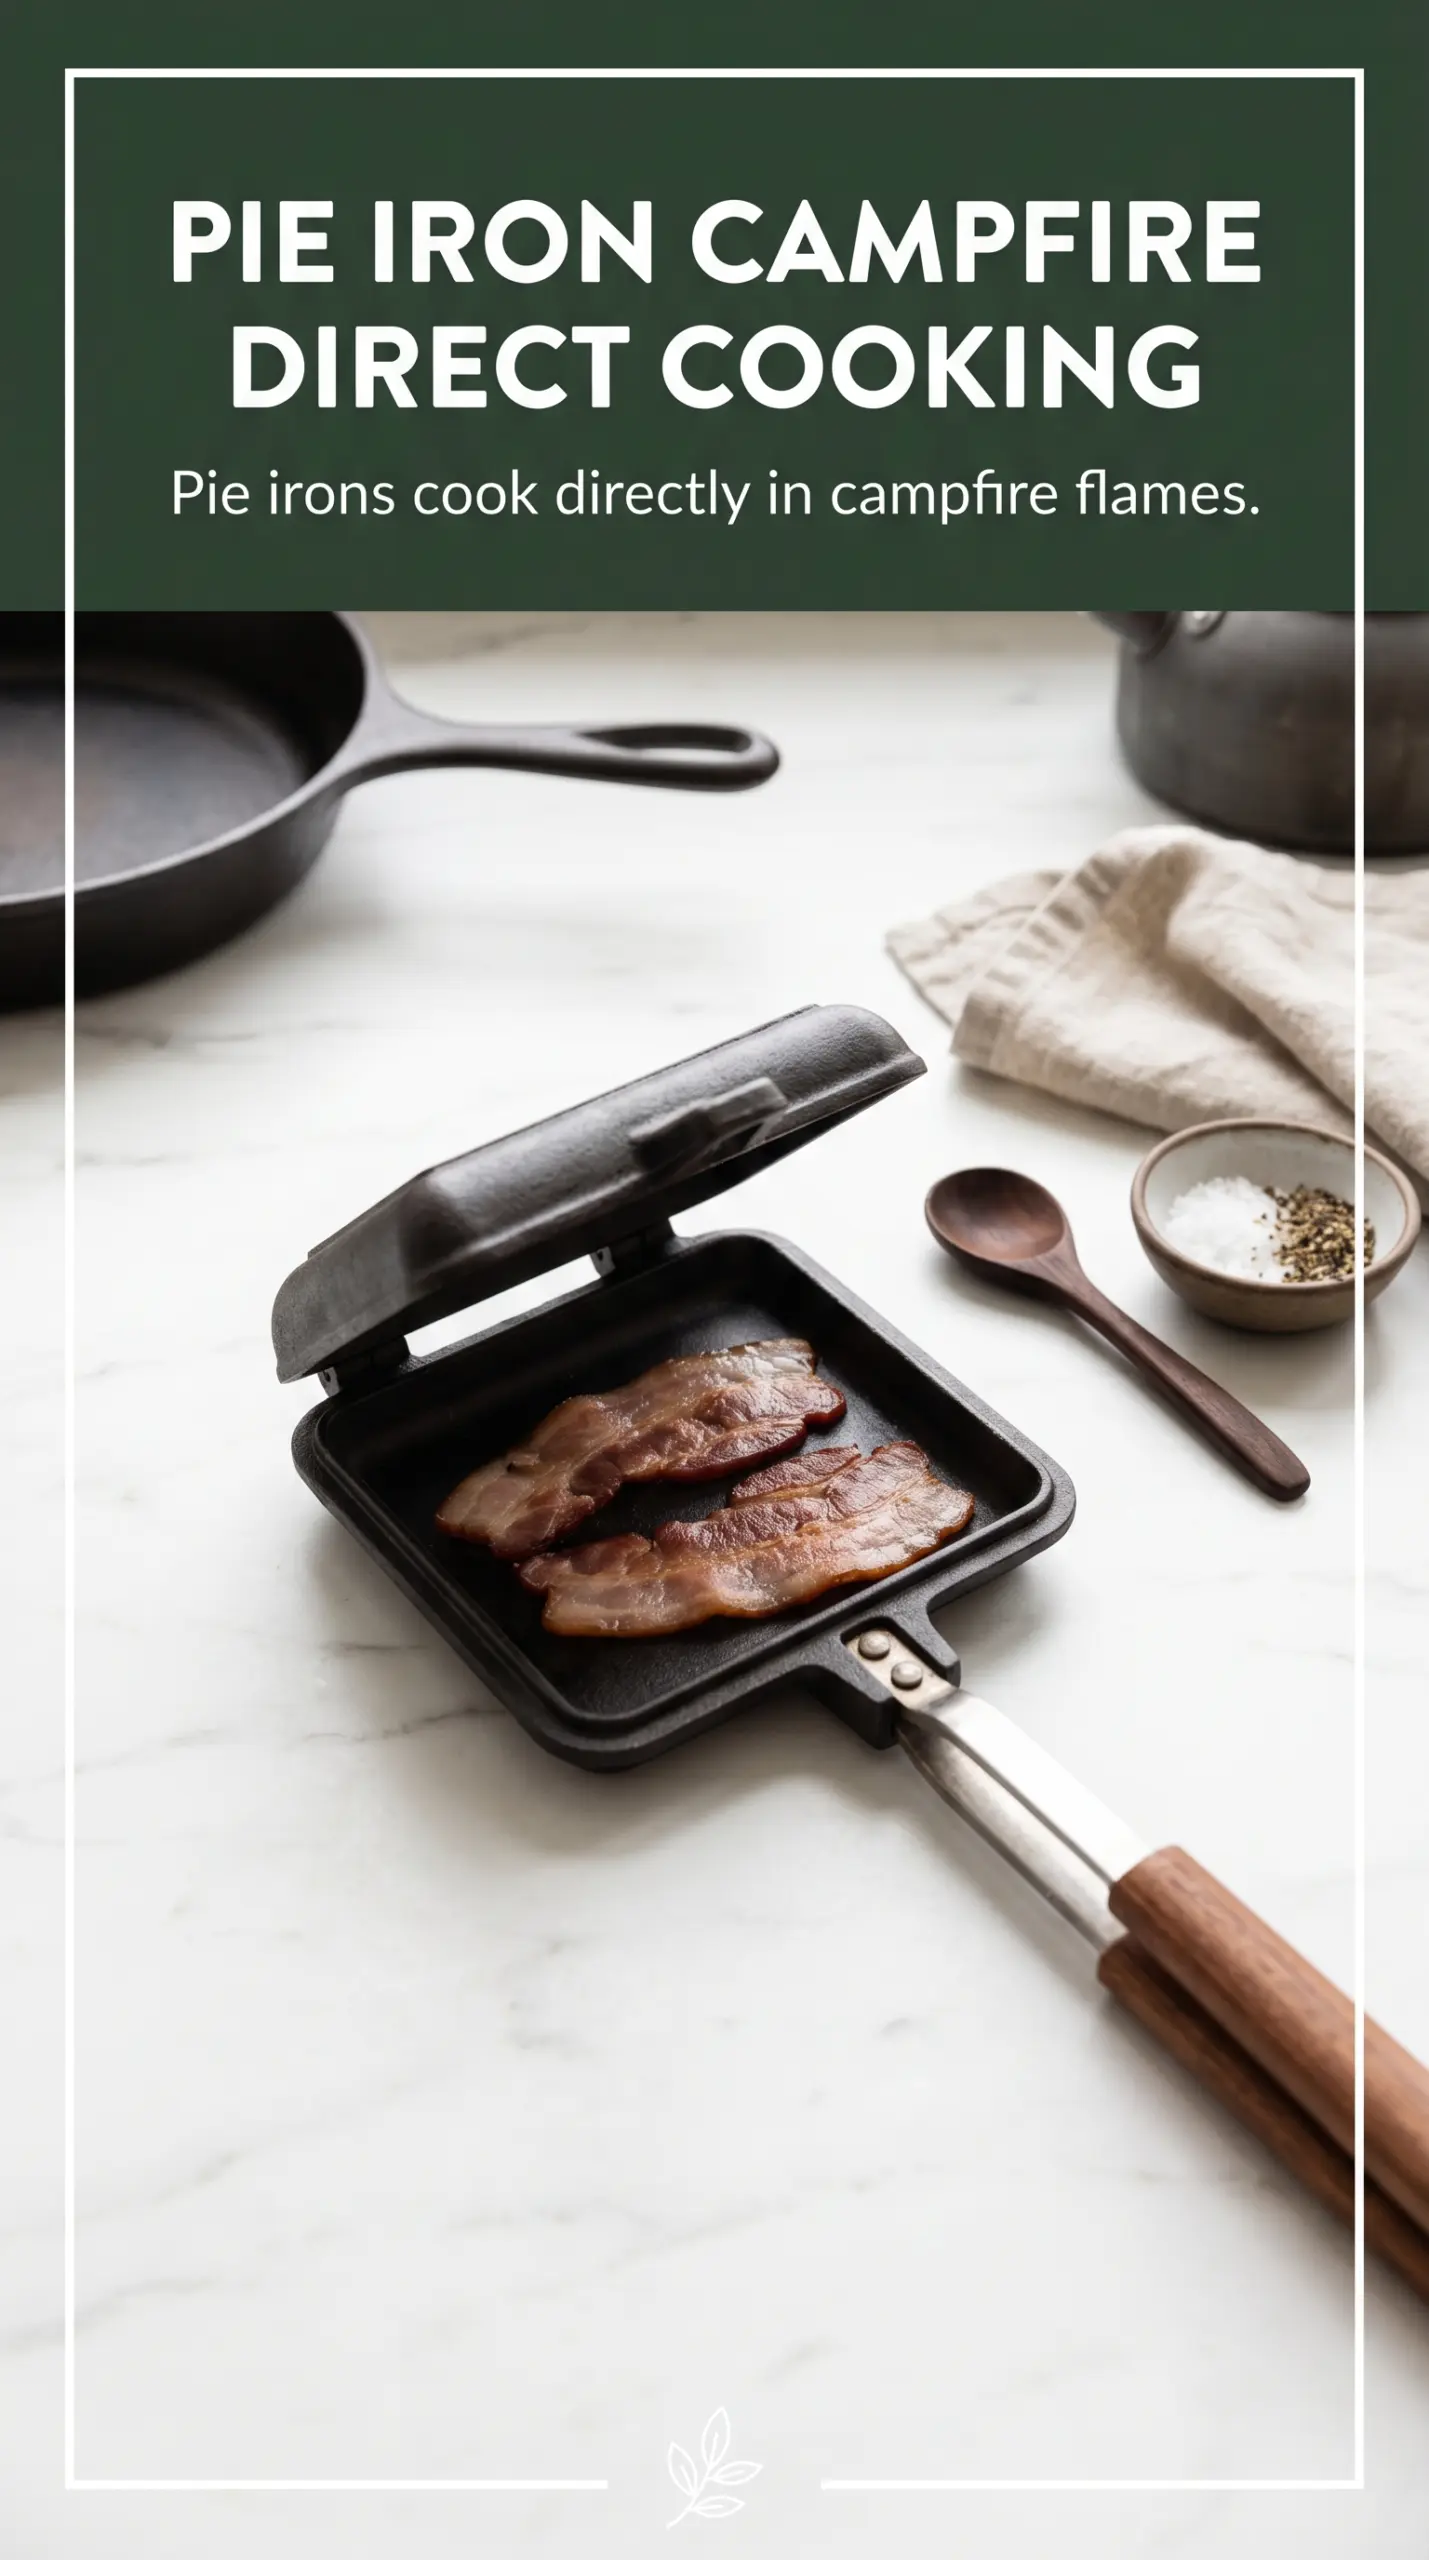
The trick is in the layering and the heat. Scrambled eggs need to be cooked first, not poured in raw, or they’ll steam the bread before the bacon and cheese have a chance to warm through. Butter on the outside of the bread gives you that golden crust, and cooked bacon matters here because raw bacon won’t fully crisp in the short cooking time this sandwich needs. A pie iron cooks from both sides at once, so the filling should already be ready to eat by the time the bread is finished.
Below you’ll find the small details that keep the sandwich from sticking, a few smart swaps, and the best way to manage the heat so the outside doesn’t burn before the center melts.
The bread came out crisp on both sides and the cheddar melted right into the eggs without making the sandwich soggy. I cooked them over steady coals and they were perfect in about 3 minutes per side.
Save these bacon pie irons for campfire mornings when you want a toasted breakfast sandwich with crisp bread, melty cheese, and no fuss.
The Part That Keeps the Bread Crisp Instead of Soggy
Pie irons trap heat from both sides, which is great for melting cheese but unforgiving if the filling is wet. The mistake most people make is stuffing the sandwich with soft scrambled eggs that are still glossy or undercooked. That steam has nowhere to go, so the bread turns tacky before it has a chance to toast.
Cook the eggs just until they’re set and no longer runny. They should look soft and fluffy, not wet. Bacon also needs to be fully cooked before it goes into the sandwich, because the few minutes in the pie iron are for warming and finishing, not rendering raw bacon. If your bread feels greasy before it even hits the fire, the butter layer is too heavy; a thin, even coat gives you better browning and less slipping inside the iron.
What Each Layer Is Doing in the Pie Iron
- Bread — Regular sandwich bread works best because it seals well and toasts quickly. Thick artisan slices can be too stiff and may not press closed cleanly. White or sourdough both work; just use a bread that can handle butter and direct heat without cracking.
- Bacon — Pre-cooked bacon is the right choice here. It brings flavor and salt without needing the longer cook time raw bacon requires. If yours is thick-cut, chop or fold it so it sits flat and doesn’t push the sandwich open.
- Scrambled eggs — The eggs are the soft, binding layer that keeps the sandwich from feeling dry. Scramble them ahead of time and cook them just until set. If you’re using leftovers, warm them first so the cheese melts evenly instead of cooling the whole sandwich down.
- Cheddar cheese — Cheddar melts reliably and has enough sharpness to stand up to the bacon. Pre-sliced cheese is convenient, but shred or thin-slice your own if you want faster melt. Mild cheddar gives a cleaner melt; extra-sharp gives more punch.
- Butter — Butter on the outside of the bread is what gives you that toasted crust. Don’t put it inside the sandwich, or it just turns the filling slick. Soft butter spreads more evenly than melted butter, which can soak into the bread and make it patchy.
Building the Sandwich So It Browns Before It Burns
Butter the Outside, Not the Inside
Spread butter on one side of each bread slice, then keep that buttered side facing out. That outside layer hits the hot pie iron and turns golden while protecting the bread from drying out. If the butter is clumped, it’ll brown unevenly, so use a thin, even coat right to the edges.
Layer the Filling Flat
Set one slice of bread butter-side down in the pie iron, then add the eggs, bacon, and cheese in a flat stack. Tall piles are what make the sandwich split open or leave raw spots in the middle. The goal is an even layer that closes cleanly when you top it with the second slice.
Cook Over Steady Coals
Hold the pie iron over hot coals, not licking flames. Open fire burns the bread before the cheese has time to melt. Turn the iron every few minutes so both sides color evenly, and check after about 3 minutes per side; you’re looking for deep golden bread and cheese that has fully softened at the seam.
Release and Serve Right Away
Let the sandwich sit for a minute before opening the pie iron, then slide it out carefully. If you open it too fast, the melted cheese can pull the filling apart. Serve it hot, while the crust is crisp and the center is still steamy.
How to Adapt These Bacon Pie Irons for Different Camps and Appetites
Gluten-Free Bread Swap
Use your favorite gluten-free sandwich bread, but choose one that’s sturdy and not too airy. Gluten-free bread can brown faster and break apart more easily, so keep the heat moderate and handle the sandwich gently when you open the iron.
No Bacon, Still Savory
Swap the bacon for sautéed mushrooms or a meatless breakfast sausage patty if you want a vegetarian version. You’ll lose the smoky saltiness bacon brings, so add a little extra cheddar and a pinch of smoked paprika if you want the sandwich to keep that campfire edge.
Make-Ahead Breakfast Pack
Cook the bacon and eggs at home, then store them chilled until you’re ready to pack the cooler. That cuts down on campsite work and gives you a faster assembly line in the morning. Keep the bread separate until you’re ready to butter and build so it doesn’t get damp.
Storage and Reheating
- Refrigerator: Store cooked sandwich halves in an airtight container for up to 2 days. The bread will soften a bit, but the flavor holds up.
- Freezer: Not ideal. The eggs and bread both lose texture after freezing and thawing, so this is best made fresh.
- Reheating: Reheat in a skillet over low heat or wrapped in foil over low campfire heat until warmed through. High heat will scorch the bread before the center heats, which is the most common mistake with leftover pie irons.
Questions I Get Asked About This Recipe
Bacon Pie Irons
Ingredients
Equipment
Method
- Butter one side of each bread slice for even browning. Use a thin, full-coverage layer so it toasts without scorching.
- Place one bread slice, butter-side down, in the preheated pie iron. Keep it centered so the edges contact the ridges for a crisp seal.
- Layer scrambled eggs over the bread in the pie iron. Spread in an even layer so each bite has egg in the center.
- Add the cooked bacon on top of the eggs. Arrange strips to cover gaps for consistent crunch.
- Place cheddar cheese slices over the bacon. Cover most of the surface so it melts into a gooey layer.
- Season with salt and pepper to taste. Sprinkle lightly and evenly so flavor is distributed without overpowering.
- Top with the second bread slice, butter-side up, to complete the sandwich. Press gently to help the layers hold together when the iron is closed.
- Close the pie iron and place it over campfire coals. Cook for 3-4 minutes until the first side is golden and the cheese begins to melt.
- Flip the pie iron and cook another 3-4 minutes. Continue until both sides are deeply golden and the cheese is fully melted and slightly stretchy.
- Open the pie iron carefully and remove the sandwiches. Serve hot right away for the crispiest toast and meltiest cheese.