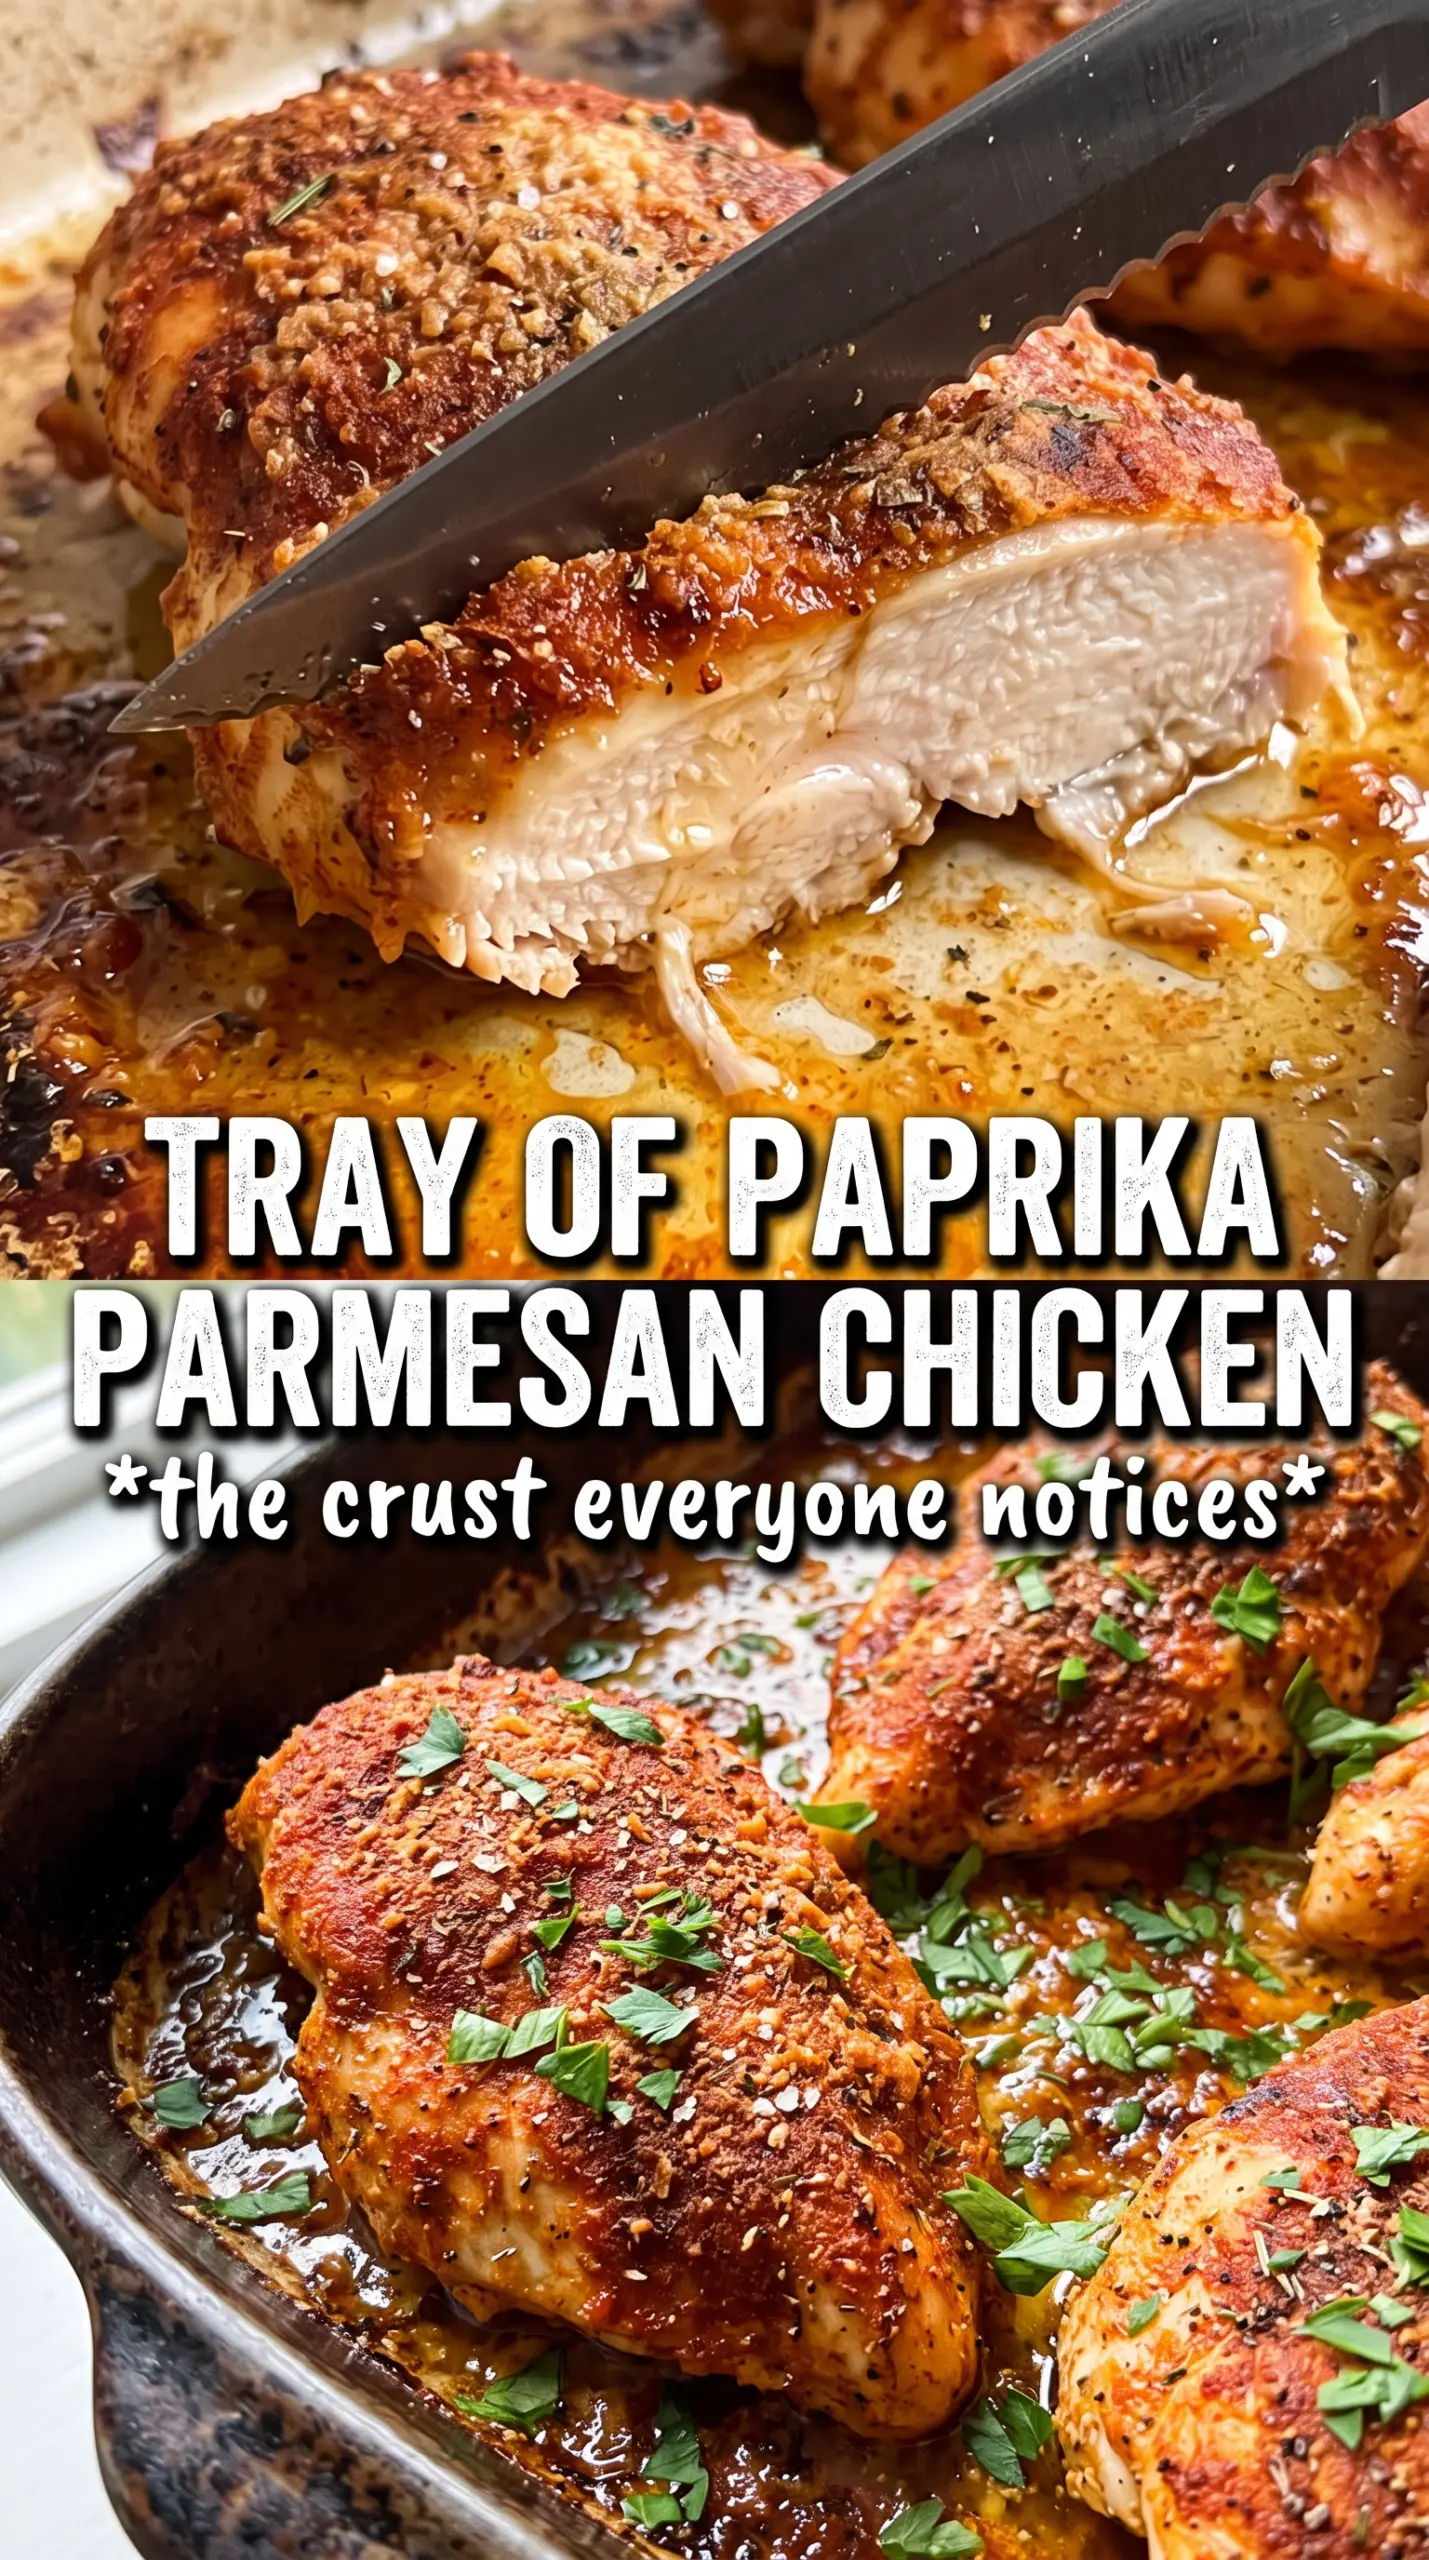
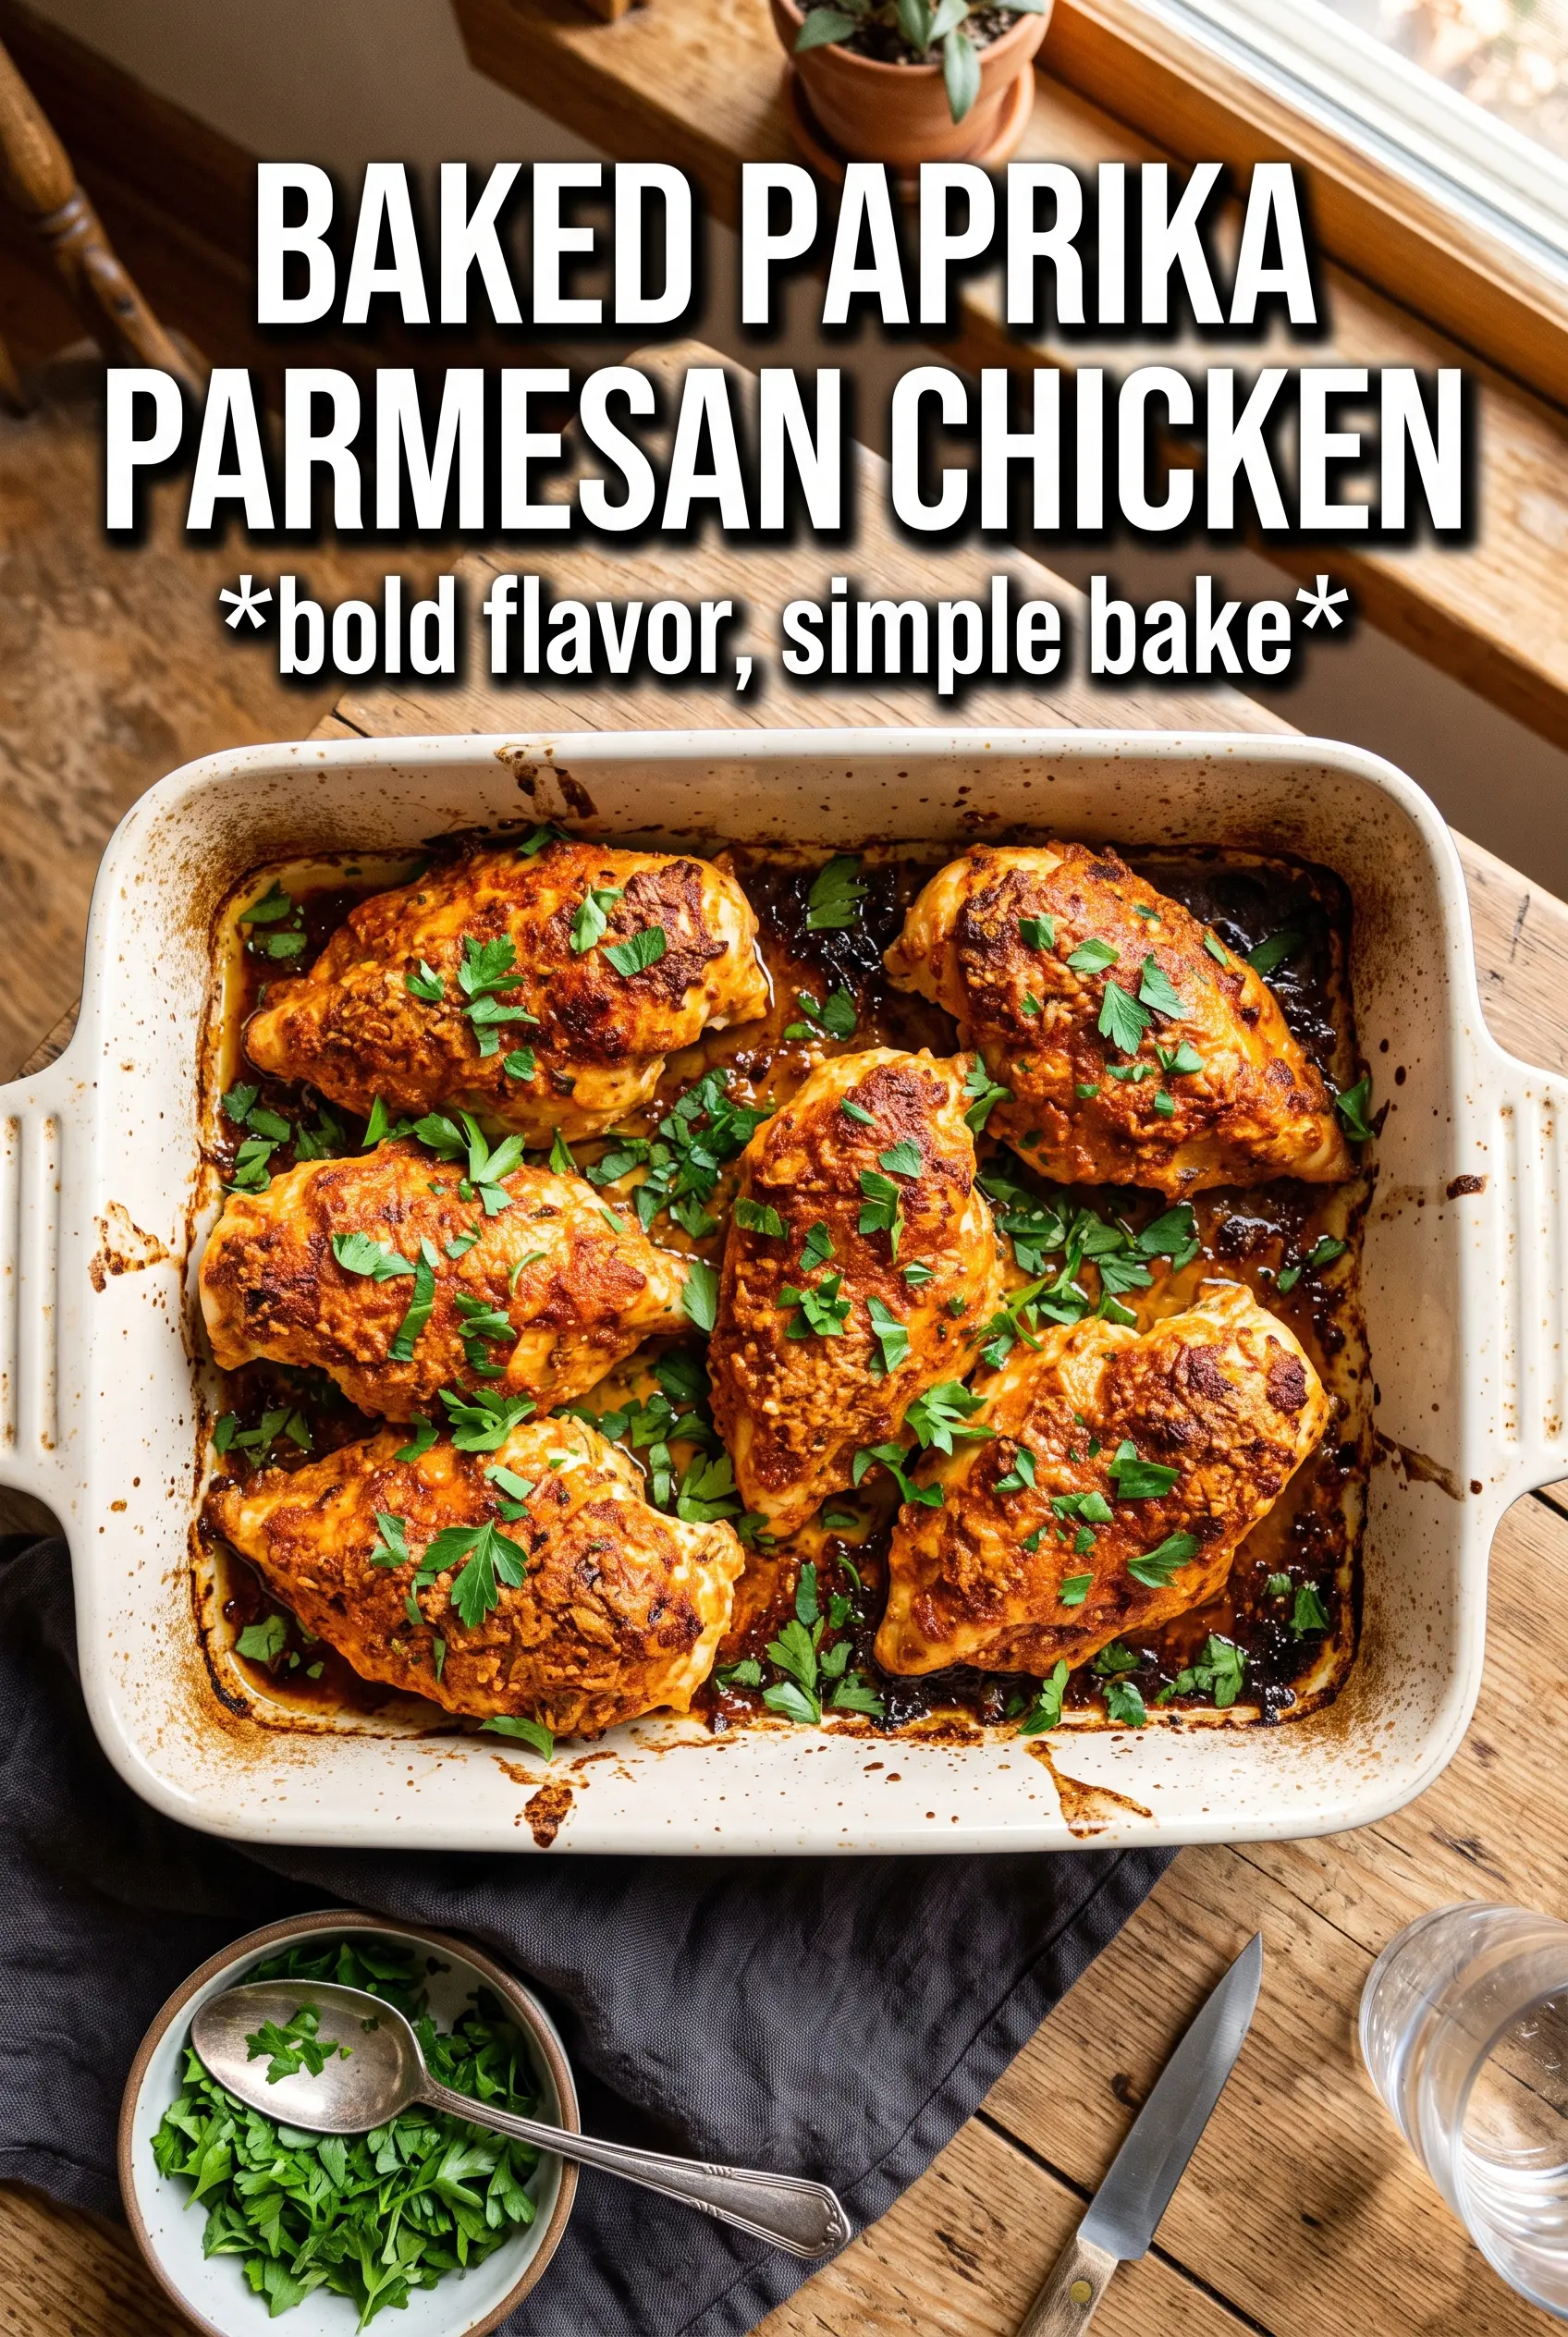
Baked paprika Parmesan chicken comes out with a crackly, deeply seasoned crust and juicy chicken underneath, which is exactly why it earns a spot in the regular dinner rotation. The smoked paprika gives it that warm, almost woodsy color and aroma, while the Parmesan and panko turn into a crisp top that tastes like you worked a lot harder than you did.
The trick is building flavor in layers instead of dumping everything into one coating. The chicken gets brushed with paprika oil first, so the seasoning sticks and the surface starts to brown before the cheese topping even hits the oven. Freshly grated Parmesan matters here because pre-shredded cheese doesn’t melt and toast the same way; it tends to dry out and stay sandy instead of forming that golden crust.
Below, I’ll walk through the one step that keeps the coating from sliding off, the ingredient swap that still gives you a good crust, and how to keep the chicken juicy without overbaking it.
The paprika oil gave the chicken such a good color, and the crust stayed on all the way through baking. Mine hit 165 in right around 24 minutes and the panko-Parmesan top was crisp, not greasy.
Love that smoked paprika crust and Parmesan crunch? Save this baked paprika Parmesan chicken for a fast dinner with bold color and almost no cleanup.
The Reason the Coating Stays Crispy Instead of Turning Patchy
The biggest mistake with baked chicken like this is putting dry crumbs straight onto dry chicken and expecting them to stay put. They won’t. The paprika oil acts like glue and seasoning at the same time, and it gives the surface enough moisture for the Parmesan-panko layer to cling before the heat sets it.
High oven heat matters too. At 425°F, the coating browns fast enough to crisp before the chicken has time to dry out. If you bake this too low, the topping steams and the cheese can go oily instead of caramelized. If your crust ever falls off, it’s usually because the chicken was too wet or the topping wasn’t pressed on firmly enough.
- Smoked paprika — This is the ingredient that gives the chicken its deep color and savory edge. Sweet paprika alone won’t deliver the same smoky warmth, though you can use all sweet paprika in a pinch if that’s what you have.
- Freshly grated Parmesan — Grates finer and melts more evenly than the bagged stuff, which helps the crust brown instead of clump. Pre-grated Parmesan can work, but it won’t give you the same clean, crisp finish.
- Panko breadcrumbs — These stay lighter and crunchier than standard breadcrumbs. If you swap in regular breadcrumbs, the crust will be denser and a little less crisp, but it will still hold.
- Olive oil — This carries the spices and helps the coating toast. Don’t cut it too much; the chicken needs enough oil to stay juicy and help the crust brown evenly.
What Each Ingredient Is Actually Doing in This Recipe
- Primary ingredient (the star) — Quality matters most. Choose the best you can find.
- Cooking medium (oil, butter, or broth) — This carries flavors and prevents dryness.
- Seasonings (salt, pepper, spices, herbs) — Layer flavors so nothing overpowers. Build depth gradually.
- Aromatics (garlic, onion, herbs) — Cook with fat to bloom flavors. Become the foundation.
- Supporting ingredients — Complement the main ingredient without overpowering it.
- Sauce or liquid (if applicable) — Brings flavors together. Balance richness with acid.
- Acid (lemon, vinegar, wine, or other) — Brightens and prevents flat-tasting results.
- Final finish (garnish, glaze, or sauce) — Prevents one-dimensional taste and adds visual appeal.
What Happens in the Pan, From First Brush to Final Rest
Mixing the Paprika Oil
Stir the olive oil with smoked paprika, sweet paprika, garlic powder, onion powder, salt, and pepper until it looks like a loose red paste. You want the spices fully hydrated by the oil so they spread evenly across the chicken instead of clumping in dry spots. If the mixture looks grainy or separates quickly, just stir again before brushing it on.
Coating the Chicken Evenly
Brush the paprika oil over both sides of the chicken breasts, then press the cheese mixture onto the top side in a firm layer. Don’t drag the coating around once it’s on, or you’ll pull it back off the chicken. If the breasts are very thick on one end, pound them lightly first so they cook at the same pace and don’t dry out before the middle is done.
Baking Until the Crust Sets
Line the pan with parchment and bake until the crust is golden-red and the thickest part of the chicken reaches 165°F. The top should look dry and crisp at the edges, not pale or wet. If the cheese starts to darken too fast before the chicken is done, move the pan one rack lower for the last few minutes.
Finishing for Juiciness
Let the chicken rest a few minutes after it comes out of the oven so the juices settle back into the meat. That short pause keeps the first cut from spilling moisture all over the board. Finish with parsley and a squeeze of lemon, which cuts through the richness and makes the paprika taste brighter.
Three Ways to Work This Into Your Week Without Losing the Crunch
Dairy-Free Version with the Same Spice Profile
Use nutritional yeast in place of Parmesan and add a little extra panko to keep the topping crisp. You won’t get the same salty, nutty cheese crust, but you’ll still get a savory toasted coating that holds onto the paprika oil.
Gluten-Free Crunch That Still Bakes Up Nicely
Swap the panko for certified gluten-free breadcrumbs or crushed gluten-free crackers. The texture will be a little more delicate, but the crust still browns well as long as the layer is pressed on firmly and the oven stays hot.
Turning It Into a Meatball-Free Sheet Pan Dinner
Add halved baby potatoes or broccoli florets to the same pan, but give them a head start if they need longer than the chicken. The chicken stays the star, and the vegetables pick up the paprika drippings at the edges of the pan.
Storage and Reheating
- Refrigerator: Store in an airtight container for up to 4 days. The crust softens a little, but the flavor stays strong.
- Freezer: It freezes well for up to 2 months. Wrap each piece tightly and thaw in the refrigerator before reheating so the coating doesn’t get soggy.
- Reheating: Warm in a 375°F oven or air fryer until heated through. The oven brings back the crust better than the microwave, which tends to steam the topping and make it rubbery.
The Things That Trip People Up With This Dish
Baked Paprika Parmesan Chicken
Ingredients
Equipment
Method
- Preheat the oven to 425°F and line a sheet pan with parchment for easy cleanup.
- Mix the olive oil with smoked paprika, sweet paprika, garlic powder, onion powder, salt, and pepper until you have a smooth paprika oil.
- Brush the paprika oil generously over both sides of each chicken breast so the coating can cling during baking.
- Combine the Parmesan and panko and press the mixture firmly onto the top of each oiled chicken breast for a thick crust.
- Bake at 425°F for 22-25 minutes until the crust is golden-red and the internal temperature reaches 165°F, with visible caramelization at the edges.
- Garnish with fresh parsley and serve with lemon wedges to brighten the flavors.