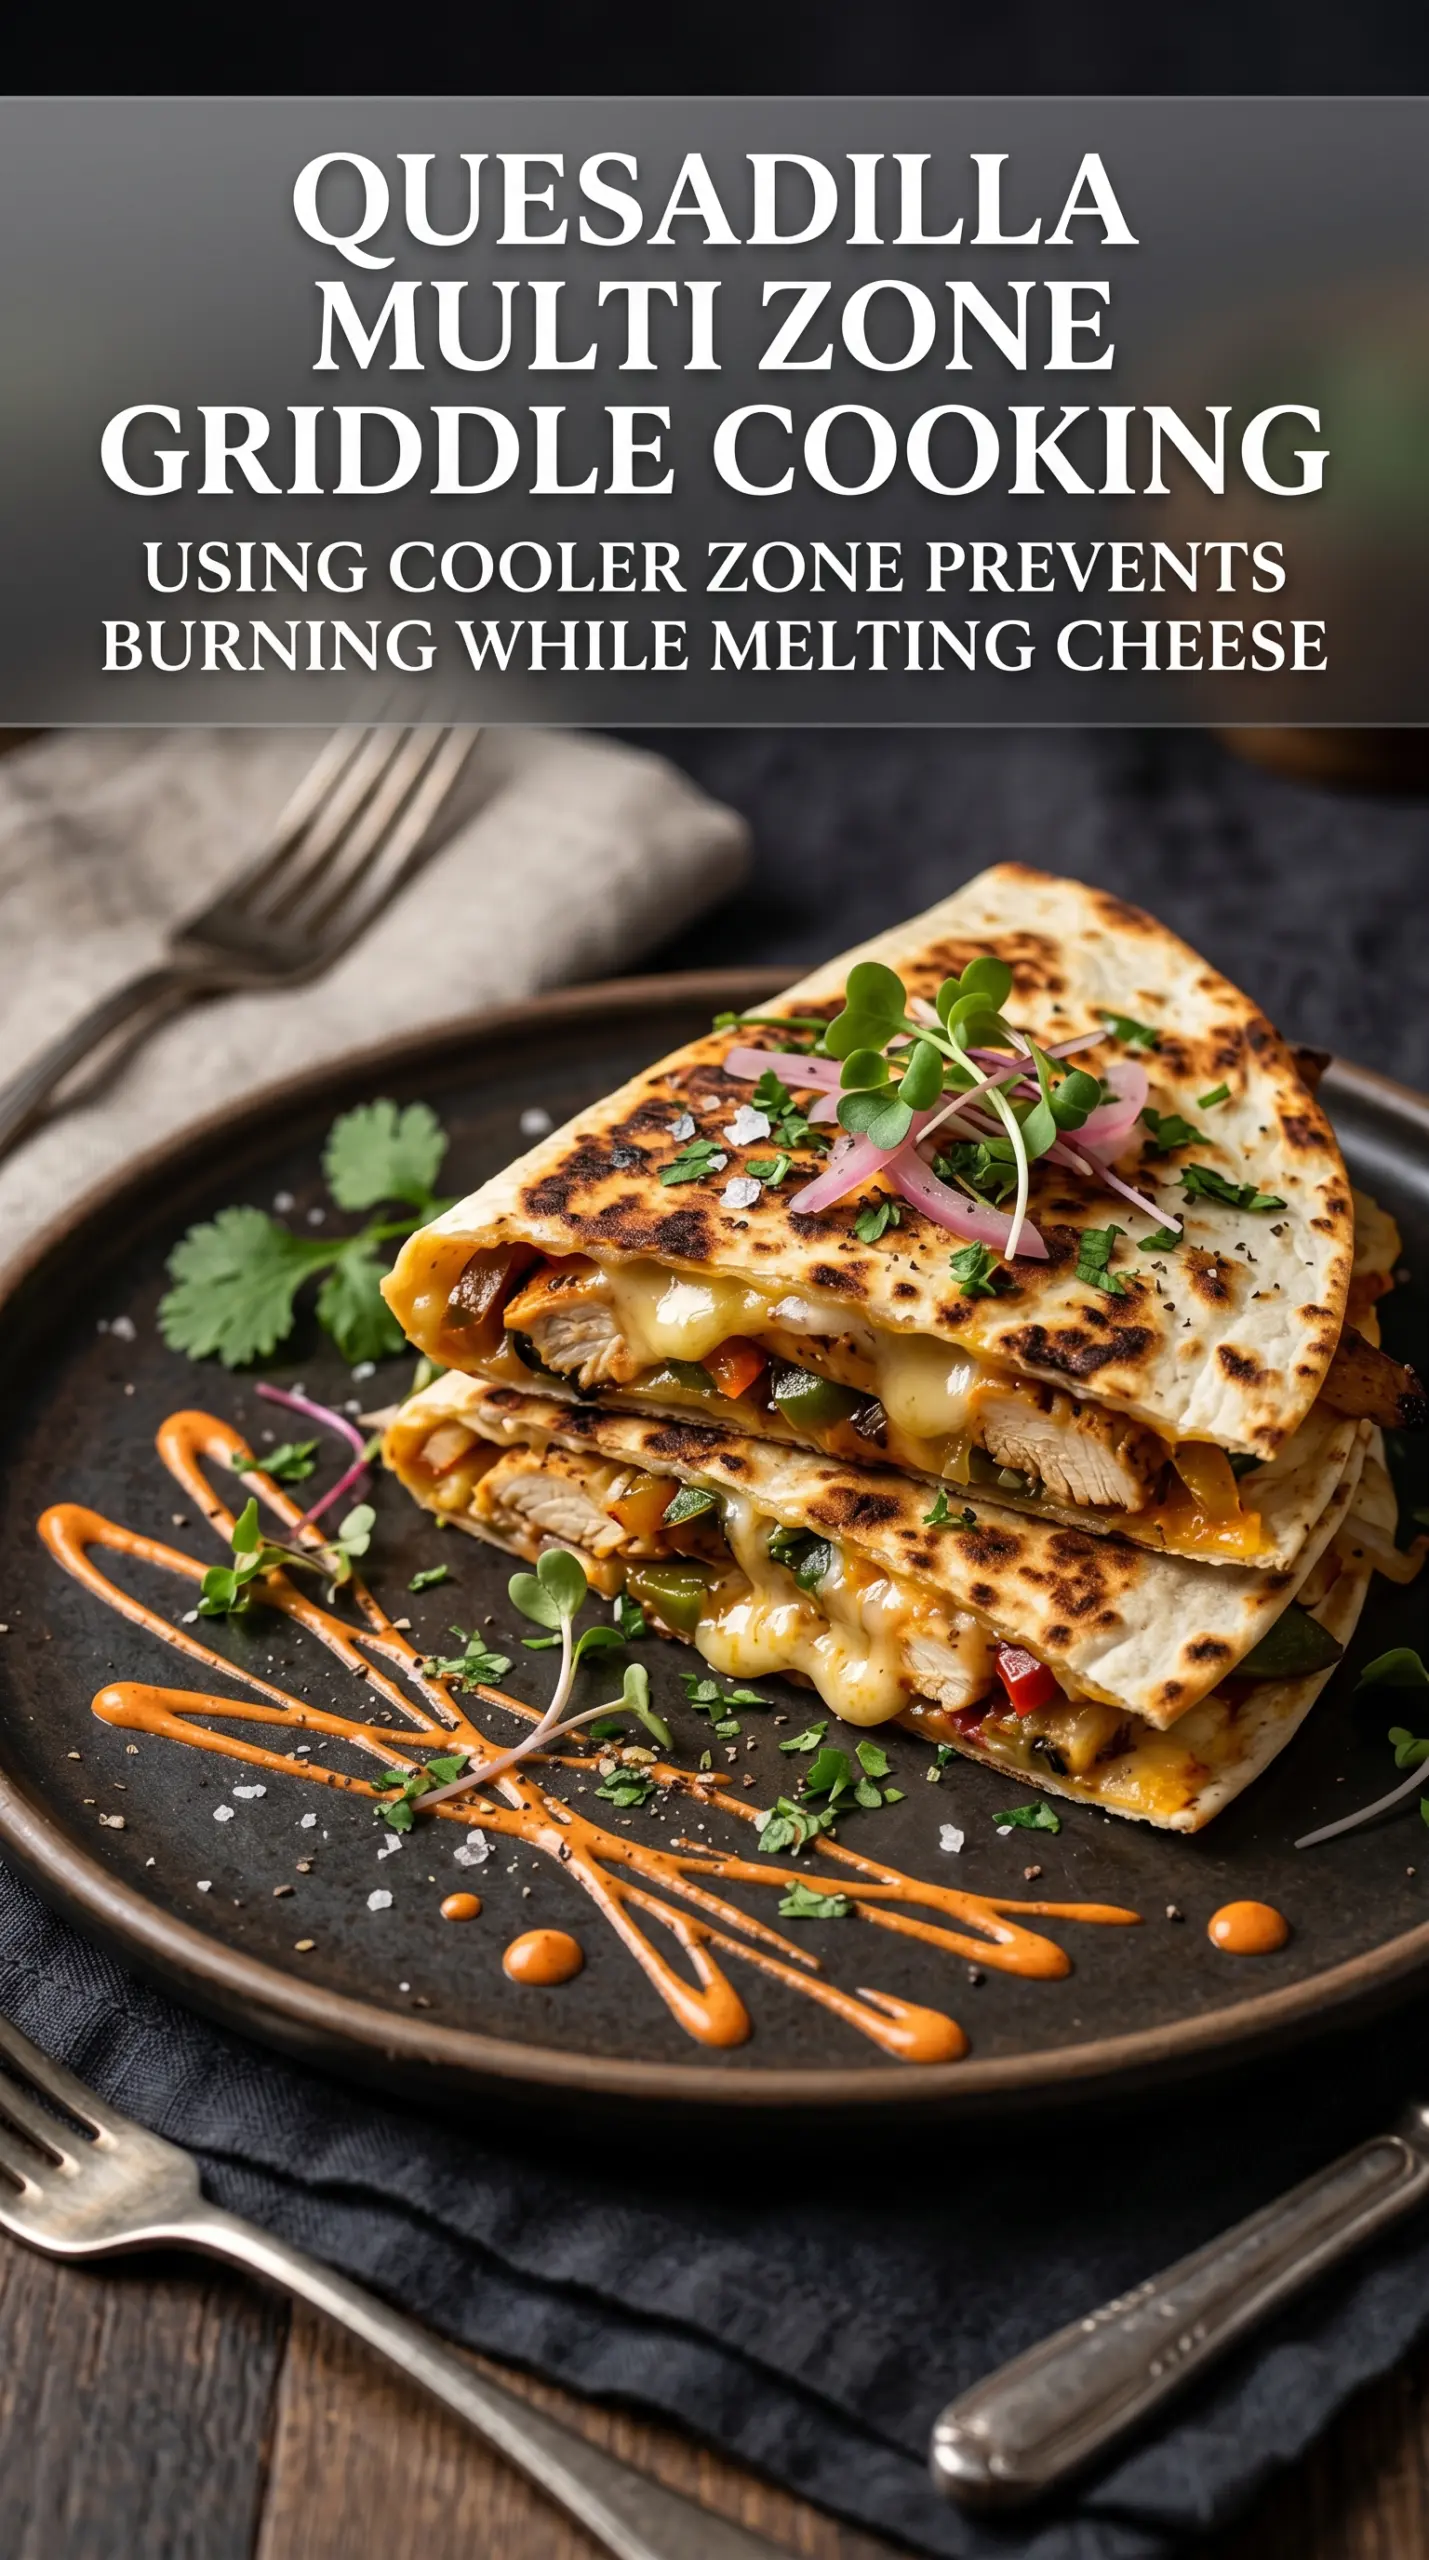
Golden, griddled tortillas with crisp edges and a melty center are the whole point here, and the Blackstone earns its keep by giving you enough surface area to cook the chicken, soften the peppers and onions, and build the quesadillas without crowding. The result is a dinner that lands somewhere between fajitas and diner-style quesadillas, with each wedge holding its shape but still pulling into long strands of cheese.
The key is cooking the filling hot enough to get color, but not so hard that the chicken dries out before the vegetables are tender. The seasoning gets split between the chicken and the peppers and onions, which keeps the whole filling balanced instead of leaving one layer flat and the other too salty. A good cheese blend matters too: cheddar brings flavor, Monterey Jack brings the melt.
Below you’ll find the little details that keep the tortillas from scorching before the cheese melts, plus a few easy ways to adapt this for what you have on hand.
The cheese melted all the way through before the tortillas got too dark, and the chicken stayed juicy even after slicing. I loved that the peppers still had a little bite instead of turning mushy.
Save these Blackstone Chicken Fajita Quesadillas for the nights when you want sizzling fajita filling and crisp, cheesy wedges without turning on the oven.
The trick to keeping the tortillas crisp while the filling stays juicy
Quesadillas fail when the filling is too wet or the heat is too aggressive. On a griddle, that usually shows up as tortillas that brown before the cheese melts, leaving you with a dry edge and a cold center. Here the chicken and vegetables are cooked first, then tucked into the tortillas in a way that keeps the moisture where it belongs.
The other mistake is stacking too much filling. It looks generous, but it makes the quesadilla hard to flip and forces the cheese to work overtime as glue. A thinner, even layer gives you a cleaner cut, a better seal, and those neat wedges with visible layers.
What the cheese, tortillas, and seasoning are each doing here
- Chicken breast — Slicing it thin is what keeps it tender and fast-cooking. Thicker pieces need longer on the griddle, which means more risk of dry chicken before the tortillas are ready.
- Bell peppers and onion — These bring the fajita feel and a little sweetness once they hit the heat. A quick cook keeps them from turning limp; you want softened edges and a bit of bite left.
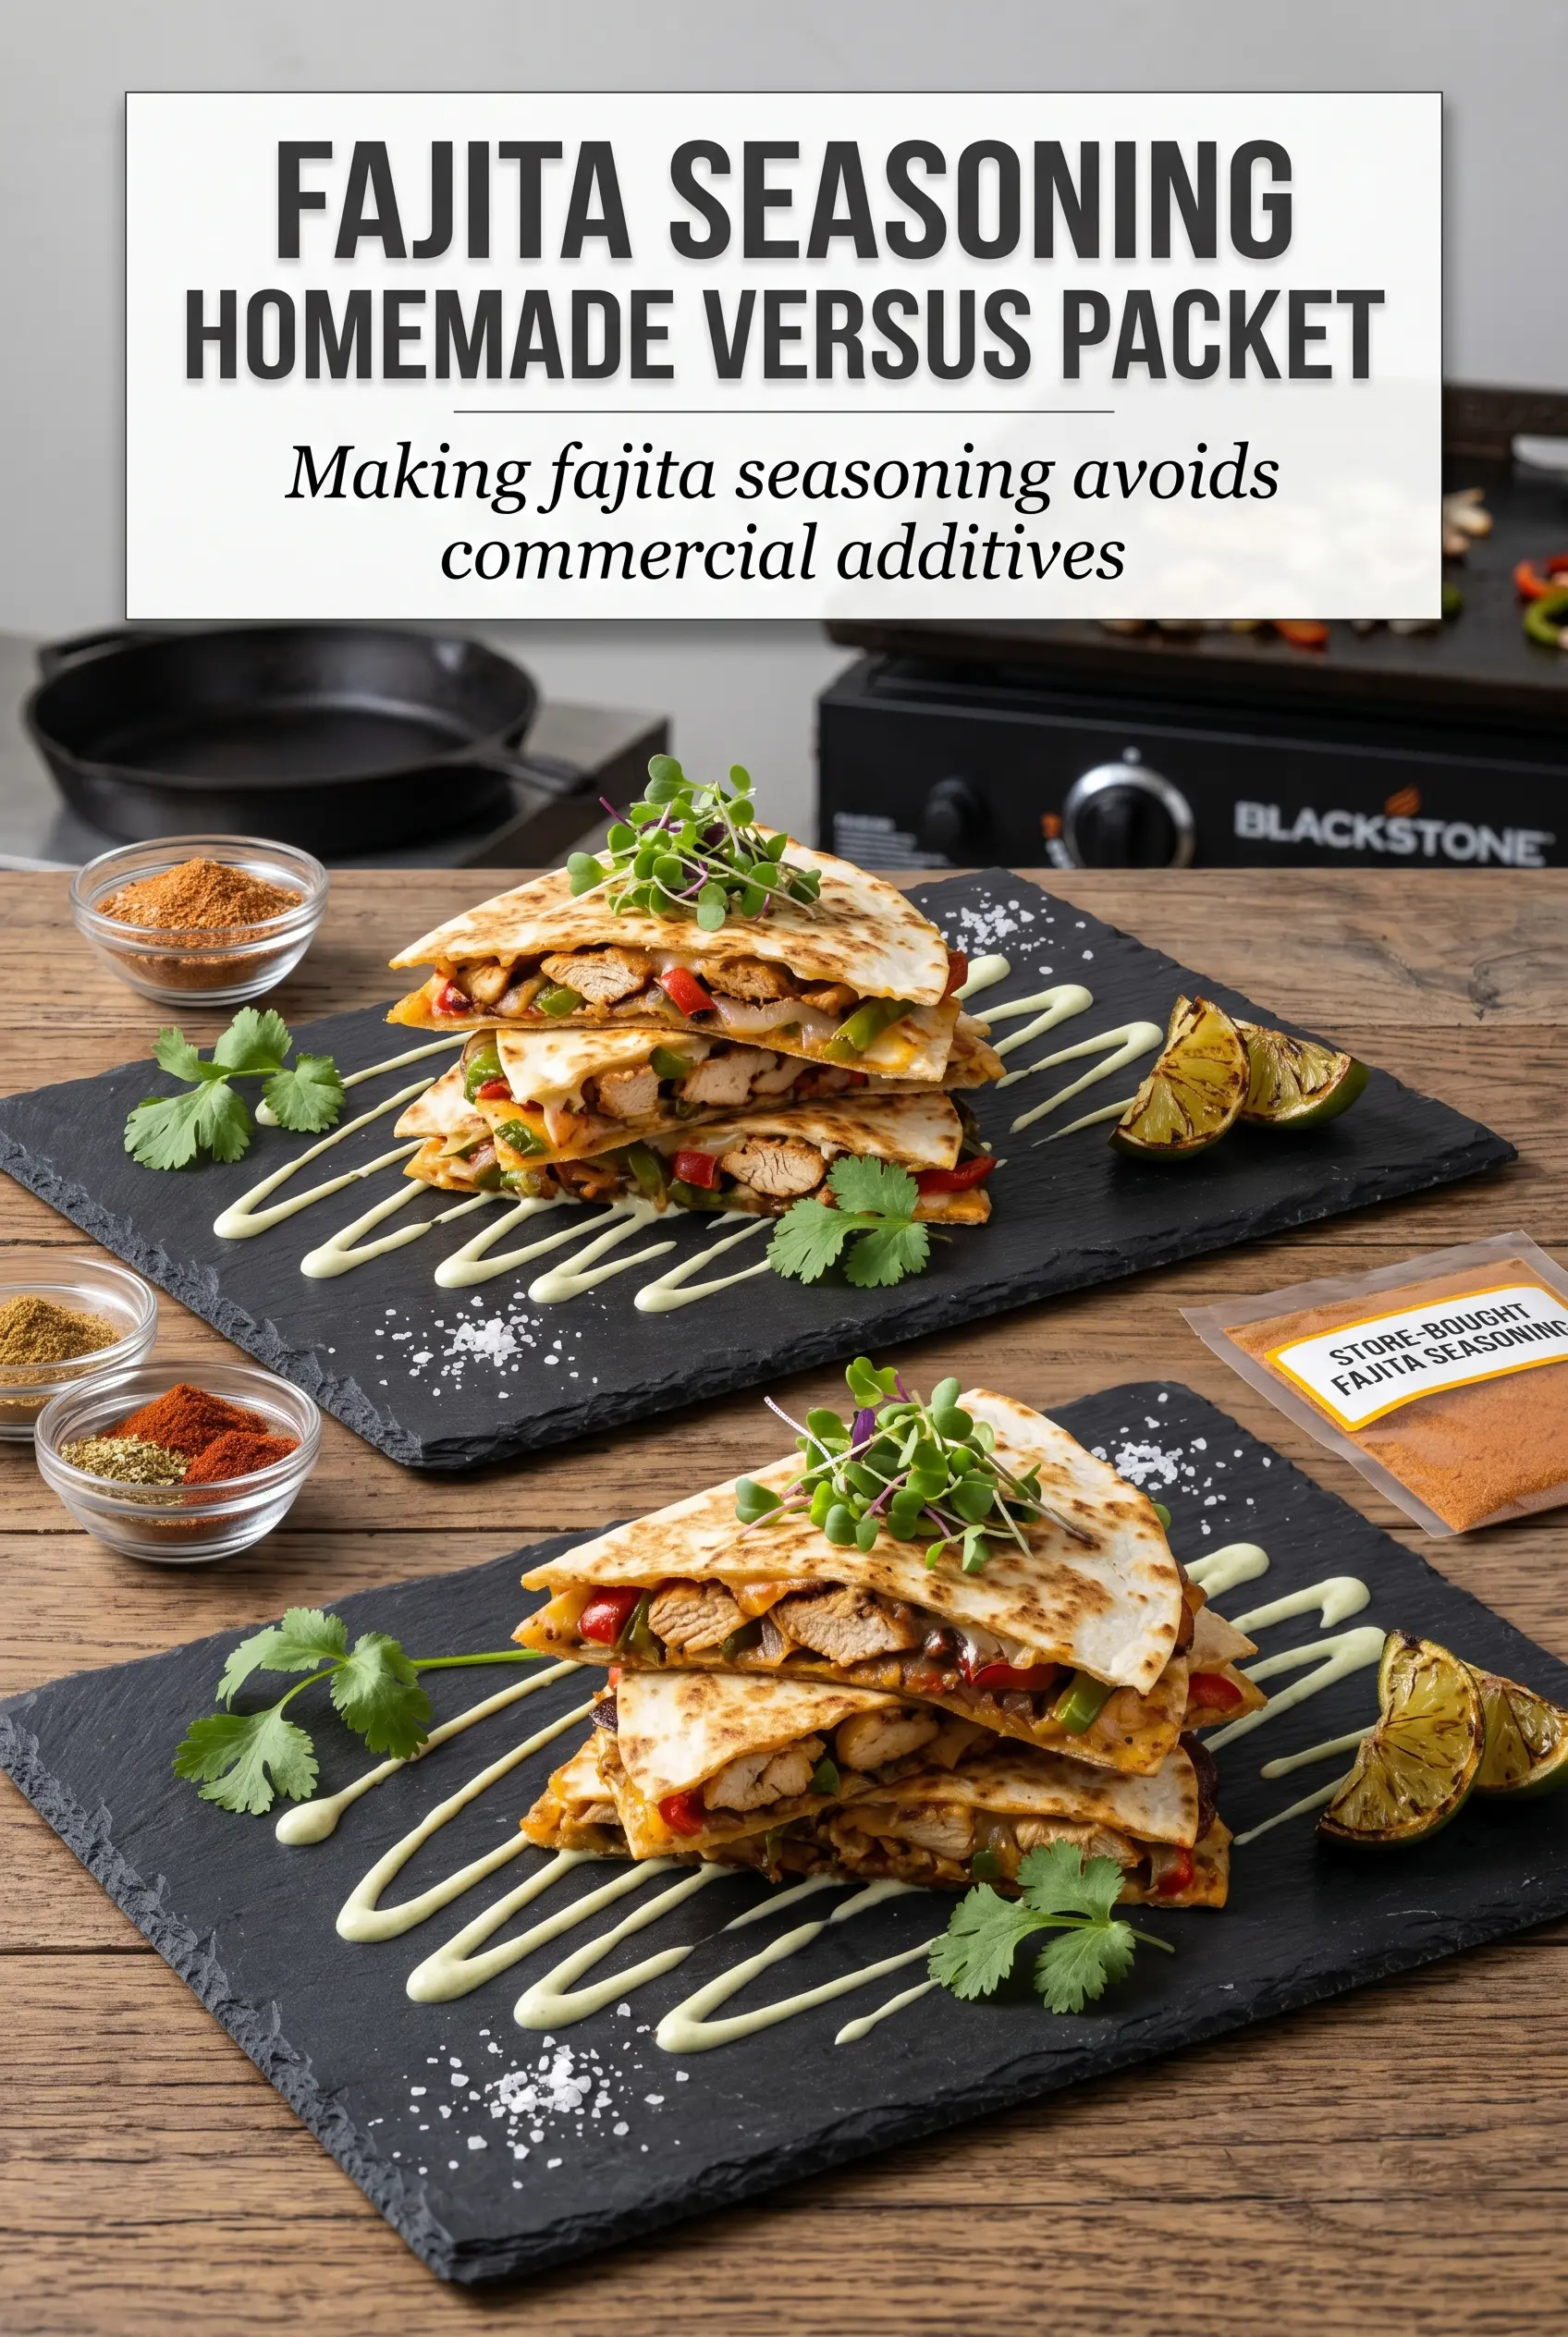
- Fajita seasoning — This carries the dish, so use one you like. If yours is salt-heavy, hold back a little on the first half and taste the filling before adding more.
- Flour tortillas — Large flour tortillas seal and brown best on the griddle. Smaller tortillas tear more easily when you flip them, especially once the cheese starts melting.
- Cheddar and Monterey Jack — Cheddar gives the sharp, savory edge; Monterey Jack melts into those stretchy strands everyone wants. If you swap in only cheddar, the filling tastes stronger but loses some of that smooth melt.
Building the filling before the tortillas hit the griddle
Getting the chicken cooked without drying it out
Heat the griddle to medium-high and add the oil, then spread the chicken out in a single layer. Let it sit long enough to pick up some color before stirring, because constant moving keeps it pale and limits flavor. When the chicken is opaque through the center and no pink remains, pull it off as soon as it’s done; overcooked breast meat turns stringy fast.
Softening the vegetables with the seasoning
Add the peppers and onions to the hot surface with the remaining seasoning. Cook just until the onions lose their raw bite and the peppers bend without collapsing. If the pan looks dry, a small splash of oil helps the seasoning bloom and cling instead of burning in spots.
Assembling and flipping without losing the filling
Lay down four tortillas, scatter cheese on each one, then add the chicken and vegetable mixture before topping with more cheese and the second tortilla. The bottom layer of cheese acts like glue, and the top layer helps seal the filling in place. Flip only when the underside is golden and the cheese has started to melt at the edges; if you flip too soon, everything slides.
Finishing for that clean, crisp wedge
Cook the assembled quesadillas until both sides are deeply golden and the center feels hot when you press it gently with a spatula. Rest them for a minute before cutting so the cheese settles instead of spilling out in a rush. Slice into wedges and serve with sour cream, salsa, guacamole, and lime for a finish that cuts through the richness.
How to adapt these quesadillas when dinner needs a different direction
Make it dairy-free without losing the crispy finish
Use a dairy-free shredded cheese that melts well and keep the layer thinner than you would with regular cheese. Some dairy-free cheeses brown faster, so cook over medium heat instead of medium-high to avoid scorching the tortillas before the center loosens.
Turn it into steak fajita quesadillas
Swap the chicken for thinly sliced skirt steak and cook it just long enough to brown, then rest it before assembling. Steak brings a deeper, beefier flavor, but it can dry out if you treat it like chicken and leave it on the griddle too long.
Use leftover rotisserie chicken for a faster version
Toss the shredded chicken with a little oil and seasoning, then warm it briefly on the griddle with the vegetables. This cuts the cook time down and keeps the chicken from drying out, since you’re only heating it through instead of cooking it from raw.
Storage and Reheating
- Refrigerator: Store leftovers in an airtight container for up to 3 days. The tortillas soften a bit as they sit, but the flavor holds up well.
- Freezer: Freeze cooked quesadillas in a single layer, then wrap them once solid. They freeze fine, though the tortillas won’t stay quite as crisp after thawing.
- Reheating: Reheat on a dry skillet or griddle over medium heat until the outside crisps back up and the center is hot. The common mistake is using the microwave, which softens the tortilla and makes the cheese go greasy instead of melty.