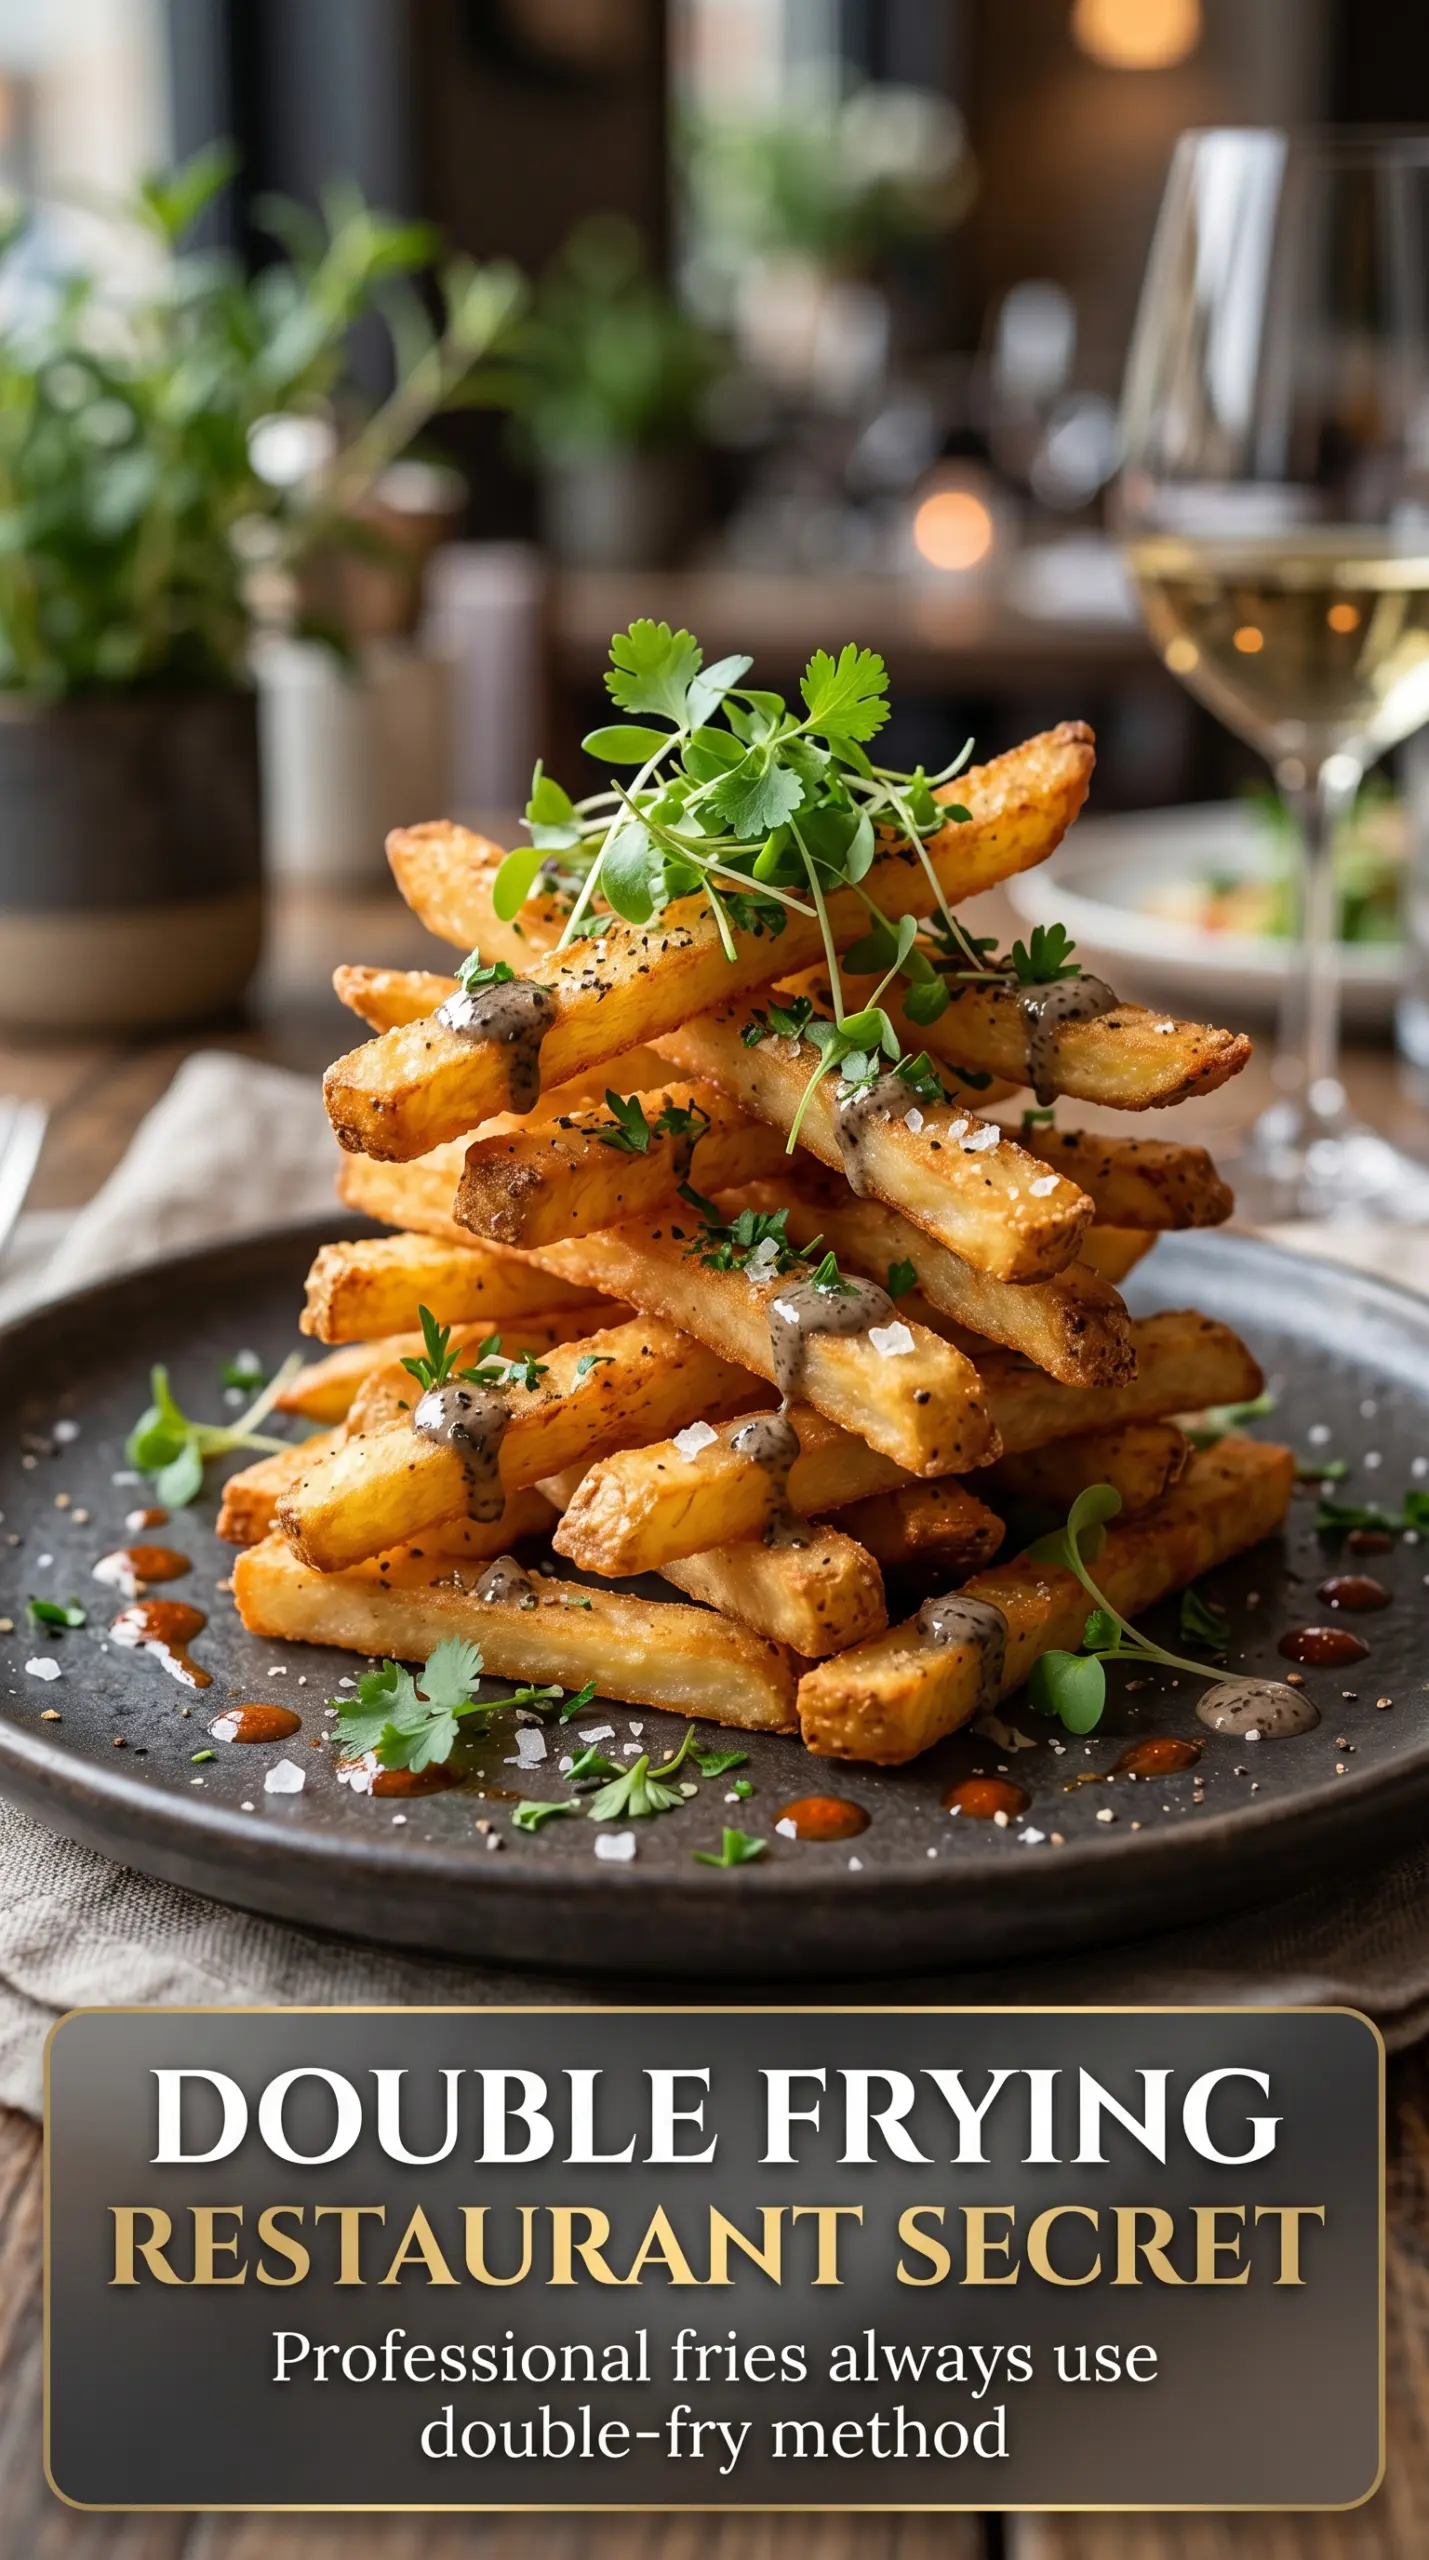
Blackstone fries come off the griddle with the kind of crust that makes you stop talking for a second. The outsides turn deeply golden and crisp while the centers stay fluffy, and that contrast is exactly what keeps these on repeat. They taste like the best diner-style fries, only fresher and hotter than anything that sat under a heat lamp.
The trick is giving the potatoes a short soak, drying them all the way, and then leaving them alone long enough for a crust to form. Wet potatoes steam instead of sear, and crowded fries turn soft before they ever get a chance to brown. Butter adds flavor and helps the seasoning cling, but the real texture comes from that dry potato meeting a hot griddle in a single layer.
Below, I’ll walk through the part that matters most: how to keep the fries from sticking, how to know when they’re ready to flip, and what to do if you want to change the seasoning without losing that crisp edge.
The fries got that real crunchy edge on the Blackstone and stayed fluffy inside. I liked that the garlic powder and paprika went on at the end — nothing burned, and the batch disappeared before I could set out the ketchup.
Keep these Blackstone fries handy for the nights when you want crispy griddle potatoes with a garlicky finish and almost no cleanup.
The Reason These Fries Crisp Instead of Going Soft
Most griddle fries fail for one simple reason: they’re moved too soon. The cut surface needs time against the hot metal to dry out and set before it can brown. If you start flipping and stirring early, the potatoes scrape up before the crust forms, and you end up with pale, uneven fries that taste steamed instead of crisp.
The other mistake is using potatoes that are still damp from soaking. A little rinse helps pull off excess starch, but the fries need to be dried completely before they hit the griddle. That step matters more than people think. Water is the enemy of browning, and a wet fry will spend its first few minutes releasing steam instead of building texture.
- Single layer: Space the fries out so the sides can crisp instead of trapping steam.
- Medium-high heat: Hot enough to brown the potatoes, but not so hot that the butter burns before the centers cook through.
- Leave them alone: Eight to ten minutes without moving gives the crust time to form cleanly.
What the Potatoes, Butter, and Seasoning Are Doing Here
- Russet potatoes: Russets are the right choice because they’re starchy and dry out into crisp edges while staying fluffy inside. Waxy potatoes hold more moisture and won’t give you the same fry texture.
- Vegetable oil: This gives the fries enough fat to sear without adding a heavy taste. Any neutral oil with a high smoke point works, but don’t swap in something strongly flavored unless you want that flavor in every bite.
- Butter: Butter makes the fries taste richer and helps the spices stick, but it can burn if the griddle runs too hot. If yours tends to scorch, use a touch more oil and add the butter after the fries have started browning.
- Garlic powder, paprika, and onion powder: These seasonings are best added after cooking so they bloom in the hot fat instead of burning on the surface. Paprika adds color, garlic powder brings the savory note, and onion powder rounds it out.
The Griddle Method That Gives You Crisp Edges on the First Try
Dry the Fries Completely
Cut the potatoes into even 1/4-inch fries so they cook at the same pace. After the soak, pat them dry with a clean towel until the surface feels matte, not slick. If they go on damp, they’ll sputter and soften before they ever brown.
Build the Hot Fat Layer
Heat the Blackstone to medium-high, then add the oil and butter. You want the butter melted and foaming, not smoking hard at the edges. If it browns too fast, the heat is too high and the seasoning will taste bitter later.
Let the First Side Set
Lay the fries in a single layer and leave them alone for 8 to 10 minutes. That stillness is what creates the crust. When you lift one, it should release with a little resistance and show a deep golden side where it touched the griddle.
Flip, Finish, and Season Hot
Turn the fries and cook another 8 to 10 minutes until all sides are browned and crisp. Season immediately while the surface is still slick with hot fat, then toss with parsley at the end. If you wait until they cool, the seasoning slides off instead of clinging.
How to Change the Seasoning Without Losing the Crunch
Cheesy Fries with a Sharp Finish
Add finely grated Parmesan right after the fries come off the griddle so it melts lightly onto the hot surface. This gives you a salty, savory coating without burying the crisp edges under too much cheese.
Gluten-Free and Naturally Friendly as Written
These fries are already gluten-free as long as your seasonings are certified gluten-free and your dipping sauces are safe too. The cooking method doesn’t need any changes, which makes this a good side to serve when you’re cooking for mixed dietary needs.
Spicy Griddle Fries
Swap part of the paprika for cayenne or add a pinch of chili powder with the garlic powder. Keep the seasoning light at first; you can always add heat, but too much spice can drown out the buttery potato flavor.
Storage and Reheating
- Refrigerator: Store leftover fries in an airtight container for up to 3 days. They’ll lose some crispness, but the flavor holds up.
- Freezer: These don’t freeze well after cooking because the texture turns mealy when thawed.
- Reheating: Reheat in a hot skillet or back on the griddle for a few minutes until the edges crisp again. Skip the microwave; it softens the fries and wipes out the texture you worked for.
Answers to the Questions Worth Asking
Blackstone Fries
Ingredients
Equipment
Method
- Cut russet potatoes into 1/4-inch thick fries, then soak them in cold water for 10 minutes.
- Pat the fries completely dry so they crisp instead of steaming.
- Heat the Blackstone griddle to medium-high and add vegetable oil and butter.
- Spread the fries in a single layer and cook for 8-10 minutes without moving, until the bottoms start to bronze.
- Flip the fries and cook another 8-10 minutes until golden and crispy on all sides, with steam rising as they cook.
- Season immediately with garlic powder, paprika, onion powder, salt, and pepper while the fries are hot.
- Garnish with chopped fresh parsley and serve with ketchup and other dipping sauces.