Sliced kielbasa, golden tortellini, and blistered vegetables make this one of those griddle dinners that disappears fast. The sausage gets crisp at the edges, the tortellini picks up a little char, and the tomatoes collapse just enough to coat everything in a light, savory gloss. It eats like a full meal without needing a separate sauce on the side.
What makes this version work is the order. The kielbasa goes first so it can brown in the rendered fat and olive oil, then the peppers and onions soften in the same space, and the tortellini finishes at the end so it stays intact instead of turning mushy. A little garlic and Italian seasoning tie it all together, while Parmesan and basil add the finish that makes the whole skillet taste complete.
If you’ve ever had griddle pasta go soft or greasy, the fix is in the heat and timing. Below I’ve added the details that keep the tortellini firm, the vegetables vibrant, and the sausage nicely browned instead of steamed.
The tortellini stayed perfectly tender and the kielbasa got those crispy edges without drying out. I added the garlic at the end like you said and the whole griddle smelled amazing.
Save this Blackstone Grilled Kielbasa and Tortellini for a fast griddle dinner with crispy sausage, tender pasta, and charred vegetables.
The Trick to Keeping Tortellini from Going Soft on the Griddle
The biggest mistake with griddle pasta is letting the tortellini sit on the heat too long before the vegetables are ready. Tortellini doesn’t need to “cook” here, since it’s already cooked before it hits the Blackstone. It needs a quick finish in the oil, just long enough to warm through and pick up a little color on the outside.
The other thing that matters is moisture. Cherry tomatoes release enough juice to coat the pasta, but if you dump everything on at once, the pan turns steamy and the tortellini loses its texture. Browning the kielbasa first gives you a hot, seasoned surface, and adding the tortellini near the end keeps it from breaking apart.
What Each Ingredient Is Actually Doing in This Skillet
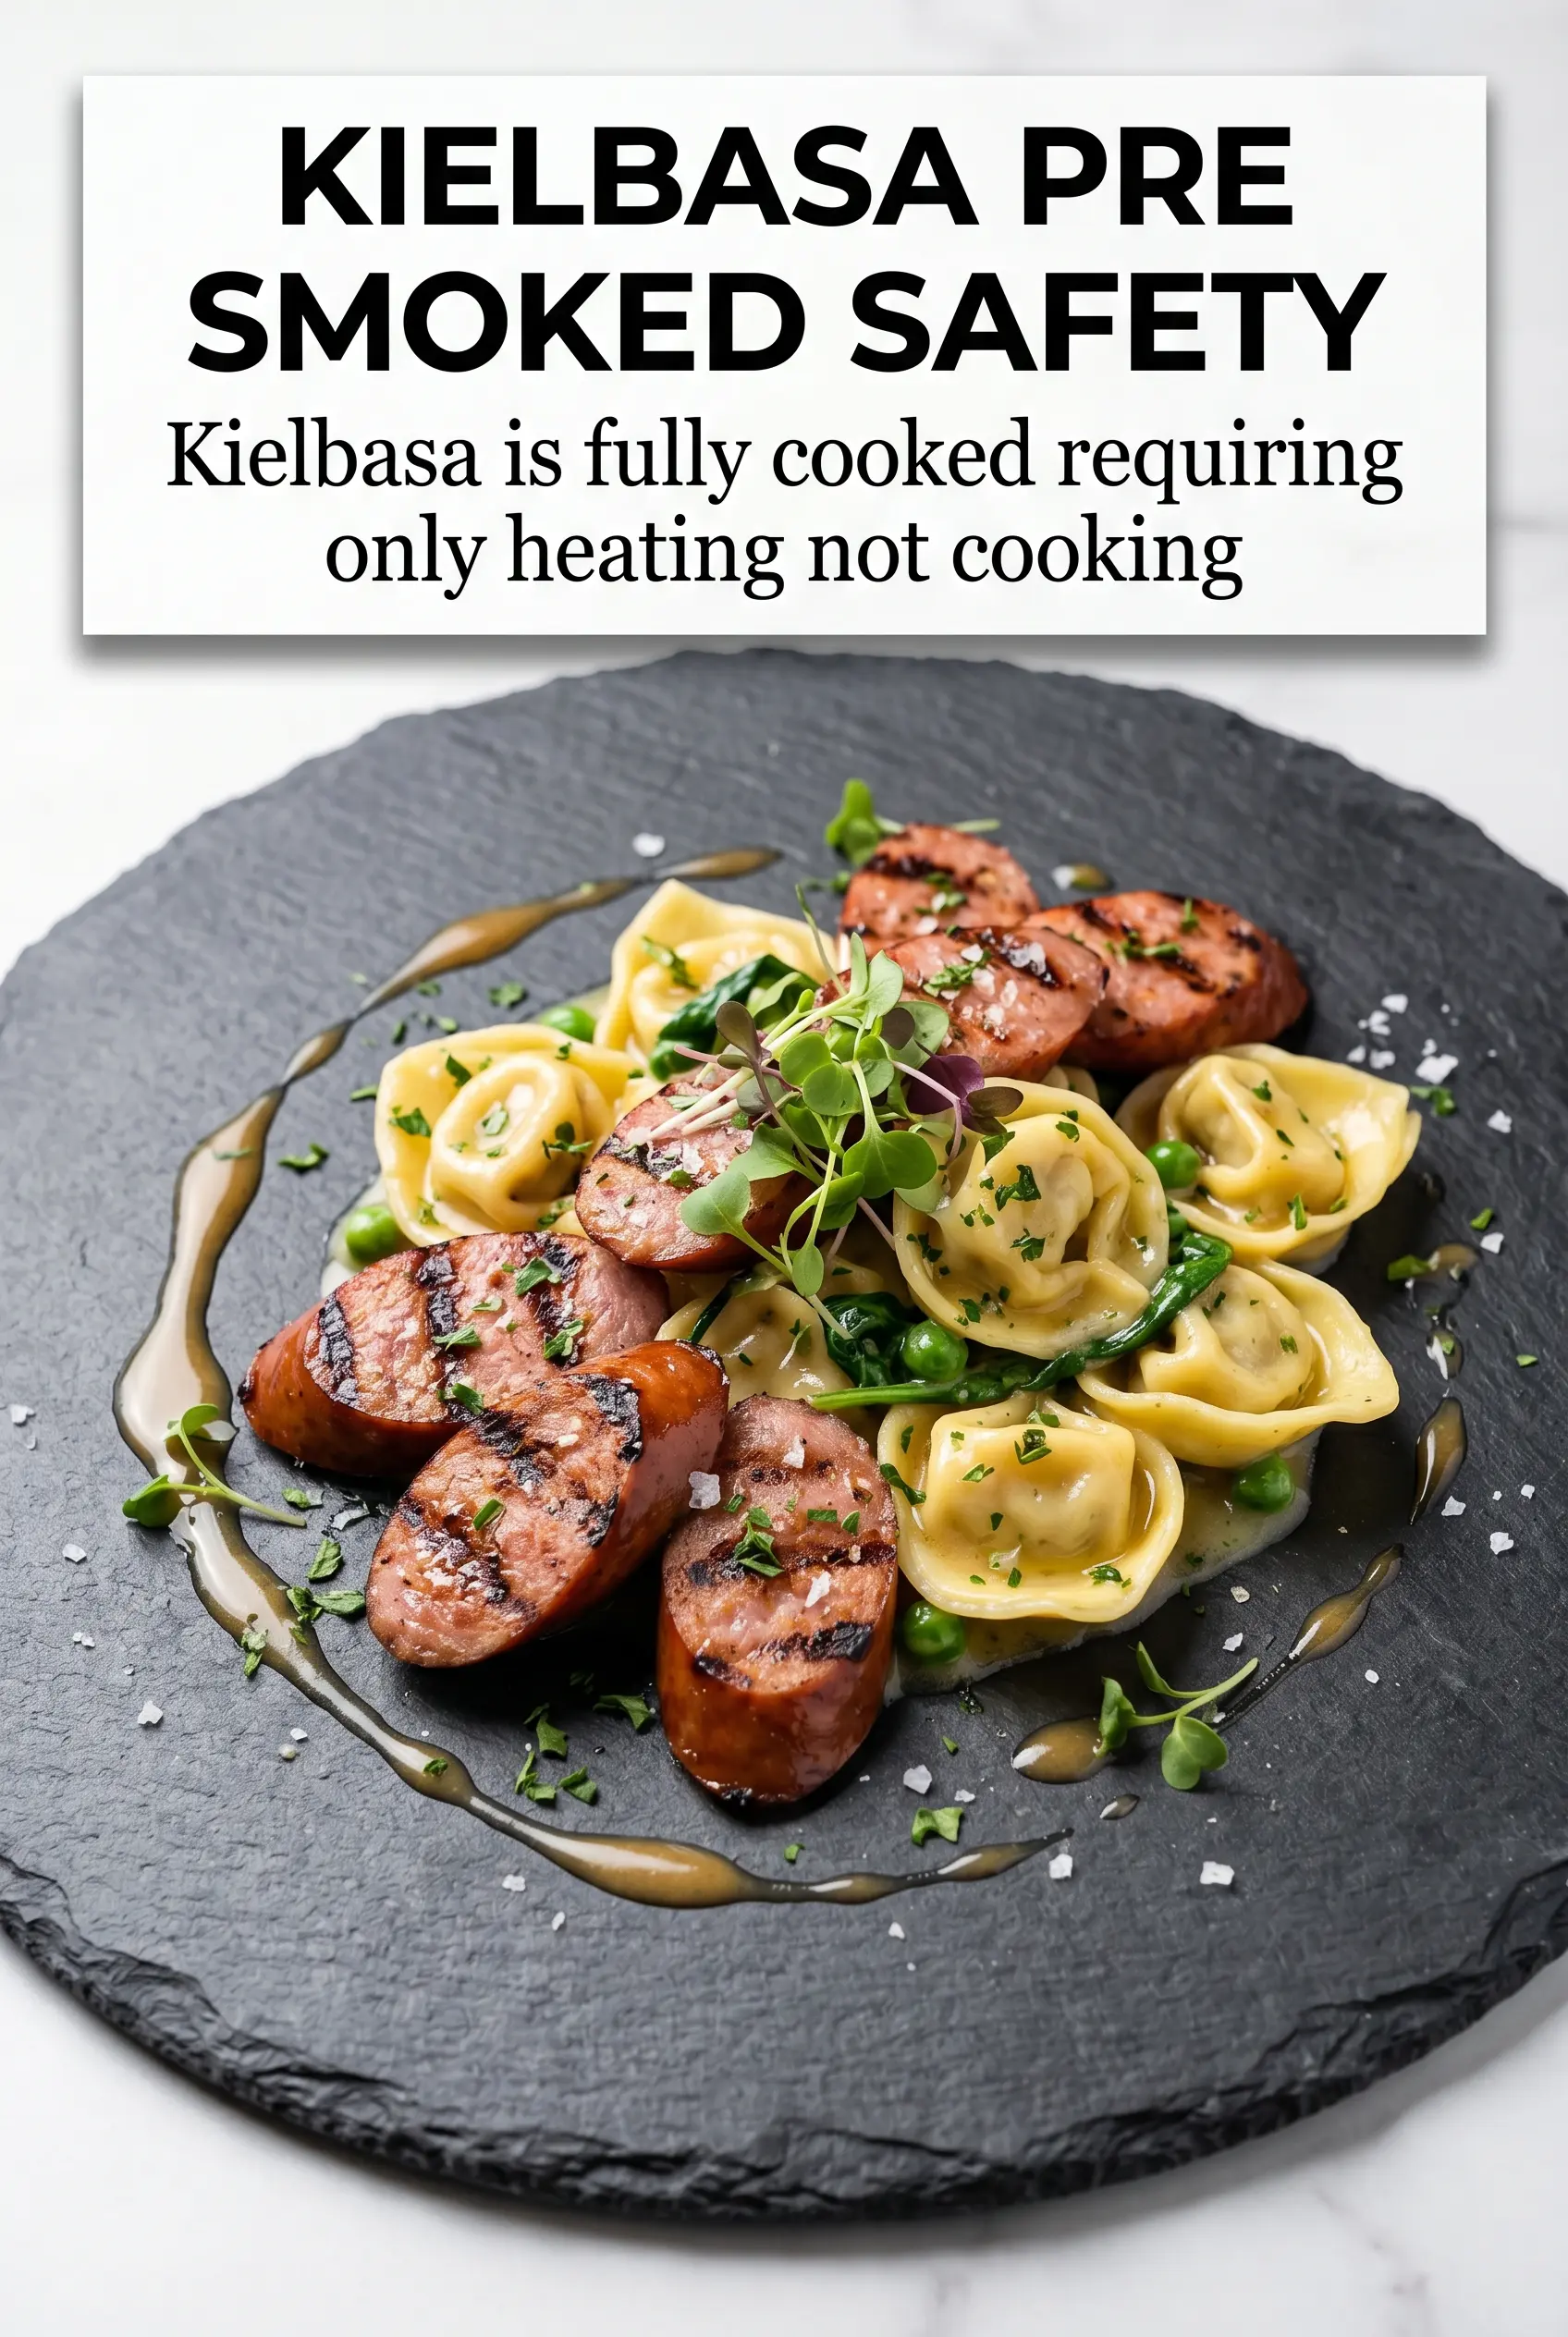
- Kielbasa — This is the backbone of the dish. It brings smoke, salt, and enough fat to help everything brown. Pre-sliced kielbasa works best because the cut surfaces caramelize fast.
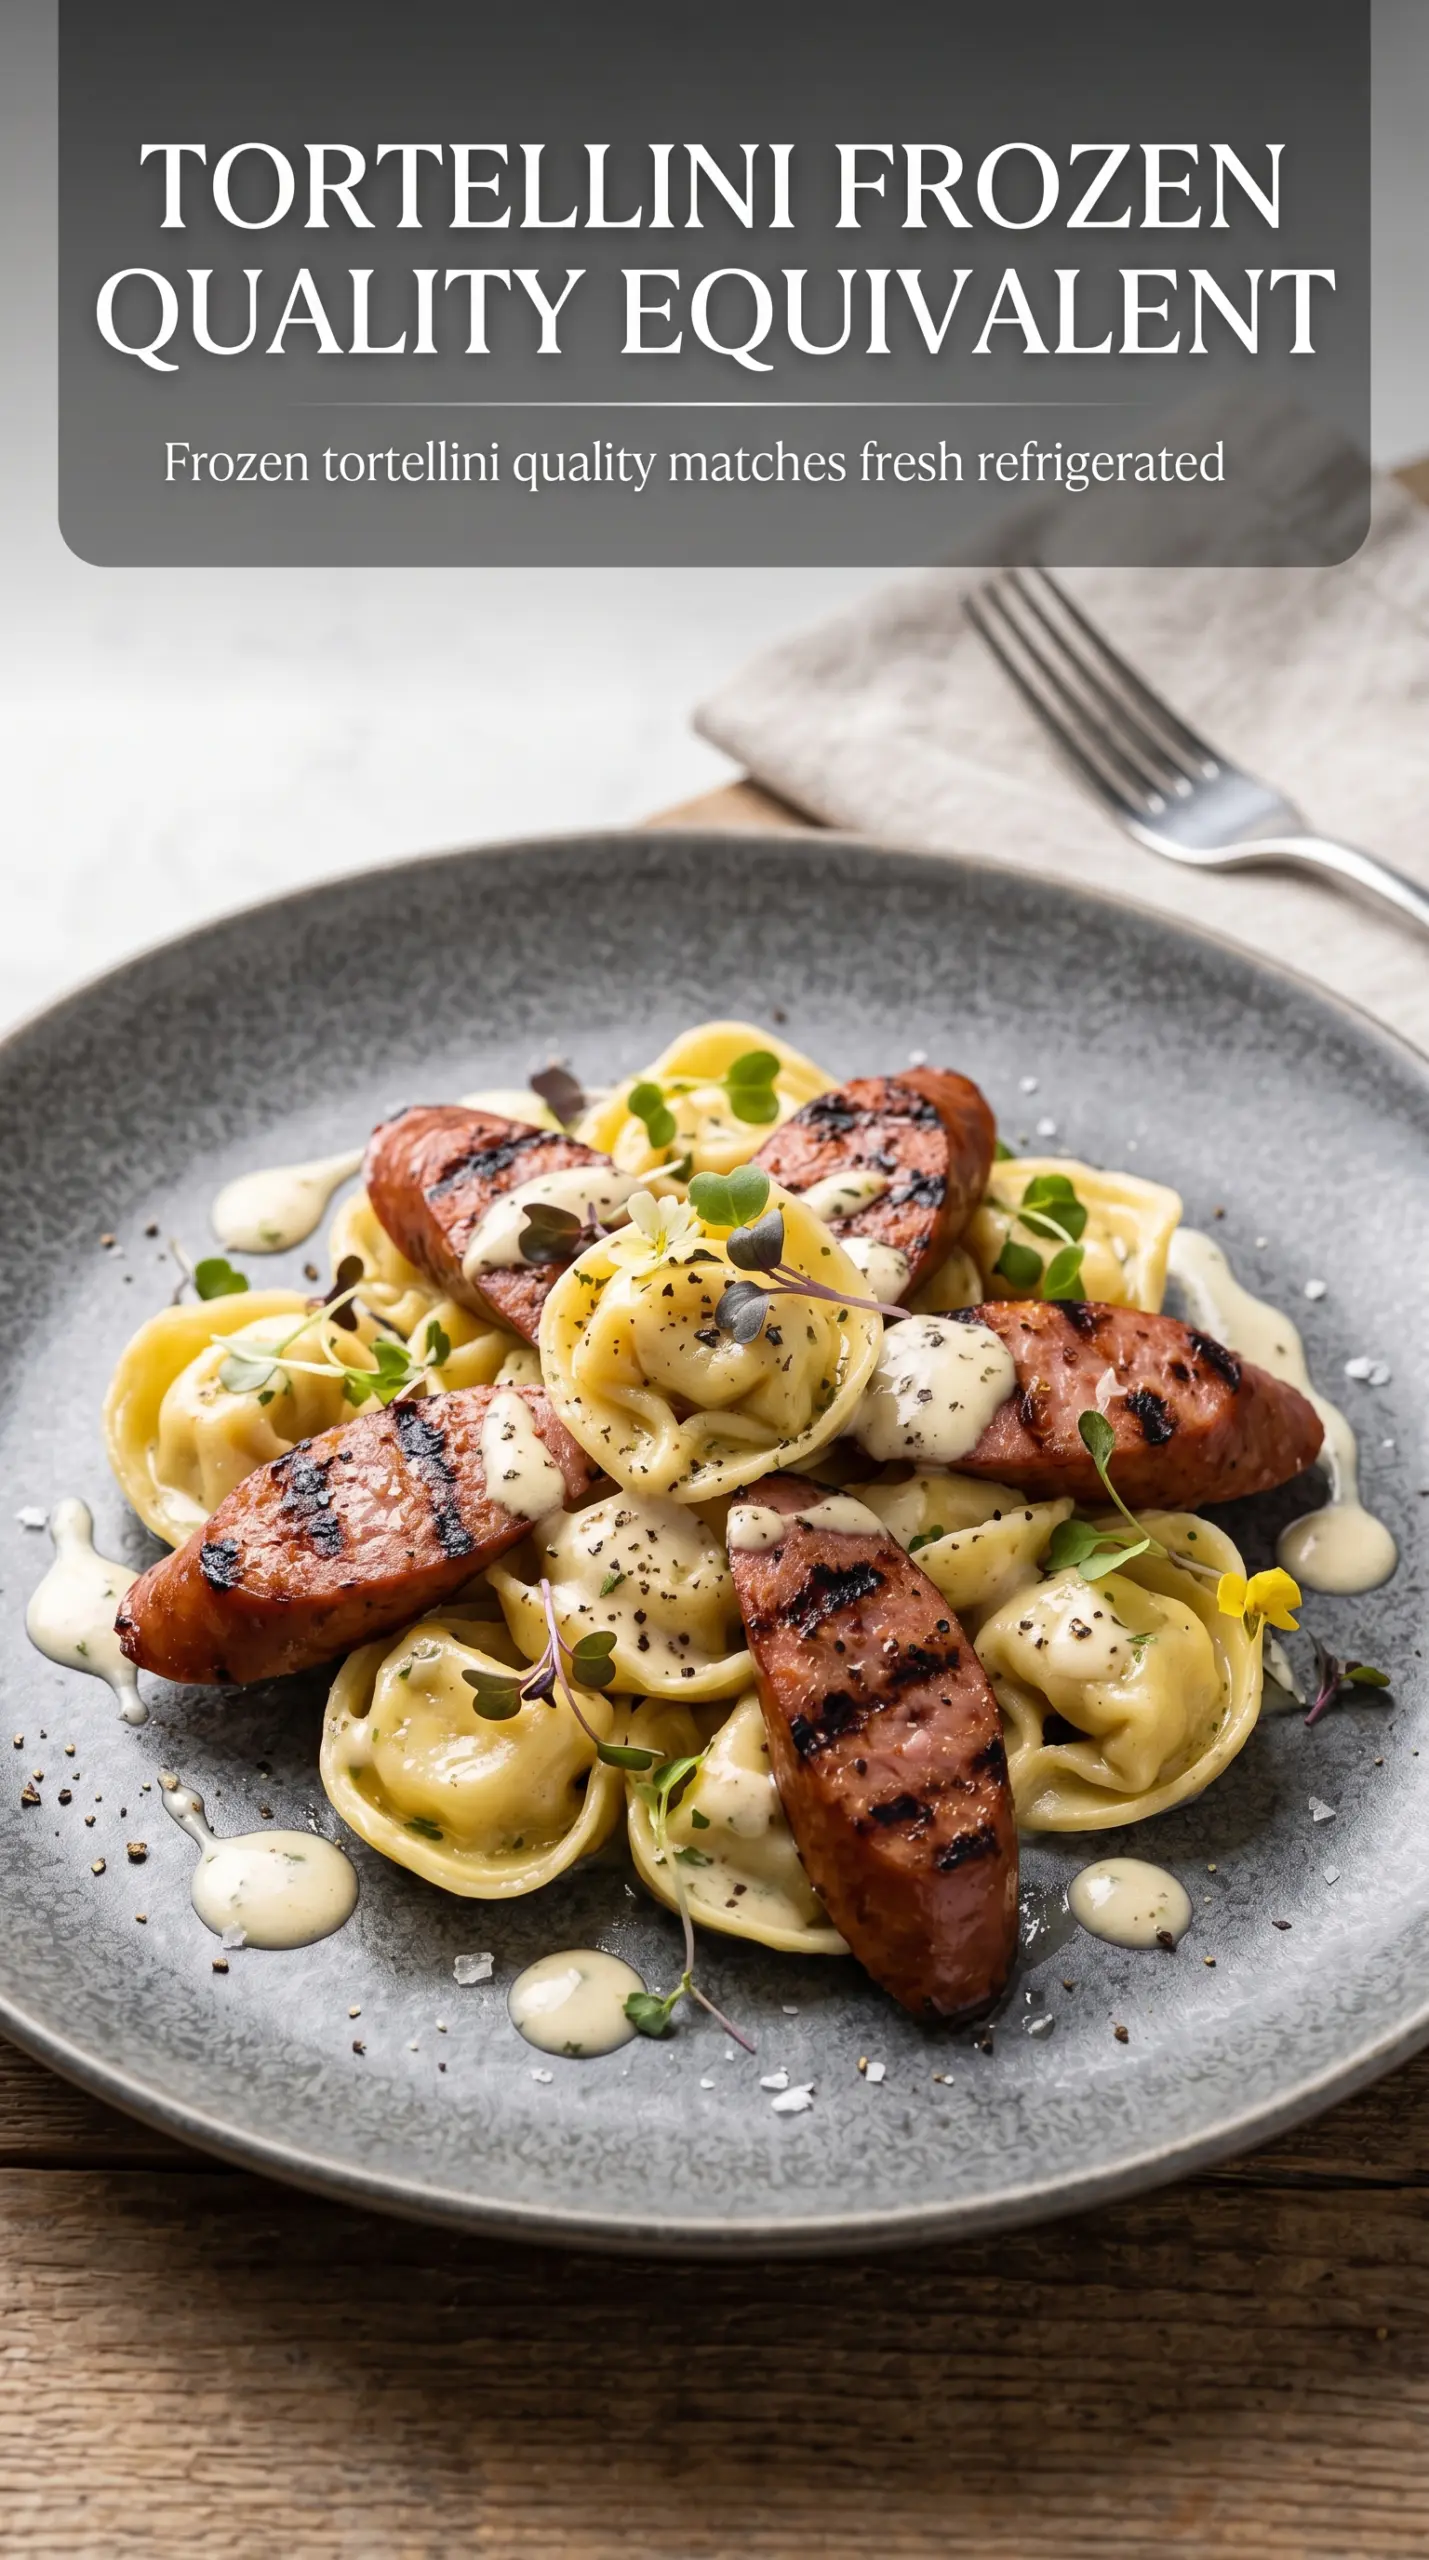
- Cheese tortellini — Use refrigerated or fully cooked tortellini so you’re finishing it on the griddle instead of trying to cook dry pasta from scratch. If it’s too soft before it goes on, it’ll fall apart during tossing, so keep the boil just to tender.
- Bell peppers and onion — These give the dish sweetness and a little bite. Dice them small enough to soften in the short cook time, but not so small that they disappear into the pasta.
- Cherry tomatoes — They burst at the end and create the light sauce that coats everything. Grape tomatoes work too, but cherry tomatoes tend to soften a little faster and taste sweeter here.
- Garlic and Italian seasoning — Garlic goes in late so it doesn’t scorch on the hot griddle. If you swap in dried oregano and basil separately, use a little less than you think; Italian seasoning is already concentrated.
- Parmesan and basil — Parmesan adds salt and a savory finish, while basil keeps the dish from tasting flat. Add both after the heat is off or nearly off so the basil stays fresh and the cheese doesn’t clump.
Building the Griddle Order So Everything Finishes Together
Browning the Kielbasa First
Heat the Blackstone to medium-high and add the oil before anything else touches the surface. Lay the kielbasa slices down in a single layer and leave them alone long enough to develop deep color on the cut sides. If you start moving them too soon, they’ll stick and pale out instead of developing that crisp edge that makes the dish work. Flip once and cook until both sides are browned.
Softening the Vegetables Without Steaming Them
Add the peppers and onions to the hot area where the sausage cooked so they can pick up flavor from the browned bits. Keep them moving, but not constantly; you want some contact with the griddle so they soften and pick up light char. If the vegetables start to look watery, your heat has dropped too low or the pan is overcrowded, and they’ll need a little more time to dry out and brown.
Finishing the Tortellini at the End
Stir in the cooked tortellini, tomatoes, garlic, and Italian seasoning only after the vegetables have started to soften. Toss just until the tortellini is hot and the tomatoes begin to blister, then let it sit for a minute or two in one spot so some edges crisp. That last bit of stillness matters. It gives you texture instead of a soft, mixed-together pile.
The Parmesan and Basil Finish
Pull the skillet off the hottest part of the griddle before adding Parmesan. Cheese melts best when the heat is off the high burner, and basil stays bright when it’s not cooked to death. Taste at the end and season with salt and pepper only after the sausage, cheese, and tomatoes have had a chance to come together, since those ingredients already bring plenty of salt.
How to Adapt This for a Different Crowd or a Different Pantry
Make It Gluten-Free
Use gluten-free tortellini if you can find it, or swap in a sturdy gluten-free stuffed pasta that holds its shape. The texture won’t be quite the same as wheat tortellini, but the browned kielbasa and vegetables still carry the dish, so you won’t lose the main appeal.
Skip the Pork
Turkey kielbasa works well if you want a lighter version. It won’t render as much fat or get quite as crisp, so add a touch more oil to the griddle and let the slices sit longer before flipping to build color.
Use What’s in the Vegetable Drawer
Zucchini, mushrooms, or broccoli florets can step in for part of the peppers and onions. Just keep the pieces small enough to cook in the short griddle time, and give mushrooms a little extra space so they brown instead of releasing all their liquid at once.
Storage and Reheating
- Refrigerator: Store leftovers in an airtight container for up to 4 days. The tortellini will soften a bit as it sits, but the flavor holds up well.
- Freezer: I don’t recommend freezing this one. Tortellini and tomatoes both change texture after thawing, and the whole dish turns softer than it should.
- Reheating: Reheat in a skillet over medium heat with a splash of water or olive oil until just warmed through. The common mistake is blasting it in the microwave, which makes the tortellini rubbery and the kielbasa greasy.
Questions I Get Asked About This Recipe
Blackstone Grilled Kielbasa and Tortellini
Ingredients
Equipment
Method
- Heat a cast iron griddle to medium-high and add olive oil. Let it shimmer before adding any food.
- Add sliced kielbasa to the hot griddle and cook for 4-5 minutes per side until browned and crispy. Look for visible char marks before flipping.
- Add diced bell peppers and diced onion, then cook for 5-6 minutes until softened. Stir occasionally so the vegetables pick up light browning from the griddle.
- Add cooked tortellini, halved cherry tomatoes, minced garlic, and Italian seasoning, then toss to coat everything evenly. The mix should look glossy as the seasoning and juices distribute.
- Cook for 3-4 minutes until heated through and slightly crispy, tossing once or twice. You should see golden spots on the tortellini and gentle browning on the tomatoes.
- Season with salt and pepper to taste. Add a generous sprinkle of grated Parmesan and top with fresh basil right before serving.