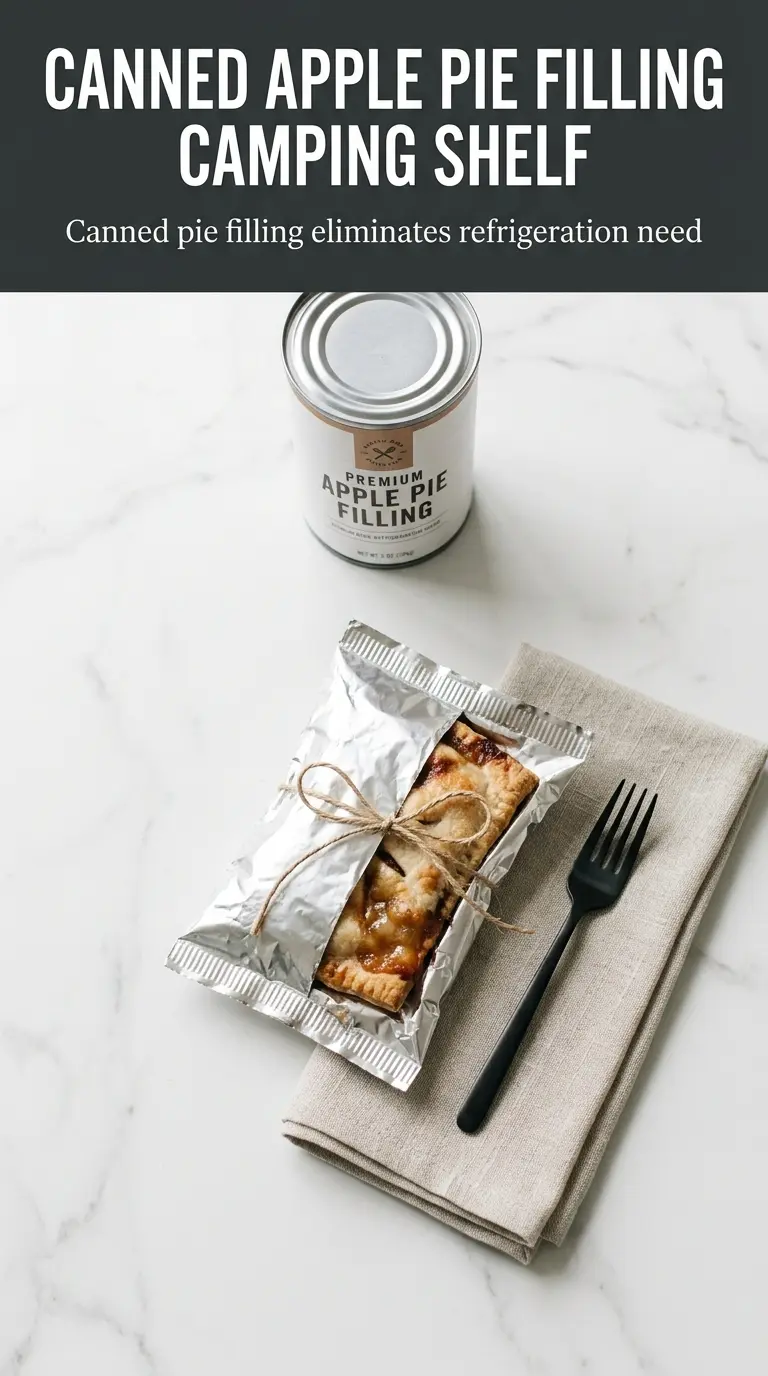
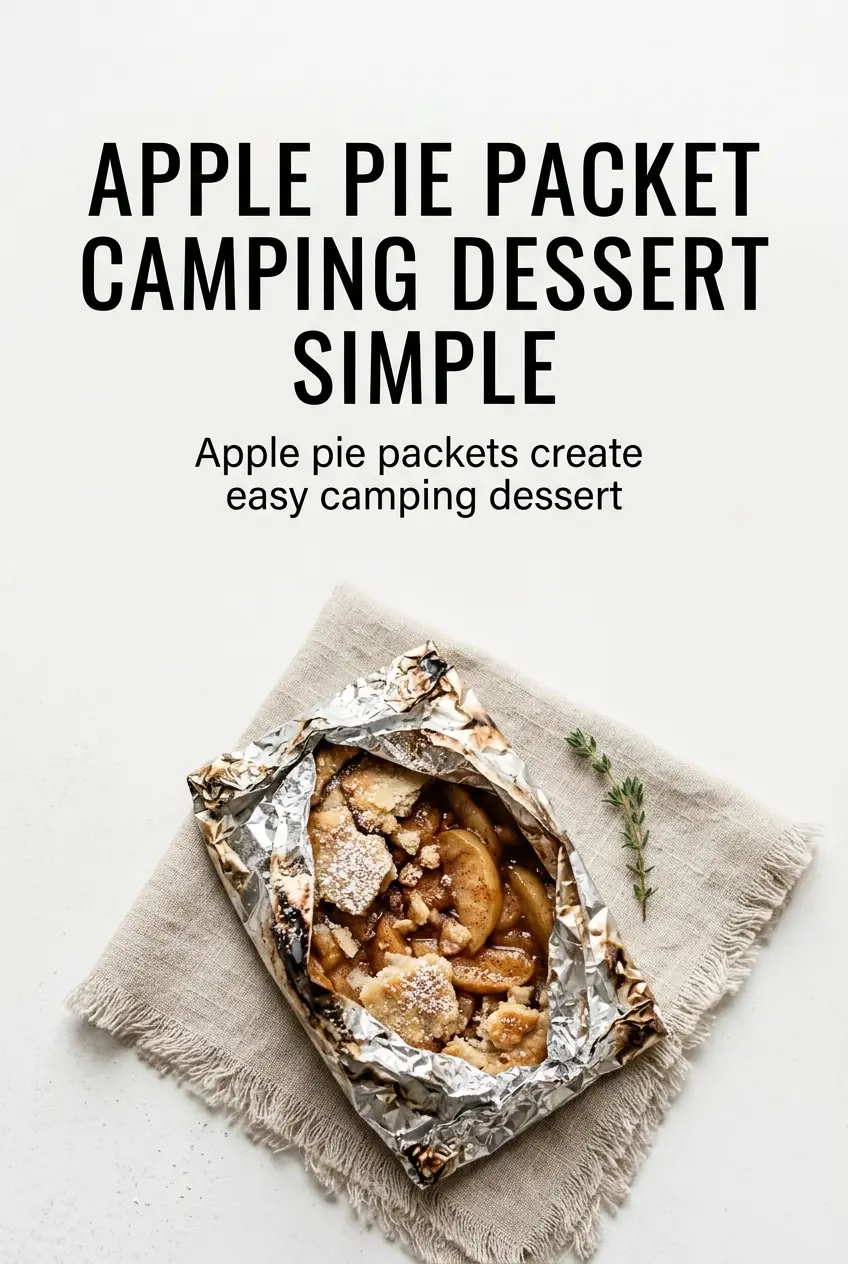
Warm cinnamon apples tucked under a buttery graham cracker topping are the kind of campfire dessert that disappears fast. The apples steam inside the foil until they’re soft and syrupy, while the crumbs on top pick up just enough toast to taste like a shortcut pie crust. Open one packet and you get the full payoff right away: bubbling fruit, browned edges, and that first spoonful with melting ice cream.
What makes these work is the balance of moisture and heat. The apples need to be sliced thin enough to tenderize in the short cook time, but not so thin that they collapse into applesauce. Heavy-duty foil matters here too, because it holds the heat evenly and keeps the sugar butter mixture from leaking into the fire. The graham cracker crumbs go on top instead of mixed through, so they stay a little crisp where they catch the steam.
Below you’ll find the small details that keep the packets from tearing, the apples from turning mushy, and the topping from getting soggy. If you’ve ever had a camp dessert come out pale or undercooked, the timing notes here will help a lot.
The apples turned tender in the center without getting watery, and the graham cracker topping stayed buttery instead of soggy. We opened the packets right at the table and everyone went after the ice cream first.
Save these campfire apple pie packets for the nights when you want a hot dessert with soft cinnamon apples and a crisp graham topping.
The Trick to Keeping the Apples Tender, Not Mushy
The biggest mistake with foil packet desserts is giving the fruit too much time or cutting it too thin. Apples need enough heat to soften, but they still need a little structure so they don’t dissolve into a sweet, watery filling. Sliced about a quarter-inch thick, they cook through in the same window that melts the butter and browns the crumb topping just enough to taste toasted. If you pile the packets over high flame, the outsides can scorch before the center catches up.
The other thing that matters is sealing the foil well without crushing the fruit. You want a tight packet that traps steam, because that steam is what turns raw apple slices into tender pie filling. Leave a little space inside the packet for circulation, and don’t poke holes in the foil unless you want the juices to leak out.
Why These Ingredients Taste Like Pie, Not Just Hot Apples
- Apples — Use firm apples that hold their shape, like Granny Smith, Honeycrisp, or a mix of tart and sweet. Soft baking apples can work, but they turn jammy much faster and lose that clean pie-like bite.
- Brown sugar — This gives you the caramel note that makes the juices taste like pie filling. White sugar works in a pinch, but the filling will taste flatter and less rounded.
- Cinnamon and nutmeg — Cinnamon carries the recipe, while nutmeg adds the background warmth that makes the packets taste like real apple pie instead of spiced fruit. Don’t skip the nutmeg if you want that classic bakery flavor.
- Butter — Butter melts into the apples and sugars, creating the syrup that coats everything. If you use margarine, the filling won’t taste as rich and the sauce can feel thin.
- Graham cracker crumbs — These stand in for crust and give the dessert its pie-like finish. Crush them fairly fine so they toast evenly, but not into dust; you want a little texture left.
- Heavy-duty aluminum foil — Regular foil tears too easily once the juices start bubbling. Heavy-duty foil holds the packet together over the grate and keeps the filling where it belongs.
Building the Packets So Nothing Leaks or Burns
Layer the Apples First
Divide the sliced apples evenly across the foil sheets and keep them in the center of each piece. That gives you room to fold the packet tightly without splitting the seams. If the apple pile is too high, the middle can stay undercooked while the edges soften first.
Add the Sugar and Spice Evenly
Sprinkle the brown sugar, cinnamon, and nutmeg over each portion of apples before adding the butter. This keeps the seasoning distributed through the fruit instead of sitting in one sweet patch at the bottom. Once the butter melts, it pulls those spices into the juices and forms the syrupy sauce.
Seal for Steam, Not for Squeeze
Fold the foil over the filling and crimp the edges shut, but don’t press the packet flat. The apples need a little air space so the steam can circulate and cook them evenly. A tight seal is important, but the packet should still look plump rather than smashed.
Cook Until the Apples Give Slightly at the Fork
Set the packets over medium campfire heat for 12 to 15 minutes. The exact time depends on how hot your grate sits over the fire, so start checking at 12 minutes by opening one carefully and testing a slice with a fork. The apples should be tender with a little bite left, and the juices should look glossy and bubbling.
Finish With Ice Cream at the Table
Let the packets rest for 5 minutes before opening them, because the steam inside is hot enough to burn. Open them slowly and away from your face, then spoon the apples into bowls or eat straight from the foil if that’s the mood. Vanilla ice cream melts into the sauce and turns the whole thing into a proper campfire pie moment.
How to Adapt These Packets for Different Camps and Crowds
Gluten-Free Version
Swap the graham cracker crumbs for certified gluten-free graham-style crumbs or a crunchy gluten-free cookie crumb. The texture stays close to the original, but check the sweetness of the substitute because some gluten-free crumbs are less sweet and may need a pinch more brown sugar.
Dairy-Free Packets
Use a plant-based butter that melts cleanly, not a tub spread with lots of water. You’ll lose a little of the classic buttery aroma, but the apples still make a good syrup and the packets cook the same way.
Make It for a Bigger Group
Double or triple the filling, but keep the packets one serving each so the apples cook evenly. Bigger packets take longer and usually end up with uneven texture, while individual packets stay tender and easy to serve.
Extra Toasty Topping
If you want more crunch, sprinkle a few extra crumbs on top during the last 2 minutes of cooking. Adding them too early can make them soft, but a late addition lets them toast without losing all their texture.
Storage and Reheating
- Refrigerator: Store cooked apple packets in an airtight container for up to 3 days. The topping softens in the fridge, but the flavor stays good.
- Freezer: These freeze best before cooking. Assemble the packets, wrap them well, and freeze for up to 1 month; cook from frozen with a few extra minutes added to the time.
- Reheating: Warm leftovers in a 350°F oven or over low campfire heat until heated through. Microwaving works, but it softens the crumbs fast and can turn the apples watery.
Answers to the Questions Worth Asking
Campfire Apple Pie Packets
Ingredients
Equipment
Method
- Divide the apple slices among 4 foil sheets, arranging them in an even layer. Make sure the apples sit near the center so the packets can seal well.
- Sprinkle each packet with brown sugar, cinnamon, and nutmeg, then dot with 1 tablespoon butter. Use a steady pinch to evenly coat the apples for caramelized pockets.
- Sprinkle graham cracker crumbs over the apples. The crumbs will toast and form a quick crust as the fruit cooks.
- Fold foil into sealed packets, pressing edges tightly to prevent leaks. Keep seams crimped so steam stays trapped inside.
- Place packets on the campfire grate over medium heat for 12-15 minutes until apples are tender. Look for visible steaming and softened slices through the foil seams.
- Let packets cool for 5 minutes before opening carefully. Wait for the steam to calm so the caramel doesn’t burn your hands.
- Open each packet and serve immediately with vanilla ice cream. Spoon the hot cinnamon apples and any melted butter-sugar juices over the ice cream.