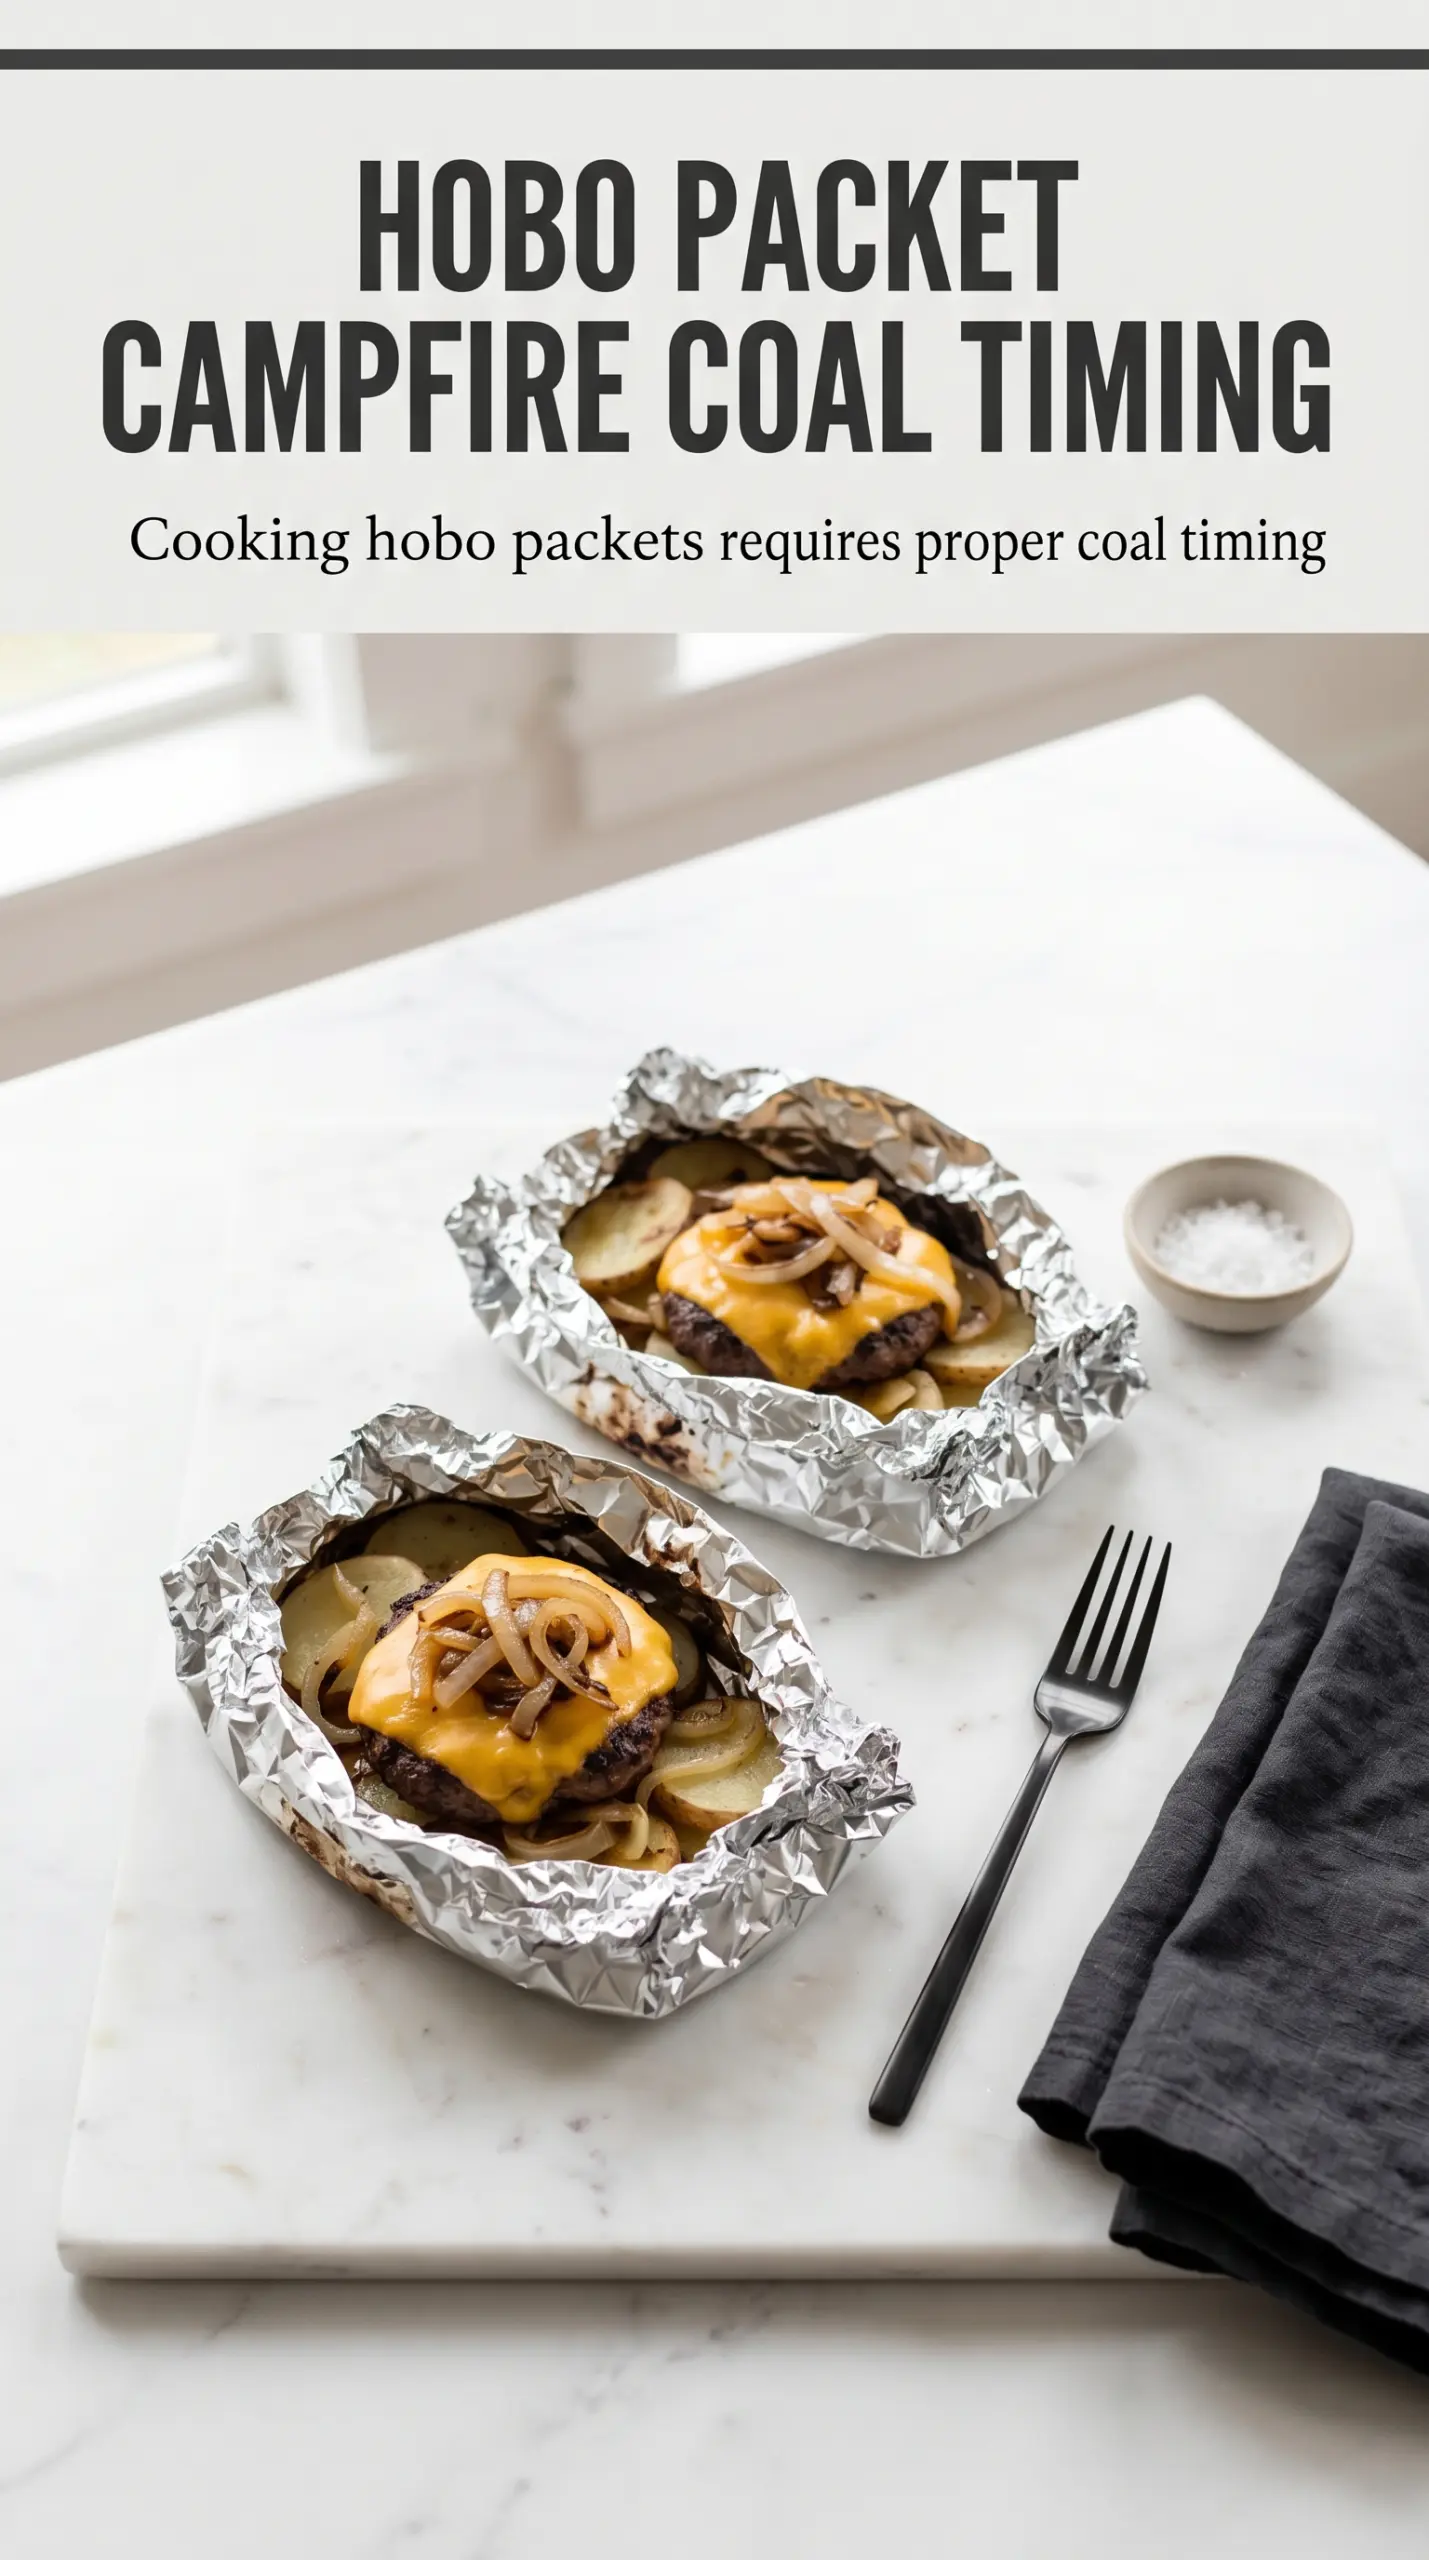
Campfire cheeseburger hobo packets give you the charred, smoky burger-and-fries feeling without juggling a skillet, a grill basket, and a pile of dishes. Everything cooks in one sealed foil packet, so the beef stays juicy, the potatoes steam until tender, and the cheese melts right over the top at the end. When you open the packet, you get that little burst of steam and a burger dinner that feels a lot bigger than the work that went into it.
The trick here is building the packet in the right order. The potatoes and onions go on the bottom because they need the longest cooking time and they benefit from direct contact with the hot foil. The burger patty goes above them so its juices season the vegetables as it cooks, and the tomatoes go in late enough that they soften without turning watery and disappearing. A quick second seal after the cheese goes on is what gives you that glossy, melty finish instead of a slice of cheese that just sits there.
Below, I’ve included the one timing detail that keeps the potatoes from staying firm, plus a few easy swaps if you want to turn this into a different foil packet dinner without losing the comfort-food payoff.
The potatoes were tender all the way through, and the cheese melted perfectly after that last couple minutes on the grate. I loved that the packet kept the burger juicy without any flipping fuss.
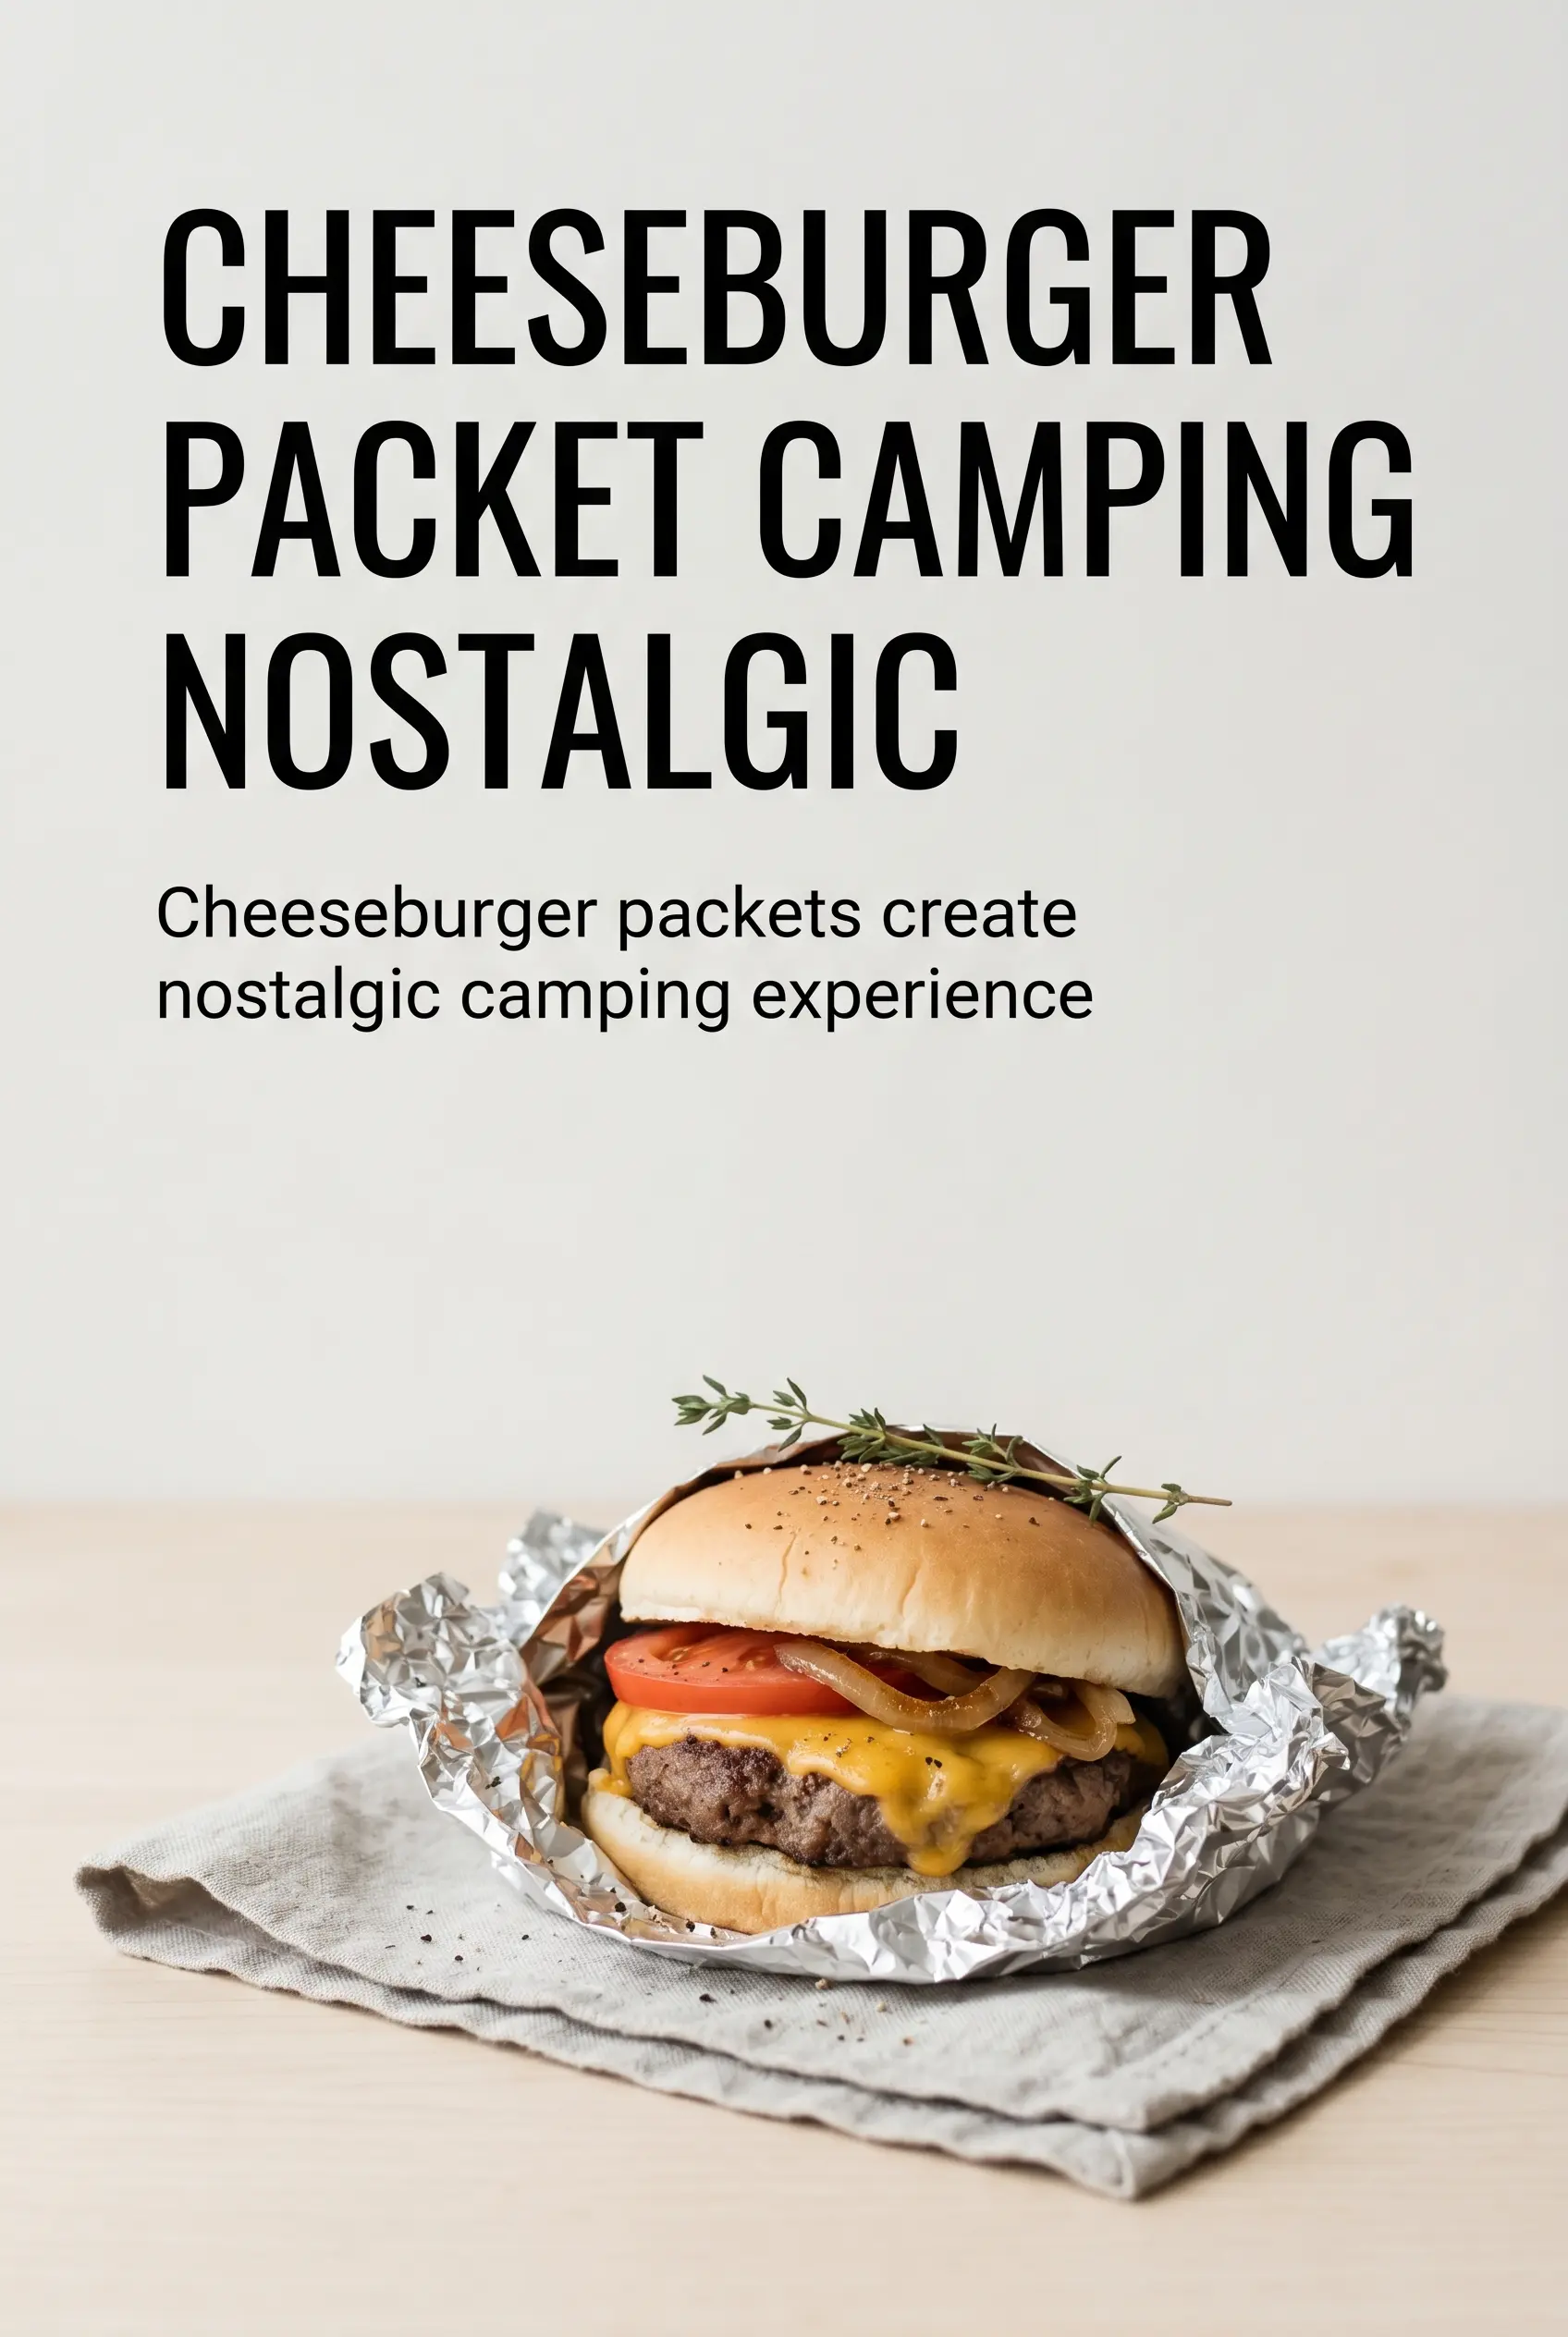
Save these campfire cheeseburger hobo packets for the nights when you want a full burger dinner in one foil packet with melted cheddar and tender potatoes.
The Reason the Potatoes Need a Head Start in the Packet
The potatoes are the part that will punish you if you rush them. Thin slices cook through beautifully in the packet, but only if they’re the first thing touching the foil and cut evenly enough to soften at the same pace. If they go in thick, or if they’re tucked above the burger, you’ll end up with a patty that’s done and potatoes that still have a hard center.
The other thing that matters is sealing the packets tight enough to trap steam but not so loose that the juices leak out into the fire. Heavy-duty foil holds up best here because these packets spend real time over heat and get flipped halfway through. A good seal is what turns this from dry foil-baked meat into a juicy, all-in-one camp dinner.
What Each Ingredient Is Doing in These Foil Packets
- Ground beef — Use regular ground beef, not extra-lean, so the patties stay juicy inside the packet. The fat helps season the potatoes and onions as everything cooks. If you want to swap in ground turkey, add a little extra salt and expect a slightly drier bite.
- Potatoes — Thin slices are nonnegotiable here. They’re the base layer because they need the most heat and steam, and they cook through much faster than wedges or chunks. Russets soften nicely, but Yukon Golds hold their shape a little better.
- Onion — The onion melts down with the potatoes and gives the packet that burger-stand aroma. Slice it thin so it turns sweet instead of staying crunchy. Yellow onion is the best everyday choice, but white onion works too if that’s what you have.
- Tomatoes — Add a little freshness and moisture, but they need to stay above the potatoes so they don’t turn everything soggy underneath. Sliced tomatoes are best here, not diced. If your tomatoes are extra juicy, pat them dry first.
- Cheddar cheese — This is the finish that makes the packet feel like a cheeseburger instead of just seasoned beef. Pre-sliced cheddar melts evenly and is the easiest option by far. If you use a sharper cheddar block, slice it thin so it melts during that short final reseal.
- Heavy-duty foil — Regular foil tears too easily when the packets are flipped over a grate. Heavy-duty foil gives you a sturdier seal and helps keep the juices where they belong. If you only have standard foil, double-layer each packet.
Building the Packet So the Beef and Potatoes Finish Together
Layer the vegetables first
Lay the sliced potatoes and onions in the center of each sheet of foil, keeping them in a compact mound so they steam together instead of spreading out. The thinner and more even the slices, the better the final texture will be. If your potatoes are cut unevenly, the thin ones will turn soft while the thick ones stay firm, so take a minute with the knife at the start.
Set the patty on top and season as you go
Form the beef into thin patties and place one over each pile of vegetables, then season with salt and pepper. The thinner patty cooks through faster and gives the vegetables a chance to soften before the meat dries out. Don’t pack the beef too tightly or it turns dense instead of burger-like.
Seal tight, then flip once
Fold each packet into a snug seal and set them on the campfire grate over medium heat. Cook for 25 to 30 minutes, turning once halfway through so the bottom doesn’t scorch. If your fire runs hot, move the packets to the cooler edge; if it’s too low, the potatoes will lag behind and stay chalky.
Add the cheese at the end
Open the packets carefully because the steam will hit fast. Add the cheddar slices, reseal for a couple minutes, and let the residual heat melt the cheese instead of blasting it with direct flame. That short finish keeps the cheese glossy and soft instead of rubbery.
How to Adapt These Cheeseburger Packets for Different Camps and Diets
Dairy-Free Version
Skip the cheese or use a dairy-free slice that melts well. The packet still tastes complete because the beef, onions, ketchup, and mustard carry the flavor, but you’ll lose that stretchy cheeseburger finish. If you use a plant-based cheese, add it during the last 2 minutes only so it softens without disappearing.
Keto-Friendly Swap
Replace the potatoes with sliced zucchini or cauliflower florets if you want the same foil-packet method with fewer carbs. Zucchini cooks faster and turns softer, while cauliflower stays a little firmer and closer to the original potato texture. Either way, cut the vegetables evenly so they finish when the burger does.
Make It With a Different Sauce
Swap the ketchup and mustard for barbecue sauce if you want a sweeter, smokier packet. Barbecue sauce adds a stickier glaze and a deeper campfire feel, but it can brown faster, so keep the heat at medium and check the packets at the 20-minute mark. This version works especially well with smoked cheddar.
Storage and Reheating
- Refrigerator: Store leftovers in an airtight container for up to 3 days. The potatoes soften a little more after chilling, but the flavor stays good.
- Freezer: These packets freeze better before cooking than after. Cooked potatoes get grainy when frozen, so I don’t recommend freezing the finished meal.
- Reheating: Reheat in a covered skillet over low heat or in a 325°F oven until hot. High heat dries out the beef and makes the potatoes tough before the center warms through.
Answers to the Questions Worth Asking
Campfire Cheeseburger Hobo Packets
Ingredients
Equipment
Method
- Form the ground beef into 4 thin patties and season with salt and pepper.
- On each foil sheet, layer thinly sliced potatoes and onions.
- Place one burger patty on top of the potatoes, then add tomato slices.
- Drizzle ketchup and mustard over each packet.
- Fold the foil into sealed packets and place on a campfire grate over medium heat.
- Cook for 25-30 minutes, flipping the packets halfway through, until the potatoes are tender and the beef is cooked through.
- Open packets, add cheddar cheese slices, and reseal briefly just to melt the cheese.
- Let the packets cool for 5 minutes before serving.
- Serve cheeseburger hobo packets in the foil or over hamburger buns if using.