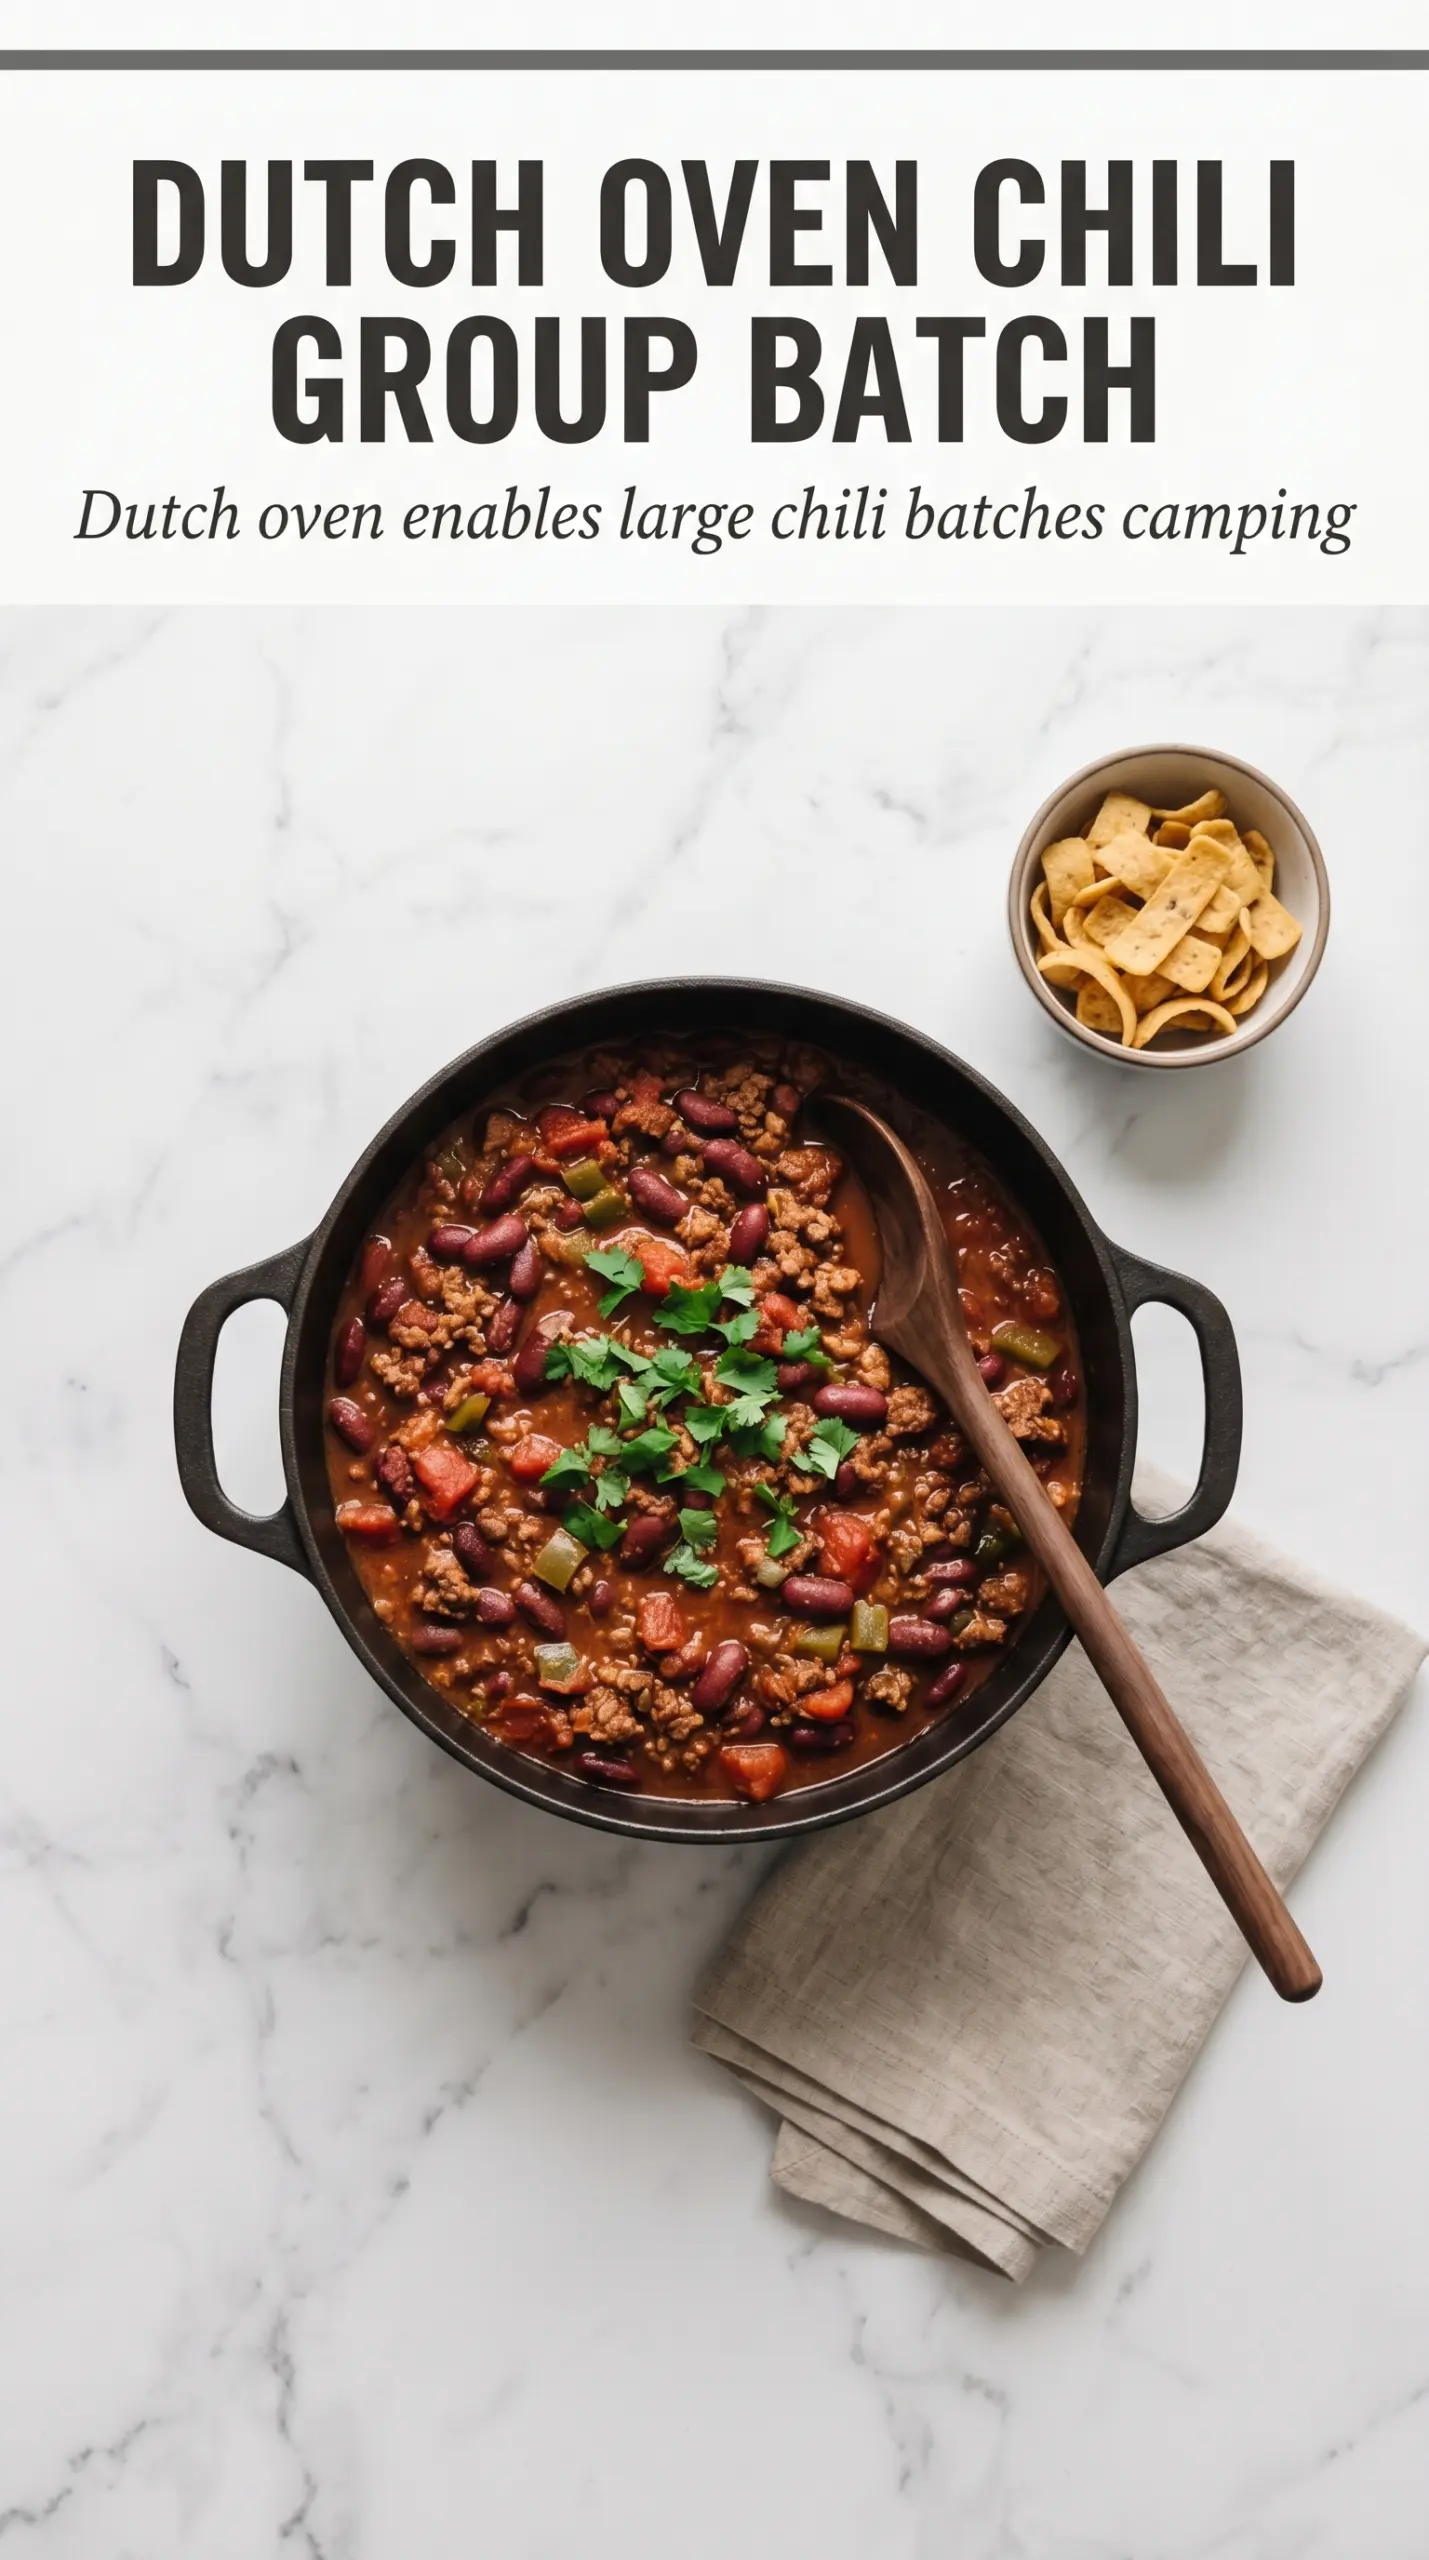
Bubbling chili tastes different when it’s been built over a campfire. The beef gets a deeper, smokier edge, the tomatoes mellow into the beans, and the whole pot settles into that thick, spoon-coating texture people go back for seconds of before they’ve even finished the first bowl. This version is sturdy enough for outdoor cooking and still tastes like the kind of chili worth making at home.
The key is letting the beef brown before anything else goes in, then giving the tomato paste enough heat to lose its raw taste before the simmer starts. A Dutch oven holds steady heat better than a thin pot, which matters when the fire is uneven and you’re trying to keep the chili from scorching on the bottom. The beans stay intact, the broth tightens up, and the flavor gets better as it rests for a few minutes off the heat.
Below you’ll find the timing that keeps the onions tender without turning the beef dry, plus a few smart swaps if you’re cooking with what you packed instead of what’s ideal.
The chili thickened up perfectly over the fire, and the tomato paste gave it that rich, hearty body instead of tasting watery. We ate it with crackers and the whole pot disappeared fast.
Save this campfire chili for your next Dutch oven dinner when you want a thick, smoky pot of beans and beef with almost no fuss.
The Trick to Keeping Campfire Chili Thick, Not Watery
The biggest mistake with chili cooked outdoors is rushing the simmer and ending up with a pot that tastes flat and looks thin. A campfire throws heat in waves, so the chili needs a gentle, steady bubble instead of a hard boil. That slower cook gives the tomato paste time to tighten the pot and lets the beans soak up the seasoning instead of floating in broth.
Another thing that matters here is the order. If you add the beans and tomatoes before the beef has browned, you lose the deep base that gives chili its backbone. Browning first creates those browned bits in the bottom of the Dutch oven, and once the liquid goes in, they dissolve into the pot instead of sticking and burning.
What Each Ingredient Is Actually Doing in This Pot
- Ground beef — This is the base of the chili, and browning it well gives the whole pot a deeper, meatier flavor. An 80/20 blend works best because it stays flavorful and doesn’t dry out over the long simmer.
- Onion and bell pepper — These soften into the beef and round out the flavor so the chili doesn’t taste like seasoned meat in tomato sauce. Dice them evenly so they cook through in the same window.
- Tomato paste — This is what gives the chili body. Let it cook for a minute with the hot beef and vegetables before the beans go in, or it can taste sharp and raw.
- Diced tomatoes and kidney beans — The tomatoes bring moisture and acidity, while the beans give the chili its classic, hearty texture. Drain the beans well so the pot doesn’t get loose and cloudy.
- Chili powder and cumin — Chili powder brings the main seasoning, and cumin adds that warm, earthy note that makes the chili taste finished. If your chili powder is old and pale, the pot will taste dull no matter what else you do.
- Sour cream, cheese, and crackers — These aren’t just toppings; they balance heat, add richness, and give you something crunchy against the soft beans. Keep them on the side so everyone can build their own bowl.
Building the Pot So It Cooks Evenly Over a Fire
Brown the Beef First
Put the Dutch oven over hot coals or a steady fire and cook the ground beef until it’s no longer pink and you see browned bits sticking to the bottom. Don’t stir constantly; let the meat sit long enough to sear in places. If the beef looks gray and wet, it hasn’t developed the flavor this chili needs.
Soften the Onion and Pepper
Add the onion and bell pepper to the cooked beef and stir for about 5 minutes, until the onion turns translucent and the pepper softens at the edges. If the fire is running hot, move the pot slightly away from the strongest heat so the vegetables soften instead of scorching. This step builds sweetness and keeps the finished chili from tasting harsh.
Wake Up the Tomato Paste and Spices
Stir in the tomato paste, chili powder, cumin, salt, and pepper until everything smells fragrant and the paste darkens a shade. That short burst of heat takes the raw edge off the tomatoes and blooms the spices. If you skip this and dump in the liquid right away, the seasoning can taste dusty instead of full.
Simmer Until the Chili Thickens
Add the beans and diced tomatoes, stir well, and bring the pot to a gentle simmer. Cover it and cook for 35 to 40 minutes, stirring now and then so nothing catches on the bottom. The chili is ready when it looks thick and glossy, not soupy, and the bubbles pop slowly through the center.
Make it spicier with pantry heat
Add a pinch of cayenne or a chopped chipotle in adobo with the tomatoes if you want more heat and smoke. This pushes the chili into a bolder, deeper direction without changing the texture. Start small, because campfire cooking can make spices taste louder than they do on the stove.
Make it dairy-free
Skip the sour cream and cheese at serving or use plant-based versions if that’s what you pack. The chili itself is already dairy-free, so this swap changes only the finish, not the body of the dish. A squeeze of lime or extra crackers helps replace some of that creamy balance.
Swap in ground turkey
Ground turkey works if you want a lighter pot, but it needs the onion, pepper, and spices to carry more of the flavor. Use a little extra oil for browning, since turkey dries out faster than beef. The result is still hearty, but it won’t have the same rich depth.
Make it ahead for camping
You can brown the beef and onions at home, then chill them and finish the chili at camp with the tomatoes, beans, and spices. That saves fire time and keeps dinner moving when everyone’s hungry. The flavor actually improves after a day in the cooler because the seasonings have time to settle in.
Storage and Reheating
- Refrigerator: Store in an airtight container for up to 4 days. It thickens as it chills, so expect a denser texture the next day.
- Freezer: This freezes well for up to 3 months. Cool it completely first, then portion it into freezer containers so it thaws evenly.
- Reheating: Warm it gently on the stove over low heat or over a low campfire setup with a splash of water if needed. The common mistake is blasting it over high heat, which can scorch the bottom before the center is hot.
Answers to the Questions Worth Asking
Campfire Chili
Ingredients
Equipment
Method
- Place a Dutch oven over the campfire and brown the ground beef until no longer pink, then stir and scrape up browned bits. Add the diced onion and bell pepper and cook for 5 minutes, until they start to soften (visual cue: onions turning translucent).
- Add kidney beans, diced tomatoes, tomato paste, chili powder, cumin, salt, and pepper. Stir to combine and bring the chili to a simmer (visual cue: steady bubbling across the surface).
- Cover the Dutch oven and cook for 35-40 minutes, stirring occasionally, until the chili thickens and flavors meld (visual cue: bubbling but slightly reduced after stirring).
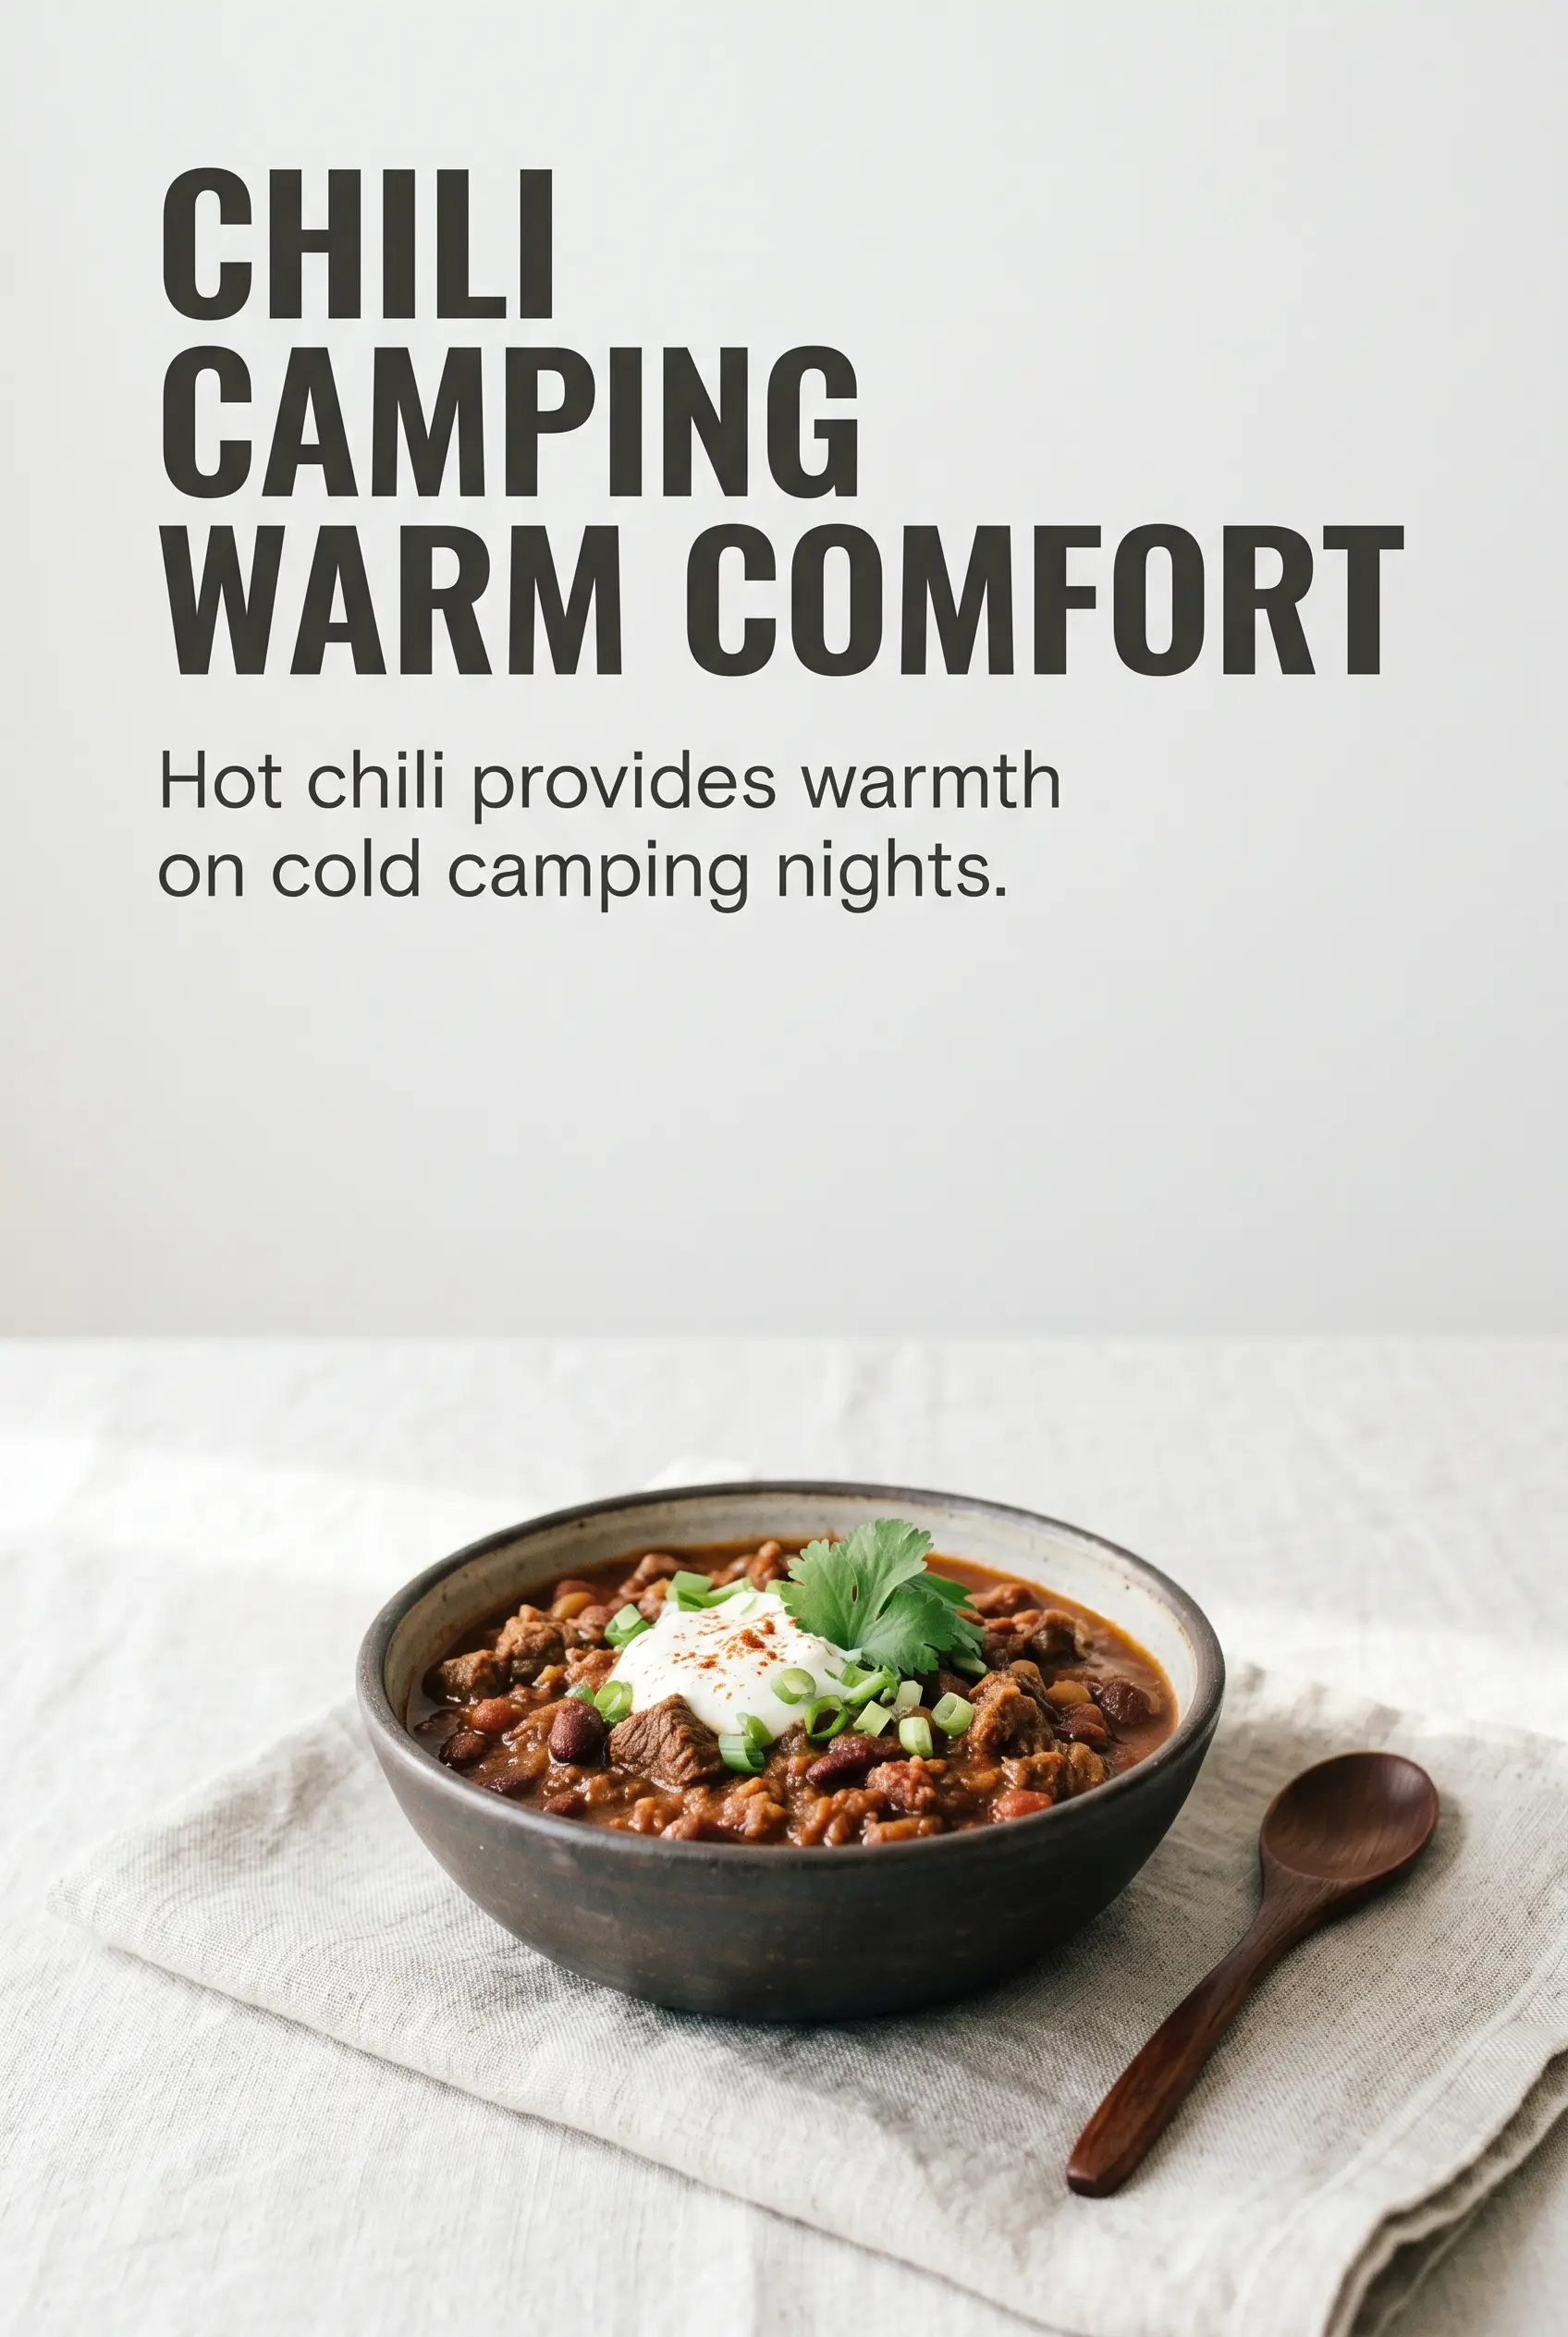
- Serve hot with shredded cheese, sour cream, and crackers (visual cue: toppings melt slightly and settle on top).