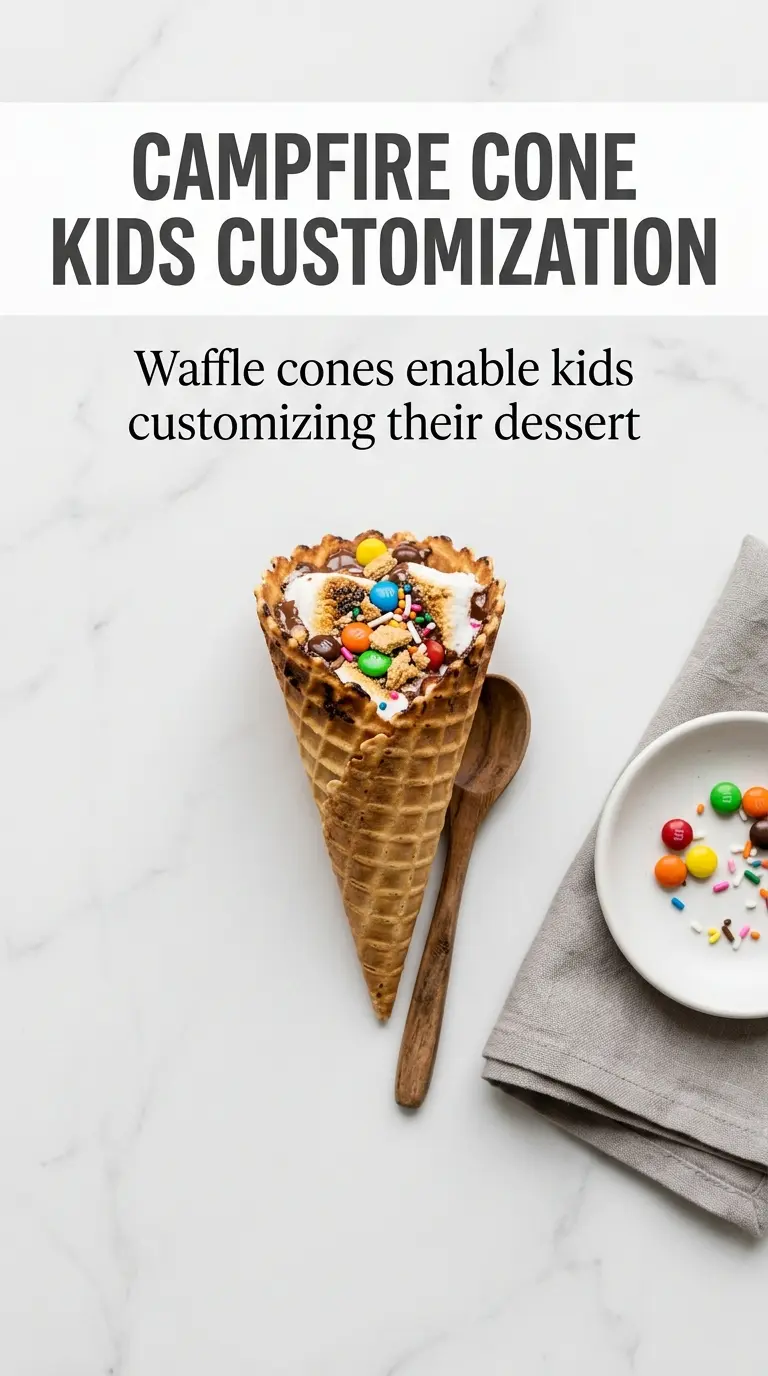
Campfire cones turn into a molten, spoonable dessert with toasted marshmallows, melted chocolate, and just enough fruit to keep every bite interesting. The waffle cone softens at the edges but still holds its shape, and when the foil comes off, you get that instant payoff of warm filling spilling out in the best way.
What makes this version work is the layering. Marshmallows on top of the chocolate help everything melt into one glossy filling, while the banana and strawberries add moisture without making the cone soggy too fast. The graham cracker pieces finish it with a little crunch, which keeps the texture from turning one-note.
Below, I’ve included the little details that matter most: how to pack the cones so they don’t crack, why foil should be wrapped snugly, and the easiest swaps if you want to change the filling without losing that campfire dessert feel.
The marshmallows melted into the chocolate just right, and the cones stayed intact long enough to eat with a spoon without the whole thing collapsing.
Like these campfire cones? Save them to Pinterest for the next camping night when you want a fast dessert with melted chocolate and gooey marshmallows.
The Part That Keeps the Cones from Going Mushy
Most campfire desserts fail for one simple reason: the filling is packed too loosely, or the cone sits over heat long enough to steam itself apart. With campfire cones, the foil is doing half the work. It traps heat so the chocolate melts evenly, but it also shields the waffle cone from direct flame, which is what keeps the shell edible instead of charred.
The other thing that matters is balance. Marshmallows melt fast, chocolate chips need a little extra heat to get glossy, and the fruit gives you a juicy center without overwhelming the cone. If you load in too much banana or strawberry, the filling turns soupy and the cone can crack before the chocolate finishes melting.
- Foil — Wrap each cone snugly so steam stays in but flame stays out. A loose wrap gives you uneven melting and a scorched outside.
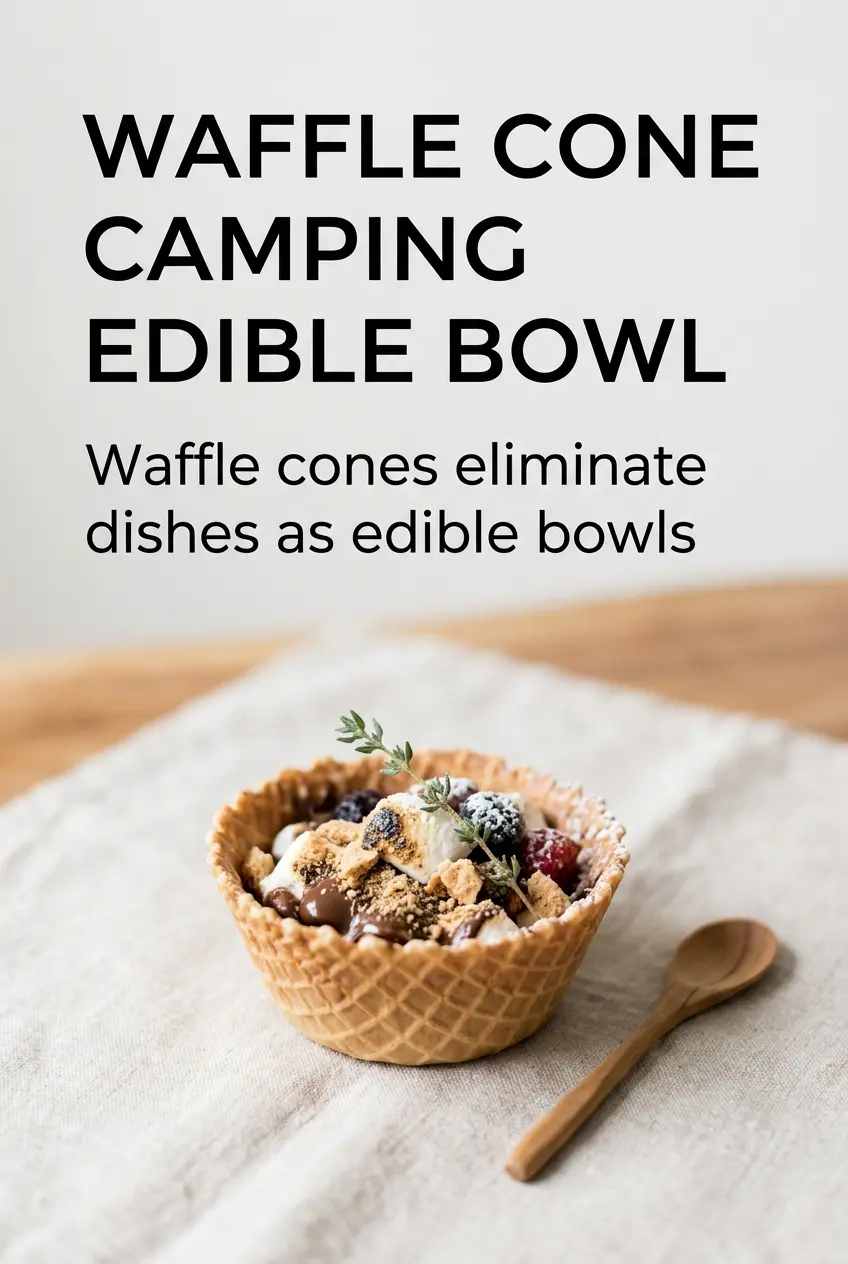
- Waffle cones — They hold up better than sugar cones here. Sugar cones collapse faster and don’t give you the same sturdy, spoonable finish.
- Mini marshmallows — These melt faster and more evenly than large marshmallows. If you only have large ones, cut them into smaller pieces so they soften at the same pace as the chocolate.
- Fruit — Bananas and strawberries work because they soften without disappearing. Keep the pieces small so they warm through before the cone starts to lose structure.
What Each Layer Is Actually Doing in the Cone
- Waffle ice cream cones — These are the structure. They need to be sturdy enough to hold the filling while wrapped, but crisp enough that the finished dessert still has a little bite.
- Mini marshmallows — They melt into the gaps between the other fillings and help everything cling together. You get that classic campfire-s’mores texture without needing a separate topping.
- Chocolate chips — Use chips rather than chopped bars if you want an easy melt that stays tucked into the cone. Bar chocolate works too, but it can slide to one side if the cone is packed unevenly.
- Banana slices and strawberries — These bring freshness and a softer center. Dice the strawberries small so they heat through quickly and don’t tear the cone when you take the first spoonful.
- Graham cracker pieces — They add the dry crunch that keeps the filling from feeling too soft. Crush them just enough to create chunks, not dust.
Getting the Heat Right So the Filling Melts Before the Cone Burns
Layering the Filling
Start with a little marshmallow, then chocolate, then the fruit, and finish with more marshmallows and graham cracker pieces. That order helps the chocolate melt into the center instead of staying clumped near the top. Pack the filling in gently; if you press too hard, the cone can split before it ever hits the fire.
Wrapping for the Campfire
Wrap each filled cone completely in foil, sealing it enough to trap heat but not crushing the cone shape. The foil should look tight and smooth around the cone, not bunched up in thick layers. If there are gaps, the outside gets too much direct heat and the cone starts to toast before the inside softens.
Heating and Turning
Set the wrapped cones on a campfire grate over medium heat for about 4 to 5 minutes, turning them occasionally. You’re listening for a gentle sizzle and watching for the package to puff slightly as the fillings melt. If the fire is too hot, pull the cones to the edge of the grate; high flames turn the shell brittle before the center is ready.
Cooling and Opening
Let the cones rest for 2 minutes before unwrapping them. That short cooling time lets the melted filling settle, so it doesn’t run out in a rush the second you peel back the foil. Open carefully from the top and serve with a spoon, because the center will still be very hot.
How to Change the Filling Without Losing the Campfire Dessert Feel
Dairy-Free Chocolate and Fruit Cones
Use dairy-free chocolate chips and keep the rest of the filling the same. The texture stays almost identical, but the chocolate may melt a little less smoothly, so give the cones the full heating time and don’t rush the cooling stage.
Nutty, Crunchier Cones
Add a spoonful of chopped peanuts, almonds, or pecans with the graham crackers. The nuts bring a deeper toasted flavor and hold up well in the heat, but keep the amount modest so the cone still has room for the meltier filling.
Strawberry-Banana Only Version
If you want a fruit-forward version, leave out the chocolate chips and add a few extra marshmallows for binding. This makes the filling lighter and less rich, but it also means you’ll have a softer center that needs the graham crackers for contrast.
Storage and Reheating
- Refrigerator: Best assembled just before cooking. Filled cones don’t hold well in the fridge because the cones soften and the fruit releases moisture.
- Freezer: Not a good freezer dessert. The texture of the cone and fruit changes too much once thawed, and the marshmallows lose their soft melt.
- Reheating: If a cone cools before serving, wrap it again in foil and set it back on low heat for a minute or two. Don’t put it directly over a flame or the outside will burn before the center warms back up.
Answers to the Questions Worth Asking
Campfire Cones
Ingredients
Equipment
Method
- Fill each waffle ice cream cone with a layer of mini marshmallows, then add chocolate chips. Build the layers so the filling stays mounded inside the cone.
- Add banana slices over the marshmallow and chocolate layer, followed by diced strawberries. Finish with graham cracker pieces so the top layer holds the fruit inside.
- Wrap each filled cone completely in aluminum foil, sealing it around the cone. Keep the foil snug so nothing spills while heating.
- Place the wrapped cones on a campfire grate over medium heat for 4-5 minutes, rotating occasionally. Watch for the foil to warm through and the marshmallows to appear melted at the edges.
- Remove the cones from the fire and let cool for 2 minutes. The filling should thicken slightly as it cools.
- Carefully unwrap the foil and serve right away with a spoon. The melted marshmallows and chocolate should be glossy and gooey when you open the cone.