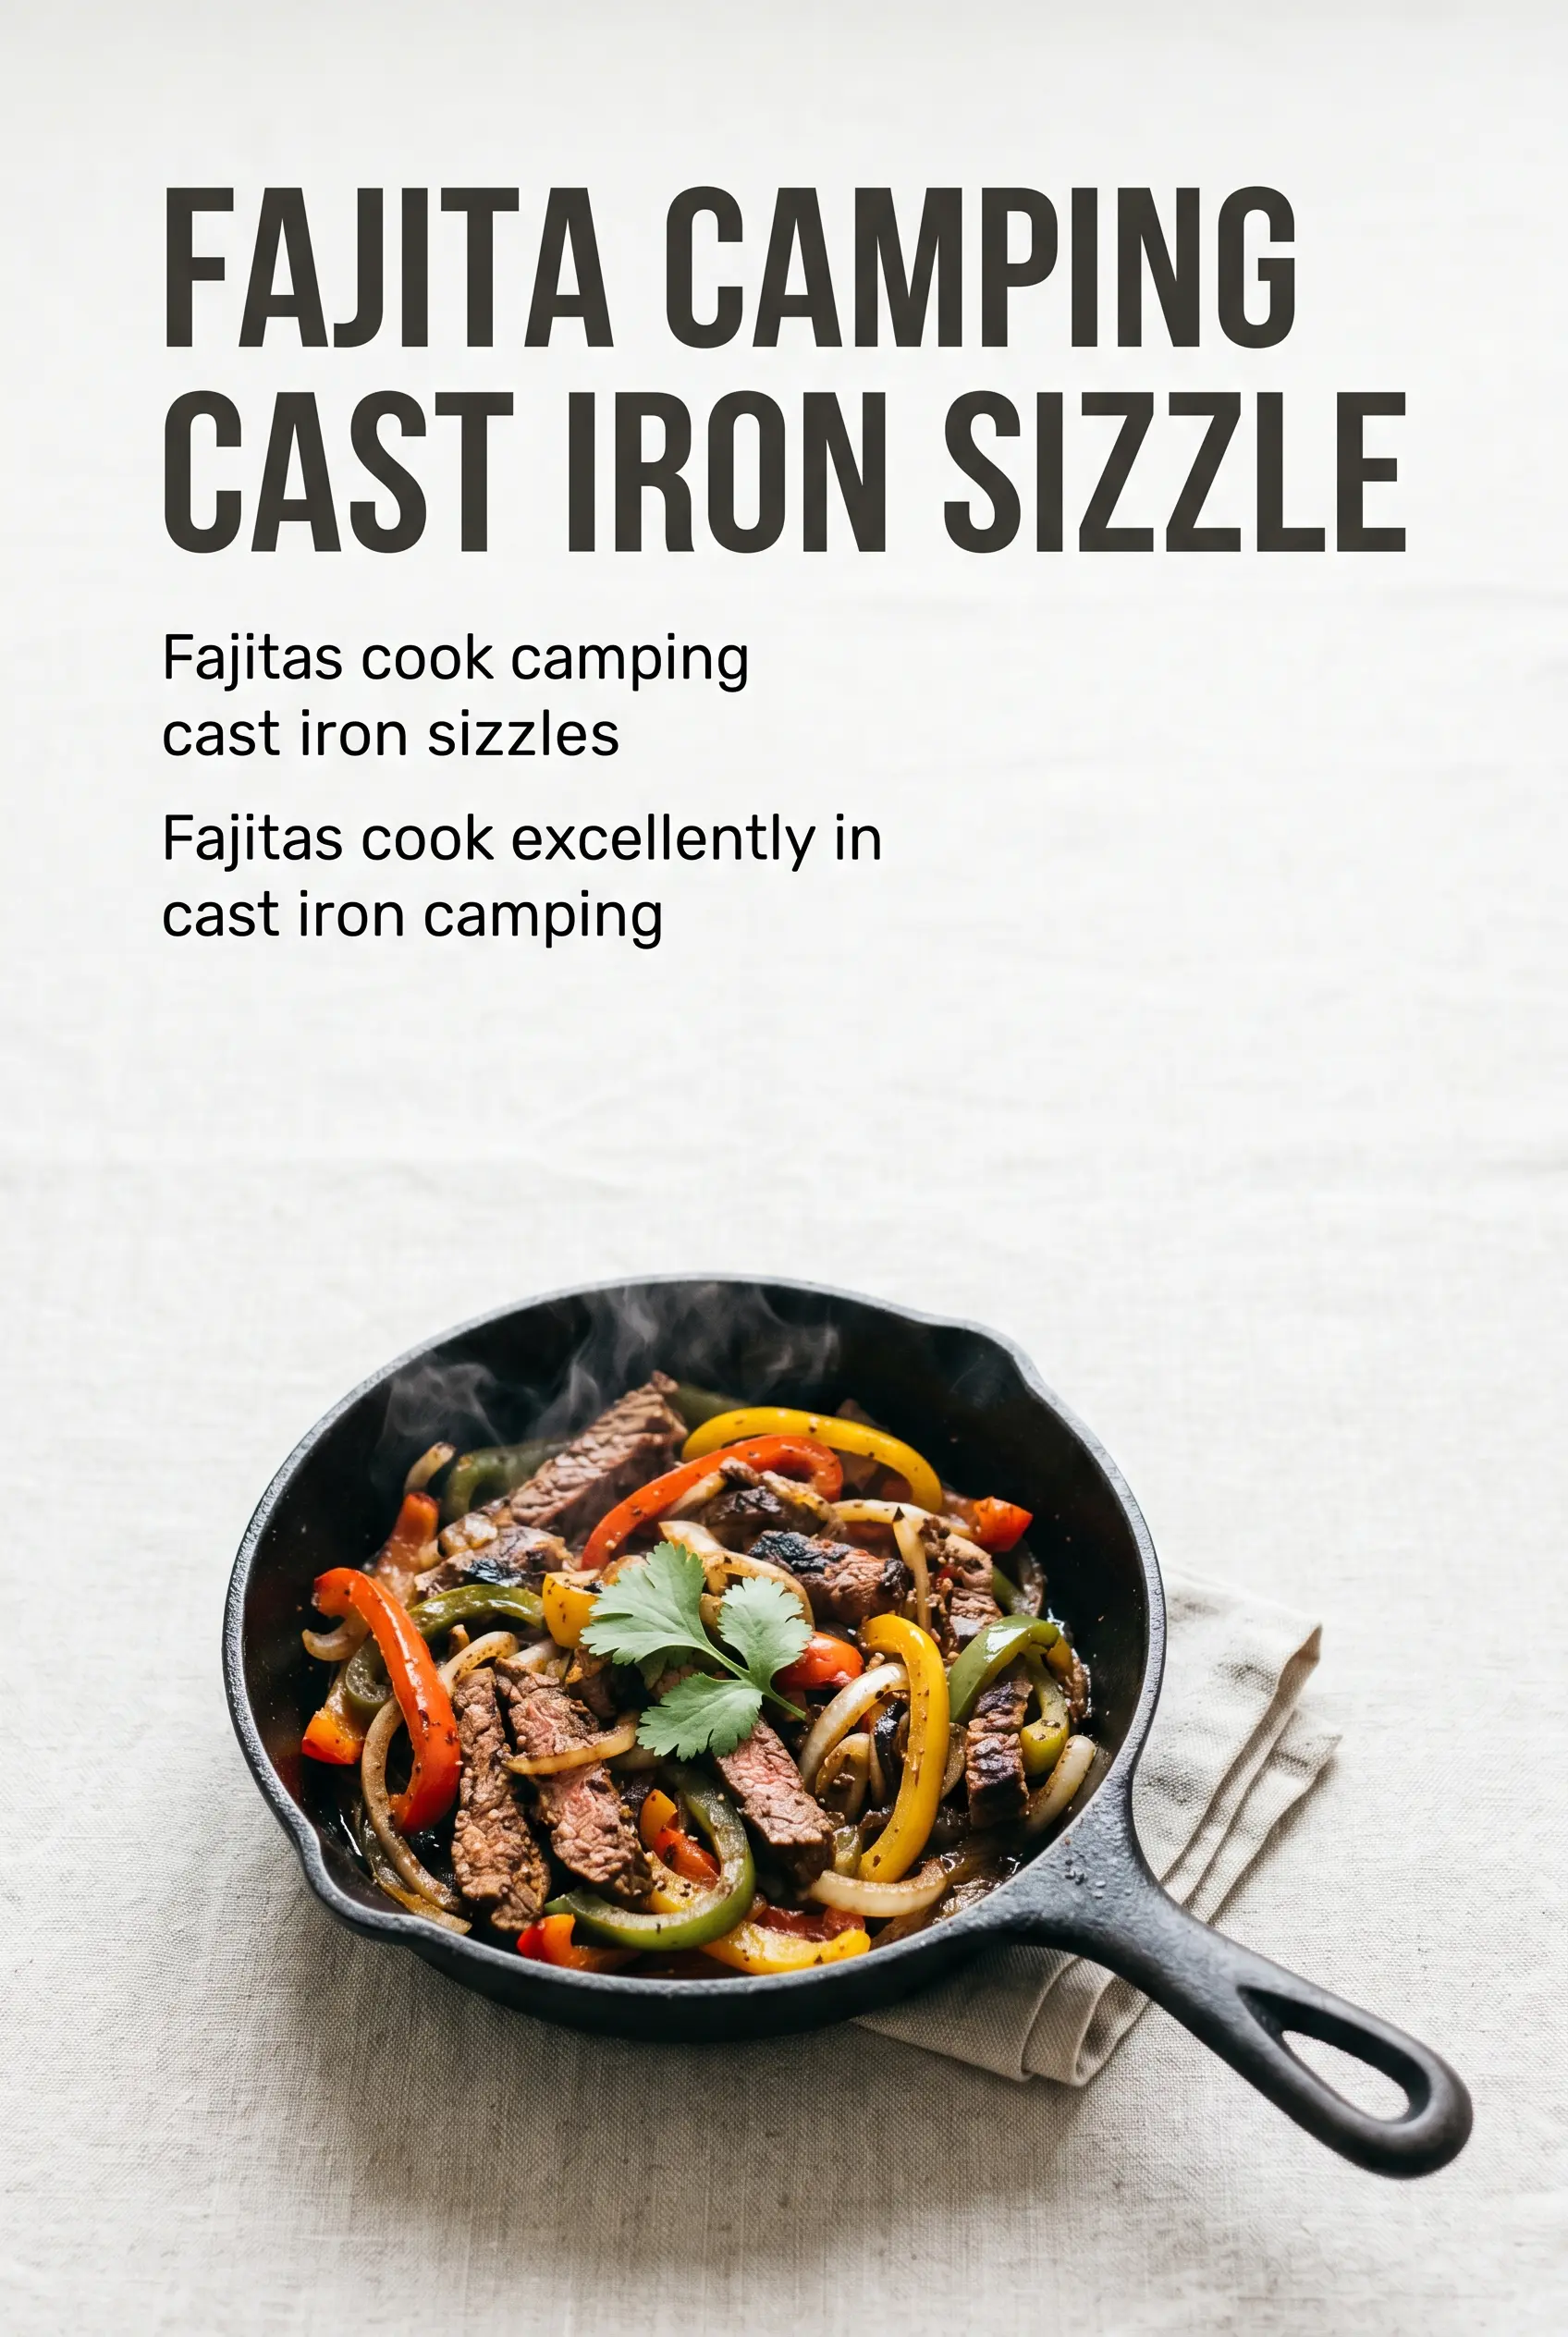
Sizzling campfire fajitas hit the table with charred peppers, browned meat, and just enough smoke to make the whole meal feel bigger than the effort it takes. The best part is that everything cooks in one cast iron skillet over the fire, so the meat picks up color before the vegetables soften, and the tortillas can be warmed right alongside the pan. You get those deep, savory edges on the chicken or steak without losing the snap of the peppers.
This version works because the skillet gets hot enough to sear instead of steam. Thin slices of meat cook fast, which matters over a campfire where heat can swing around from one minute to the next. The peppers and onions go in after the meat comes out, so they have room to brown in the rendered juices and seasoning instead of turning soggy. A final squeeze of lime wakes everything up and keeps the filling from tasting heavy.
Below, I’m walking through the part that matters most: how to keep the skillet hot, when to pull the meat, and how to get the vegetables tender without losing their bite. There’s also a useful note on swapping in steak or making the whole pan dairy-free without changing the spirit of the dish.
I was worried the peppers would just turn soft over the fire, but they stayed a little crisp and the meat picked up that smoky edge without drying out. We ate the whole skillet straight from the camp table.
Save these campfire fajitas for your next skillet dinner with smoky peppers, juicy meat, and warm tortillas.
The Heat Has to Be High Enough to Sear, Not Just Warm the Pan
The biggest mistake with fajitas over a campfire is starting before the skillet is actually hot. A cast iron pan needs time over steady coals or a consistent flame so the meat hits a surface that can brown it right away. If the pan is only lukewarm, the juices run out, the seasoning washes into the bottom, and you end up with gray meat and limp vegetables.
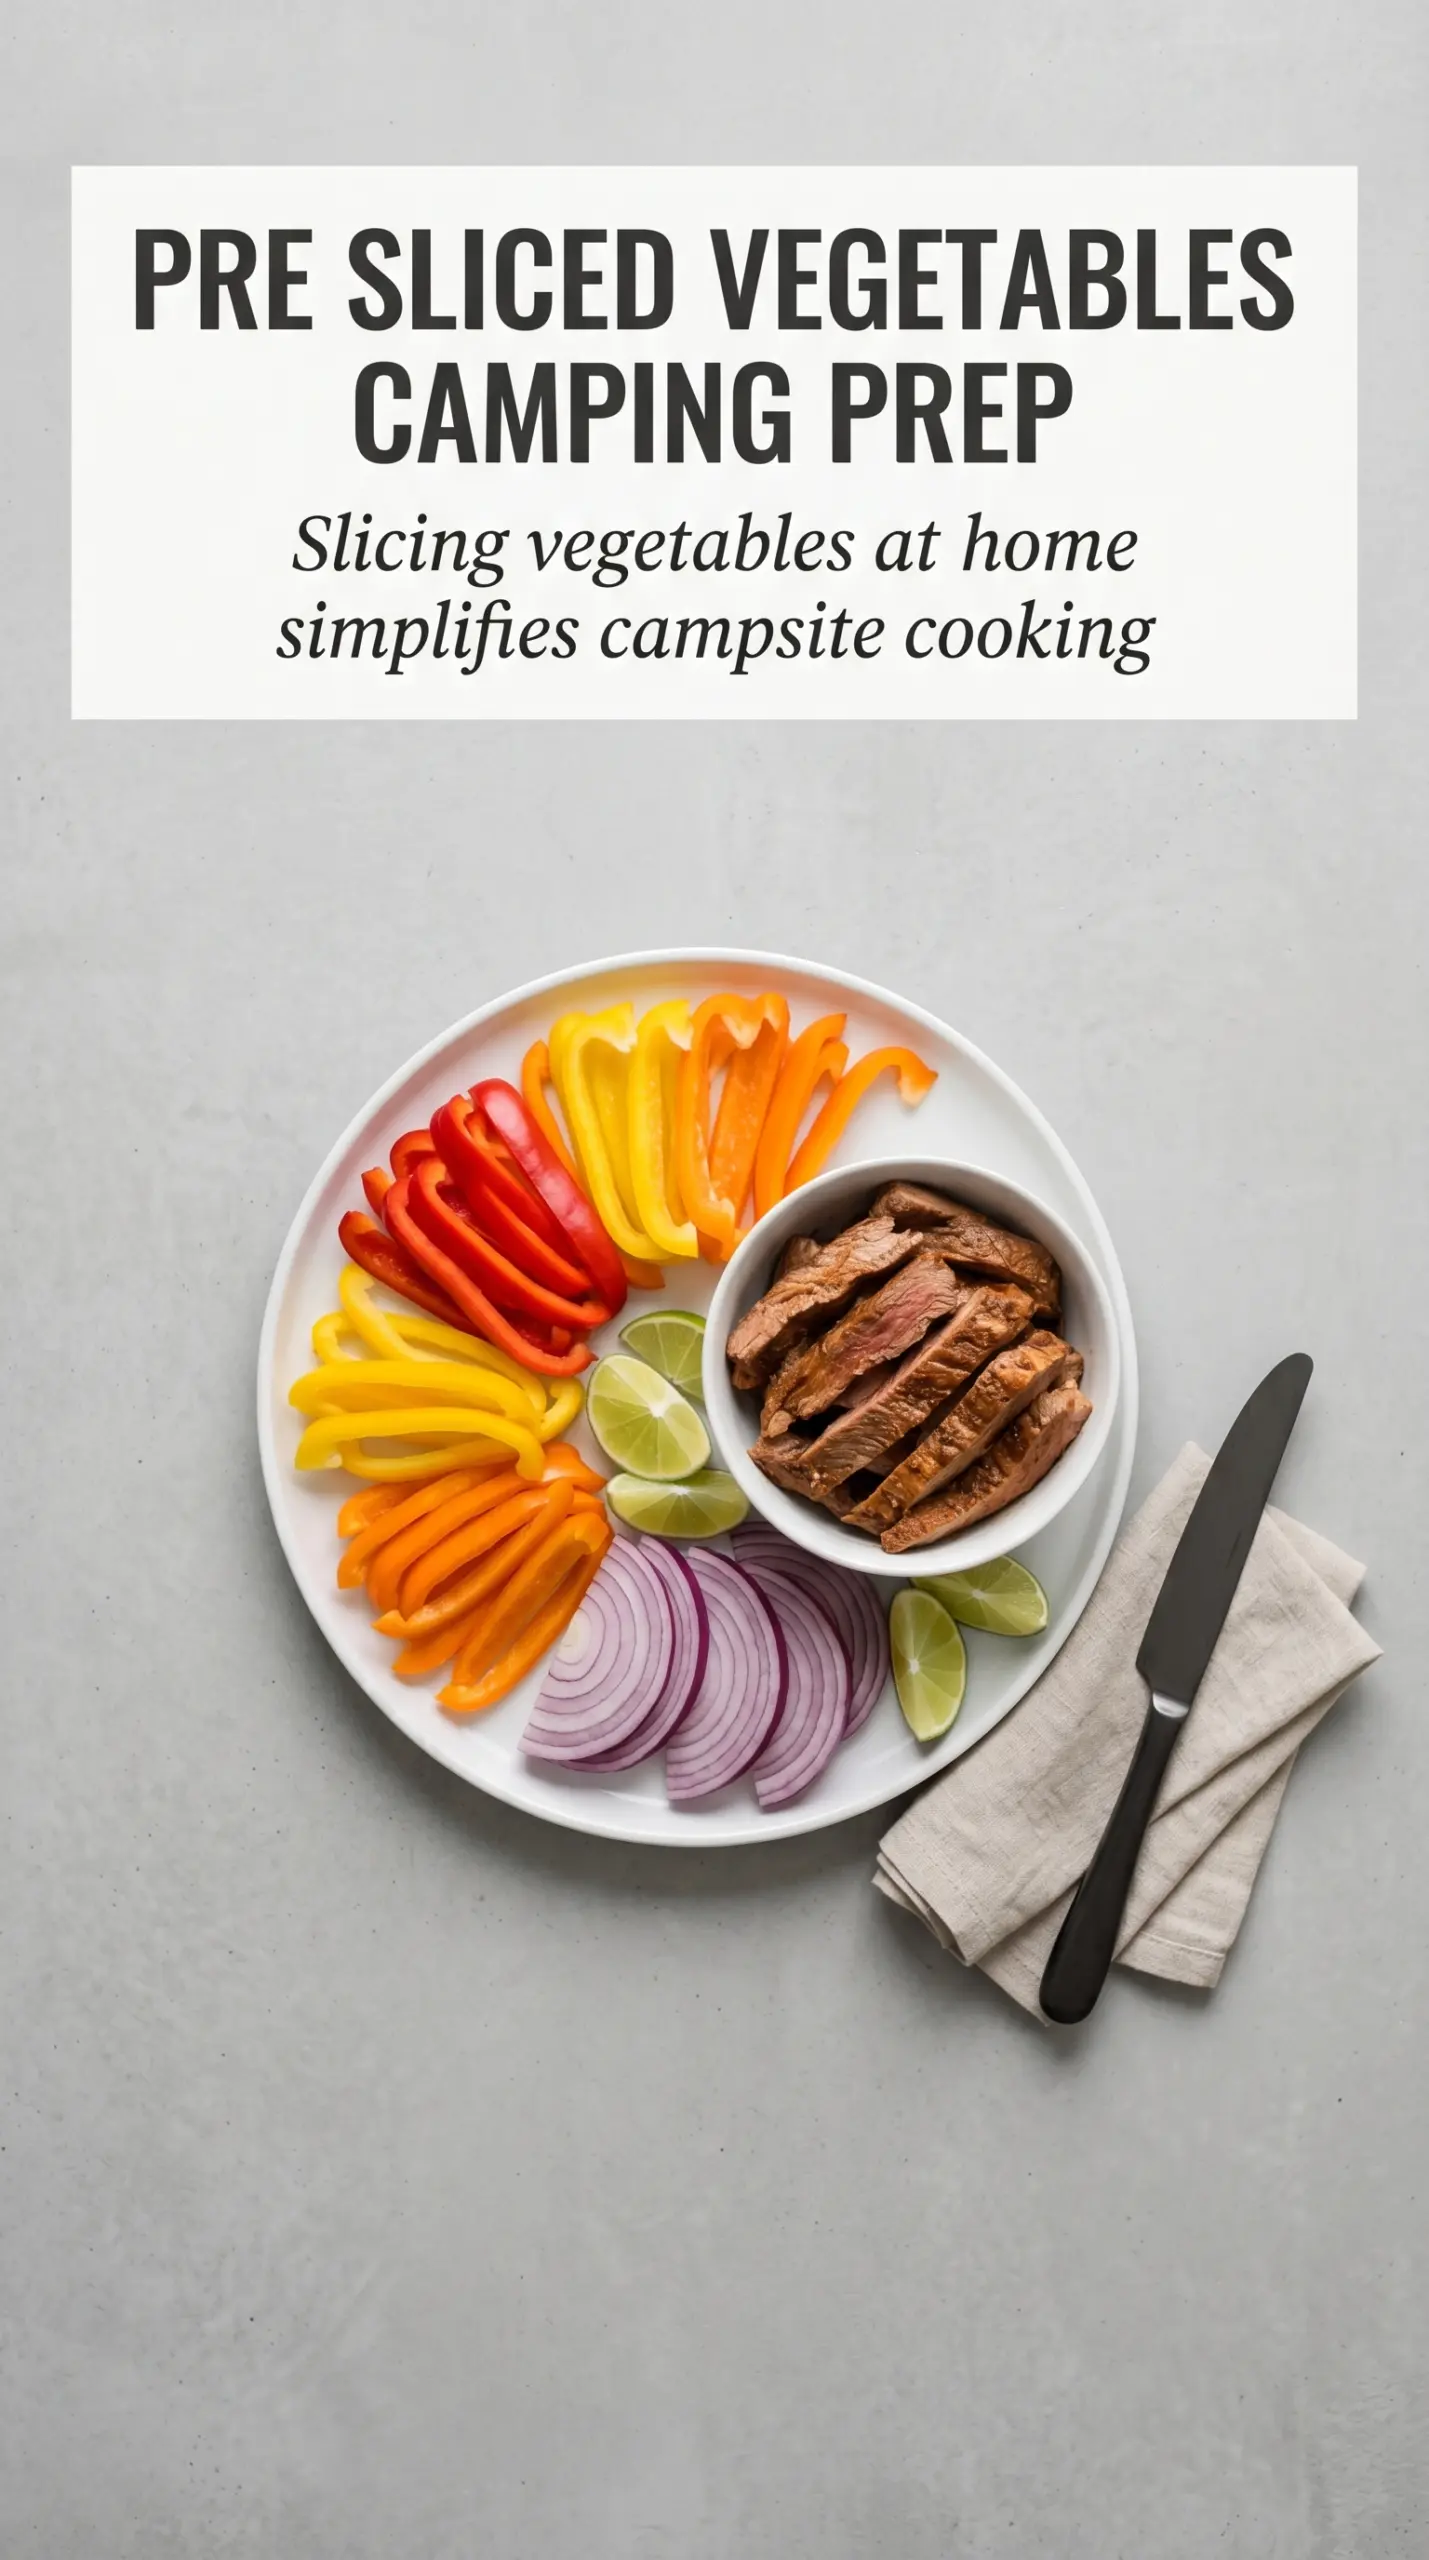
Thin slicing matters just as much. It gives you fast cooking and more surface area for browning, which is what makes fajitas taste like fajitas instead of plain sautéed meat and peppers. Keep the first cook short and hard, then pull the meat out before the vegetables go in. That little pause is what keeps everything from overcooking while the onions and peppers finish.
What the Seasoning, Oil, and Tortillas Are Really Doing
- Fajita seasoning — This is the backbone of the dish. Use a store-bought blend if that’s what you have, but check the salt level so the meat doesn’t end up over-seasoned after the pan reduces. If you want to make your own, use chili powder, cumin, garlic powder, paprika, and salt.
- Oil — A little oil is what keeps the meat from sticking to the cast iron and helps the vegetables char instead of dry out. Use a neutral oil with a higher smoke point, since campfire heat can spike fast. Olive oil works in a pinch, but it can smoke sooner.
- Bell peppers and onions — These aren’t just filler. They soak up the seasoning in the pan and bring sweetness that balances the smoky meat. Slice them evenly so they soften at the same pace; big uneven chunks leave you with half-crisp, half-mushy bites.
- Flour tortillas — Flour tortillas hold up best to the juicy filling and are easier to warm over a fire than corn tortillas. If you need a gluten-free version, use sturdy corn tortillas and warm them one by one so they don’t crack. Keep them wrapped in a towel after heating so they stay soft.
Building the Skillet in the Right Order
Getting the Meat Down First
Add the oiled skillet to the fire and let it preheat before the meat goes in. When the oil shimmers and moves easily across the pan, the surface is ready. Spread the seasoned meat out in a single layer so it browns instead of steaming, and leave it alone long enough to pick up color on the first side. If the pan is crowded, cook in batches; a packed skillet drops in temperature fast.
Cooking the Peppers and Onions
Once the meat comes out, the pan should still hold enough heat to char the vegetables. Add the peppers and onions and stir only after they’ve had a chance to sit against the hot metal for a minute or two. You’re looking for softened edges, some browning, and a little blistering on the peppers. If they start to burn before they soften, pull the skillet slightly off the hottest part of the fire and keep moving them around the outer edge of the pan.
Bringing It All Together
Return the meat to the skillet and toss just until everything is coated and hot. This last pass is short on purpose; the meat is already cooked, and overdoing it will make it tough. Warm the tortillas over the fire while the filling finishes so everything lands on the table at once. A squeeze of lime at the end sharpens the seasoning and keeps each bite from feeling flat.
How to Adapt These Fajitas for Different Campsites and Eaters
Swap Chicken for Steak Without Changing the Method
Steak works just as well here, especially flank or skirt steak sliced across the grain. It brings a deeper beefy flavor and a little more char, but it needs the same hot, fast cook or it turns chewy. Keep the pieces thin so they finish in about the same time as the chicken version.
Make It Dairy-Free Without Losing the Finish
Skip the sour cream and pile on guacamole, salsa, cilantro, and extra lime instead. You’ll still get creaminess from the avocado, plus more brightness from the citrus. The fajita filling itself is already dairy-free, so this swap is easy and doesn’t change the skillet method.
Use Corn Tortillas for a Gluten-Free Version
Corn tortillas give you a gluten-free campfire dinner, but they need gentler warming because they dry out faster than flour tortillas. Heat them just until pliable, then stack them in a towel or foil to hold the steam. That keeps them soft enough to fold without cracking.
Storage and Reheating
- Refrigerator: Store the fajita filling in an airtight container for up to 3 days. The peppers soften a bit as they sit, but the flavor holds up well.
- Freezer: The cooked meat freezes well, but the peppers and onions lose their texture after thawing. If you want to freeze ahead, freeze the meat separately and cook fresh vegetables when you’re ready to serve.
- Reheating: Reheat the filling in a skillet over medium heat until hot, not in the microwave if you can avoid it. Microwaving tends to make the vegetables watery and the meat rubbery. Warm the tortillas separately so they don’t go stiff while the filling heats.
Answers to the Questions Worth Asking
Campfire Fajitas
Ingredients
Equipment
Method
- Heat the oil in a large cast iron skillet over the campfire until shimmering and hot.
- Season the sliced chicken breast or steak with fajita seasoning, then add it to the hot skillet and spread into an even layer.
- Cook the meat for 8-10 minutes, stirring occasionally, until browned and cooked through, then remove and set aside.
- Add the bell peppers and onions to the skillet and cook for 8-10 minutes, stirring occasionally, until tender and slightly charred.
- Return the cooked meat to the skillet and toss until everything is coated and evenly combined.
- Warm the flour tortillas over the fire until pliable and lightly toasted, flipping as needed.
- Serve the fajita mixture with warm tortillas and pass sour cream, guacamole, salsa, cheese, cilantro, and lime wedges for topping.