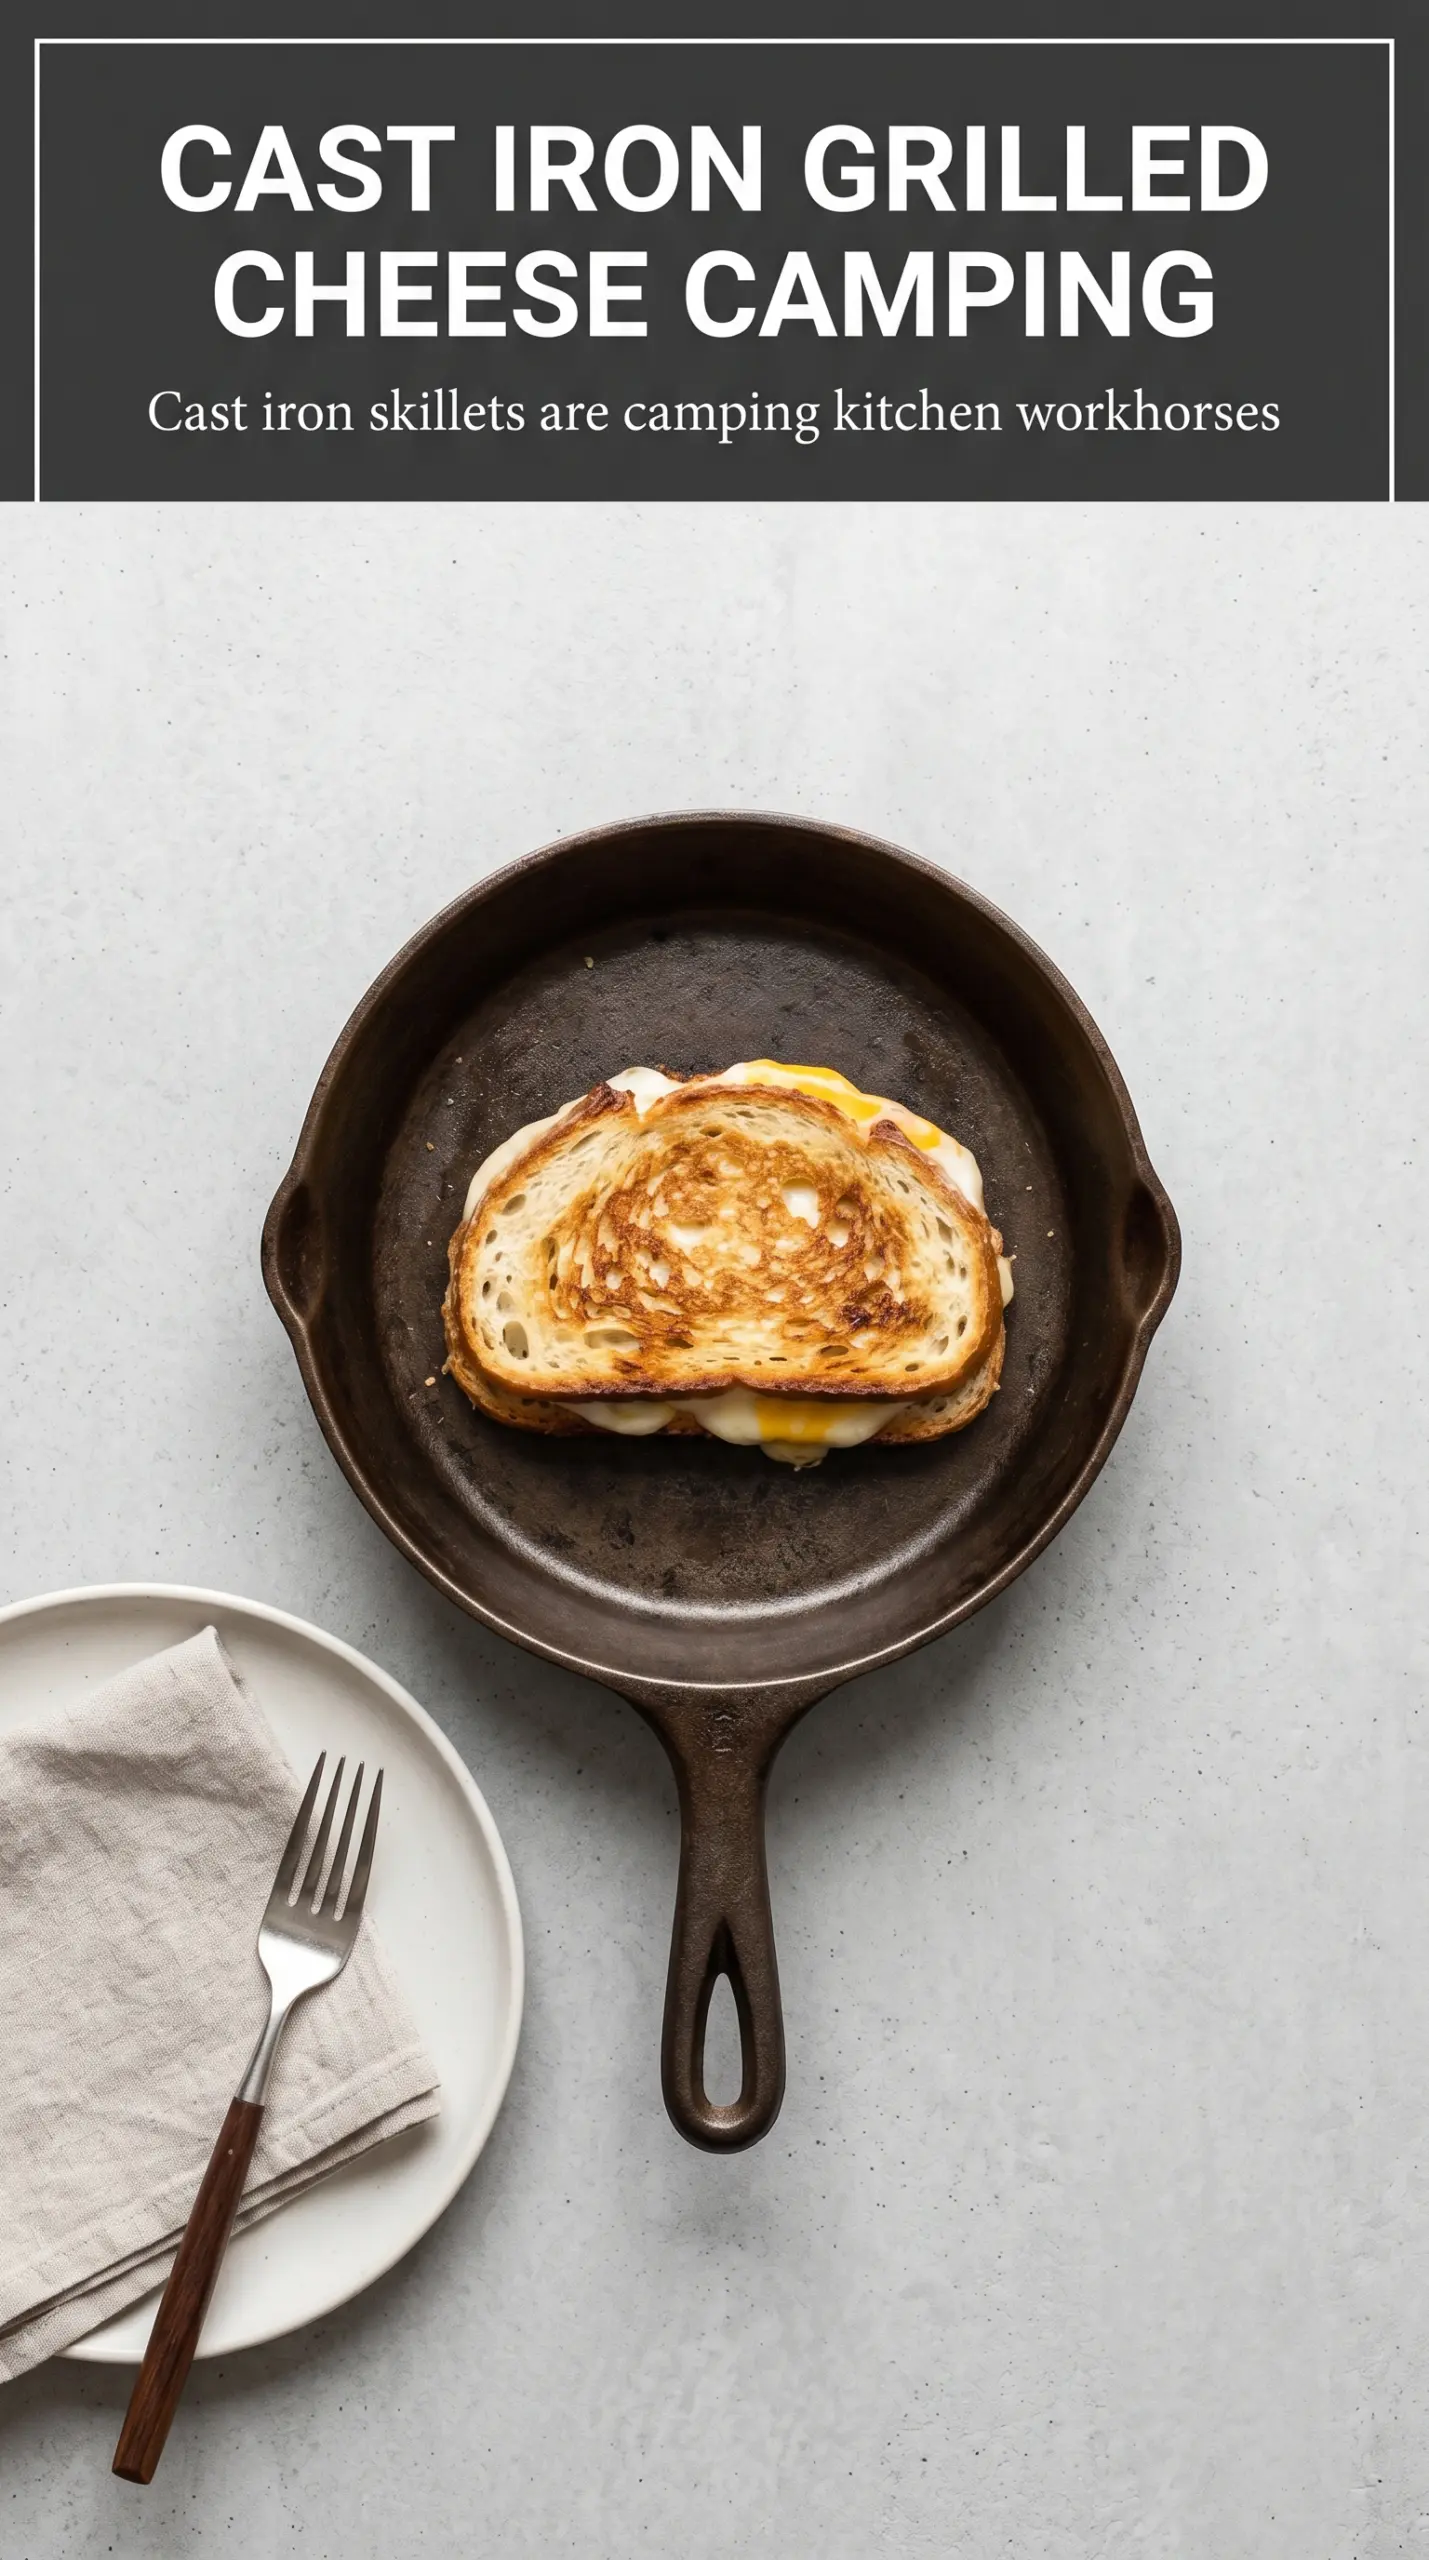
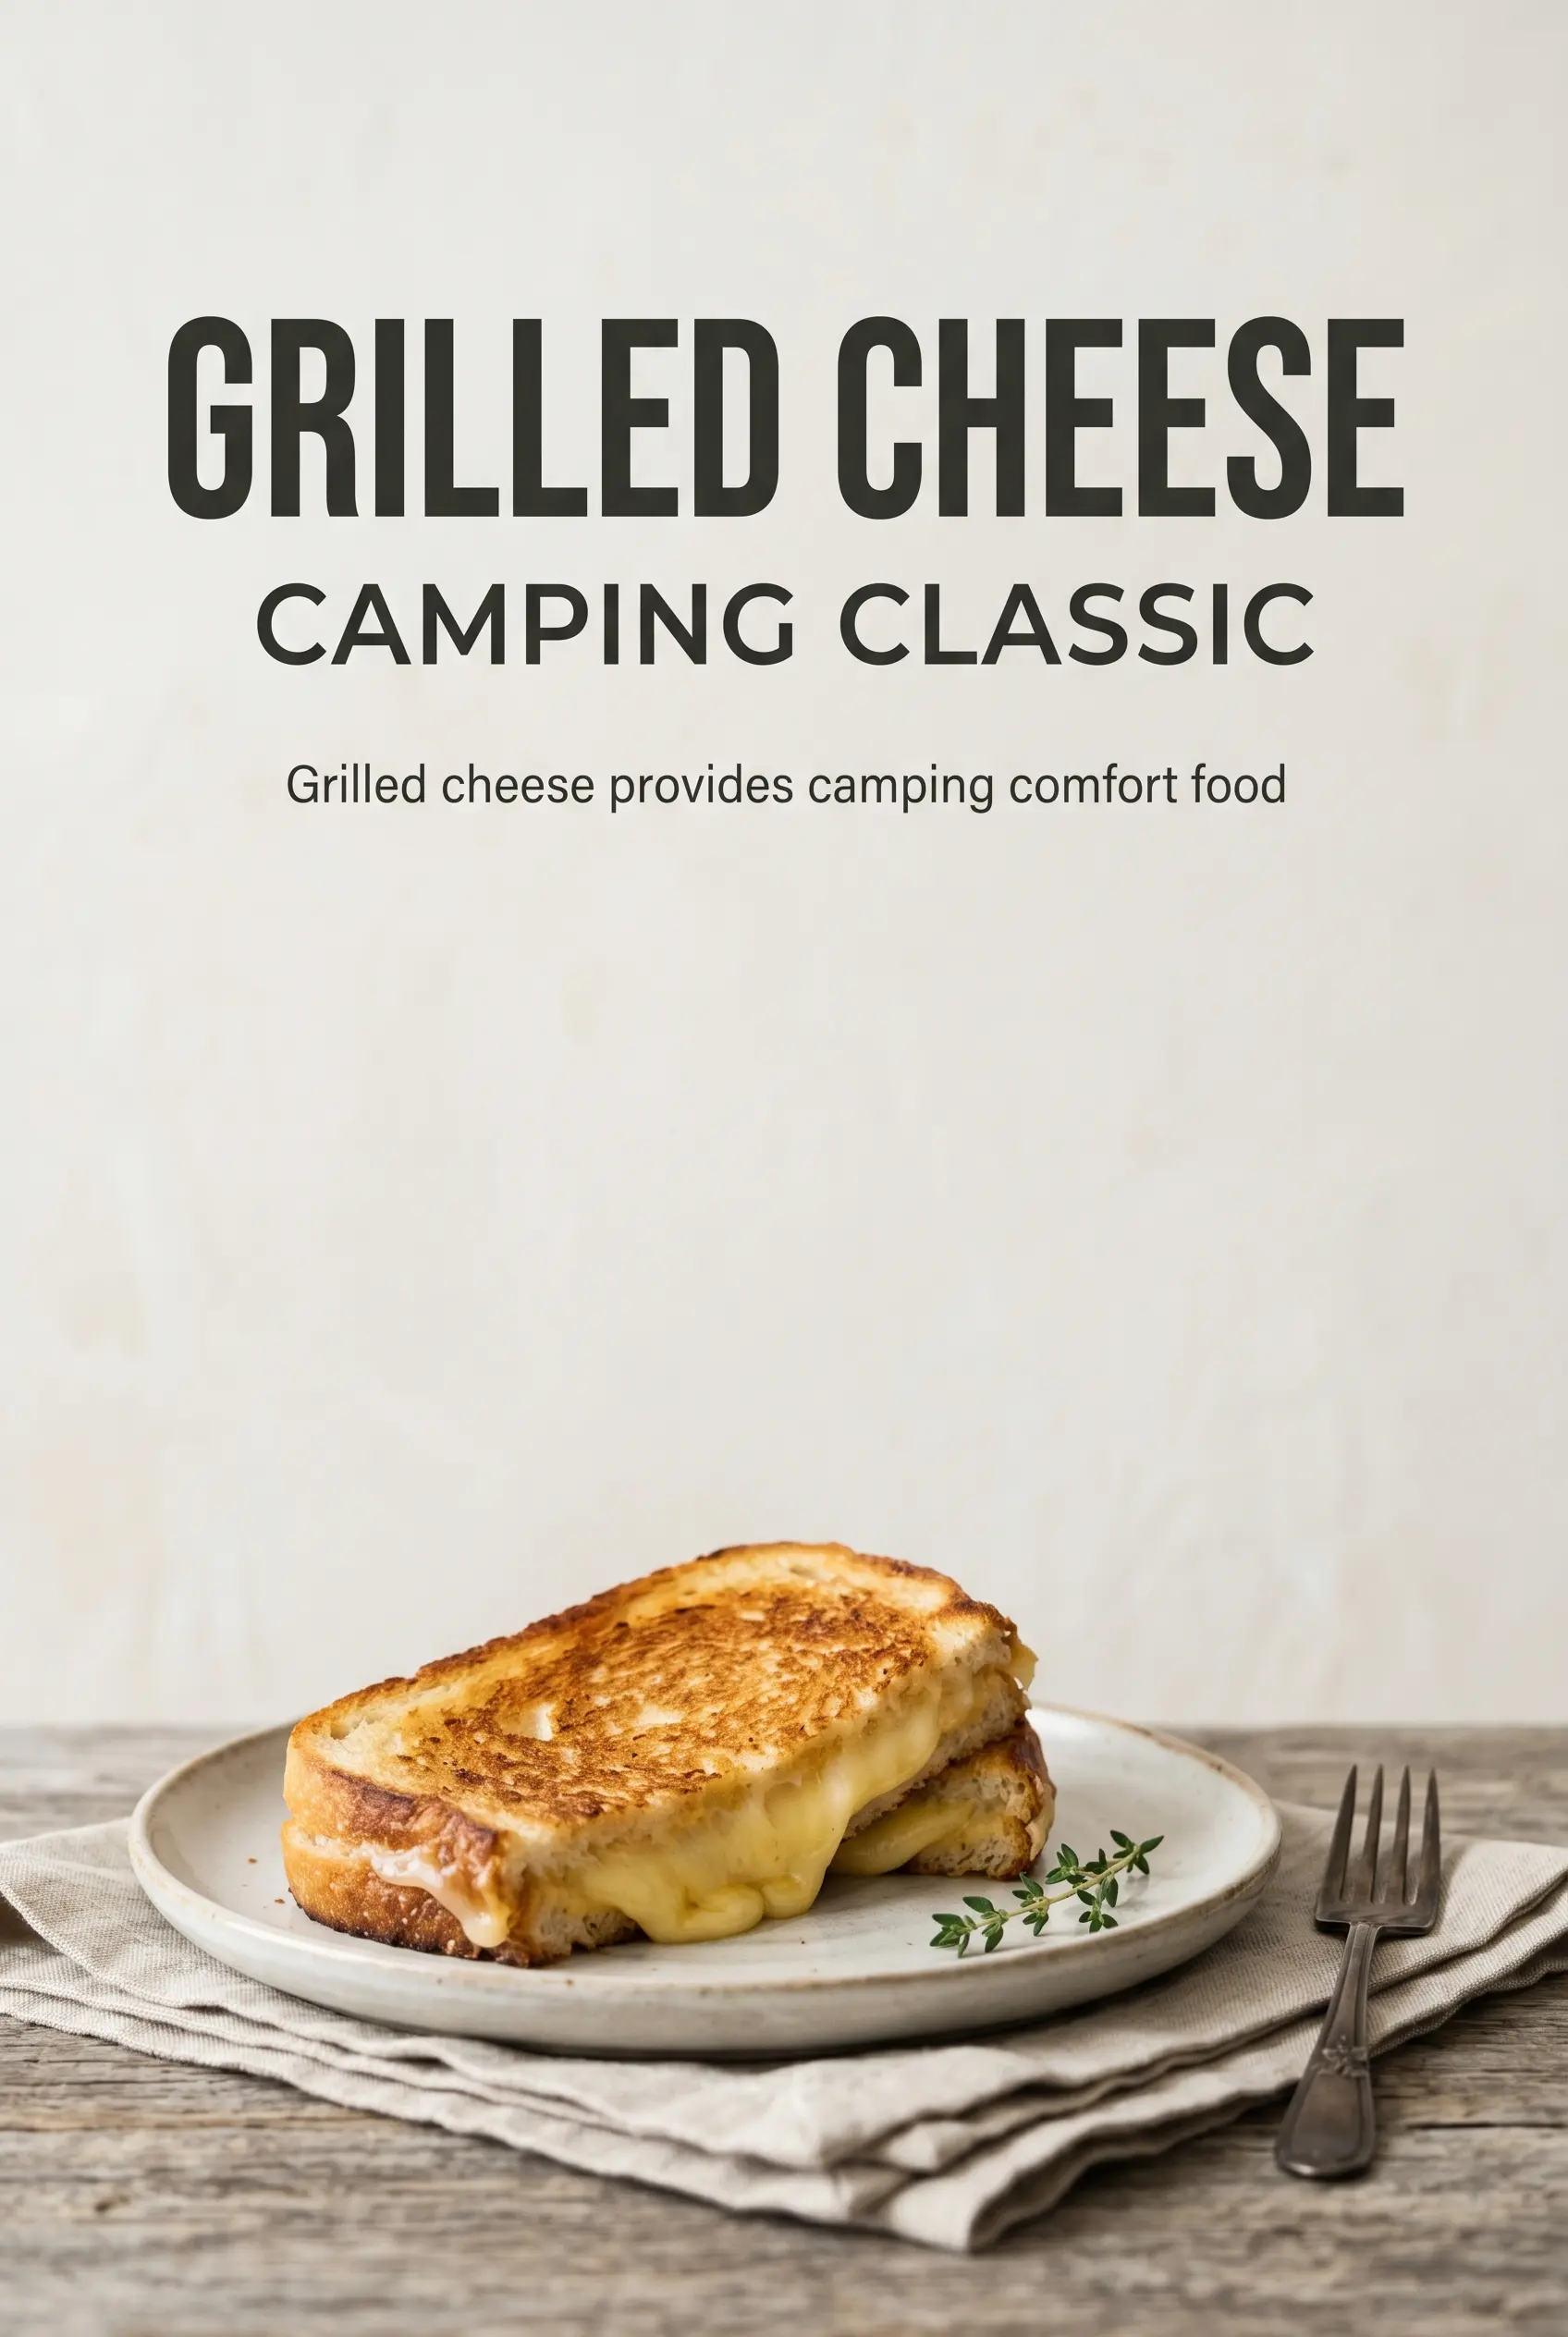
Campfire grilled cheese hits the pan with a crackle, turns deeply golden at the edges, and gives you that soft, molten center that stretches when you pull the halves apart. It’s the kind of meal that disappears fast because the bread stays crisp enough to hold the cheese, but still has that buttery, smoky richness that makes it feel a little special, even with a short ingredient list.
The trick is managing heat. Over a campfire, the grate can run hotter in spots than a kitchen burner, so the bread can brown before the cheese melts if you rush it. Buttering the outside of the bread gives you even browning, while a slice of American, cheddar, or Swiss brings different melt behavior depending on what you want: American melts fastest and smoothest, cheddar gives more bite, and Swiss stays milder and a little nuttier.
Below, I’ve included the little details that keep the sandwich from burning before the center is ready, plus a few smart swaps if you’re cooking with what you packed.
The bread turned crisp and golden without burning, and the cheese melted all the way through in the skillet over the fire. We made these for lunch on our last camping trip and everyone wanted a second sandwich.
Save this campfire grilled cheese for your next outdoor lunch when you want crisp bread, gooey cheese, and one pan to clean.
The Heat Is the Whole Game Here
The biggest mistake with grilled cheese over a fire is chasing color too fast. Campfire heat is uneven, and that hot spot under the center of the pan can scorch the bread before the cheese has a chance to melt. Medium heat is the target, whether that comes from a grate over coals or a cast iron skillet set just above steady flames, because the sandwich needs time more than it needs intensity.
Butter on the outside does two jobs: it helps the bread brown evenly and gives you that crisp, shattering crust when you bite in. If the bread darkens before the cheese softens, move the pan off the hottest part of the fire and let the sandwich finish more slowly. The goal is a deep golden crust and a fully melted center, not a dark shell with cold cheese inside.
- Butter — Softened butter spreads in a thin, even layer, which matters more than piling it on. Cold butter tears the bread, and uneven coverage gives you pale spots instead of an even crust.
- Bread — A sturdy sandwich bread holds up best over fire. Thin, airy bread can go limp from the steam before it crisps, so pick slices with enough structure to stay intact when you flip.
- Cheese — American melts the smoothest and fastest, cheddar brings more sharpness, and Swiss gives a gentler, nutty finish. If you want the best cheese pull, American or a blend with it does the work cleanest.
Building a Melt That Catches Up With the Bread
- American cheese — This is the easiest route to a smooth melt. It softens fast, which helps when you’re cooking over a live fire and don’t want the bread to outrun the center.
- Cheddar — Use it when you want more flavor, but know that sharp cheddar won’t melt as silkily as American. A mild or medium cheddar performs better than an aged block if you want a gooey sandwich.
- Swiss — Swiss stays mellow and melts cleanly, though it won’t give you the same stretchy pull. It’s a good choice if you want a less salty sandwich and a slightly nuttier finish.
- Butter — The softened butter is the difference between an even crust and patchy browning. Spread it all the way to the edges so the corners don’t go dry and pale.
How to Keep the Bread Golden Before the Cheese Gives In
Butter and Build the Sandwich
Spread the butter on one side of each bread slice, all the way to the edges, then sandwich the cheese between the unbuttered sides so the butter faces out. That outer layer is what hits the heat first, and if you build it backward, the bread won’t brown properly. Press the sandwich lightly so it holds together, but don’t flatten it into a dense slab that squeezes the cheese out later.
Cook Over Steady Heat
Set the sandwiches on a campfire grate or in a cast iron skillet over medium heat. Listen for a gentle sizzle, not a furious crackle; if the pan sounds angry, it’s too hot. Cook for 4 to 5 minutes on the first side until the bottom is deep golden, then flip and cook the second side until the cheese is fully melted and the bread is crisp all over.
Flip Without Losing the Filling
Use a wide spatula and turn the sandwich in one confident motion. If the bread slides or the cheese leaks, the heat is usually too high and the sandwich hasn’t set enough on the first side. Give it another minute before trying again rather than forcing a flip that tears the crust.
Cut and Serve Hot
Pull the sandwich off the heat as soon as both sides are golden and the cheese is soft at the center. Let it sit for a minute, then cut it in half so the cheese settles just enough to stay inside instead of running across the cutting board. Serve it right away while the crust is still crisp and the middle is stretchy.
How to Change the Cheese Without Changing the Sandwich
Make it dairy-free with plant-based butter and meltable cheese
Use a dairy-free butter spread and a plant-based sliced cheese that melts well. The crust will still brown, but the texture depends on the brand, so choose one made for melting rather than snacking.
Go sharper with a cheddar-forward filling
Swap in sharp cheddar if you want more punch, but expect a slightly less silky melt. For a better result, combine cheddar with one or two slices of American so you keep the flavor and the stretch.
Use a cast iron skillet for easier control
A skillet gives you more even heat than a grate, which helps when the fire is lively or the coals aren’t settled yet. It’s the better choice if you want fewer surprises and a more predictable golden crust.
Storage and Reheating
- Refrigerator: Store leftovers for up to 2 days, wrapped well. The bread will soften a bit, but it still reheats well.
- Freezer: Freezing isn’t ideal here. The cheese texture turns grainy and the bread loses its crisp edge after thawing.
- Reheating: Reheat in a skillet over low to medium-low heat until the bread crisps back up and the cheese warms through. The common mistake is blasting it in the microwave, which makes the bread limp before the center is hot.
Answers to the Questions Worth Asking
Campfire Grilled Cheese
Ingredients
Equipment
Method
- Butter one side of each bread slice generously with softened butter, leaving the other side plain. Spread enough that the surface looks glossy and coated.
- Place cheese between two slices of bread with the buttered sides on the outside. Press the edges together lightly so the cheese stays contained.
- Set sandwiches on a campfire grill grate or in a cast iron skillet over medium heat. Cook until the bottom turns golden brown and the cheese begins melting, about 4-5 minutes.
- Flip the sandwiches carefully and cook for another 4-5 minutes on the second side. Continue until both sides are golden brown and the cheese is fully melted and stretchy.
- Remove the sandwiches from heat, cut each in half, and serve hot immediately. Aim for a cheese pull that stretches between halves.