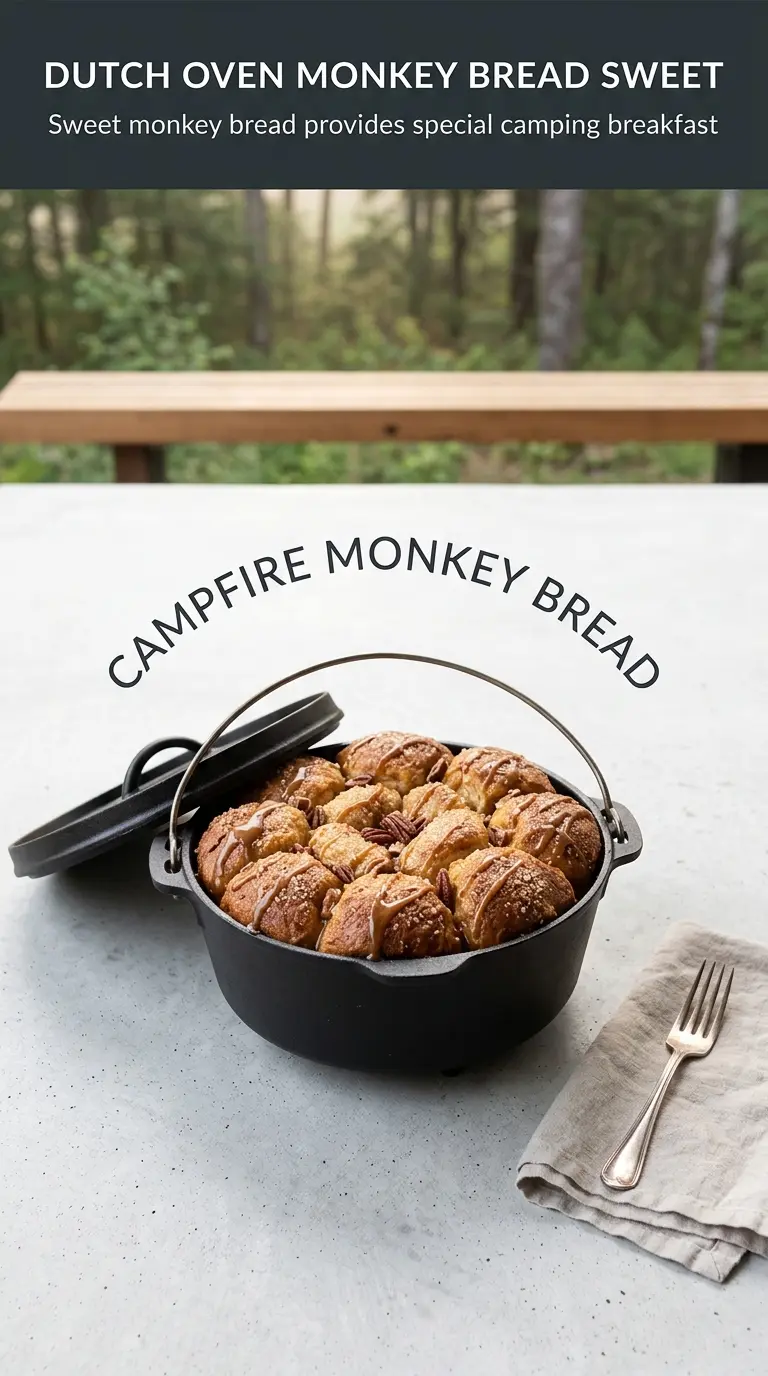
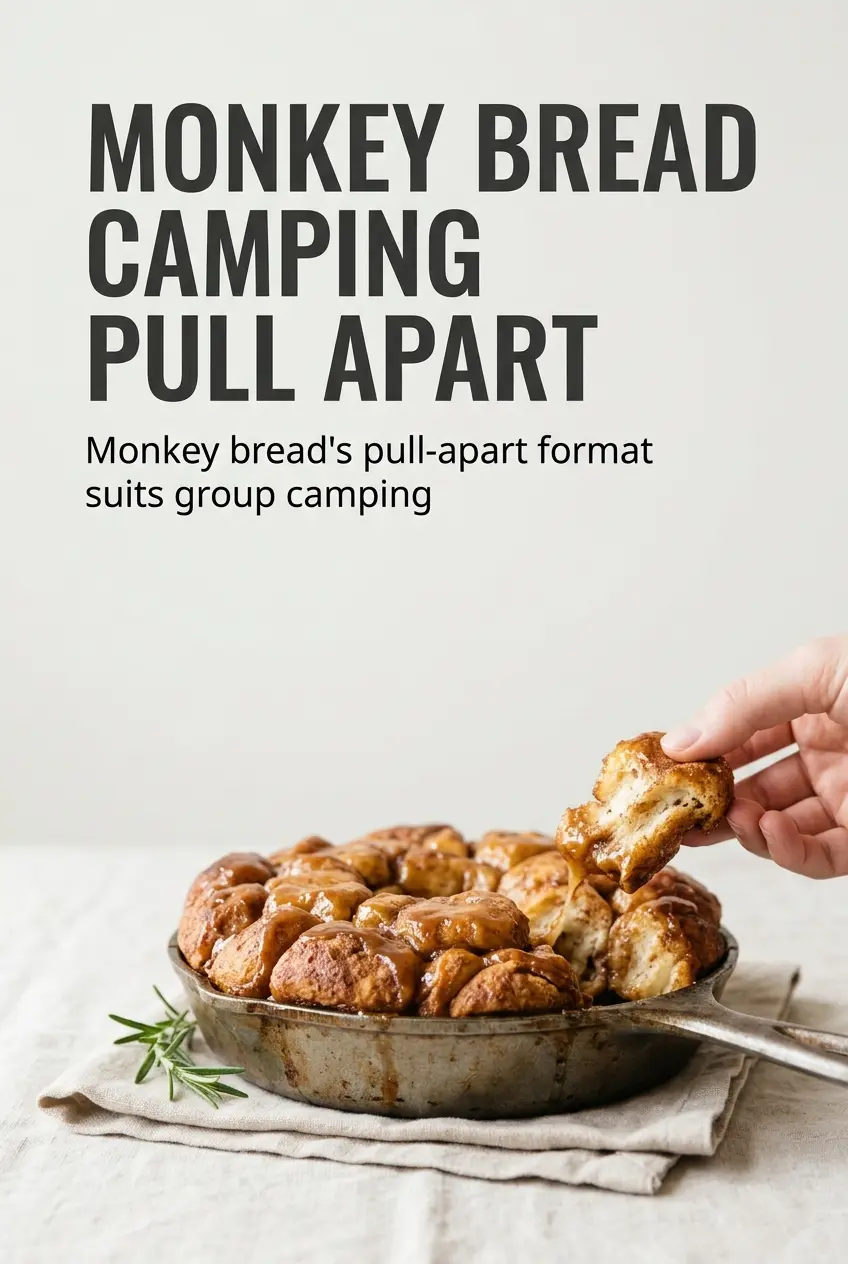
Golden pull-apart pieces of campfire monkey bread bake into a sticky, cinnamon-scented mound with crisp edges and a soft, tender center. The magic is in the contrast: the bottom soaks up brown sugar butter while the top bakes into a deeply bronzed crust that tears apart in gooey strands.
This version works because the biscuit pieces are cut small enough to cook all the way through before the outside burns, and the sugar-cinnamon coating clings to every cut edge. The butter and brown sugar pour over the top instead of being mixed in with the dough, which gives you that glossy caramel layer without making the whole thing heavy.
Below, I’ve included the part that matters most in a campfire setup: how to keep the Dutch oven heat even enough for the center to cook before the top gets too dark. There’s also a few smart swaps and storage notes for the times you’re cooking this away from a full kitchen.
I was nervous the middle would stay doughy, but it baked through perfectly in the Dutch oven and the cinnamon sugar caramelized on the edges. The pieces pulled apart clean instead of turning into a soggy mess.
Campfire monkey bread with that caramel-soaked center and crisp cinnamon edges is worth keeping handy for your next Dutch oven dessert night.
The Part That Keeps the Center From Staying Doughy
Campfire monkey bread looks forgiving, but the heat can fool you. The outside browns fast because the Dutch oven traps heat from the coals on the lid and the bed underneath, while the middle needs time to rise, expand, and finish cooking. If the biscuit pieces are left in big chunks, the outside sets before the inside catches up. Cutting each biscuit into quarters gives you more surface area for the cinnamon sugar and a better chance of an even bake.
The other mistake is starting with too much direct heat. This dessert needs steady heat, not a blast. If the coals are too hot, the sugar around the edges scorches before the butter and dough can do their job. Aim for a deep golden top and a center that no longer looks wet when you lift the lid.
- Quartered biscuit dough — Small pieces bake through much more evenly than whole biscuits, and the torn edges catch more cinnamon sugar.
- Brown sugar and melted butter — This is what gives you the sticky caramel layer. Granulated sugar won’t create the same soft glaze.
- Cast iron Dutch oven — The heavy pot holds and radiates heat better than thin bakeware, which matters when you’re cooking over coals.
- Cooking spray — It seems minor, but it keeps the caramel from welding itself to the Dutch oven after baking.
What Each Ingredient Is Actually Doing in This Dutch Oven Dessert
- Refrigerated biscuit dough — This gives you the fast, sturdy base that holds up to campfire heat. It bakes into a soft, bread-like interior instead of a battery texture. Any standard flaky biscuit dough works, but avoid oversized Grands-style dough unless you’re ready to extend the cook time a bit.
- Sugar and cinnamon — This coating is what makes every piece taste like monkey bread instead of plain sweet bread. Fresh cinnamon matters here; older cinnamon tastes dusty once it’s baked. If you want a deeper spice note, add a pinch of nutmeg, but don’t cut the cinnamon back.
- Butter and brown sugar — These melt together into the glossy caramel sauce that settles between the biscuit pieces. Light or dark brown sugar both work, but dark brown sugar brings a deeper molasses note. Don’t swap in all white sugar unless you’re fine losing that sticky, old-fashioned caramel flavor.
- Cooking spray — You need a coating on the Dutch oven so the sugar mixture releases cleanly. Butter alone is more likely to brown and stick in hot spots over coals.
Building the Layers Before the Coals Do the Work
Coating the Biscuit Pieces
Cut the biscuits into quarters first, then toss them in the cinnamon sugar in a bag so every side gets dusted. The bag method works better than a bowl because it keeps the coating even and prevents clumps of wet dough from sticking together. When the pieces look heavily dusted and a little sandy, they’re ready. If they’re pale in spots, those spots usually bake up bland.
Layering the Dutch Oven
Spray the Dutch oven, then add the coated biscuit pieces in an even layer rather than packing them down hard. You want some gaps so the butter can run between the pieces and create those caramel pockets. If you compress them too much, the center steams instead of baking. That’s the fastest way to end up with a gummy middle.
Pouring on the Caramel
Mix the melted butter and brown sugar until the sugar starts to dissolve, then pour it evenly over the top. It will sink down into the spaces as the heat builds. Don’t stir after pouring; stirring drags the sugar coating off the dough and turns the base muddy instead of sticky. Once the lid goes on, leave it alone and let the heat work.
Finishing Over the Coals
Set the Dutch oven on campfire coals with more coals on the lid so the top and bottom heat evenly. After about 25 minutes, lift the lid and check for a deep golden top and bubbling caramel around the edges. If it’s pale in the center, keep cooking in short bursts instead of guessing. Pull it off once the center is set and the top looks bronzed, not dark brown.
How to Adapt It When You Need a Different Setup
Oven-Baked Version for the Backyard or Kitchen
Bake it in a greased Dutch oven or bundt pan at 350°F until the top is golden and the center is cooked through, usually about 30 to 35 minutes. You’ll lose the smoky campfire note, but the texture stays just as sticky and pull-apart tender.
Dairy-Free Monkey Bread
Use a plant-based buttery spread that melts cleanly and has a neutral flavor. The caramel layer will still form, though it may taste a little less rich than the butter version. Avoid coconut oil here unless you want a noticeable coconut flavor in the finished dessert.
Extra-Cinnamon, More Dessert-Like Finish
Add another teaspoon of cinnamon to the sugar mix if you want a bolder spice hit. That pushes the dessert further toward cinnamon roll territory and balances the sweetness of the brown sugar glaze. Don’t go overboard, though, or the spice can turn bitter once it bakes.
Storage and Reheating
- Refrigerator: Store leftovers covered for up to 3 days. The caramel will firm up as it chills.
- Freezer: It freezes, but the texture softens after thawing, so I only do this if I have a lot left. Wrap pieces tightly and freeze for up to 1 month.
- Reheating: Warm pieces in a 300°F oven until the sugar loosens again. The microwave makes the bread chewy and can turn the caramel hard in spots, so use it only for a single quick serving.
Answers to the Questions Worth Asking
Campfire Monkey Bread
Ingredients
Equipment
Method
- Cut each refrigerated biscuit dough can into quarters to make bite-size pieces, keeping them roughly the same size for even browning.
- Mix sugar and cinnamon in a large zip-top bag, then add the biscuit pieces and shake until fully coated with cinnamon sugar.
- Spray the Dutch oven lightly with cooking spray so the coated pieces release cleanly after cooking.
- Layer the coated biscuit pieces in the Dutch oven in an even, single-ish pile so they cook through without big gaps.
- Mix the melted butter and brown sugar, then pour it over the biscuit pieces so the top surfaces start to caramelize.
- Cover the Dutch oven and place it on campfire coals with additional coals on top of the lid for even heat, cooking for 25-30 minutes until deep golden brown and cooked through.
- Let the monkey bread cool for 5 minutes, then invert onto a plate and pull apart to serve.