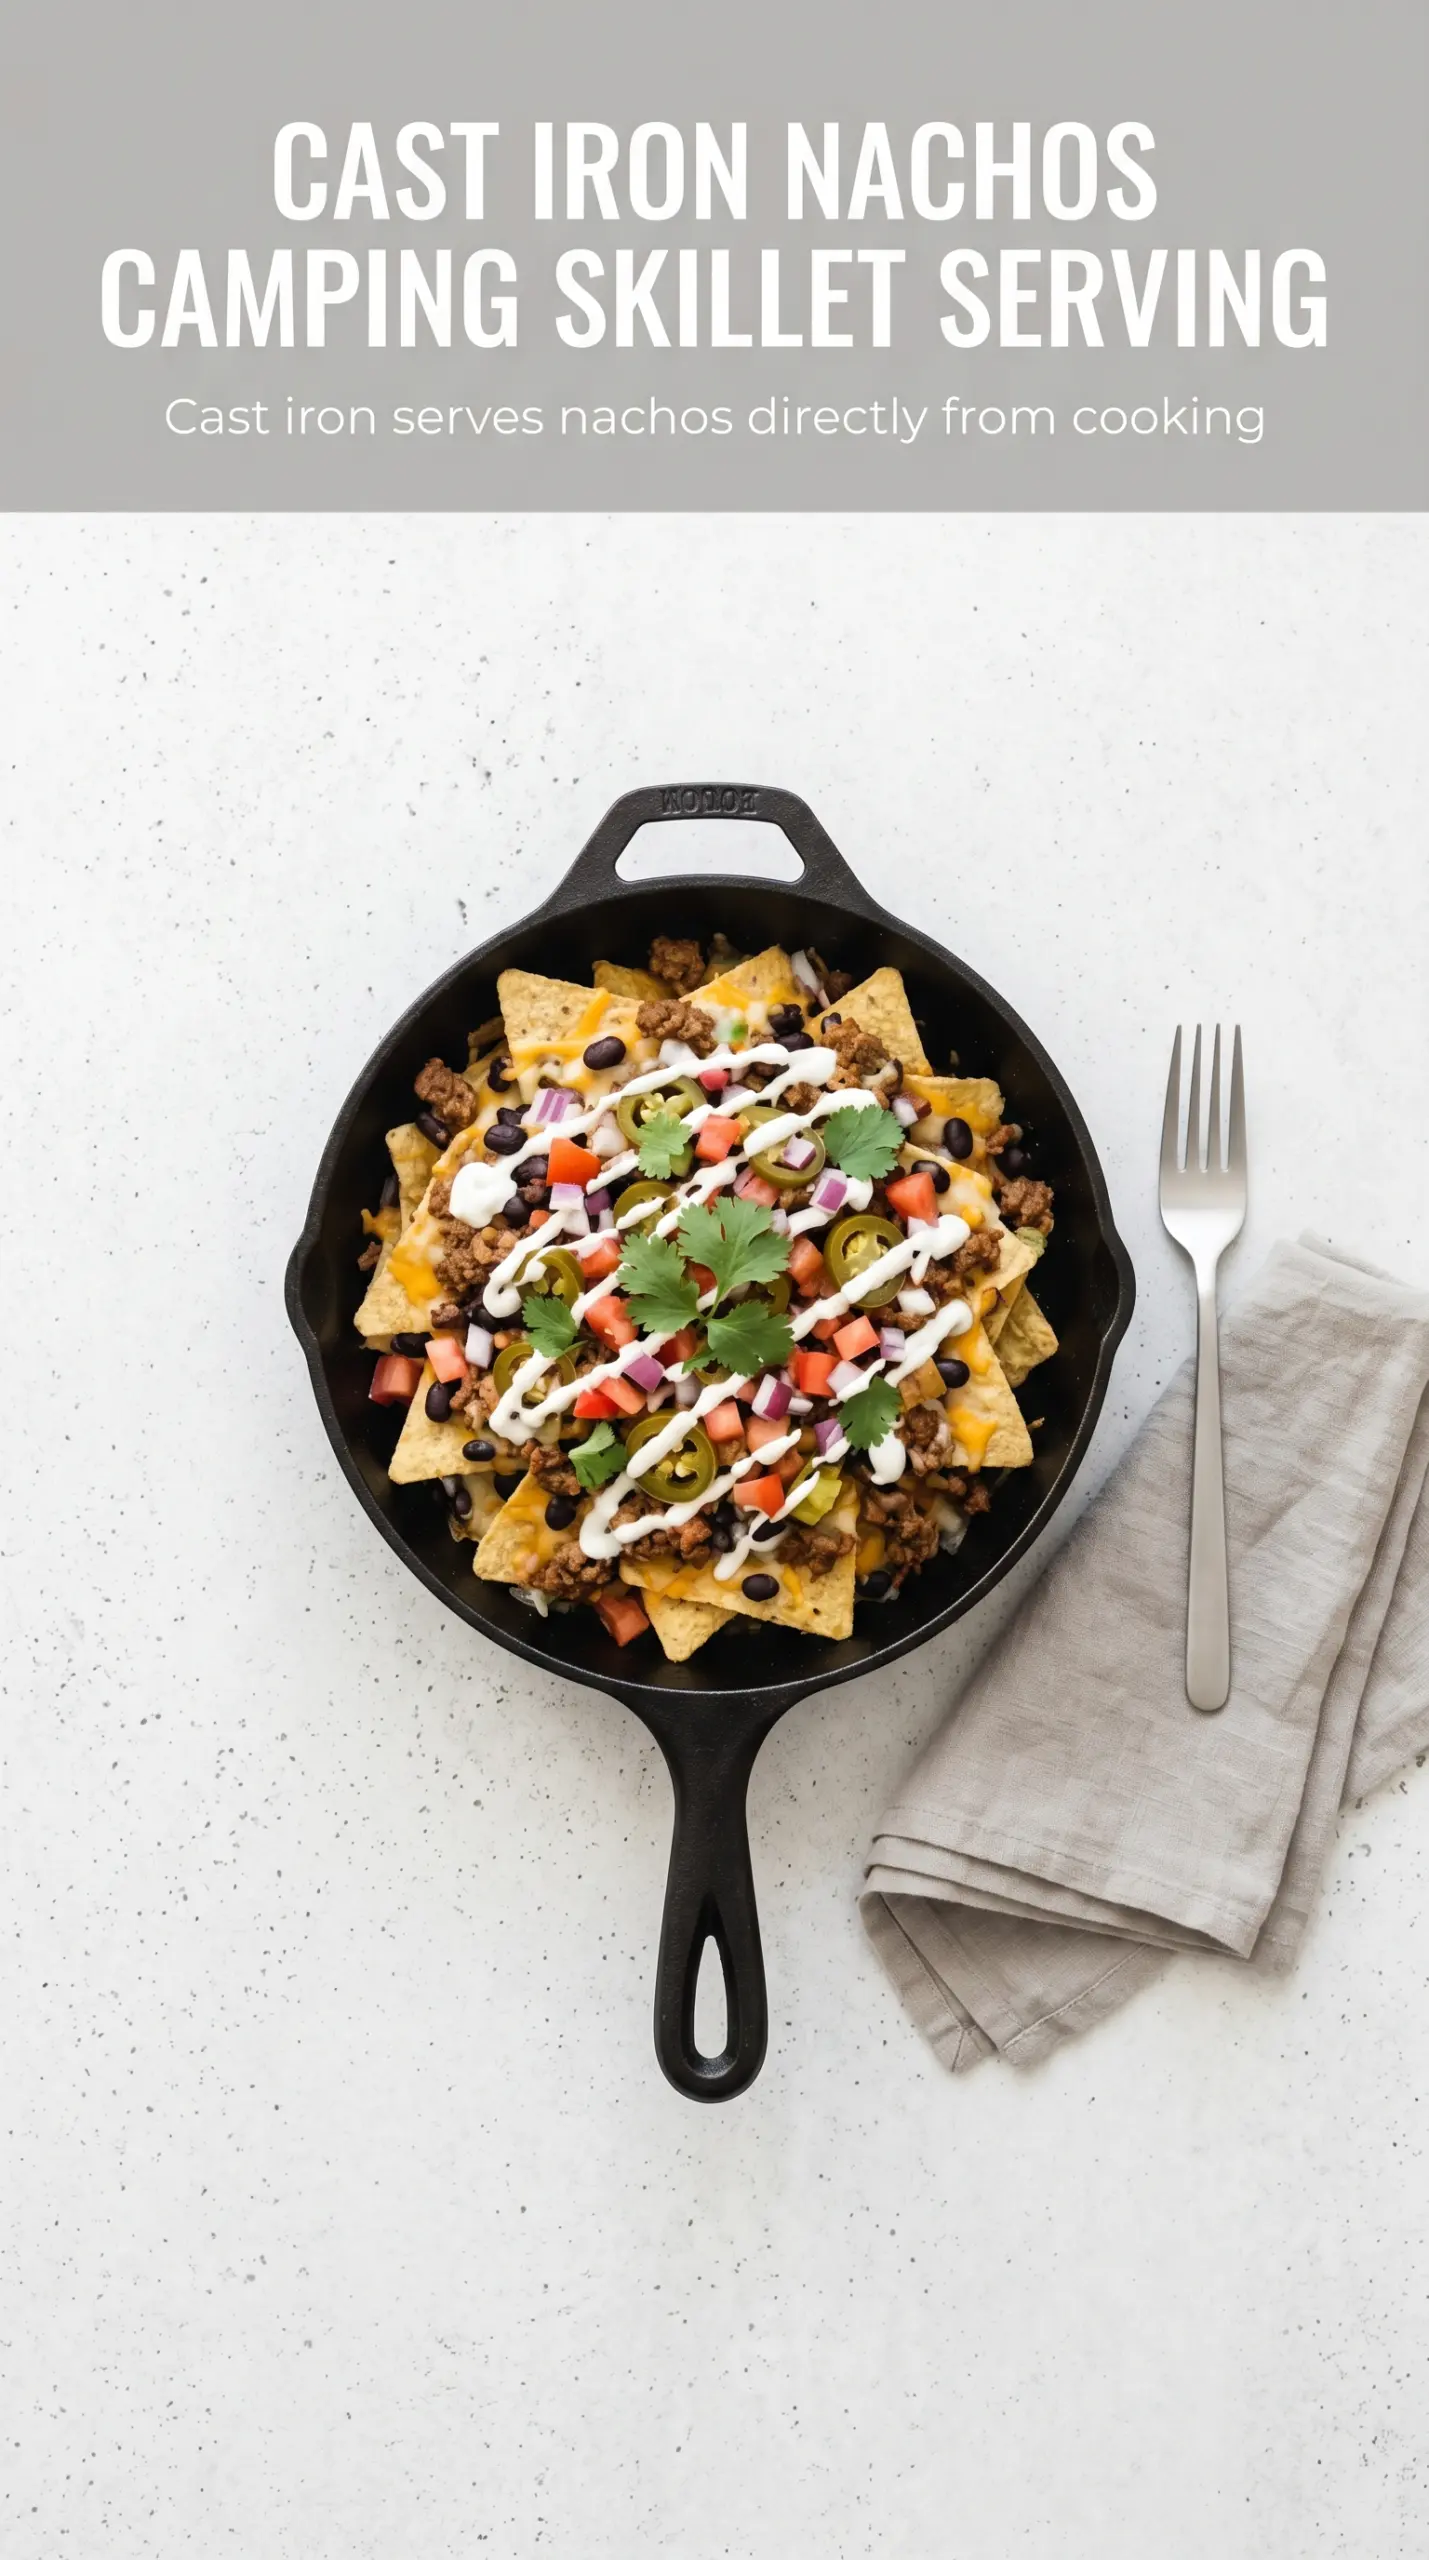
Campfire nachos hit the table fast, but when they’re done right they still feel like a real meal. The chips stay crisp at the edges, the cheese melts into the beef and beans, and the cold toppings on top keep every bite from tasting heavy. Built in a cast iron skillet, they get those hot spots and bubbling pockets that make people hover around the pan before the first scoop.
The trick is layering in a way that protects the chips. A single thick layer turns soggy fast, but two thinner layers with cheese tucked between them helps everything melt together without steaming the whole pan. The beans and corn add body, the jalapeño wakes up the richness, and the lime at the end keeps the nachos from tasting flat.
Below, I’ve added the timing cue that matters most over a campfire, plus the swaps I’d use when I want these to work with what’s already in the cooler.
The cheese melted evenly and the bottom chips stayed crisp instead of turning into a soggy mess. I made it in a cast iron skillet on the fire ring, and everyone kept scraping the edges for the browned bits.
These campfire nachos supreme come out best when the cheese is melted in two layers and the toppings stay bright and cold.
The Layering Trick That Keeps the Chips from Going Limp
Most nachos fail because everything gets piled into one dense mound. The chips on the bottom trap steam, the cheese slides off the top, and by the time you’re serving, half the pan has turned soft. The fix is simple: build in two thinner layers so the heat can move through the pan without drowning the chips.
Cast iron helps here because it holds heat long enough to melt the cheese without needing a raging fire. Medium heat is enough. If the fire is too hot, the chips scorch before the center warms through. If the pan is too deep or crowded, the toppings steam instead of melting into one cohesive layer.
- Two layers of chips — This gives you coverage without compacting the whole skillet. A single layer leaves gaps; a giant mound traps steam.
- Mexican cheese blend — It melts smoothly and gives you those stretchy pockets people want from loaded nachos. Pre-shredded is fine here because the anti-caking starch doesn’t hurt the melt much in a hot skillet.
- Ground beef — Cook it with taco seasoning before it goes into the pan. Raw or underseasoned beef will taste flat, and the nachos won’t have enough salt in the right places.
What Each Topping Is Doing in the Pan
The beef brings the hearty base, but the beans and corn matter more than they look like they should. The beans add creaminess and help the nachos feel substantial without requiring a second meat. The corn adds a little sweetness, which keeps the whole skillet from tasting heavy after a few bites.
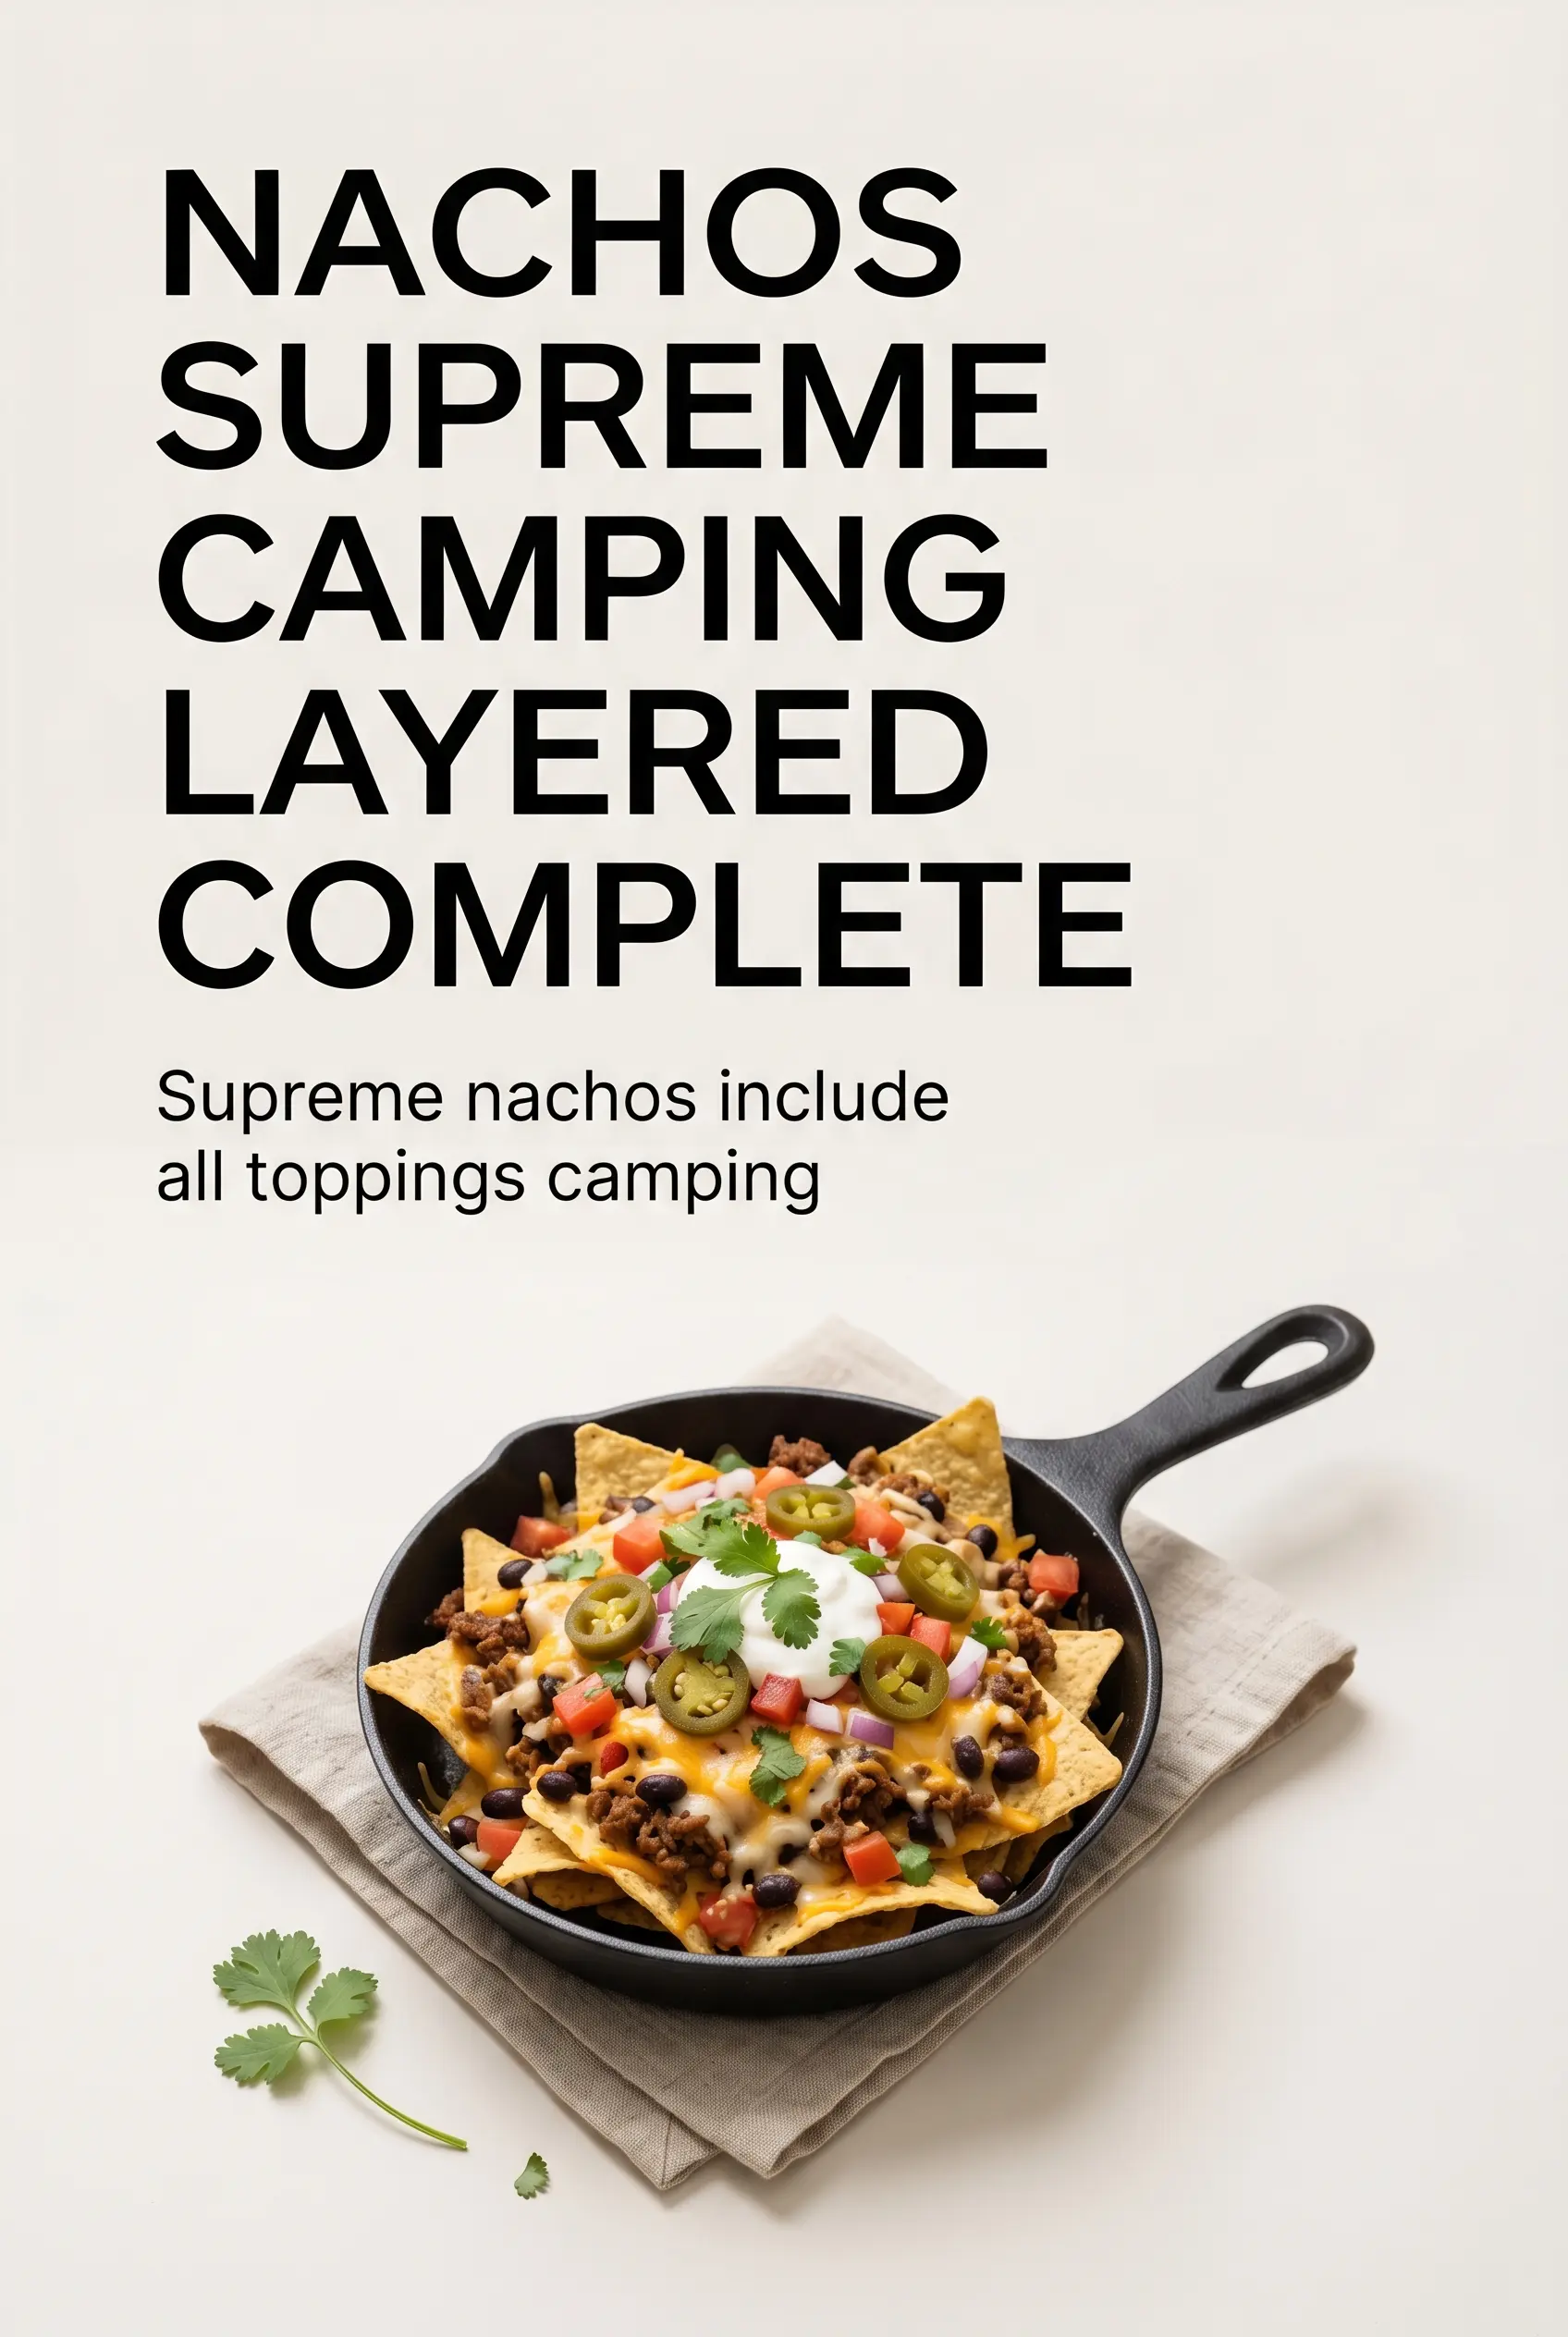
Fresh toppings go on after the skillet comes off the heat. Tomatoes, sour cream, guacamole, cilantro, and lime all lose their best texture if they cook too long. Keep them cold and bright. That contrast is what makes the last bite taste as good as the first.
Building the Skillet So the Cheese Melts Before the Chips Burn
Start with a Base That Can Take Heat
Layer half the chips into a large cast iron skillet or aluminum pan, then scatter half the beef, beans, corn, and cheese over the top. Keep the ingredients evenly distributed so the center doesn’t become a heavy mound. The pan should look full but not packed. If you can’t see some chips peeking through, you’ve probably overloaded it.
Add the Second Layer Before the First One Dries Out
Repeat with the remaining chips and toppings while the first layer is still visible. The goal is to build height without sealing off the bottom layer from the heat. This is where people usually go wrong: too much meat in one place makes the chips greasy, and too much cheese in the center keeps the edges underdone. Spread everything to the corners of the pan so every scoop gets a little of each topping.
Melt, Don’t Roast
Set the skillet on the campfire grate over medium heat for 12 to 15 minutes. You’re waiting for the cheese to melt fully and start bubbling, not for the chips to turn dark. If the fire is aggressive, move the pan higher or to a cooler spot. The nachos are ready when the cheese has gone glossy and the edges of the chips are just beginning to toast.
Finish With the Cold Toppings
Take the skillet off the heat right away, then top with tomatoes, jalapeños, sour cream, guacamole, and cilantro. Add the lime wedges at the end. If you put the fresh toppings on early, they’ll wilt and bleed into the cheese, and you’ll lose the contrast that makes loaded nachos work. Serve immediately while the center is still hot and the top stays cool.
How to Adapt These Nachos When the Cooler Looks Sparse
Make Them Meatless Without Losing Substance
Skip the beef and double the black beans, then add extra corn for sweetness and body. You’ll lose the savory richness of the meat, but you gain a lighter skillet that still eats like a full appetizer. A spoonful of seasoned salsa in the bean layer helps replace some of the flavor depth.
Go Gluten-Free Without Changing the Method
Use certified gluten-free tortilla chips and check the taco seasoning if you’re cooking the beef from scratch. The rest of the recipe already fits naturally. This version keeps the same texture and melt, so nobody at the table feels like they got the lesser pan.
Use What You’ve Got in Place of the Guacamole
If avocados aren’t in the cooler, swap in extra sour cream mixed with a little lime juice and chopped cilantro. You’ll lose the creamy avocado flavor, but you still get a cool, tangy finish that cuts through the cheese and beef.
Storage and Reheating
- Refrigerator: Store leftovers up to 2 days, but expect the chips to soften as they sit.
- Freezer: Don’t freeze the finished nachos; the chips and fresh toppings won’t recover well.
- Reheating: Reheat only the cheesy beef-bean layer in a skillet or oven, then add fresh chips and toppings after warming. Microwaving the whole pan turns the chips leathery and pushes the sour cream and guacamole into a greasy mess.
Answers to the Questions Worth Asking
Campfire Nachos Supreme
Ingredients
Equipment
Method
- Layer half the tortilla chips in a large cast iron skillet or aluminum pan so they form an even base.
- Top the chips with half the cooked ground beef, half the black beans, half the corn, and half the shredded Mexican cheese blend.
- Add the remaining tortilla chips and repeat with the rest of the ground beef, black beans, corn, and shredded Mexican cheese blend.
- Place the skillet on a campfire grate over medium heat for 12-15 minutes, until the cheese is fully melted and visibly bubbly.
- Remove the skillet from the heat, then immediately top with the diced tomatoes and sliced jalapeño.
- Spoon sour cream over the nachos in patches for a creamy contrast.
- Add guacamole and sprinkle chopped cilantro on top.
- Serve right away with lime wedges on the side for squeezing.