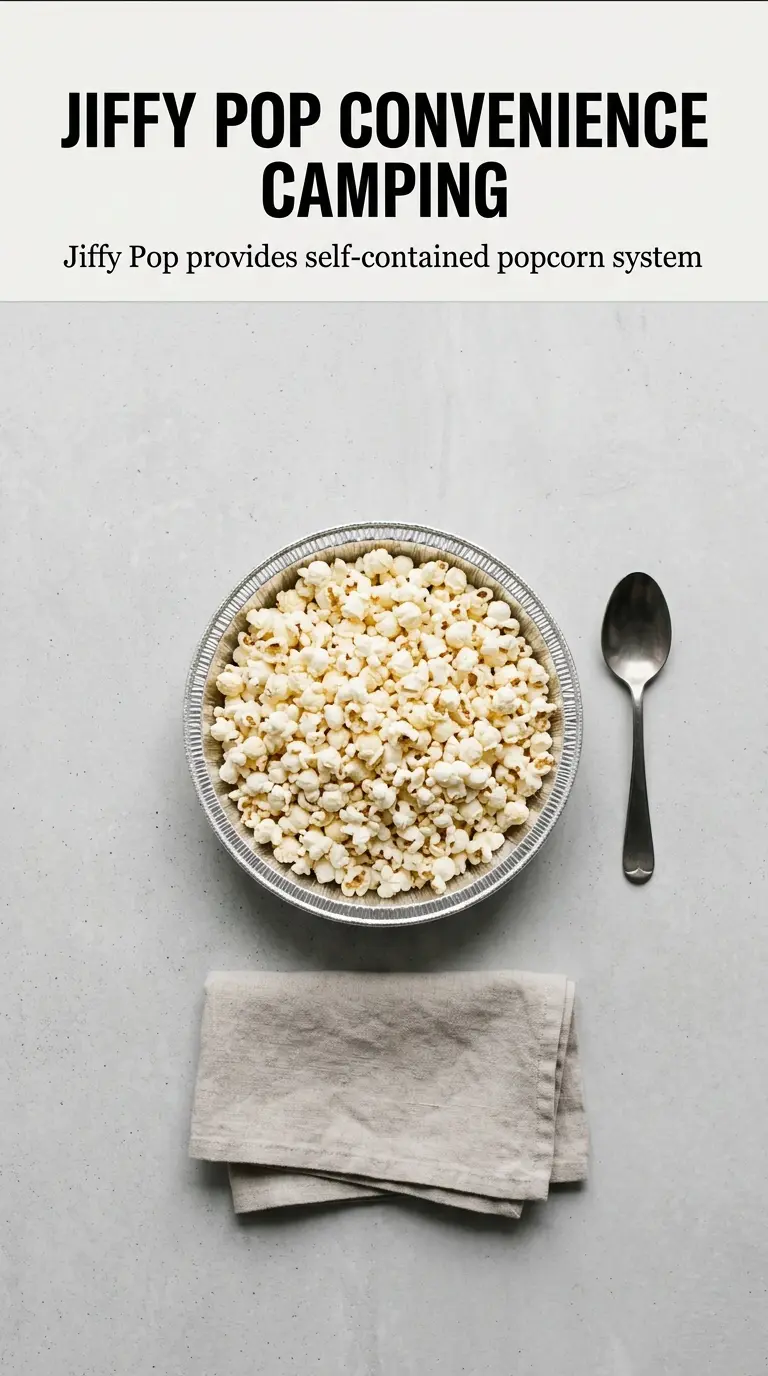
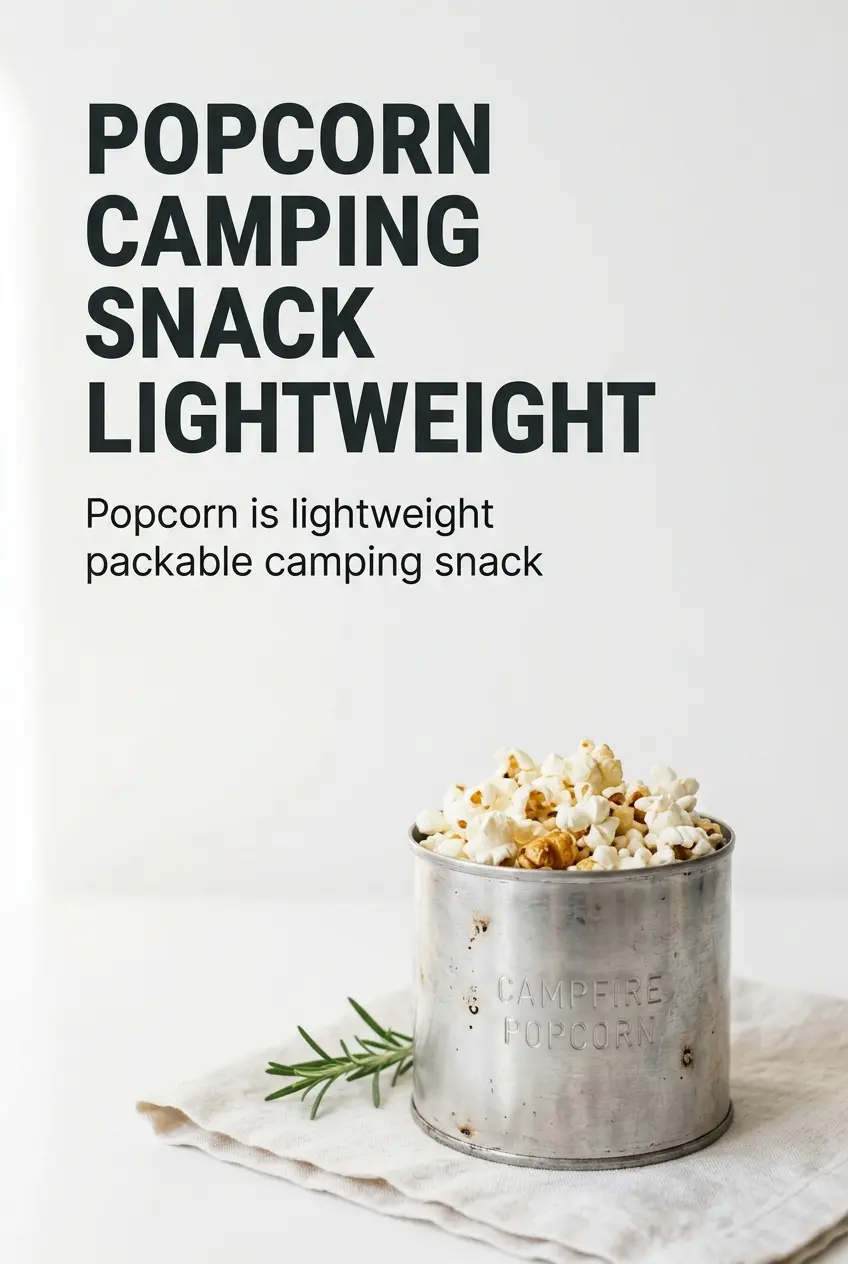
Campfire popcorn in a can turns a simple handful of kernels into one of those snacks people gather around for. The popcorn comes out crisp, lightly smoky, and full of that unmistakable open-fire energy that makes even plain salt taste better. It’s fast, low-fuss, and just clever enough to feel like part of the camping fun instead of another thing to manage.
The trick is keeping the kernels moving. A coffee can over live fire gives the popcorn room to pop, but the shaking is what keeps the oil from scorching and the kernels from burning at the bottom. A few vent holes let steam escape so the popcorn stays snappy instead of leathery, and the lid makes the whole thing easier to handle when it’s time to pour.
Below, I’ve included the small details that matter most: how to punch the holes, how to shake the can without losing control, and what to do if you want buttery popcorn without making it soggy.
The popcorn popped fast and evenly, and the can never got scorched because I kept it moving the whole time. My kids loved watching the kernels hit the lid and then dumping the whole batch into a bowl by the fire.
Save this campfire popcorn in a can for the next night you want a smoky, hands-on snack around the fire.
The Small Vent Holes That Keep the Popcorn Crisp
The biggest mistake with campfire popcorn is trapping too much steam. If the can is sealed up tight, the kernels pop in a humid little cloud and the popcorn turns chewy instead of crisp. A few small holes in the bottom give the moisture somewhere to go, which helps the popcorn stay light and dry as it cooks.
Shaking matters just as much as the holes. The kernels sit close to the metal, and direct fire can scorch the oil fast if you let the can rest in one spot. Keep it moving over the heat so the popping stays even and the bottom kernels don’t burn before the batch is finished.
What Each Ingredient Is Actually Doing in the Can
- Popcorn kernels — Standard popcorn kernels are the best choice here because they’re built to pop cleanly with steady heat. Old kernels can leave you with too many unpopped pieces, so use fresh ones if your stash has been sitting around awhile.
- Vegetable oil — You need an oil that can handle campfire heat without tasting bitter. Vegetable oil does that well, and it coats the kernels evenly so they heat from all sides. If you swap it, use another neutral oil with a similarly high smoke point.
- Salt and melted butter — Salt goes on after popping so it clings to the hot surface instead of sinking into the oil. Butter is optional, but it adds that classic popcorn finish. Drizzle it lightly after the popcorn is in the bowl; pouring it into the can while the popcorn is still cooking can make the batch greasy.
- Metal coffee can and sturdy wire — The can is the cooking vessel, so it needs to be metal and sturdy enough to hold over flame. The wire handle matters more than people think; it keeps the can controllable when the heat gets fierce and lets you shake with confidence instead of trying to juggle a hot lid.
Getting the Popcorn Started, Shaken, and Poured Fast
Set Up the Can Before the Fire Gets Hot
Start by punching several small holes in the bottom of the can, then add the kernels and oil and secure the lid. The lid should sit snugly enough that the kernels stay inside while you shake, but not so tight that you can’t open it cleanly later. If the holes are too large, kernels can escape; if there aren’t enough, steam builds up and the popcorn gets limp.
Shake the Can Like You Mean It
Hold the can over the campfire and keep it moving the entire time. You’ll hear the pops start slowly, then build into a steady rhythm, and that’s when the shaking matters most because the kernels at the bottom are the ones closest to burning. If the popping gets too aggressive, lift the can a little higher over the flames instead of stopping the motion.
Stop on the Right Pause Between Pops
When the popping slows to a few seconds between pops, pull the can off the fire right away. Waiting for every last kernel usually means the first batch at the bottom has gone too far. Remove the lid carefully, pour the popcorn into a bowl, and season it while it’s still hot so the salt sticks and the butter melts across the top.
How to Adjust This for Different Camps and Snack Cravings
Dairy-Free Campfire Popcorn
Skip the butter and finish with salt alone, or add a light drizzle of olive oil after popping for a richer finish. You still get crisp popcorn and a clean snack, just without the dairy finish that can sometimes make the kernels feel heavy.
Extra-Buttery Popcorn
Melt the butter separately and drizzle it over the finished popcorn in a bowl, tossing as you go. That keeps the batch crisp instead of greasy. If you pour butter straight into the can, it can coat the kernels unevenly and soften the whole batch.
Using a Different Oil
Canola, avocado, or sunflower oil all work if that’s what you have packed. Stick with a neutral oil so the popcorn keeps its classic taste instead of picking up a strong flavor that competes with the smoke and salt.
Storage and Reheating
- Refrigerator: Store cooled popcorn in an airtight container for up to 2 days. It will lose some crispness, especially if you buttered it heavily.
- Freezer: This doesn’t freeze well. The texture goes soft once it thaws, so it’s best made and eaten the same day.
- Reheating: If the popcorn softens, spread it on a dry baking sheet and warm it in a low oven for a few minutes. Don’t use high heat or it can toast unevenly and taste stale instead of revived.
Questions I Get Asked About This Recipe
Campfire Popcorn in a Can
Ingredients
Equipment
Method
- Punch several small holes in the bottom of the can for ventilation, using even spacing so steam can escape.
- Add popcorn kernels and vegetable oil to the can, then secure the lid tightly to prevent kernels from spilling.
- Create a handle by wrapping the coat hanger or sturdy wire around the can so you can hold it safely over the fire.
- Hold the can over campfire flames, shaking constantly, for 8-10 minutes until popping slows and the sound becomes infrequent.
- Carefully remove the lid and pour the freshly popped popcorn into a bowl without tilting too fast to avoid leftover unpopped kernels.
- Season with salt and melted butter if desired, then shake or toss gently until evenly coated.