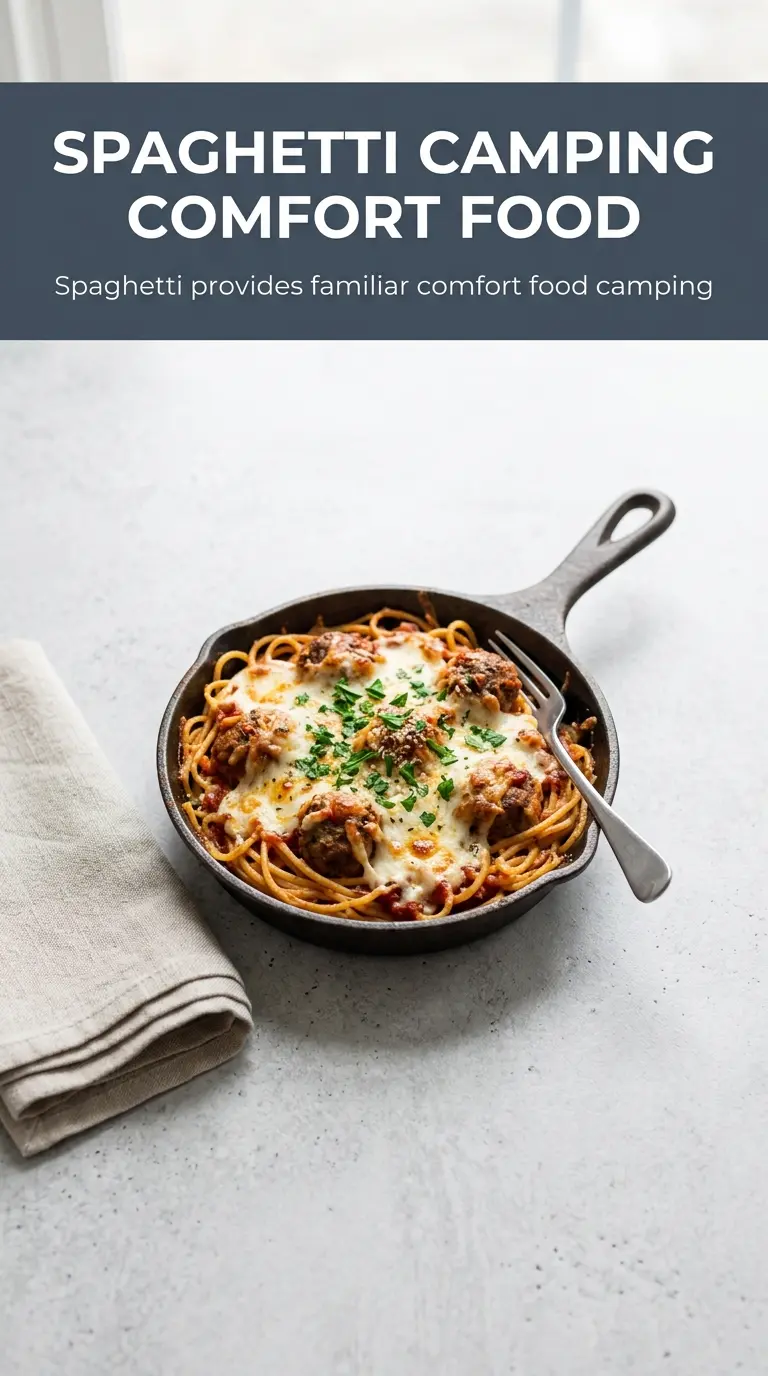
Cheesy, bubbling campfire spaghetti bake is the kind of meal that disappears fast after a long day outside. The pasta soaks up the meat sauce, the top turns golden and a little crisp at the edges, and every scoop holds together just enough to feel hearty without turning heavy. It tastes like comfort food, but it’s built for the kind of cooking that happens over coals with a Dutch oven and not much else.
The trick is to start with cooked spaghetti that’s still got some bite. If the pasta is overcooked before it goes into the oven, it’ll slump into mush once the sauce and heat do their job. Mixing in some of the mozzarella before baking also helps the whole pan melt together from the inside, so you get that stretchy, saucy pull instead of a cheese lid sitting on top of dry noodles.
Below, you’ll find the exact setup that keeps this bake from scorching underneath, plus a few smart swaps for making it work with what you’ve got at camp. It’s one of those recipes that feels simple once you’ve made it once, and then it earns a permanent spot in the camping rotation.
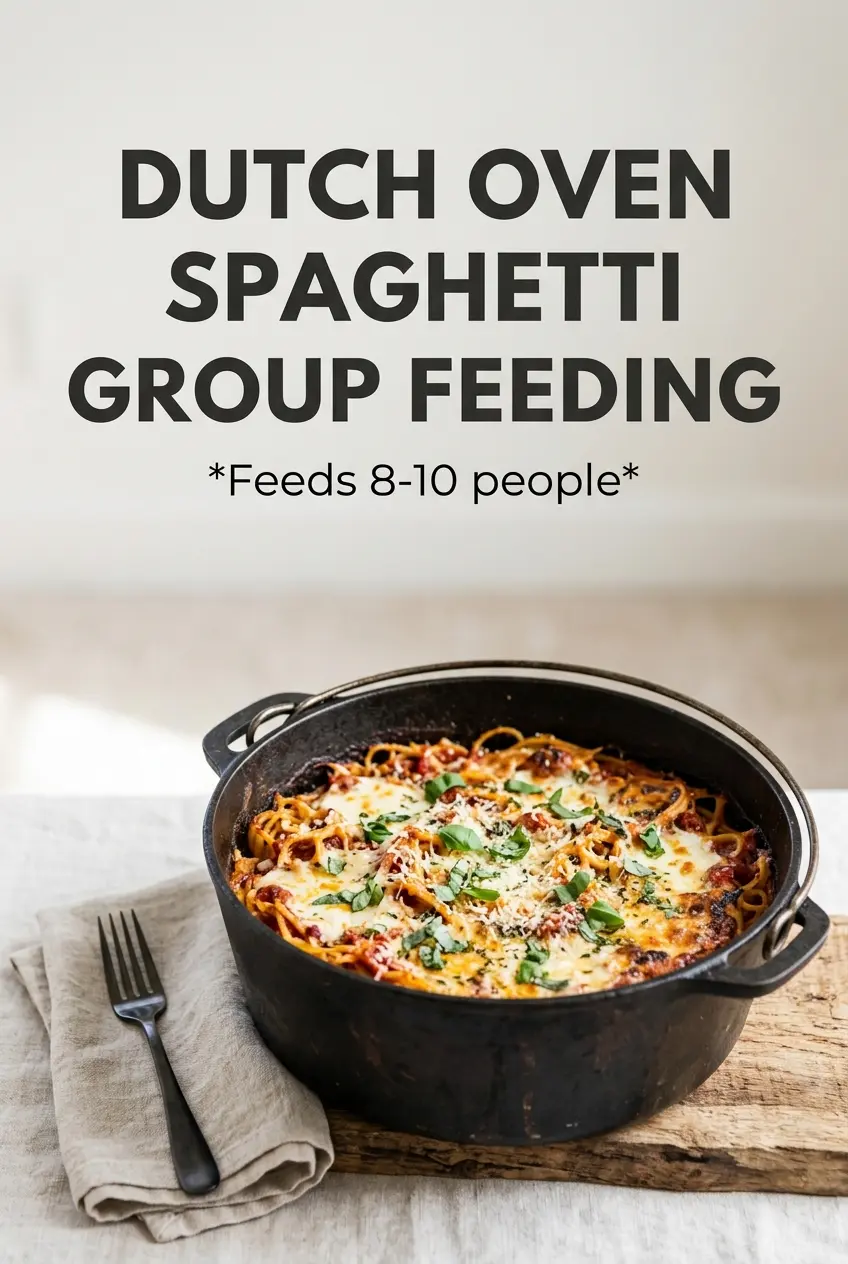
The cheese melted into the noodles instead of just sitting on top, and the bottom stayed saucy, not scorched. I used a 12-inch Dutch oven and it came out perfect for our whole group.
Save this campfire spaghetti bake for the nights when you want a bubbling Dutch oven dinner that feeds a crowd without much fuss.
The Part That Keeps the Bottom from Burning
Campfire Dutch oven cooking runs hot in spots and cooler in others, so the real challenge here isn’t melting the cheese. It’s keeping the pasta moist before the top finishes. This bake works because the sauce starts already warm and the noodles are coated before they go into the oven, which protects the pasta from drying out while the cheese melts.
If the mixture looks a little loose when it goes into the Dutch oven, that’s a good sign. The pasta absorbs sauce as it sits and cooks, and if you start with a mixture that already seems thick and tight, the finished bake usually ends up dry. The other mistake is packing the noodles down too firmly; a light spread gives the heat room to move through the pan and helps the top brown without scorching the base.
- Spread the mixture evenly, but don’t press it into the pot like a casserole brick.
- Use enough coals on top of the lid to melt the cheese before the bottom has time to darken.
- Let it rest after cooking so the sauce settles back into the noodles instead of running onto the plate.
What Each Ingredient Is Actually Doing in the Dutch Oven
- Ground beef — This gives the bake its savory backbone and enough richness to stand up to the pasta and cheese. If you want to swap in ground turkey, it works, but add a little extra seasoning because turkey brings less built-in flavor.
- Spaghetti sauce — A jar keeps this campfire-friendly and consistent. Use a sauce you already like on its own; if it tastes flat from the jar, it’ll taste flat in the bake too.
- Cooked spaghetti — Cook it just to al dente. It keeps a little structure under the sauce and finishes perfectly in the Dutch oven instead of turning soft and swollen.
- Mozzarella and Parmesan — Mozzarella gives you the melt and stretch, while Parmesan sharpens the flavor and helps the top brown. Pre-shredded mozzarella works fine here, though freshly grated Parmesan gives a cleaner, saltier finish.
- Italian seasoning and garlic powder — These bridge the gap between jarred sauce and homemade-tasting filling. They’re small additions, but they keep the whole pan from tasting one-note.
- Cooking spray — In a Dutch oven, this matters more than it looks like it should. It helps the edges release cleanly and keeps the cheese from welding itself to the pot.
Building the Bake So It Finishes Bubbly, Not Dry
Brown the Beef First
Cook the ground beef in a skillet over the campfire until it’s no longer pink and you’ve got some browned bits at the bottom. Drain off the excess fat so the finished bake doesn’t turn greasy, but leave the meat juicy enough to carry flavor through the sauce. If the beef is still wet with rendered fat, the spaghetti mixture can slide around in the pot instead of setting up as it bakes.
Mix the Pasta with the Sauce While It’s Still Loose
Combine the cooked spaghetti, beef, sauce, half the mozzarella, Italian seasoning, and garlic powder until every strand is coated. The mixture should look saucy and a little messy at this stage. That moisture is what keeps the noodles tender while the Dutch oven does the rest of the work.
Layer It Into the Dutch Oven
Spray the Dutch oven well, then spoon in the pasta mixture and level it lightly. Add the remaining mozzarella and Parmesan over the top so the cheese can form a browned blanket instead of disappearing into the sauce. Cover the pot and place it over campfire coals with coals on the lid; that top heat is what gets the cheese bubbling before the base overcooks.
Rest Before You Serve
Pull the Dutch oven off the coals when the cheese is melted and the edges are bubbling. Let it sit for 5 minutes before serving so the sauce thickens back around the pasta. If you cut into it too soon, the sauce runs and the whole thing eats looser than it should.
How to Adjust It for Your Camp Kitchen
Use Ground Turkey Instead of Beef
Ground turkey works well if you want a lighter bake, but it needs a little help. Add an extra pinch of garlic powder or Italian seasoning so the filling doesn’t taste thin. The texture stays hearty, though the flavor comes out a little cleaner and less rich than beef.
Make It Gluten-Free
Swap in your favorite gluten-free spaghetti and cook it just shy of done so it doesn’t break apart after baking. Some gluten-free pastas soften faster in sauce, so keep an eye on the final texture and pull it once the cheese is melted and the edges are active, not after a long extra hold.
Add Vegetables for a Heartier Pan
Chopped bell pepper, onion, or mushrooms can go in with the beef so they soften and pick up the sauce. Keep the pieces small, since big chunks don’t cook evenly in a covered Dutch oven and can leave pockets that interrupt the cheesy top.
Storage and Reheating
- Refrigerator: Store leftovers in an airtight container for up to 4 days. The pasta will soak up more sauce as it sits, so expect a thicker texture the next day.
- Freezer: This freezes well for up to 2 months if you portion it into airtight containers. Thaw overnight in the fridge before reheating so the cheese and pasta warm evenly.
- Reheating: Reheat covered in a 350°F oven with a splash of water or extra sauce stirred in, or warm individual portions in the microwave. Don’t blast it uncovered for too long or the noodles dry out and the cheese turns rubbery.
Questions I Get Asked About This Recipe
Campfire Spaghetti Bake
Ingredients
Equipment
Method
- Brown the ground beef in a skillet over campfire heat until fully cooked, 8-12 minutes, and drain excess fat as it sizzles.
- Turn off the heat and let the skillet cool slightly so the mixture won’t steam the Dutch oven.
- In a mixing bowl, mix cooked spaghetti, cooked beef, spaghetti sauce, 1 cup mozzarella, Italian seasoning, and garlic powder until evenly coated, with a thick red sauce clinging to the noodles.
- Spray the Dutch oven with cooking spray, then add the spaghetti mixture and spread it into an even layer.
- Top with the remaining mozzarella and the Parmesan so the surface looks evenly covered before baking.
- Cover the Dutch oven and place it on campfire coals with additional coals on top of the lid, maintaining steady heat for 30-35 minutes until the cheese is melted and bubbly.
- Uncover and check for golden bubbling at the edges and in the center, then remove from the heat.
- Let the bake cool for 5 minutes so it sets enough to serve cleanly and scoop.