Camping grilled nachos hit that sweet spot between easy and exciting: crisp chips on the bottom, molten cheese in the middle, and smoky toppings on top. They come off the fire in one bubbling pan, which means less fuss at the campsite and more time eating while the cheese is still stretchy and hot.
The trick is building the layers in a disposable aluminum pan so the chips don’t burn before the cheese melts. A medium campfire heat is the difference between a pan of half-warm chips and the kind of nachos where the edges turn bronzed and the center goes fully gooey. I like to keep the fresh toppings off until the end so the salsa, sour cream, and cilantro stay bright against all that rich, savory filling.
Below you’ll find the layering order that keeps the chips from collapsing, plus a few smart swaps for making these work with what you packed. If you’ve ever ended up with soggy nachos over a fire, the timing notes here will help.
I followed the layering exactly and the chips at the bottom stayed crunchy instead of turning into a soggy mess. The cheese melted all the way through in about 9 minutes over our campfire, and the jalapeños with the lime on top made it taste like real nachos, not just camp food.
Love these campfire nachos with bubbling cheese and smoky beef? Save them for your next outdoor cookout when you want a fast, crowd-pleasing pan dinner.
The Thing That Keeps Campfire Nachos from Turning Soggy
The biggest mistake with grilled nachos is loading everything into the pan in one heavy mound. Chips on the bottom need a little protection from the wet toppings, and the cheese has to melt before the salsa goes anywhere near the fire. That’s why the layers matter here: chips, cheese, beans, beef, then repeat. The heat moves through the pan from below, and the cheese acts like the glue that holds the whole pile together.
Disposable aluminum pans work better than cast iron for this dish because they heat quickly and evenly without overcooking the bottom layer. If your campfire runs hot, move the pan to the edge of the grate where the heat is gentler. You want melted, bubbling cheese and just a few toasted spots, not dark chips and scorched edges.
What Each Topping Is Doing in the Pan

- Tortilla chips — Use sturdy restaurant-style chips here. Thin chips break under the weight of the beef and beans, and they collapse faster once the heat hits them. A thicker chip stays crisp at the edges longer and gives you some crunch even after the toppings go on.
- Shredded Mexican cheese blend — This is the melt engine of the whole dish. Pre-shredded works fine, but a blend with Monterey Jack and cheddar gives you that stretchy, salty melt campfire nachos need. If you grate your own, it melts a little smoother and faster.
- Black beans — Beans add body and make the pan feel like a meal instead of just a snack. Drain them well so the liquid doesn’t pool at the bottom of the pan. If you’re using pinto beans instead, they work the same way.
- Ground beef — Cook it first and season it before it goes into the pan. Raw beef won’t cook evenly on top of chips, and it releases too much grease. If you want a shortcut, seasoned taco meat from the night before is perfect.
- Salsa, sour cream, jalapeño, and cilantro — These finish the dish after the fire, where they keep their sharpness and freshness. Add them too early and the sour cream thins out, the cilantro wilts, and the salsa can make the chips soft before you ever take a bite.
How to Layer the Pan So the Chips Stay Crisp
Start With a Thin Base
Spread half the chips in an even layer across the bottom of the pan. Don’t pack them down too tightly or you’ll lose the pockets of air that help them hold their crunch. Scatter half the cheese, beans, and beef over the top so the heat can move through the pan and melt everything from the inside out. If the pan is overfilled, the center warms slowly and the edges burn before the middle is ready.
Build the Second Layer
Add the remaining chips, then finish with the rest of the cheese, beans, and beef. This second layer gives you a mix of textures, with some chips catching the melted cheese on top while the bottom layer softens just enough to soak up flavor. The pile should look full but not domed so high that the cheese slides off the sides. A flat, even surface melts more predictably over campfire heat.
Watch for the Melt, Not the Clock
Place the pan on the grill grate over medium heat and keep an eye on the cheese. In about 8 to 10 minutes, it should be fully melted and bubbling at the edges, with a few toasty spots showing on top. If the bottom starts browning too fast, slide the pan to a cooler spot on the grate. The goal is hot and molten, not burnt at the base.
Finish After the Fire
Take the pan off the heat and add the salsa, sour cream, jalapeños, and cilantro right away. The residual heat will warm the toppings without cooking them down. Serve with lime wedges while the cheese is still stretchy and the chips still have some bite. Once this sits, the chips soften fast, so bring it to the table and eat immediately.
How to Adapt These Nachos for Different Campsite Setups
Vegetarian Campfire Nachos
Leave out the ground beef and double the black beans, or add canned corn and diced peppers if you packed them. The result is lighter but still hearty, with the cheese doing the same job of binding everything together. Drain the beans well so the pan doesn’t turn watery over the fire.
Dairy-Free Nachos
Use a meltable dairy-free shreds blend and keep the pan over gentler heat, since some alternatives soften without fully bubbling like dairy cheese. The texture won’t be as stretchy, but the nachos still come together if you don’t overpack the pan. Finish with plenty of salsa and lime to keep the flavor bright.
Make-Ahead Camping Assembly
Cook the beef and shred the cheese at home, then store the toppings separately in containers or bags. At camp, all you have to do is layer and heat, which keeps the chips from going stale before dinner. Don’t assemble the pan early or the chips will absorb moisture and lose their crunch before they ever hit the fire.
Storage and Reheating
- Refrigerator: Store leftovers in an airtight container for up to 2 days. The chips will soften, so expect more of a loaded nacho casserole texture.
- Freezer: I don’t recommend freezing these. The chips turn mushy and the sour cream topping doesn’t thaw well.
- Reheating: Reheat the chip-and-topping base in a pan over low heat or in a 300°F oven until warmed through, then add fresh salsa, sour cream, and cilantro after heating. High heat only burns the chips faster and dries out the beef.
Answers to the Questions Worth Asking
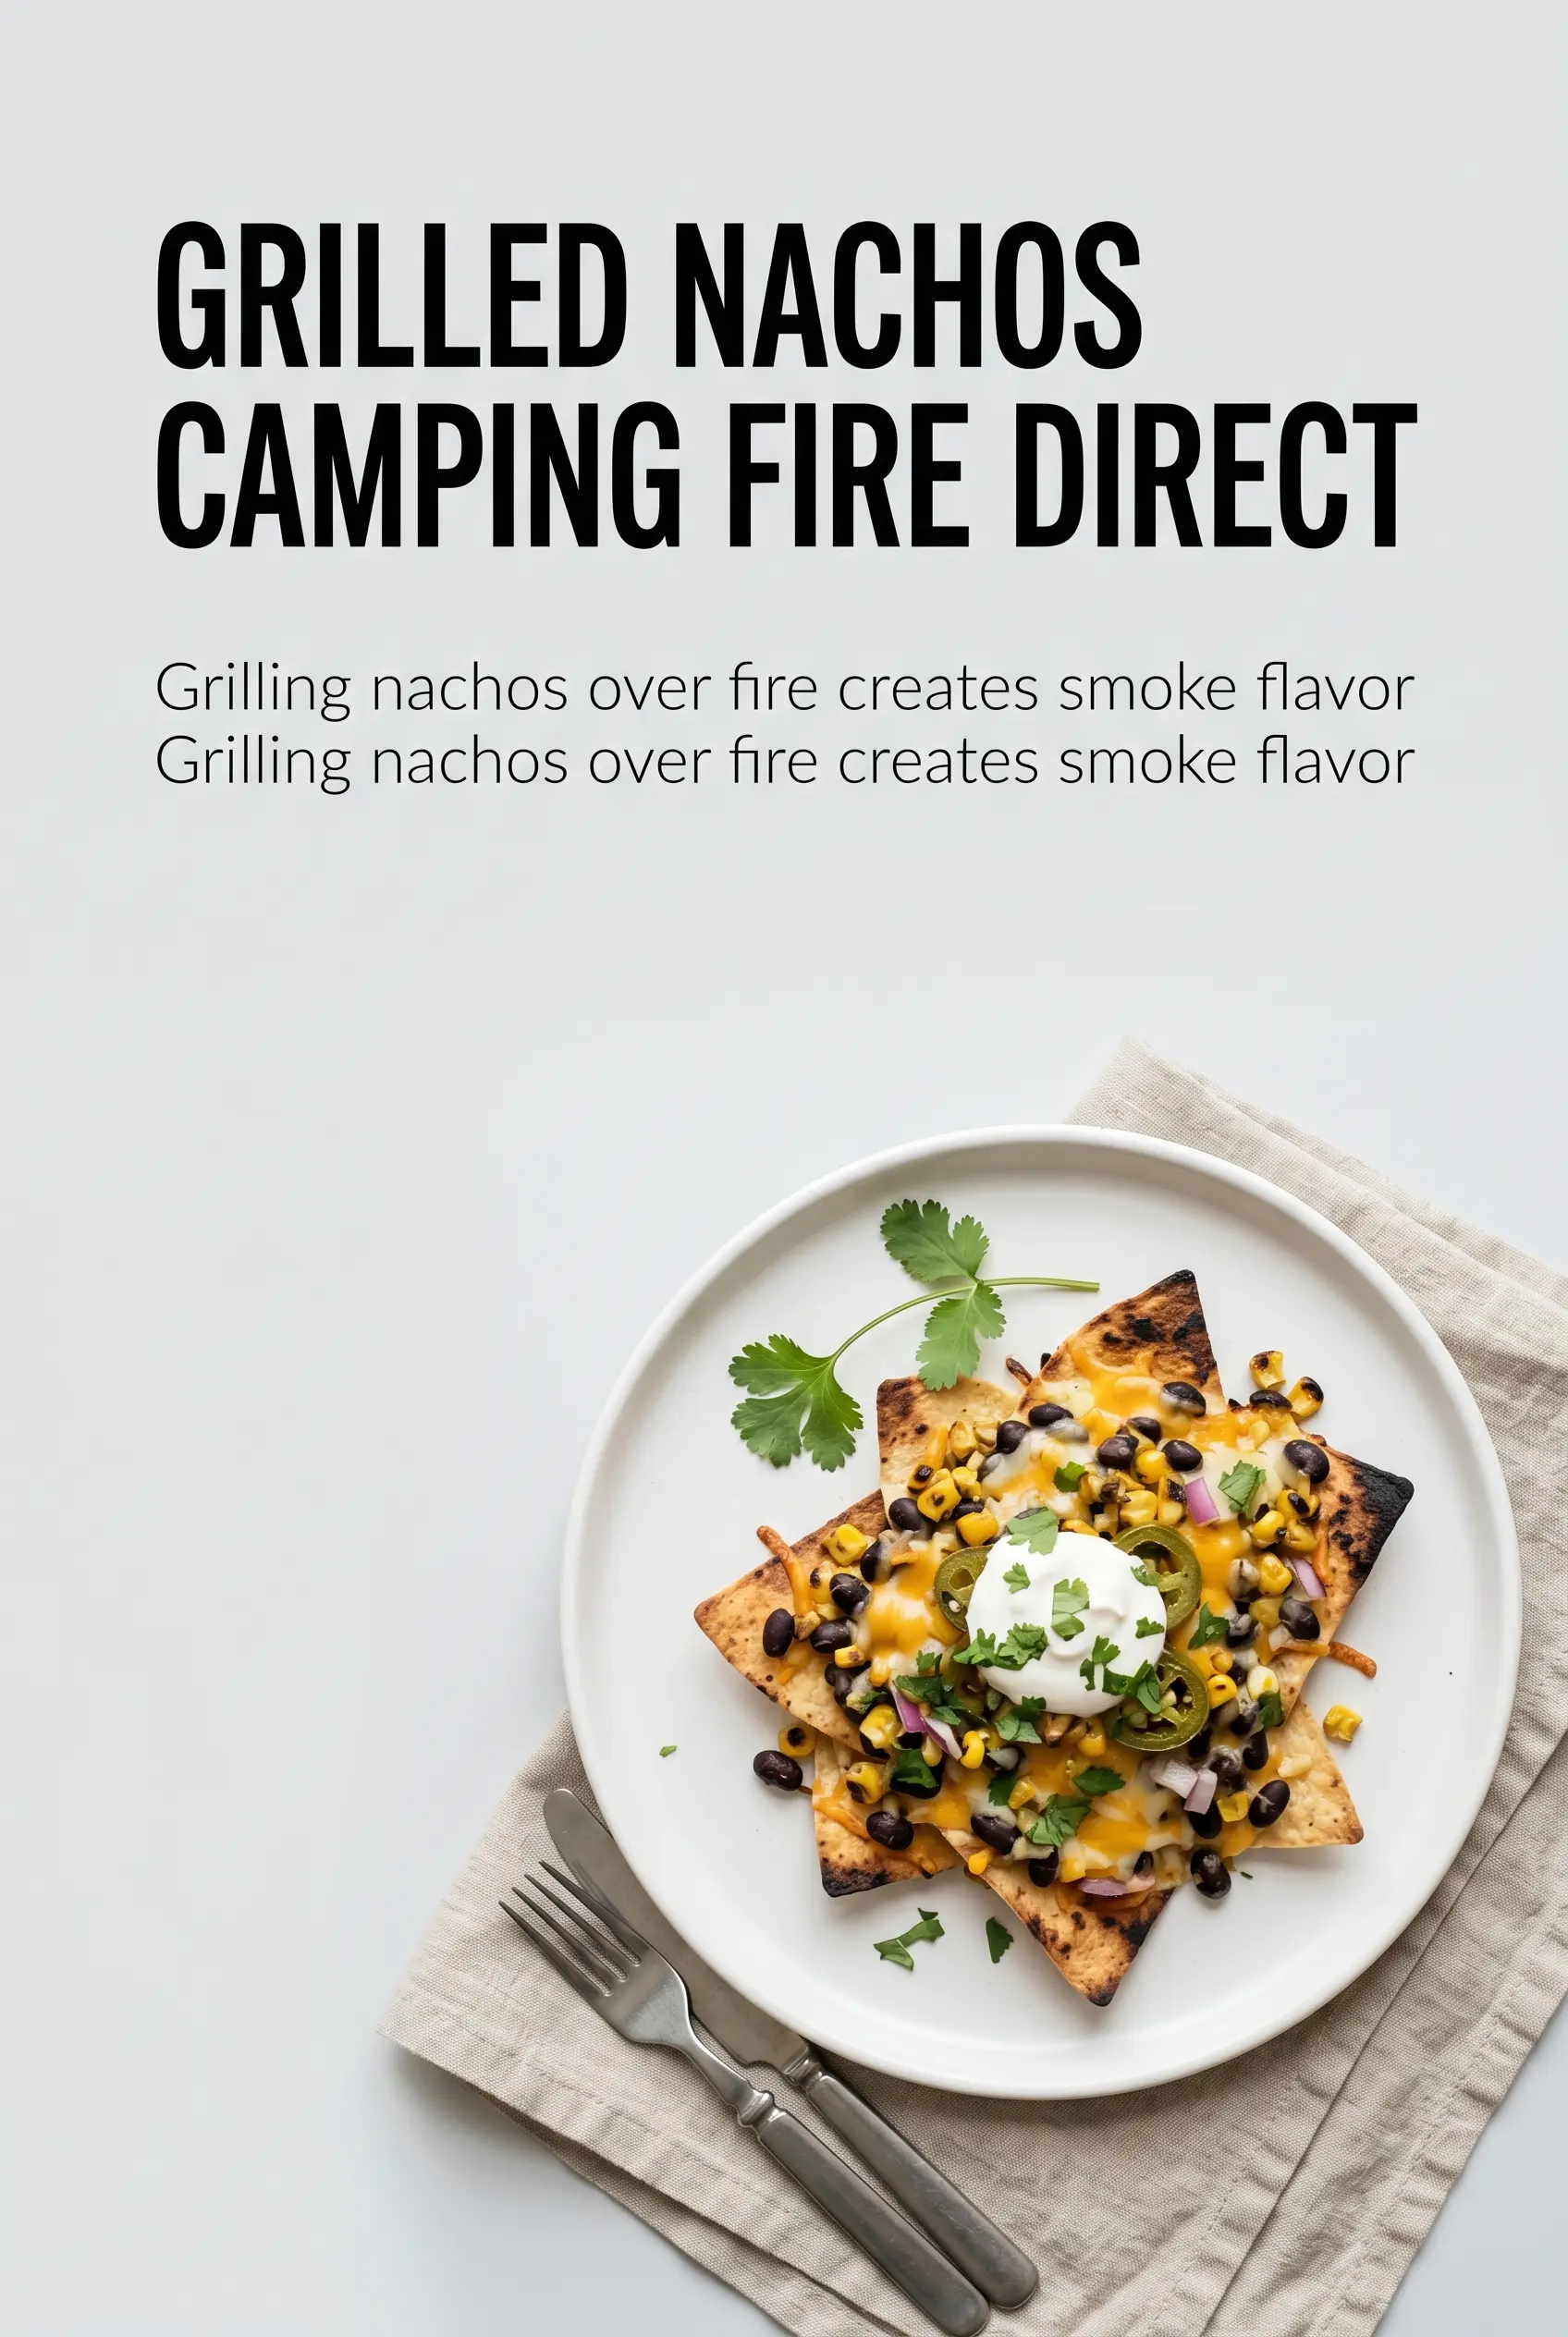
Camping Grilled Nachos
Ingredients
Equipment
Method
- Line a large disposable aluminum pan with half the tortilla chips. Spread them into an even layer so the heat melts cheese across the surface.
- Layer half the cheese, then half the black beans, then half the cooked and seasoned ground beef. Cover as evenly as possible to keep each bite balanced.
- Repeat with the remaining tortilla chips, remaining cheese, remaining black beans, and remaining ground beef. Press down lightly so the layers sit snug in the pan.
- Place the pan on the grill grate over medium campfire heat. Set it so the pan is heated from below without direct flames touching the sides.
- Cook for 8-10 minutes until the cheese is fully melted and visibly bubbly. Look for bubbling across the top and melted strands holding the toppings in place.
- Remove the pan from heat. Let it rest off the grate for 1-2 minutes so toppings don’t slide as you add them.
- Top with salsa. Spoon it over the hot nachos and spread lightly so it reaches the edges.
- Add sour cream in small dollops. Let it melt slightly at the edges for contrast with the hot cheese.
- Scatter sliced jalapeños over the top. Aim for even coverage without piling too much in one spot.
- Sprinkle chopped cilantro over everything. Finish with bright green flecks while the nachos are still hot.
- Serve immediately with lime wedges. Squeeze lime over each portion to brighten the flavor.