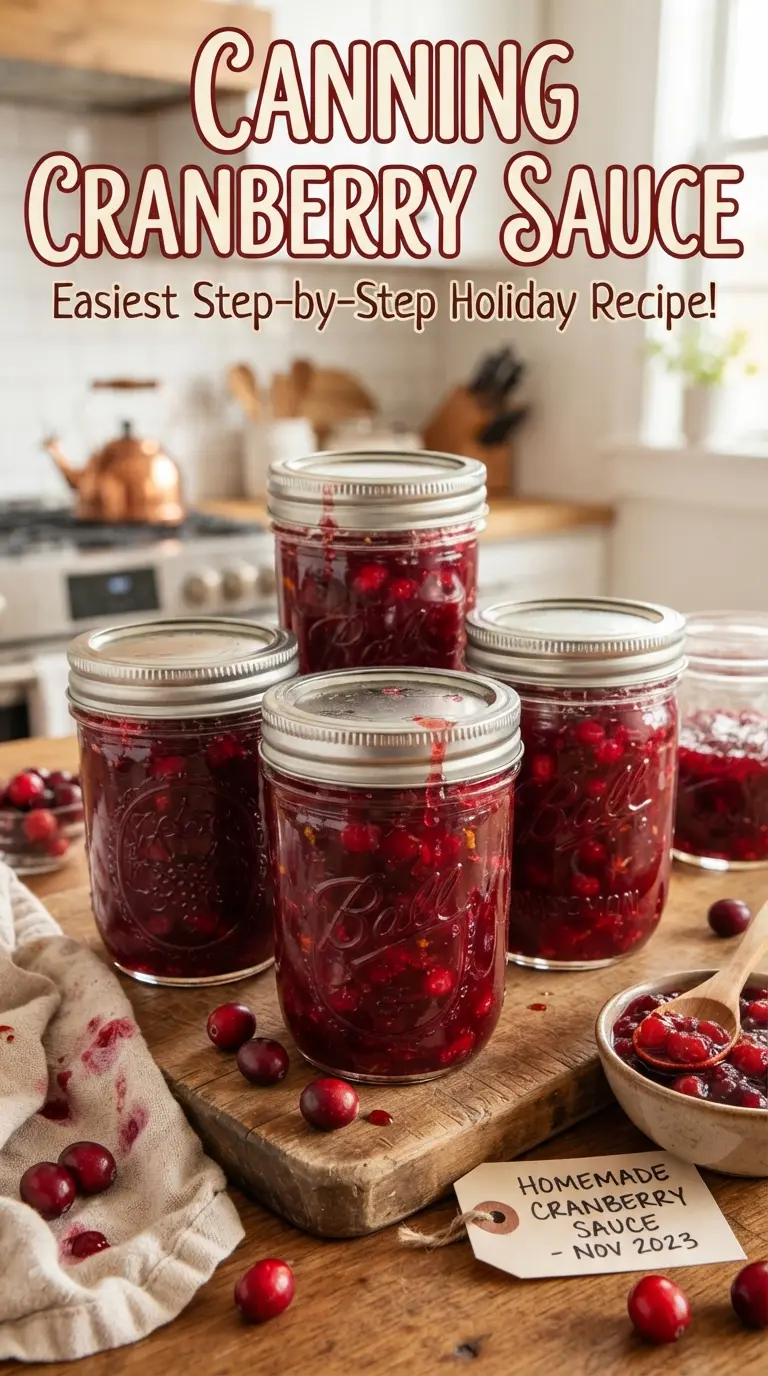
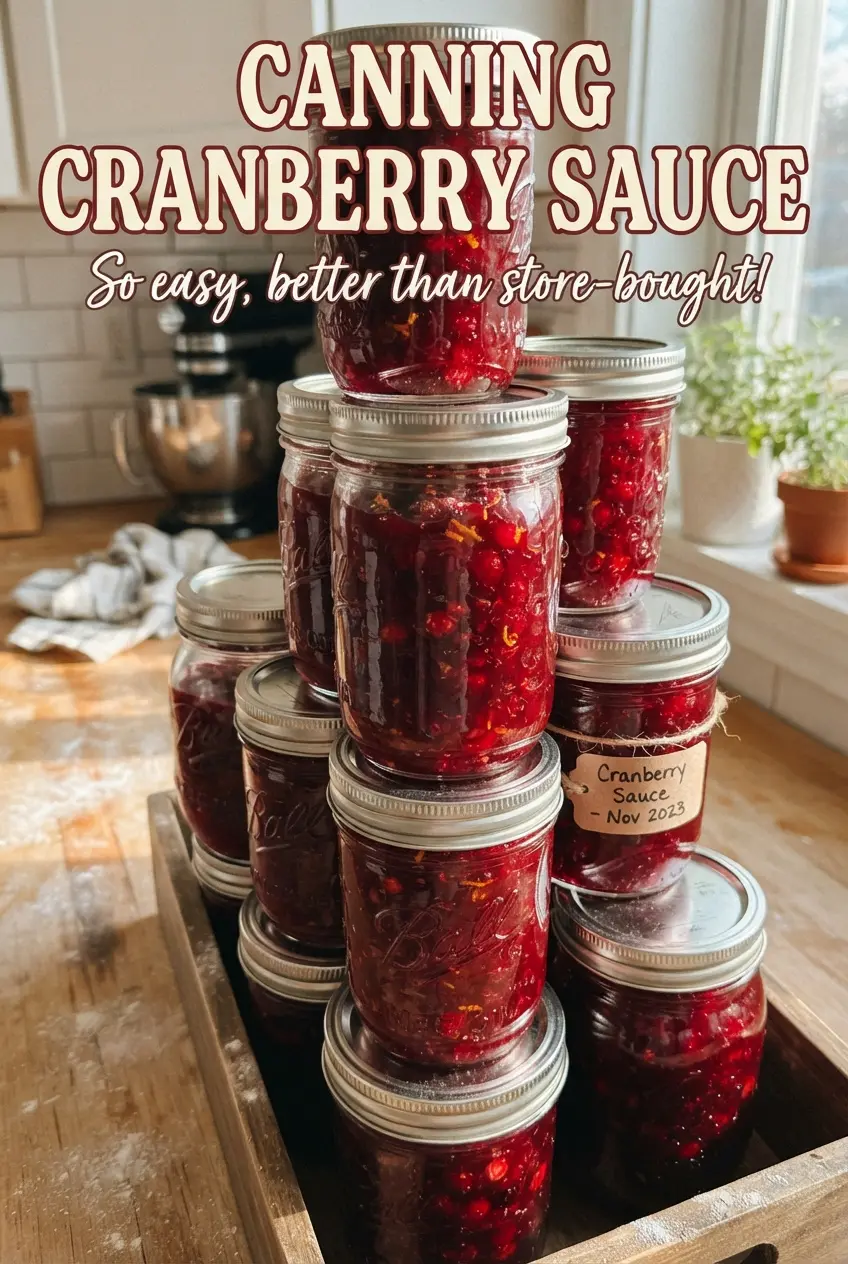
Glossy whole berry cranberry sauce makes one of the prettiest jars you can put on a pantry shelf, and it earns its keep long after the holiday table is cleared. The berries hold their shape just enough to look generous and jewel-like, while the sauce thickens into a spoonable set that works with turkey, pork, biscuits, or a cheese board.
This version uses orange juice and orange zest to round out the cranberry sharpness, and bottled lemon juice keeps the acidity where it needs to be for safe water-bath canning. The sugar isn’t just for sweetness; it helps the sauce gel and gives the finished jars that glossy, spreadable texture people expect from cranberry sauce. Keeping the jars hot and filling them with hot sauce matters here, because a big temperature difference can crack jars or delay a proper seal.
Below, I’ll walk through the part that trips people up most: how thick the sauce should look before it goes into the jars, plus the small timing details that help you get reliable seals and a good texture after the jars cool.
The sauce thickened up beautifully after the boil, and the orange zest made the jars smell amazing when I opened the canner. I got a clean seal on every half-pint.
Save this canned cranberry sauce for a glossy make-ahead side that sets up beautifully in half-pint jars.
The Part Where Cranberry Sauce Sets Up Instead of Staying Runny
The biggest mistake in canned cranberry sauce is judging it by the pot instead of the jar. It should still look a little loose when you ladle it hot, because cranberry sauce thickens as it cools and sets. If you cook it down until it looks perfect in the pot, it often turns too stiff once it sits on the shelf.
The other thing that matters is maintaining the boil once the cranberries go in. A gentle boil gives the berries time to burst without scorching the sugar, and that burst releases pectin, which is part of what helps the sauce gel. Keep the heat steady and stir often enough to keep the bottom moving.
- Whole cranberries — These give the finished sauce its classic texture and help it feel substantial in the jar. Frozen cranberries work too; add them straight from the freezer and expect the boil to return a little more slowly.
- Bottled lemon juice — Use bottled, not fresh, for canning. The acidity is consistent, and that consistency matters for safe processing.
- Orange juice and zest — The juice softens the tart edge, while the zest adds aroma that survives canning. Freshly grated zest gives the cleanest citrus note.
- Sugar — This isn’t just sweetness; it helps the sauce finish glossy and spoonable. Cutting it back changes the texture and can leave the sauce thin.
What Each Ingredient Is Actually Doing in the Jar
- 48 ounces fresh cranberries — These are the structure of the sauce. You need enough berries for body, and the natural pectin in the fruit helps the sauce thicken as it cools.
- 4 cups sugar — The sugar balances the tart cranberries and gives the sauce a stable, syrupy finish. I wouldn’t reduce it for this recipe unless you’re making a refrigerator sauce, not a canned one.
- 2 cups water + 1 cup orange juice — This combination gives the berries enough liquid to cook evenly without tasting flat. The orange juice adds flavor, but the water keeps the citrus from taking over.
- 2 tablespoons bottled lemon juice — This is the acid boost that keeps the recipe in safe canning territory. Fresh lemon juice can vary too much for a tested canning recipe.
- 1 tablespoon orange zest — Add it at the end so it stays bright. If you put it in too early, the aroma cooks off and you lose the fresh citrus lift.
How to Cook It Hot Enough for a Good Seal Without Overcooking the Berries
Starting the Syrup
Bring the sugar, water, and orange juice to a full boil before you add the cranberries. You want the sugar fully dissolved and the liquid clear, not grainy or cloudy. If you rush this and add the fruit too soon, the bottom can catch before the syrup is ready.
Cooking Until the Berries Burst
Add the cranberries and lemon juice, then keep the pot at a gentle boil for 10 to 12 minutes. You’ll hear the berries pop, and the pot will start to look thicker and more uniform. Stir often enough to keep the sugar from sticking, but don’t beat the berries into a puree unless that’s the texture you want.
Finishing With the Zest
Stir in the orange zest after the heat has done its work. This keeps the citrus aroma fresh and sharp instead of cooked out. At this point, the sauce should coat a spoon and look slightly looser than the final jar texture, which is exactly where you want it.
Jarring and Processing
Ladle the sauce into hot jars with 1/4-inch headspace, wipe the rims clean, and fasten the lids fingertip tight. If you leave sauce on the rim, the lid may never seal. Process the jars in a boiling water bath for 15 minutes, then let them sit in the canner for 5 minutes before lifting them out; that short rest helps reduce siphoning and jar shock.
How to Adjust This Cranberry Sauce for Different Kitchens and Pantry Situations
Use frozen cranberries instead of fresh
Frozen cranberries work well in this recipe. Add them directly to the hot syrup without thawing, and expect the pot to take a couple of extra minutes to come back to a boil.
Make a lower-sugar version for the refrigerator
You can reduce the sugar if you’re serving the sauce fresh and not canning it, but the texture will be looser and the flavor will lean sharper. That works fine for a quick side, but it won’t give you the same glossy set in the jar.
Swap the orange for apple or cranberry-apple juice
If you’re out of orange juice, apple juice gives a softer, sweeter finish and still plays well with cranberry. You’ll lose a little of the citrus brightness, so add a touch more zest if you have it.
Storage and Reheating
- Refrigerator: Opened jars keep for about 2 to 3 weeks. The texture thickens a little more after chilling.
- Freezer: Canned cranberry sauce isn’t the best freezer candidate in the jar, but the sauce itself freezes well in airtight containers if you’re not planning to can it.
- Reheating: Warm it gently over low heat or let it come to room temperature on its own. High heat can break the berries down too far and turn the texture soupy.
Answers to the Questions Worth Asking
Canning Cranberry Sauce
Ingredients
Equipment
Method
- Wash the jars, lids, and bands, then keep the jars hot in simmering water until needed.
- Bring sugar, water, and orange juice to a boil in a large pot, stirring until the sugar is completely dissolved.
- Add cranberries and bottled lemon juice, then boil gently for 10-12 minutes until the berries burst and the sauce thickens.
- Stir in the orange zest after the sauce thickens, then keep the mixture hot.
- Ladle the hot sauce into the hot jars, leaving 1/4-inch headspace, then wipe the rims clean.
- Apply lids and bands and tighten fingertip tight.
- Process the jars in a boiling water bath canner for 15 minutes, adjusting the time for altitude.
- Turn off the heat and rest the jars in the canner for 5 minutes before lifting them out.
- Cool the jars undisturbed for 24 hours before checking seals.
- Check that the lids have sealed, then store sealed jars in a cool dark place for up to 1 year.