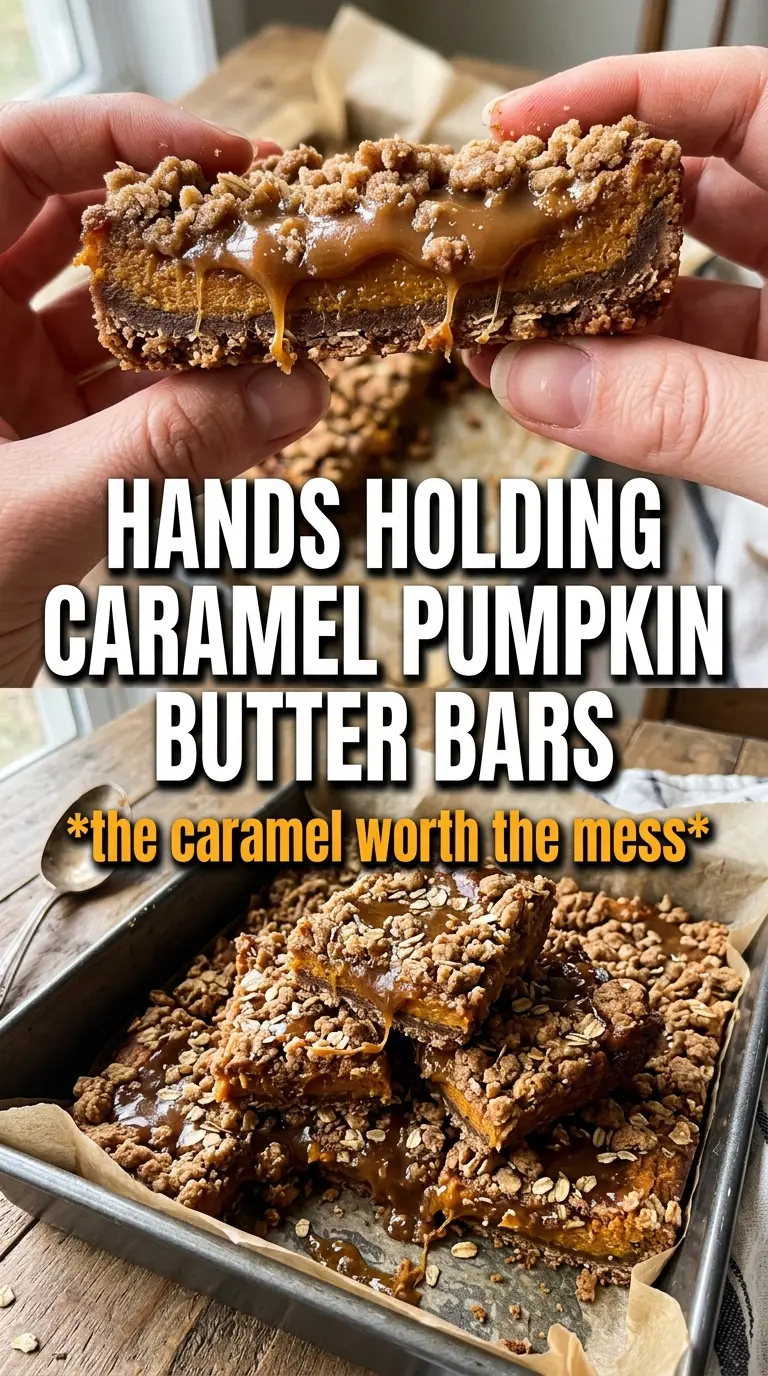
Caramel pumpkin butter bars land in that sweet spot between a gooey dessert bar and a sturdy handheld treat. The base bakes up tender and sandy, the filling sets into a thick pumpkin-caramel layer, and the flaky sea salt on top keeps every bite from drifting too far into sweet territory. Cut them cleanly once they’re fully cooled and you get neat squares with a buttery bottom and a soft, custardy center.
What makes this version work is the contrast in texture. The shortbread uses powdered sugar and cornstarch, which gives it a fine crumb instead of a tough cookie base, and the cold butter is what keeps it from turning dense. The filling leans on both pumpkin puree and caramel sauce, so you get real pumpkin flavor plus that deep, cooked sugar note without having to stand over the stove making caramel from scratch.
Below, I’ve included the one cooling detail that matters most, plus a few swaps that help if you need to work with what’s already in your pantry. The sea salt finish is not decorative here; it sharpens the caramel and keeps the bars tasting balanced instead of flat.
The crust stayed crisp under the pumpkin caramel filling, and the bars set up perfectly after cooling overnight. The flaky salt on top made the caramel taste deeper, not just sweeter.
Save these caramel pumpkin butter bars for the kind of dessert that slices cleanly, travels well, and finishes with that buttery-salty edge.
The Shortcut Most Bars Miss: A Firm Crust Under a Soft Filling
The biggest mistake with layered dessert bars is underbaking the base. If the shortbread doesn’t get a head start in the oven, the filling sinks into it and the bottom turns pasty instead of crisp-tender. Here, the crust bakes for 15 minutes before the filling goes on, which gives it enough structure to stay distinct after a second bake.
The other thing that matters is how you pack the crust into the pan. Press it firmly and evenly, especially into the corners, or you’ll end up with thin spots that bake too hard while the rest stays soft. A pale golden crust is the goal; it should look set and matte, not deeply browned, because it’s going back into the oven with the filling.
What Each Ingredient Is Actually Doing in These Bars
- All-purpose flour — This gives the crust its structure. Bread flour would make it tougher, and cake flour would be too delicate for a bar that needs clean slices.
- Powdered sugar — It sweetens the crust while helping it stay tender and sandy. Granulated sugar won’t dissolve the same way and can make the base feel gritty.
- Cornstarch — This is the ingredient that makes the shortbread crumble in a good way. It softens the bite without weakening the crust too much.
- Cold unsalted butter — Cold butter is what creates the tender, short texture. If it’s too soft, the crust turns greasy and loses that fine crumb.
- Pumpkin puree — Use plain pumpkin puree, not pumpkin pie filling. Pie filling is already sweetened and spiced, which throws off the balance and can make the bars too loose.
- Caramel sauce — This is the backbone of the filling’s flavor. A thicker sauce works best because thin caramel can make the filling runny and harder to set.
- Heavy cream — It smooths out the caramel and keeps the filling from baking up dense. Half-and-half can work in a pinch, but the filling won’t be as rich.
- Eggs — These are what turn the filling from a sauce into a sliceable custard. Add them after the other ingredients are whisked together so they blend evenly without cooking prematurely.
- Flaky sea salt — Don’t skip it. It sharpens the caramel flavor and gives the finished bars a little crunch on top.
Building the Layers So the Filling Sets Cleanly
Mixing the Shortbread
Stir the flour, powdered sugar, cornstarch, cinnamon, and salt together first so the butter gets distributed evenly. Cut in the cold butter until the mixture looks like coarse crumbs with some pea-sized pieces left; that’s what gives you a tender crust instead of a compact one. If the dough seems dry, keep working it gently with your fingertips rather than adding liquid. It should hold together when squeezed, but still look crumbly.
Pressing and Prebaking the Base
Reserve one cup of the mixture for the top, then press the rest into a parchment-lined 9×13 pan in an even layer. Use the bottom of a measuring cup to pack it down firmly so it bakes into a solid base. Bake it until it looks pale golden around the edges and set in the center. If it looks wet or glossy, it needs a few more minutes before the filling goes on.
Whisking the Pumpkin-Caramel Filling
Whisk the pumpkin puree, caramel sauce, cream, brown sugar, pumpkin pie spice, vanilla, and eggs until the mixture is completely smooth. Scrape the bottom of the bowl so no streaks of egg remain, because those streaks can turn into little curds in the oven. The filling should look thick and pourable, almost like a loose custard. If your caramel is very stiff, warm it just enough to loosen it before mixing, or you’ll end up with lumps.
Baking to the Right Set
Pour the filling over the hot crust, then scatter the reserved crumble over the top without pressing it down. Bake until the center is set with only the slightest wobble, and the top looks dry and lightly puffed. If the middle still sloshes when you nudge the pan, it needs more time. Pull it before it looks fully firm, though, because it keeps setting as it cools.
Cooling Before Slicing
This is the part that decides whether you get bars or a spoon dessert. Let the pan cool completely, then give it time in the refrigerator if you want the cleanest cuts. Warm bars will smear and collapse because the caramel-pumpkin layer needs time to firm up. A sharp knife wiped clean between cuts makes the squares look neat, especially if you want that cross-section to show up well.
Three Ways to Work Around What’s in Your Pantry
Dairy-Free Version
Use a dairy-free butter substitute for the crust and replace the heavy cream with full-fat canned coconut milk. The texture will still set, but the flavor shifts slightly toward coconut, so it works best if you like that note with pumpkin and caramel.
Gluten-Free Swap
A 1:1 gluten-free baking blend can replace the flour, but the crust may be a little more delicate when sliced. Press it firmly into the pan and chill the bars before cutting so the base holds together better.
Extra-Salty Finish
If you like a sharper caramel contrast, add the flaky sea salt right after the bars come out of the oven while the top is still warm. It sticks better and gives each bite a brighter finish than salting them later.
Storage and Reheating
- Refrigerator: Store in an airtight container for up to 5 days. The bars firm up in the fridge, which actually helps the layers slice more cleanly.
- Freezer: These freeze well. Wrap individual bars tightly, then freeze for up to 2 months. Thaw in the refrigerator so the filling doesn’t get watery.
- Reheating: These are best served cool or at room temperature, not hot. If you want the filling a little softer, let a bar sit on the counter for 15 to 20 minutes instead of microwaving it, which can make the crust lose its texture.
Questions I Get Asked About This Recipe
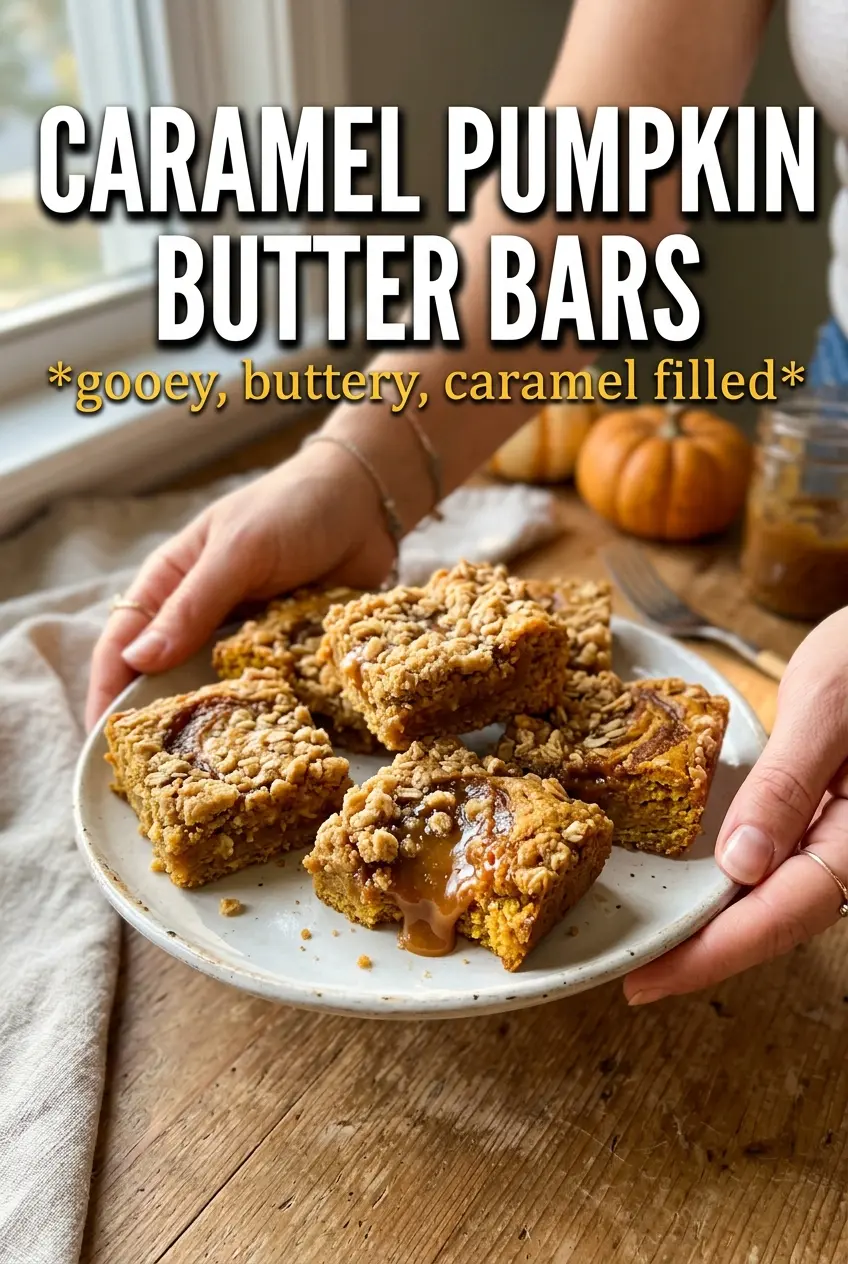
Caramel Pumpkin Butter Bars
Ingredients
Equipment
Method
- Preheat oven to 350F and line a 9x13 pan with parchment. Use the parchment overhang to lift the bars out later.
- Combine all-purpose flour, powdered sugar, cornstarch, cinnamon, and salt, then cut in cold unsalted butter until the dough comes together. Stop when no dry flour remains and the mixture holds clumps.
- Reserve 1 cup of the dough for crumble topping, then press the remaining dough firmly into the prepared pan. Press evenly so the base bakes flat.
- Bake for 15 minutes until pale golden. The crust should look set but not browned deeply.
- Whisk pumpkin puree, caramel sauce, heavy cream, brown sugar, pumpkin pie spice, vanilla, and eggs until smooth. Whisk until no streaks of egg remain.
- Pour the filling over the hot crust, then crumble the reserved dough on top. Aim to cover the surface so the topping bakes into a sandy layer.
- Bake 22-25 minutes at 350F until the filling is set. A gentle shake should show a firm center, not a liquid wobble.
- Sprinkle flaky sea salt over the bars right after baking. The salt will cling to the warm top for a visible sparkle.
- Cool completely before cutting the bars. Letting them cool fully makes clean slices and a thick filling texture.