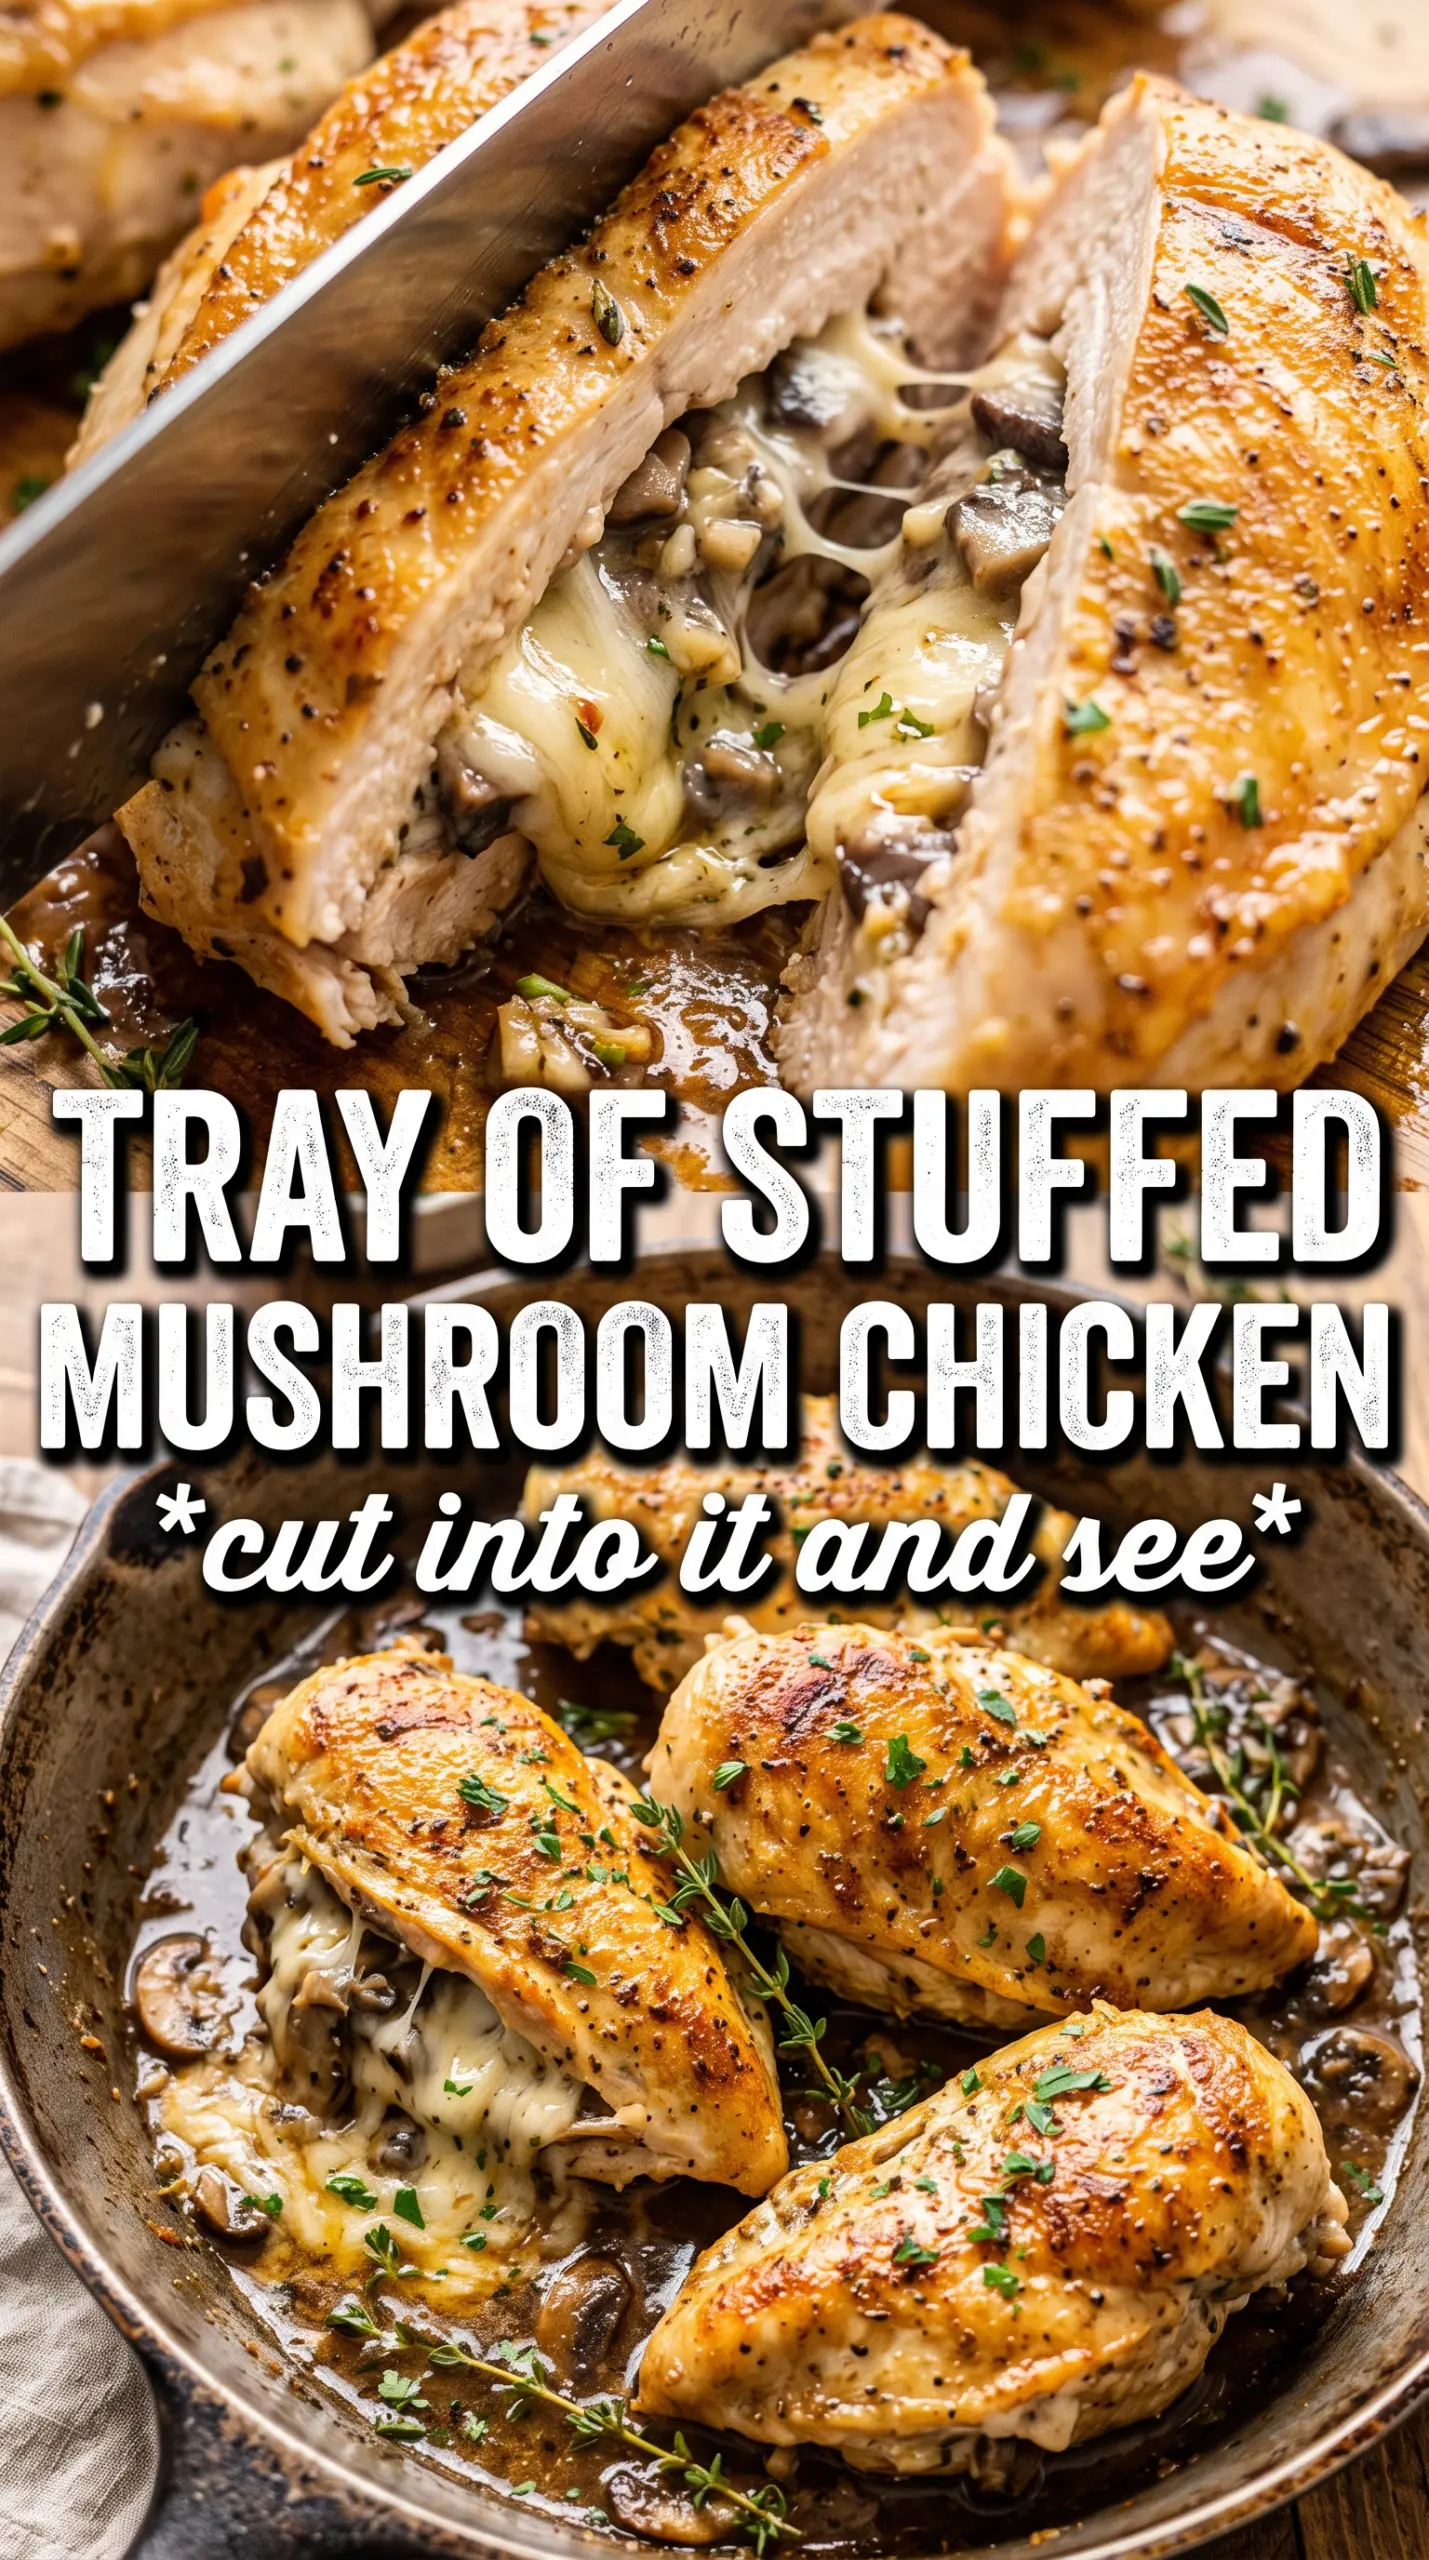
Juicy stuffed chicken with a molten mushroom, garlic butter, and cheese center earns a permanent spot in the dinner rotation because it hits all the marks at once: crisp, golden edges; a savory filling that stays creamy instead of greasy; and chicken that slices cleanly without falling apart. The best part is the contrast. You get a deeply browned sear on the outside and a rich, steaming filling that spills onto the plate when you cut into it.
What makes this version work is cooking the mushrooms until their moisture is gone before the cheese goes in. That step keeps the filling thick enough to stay inside the chicken instead of leaking into the pan. A short sear before baking also matters, because it builds color fast and gives the chicken a little structure before the oven finishes the center.
Below, I’m walking through the pocket-cutting trick, the one mistake that makes stuffed chicken burst open, and a few swaps that still give you a solid result.
The mushroom filling stayed put and didn’t run all over the skillet, and the chicken came out juicy with that little bit of crispness from the sear. I’ll be using this method again for stuffed chicken breasts.
Save this cheesy garlic butter mushroom stuffed chicken for the nights when you want a crisp sear, a molten filling, and a dinner that feels a little special without extra fuss.
The Filling Has to Cook Dry Before It Can Stay Creamy
Most stuffed chicken problems start with moisture. Mushrooms release a lot of liquid as they cook, and if that liquid is still in the pan when the cheese goes in, the filling turns loose and leaks out the first time the chicken hits heat. Cook the mushrooms until the pan looks dry again and the pieces start to take on a little color. That’s when they’re ready for garlic, thyme, and cheese.
The other thing that matters is the pocket size. Cut deep, but not all the way through. You want enough room for a generous filling without creating a hole that opens during searing. If the chicken breast is very thick on one side, gently press it with your hand before cutting so the pocket stays even.
- Boneless skinless chicken breasts — Look for breasts that are similar in size so they bake at the same rate. If one is enormous and the others are small, pound the thick end lightly before cutting the pocket.
- Cremini mushrooms — Their deeper flavor holds up under the cheese. White button mushrooms work in a pinch, but they taste milder and the filling won’t have the same earthy backbone.
- Mozzarella and Parmesan — Mozzarella gives the stretch, Parmesan gives the salt and nutty finish. Don’t swap both for one cheese unless you want a softer, less structured filling.
- Butter and garlic — This is where the filling gets its backbone. Fresh garlic matters here; powdered garlic won’t give the same aroma or sharpness after baking.
What Each Ingredient Is Actually Doing in This Recipe
- Primary ingredient (the star) — Quality matters most. Choose the best you can find.
- Cooking medium (oil, butter, or broth) — This carries flavors and prevents dryness.
- Seasonings (salt, pepper, spices, herbs) — Layer flavors so nothing overpowers. Build depth gradually.
- Aromatics (garlic, onion, herbs) — Cook with fat to bloom flavors. Become the foundation.
- Supporting ingredients — Complement the main ingredient without overpowering it.
- Sauce or liquid (if applicable) — Brings flavors together. Balance richness with acid.
- Acid (lemon, vinegar, wine, or other) — Brightens and prevents flat-tasting results.
- Final finish (garnish, glaze, or sauce) — Prevents one-dimensional taste and adds visual appeal.
Getting the Sear Before the Oven Does the Rest
Building a Firm, Golden Exterior
Season the chicken inside and out, then stuff it without overpacking the pocket. The chicken should look full, not stretched to the point of splitting. Close it with toothpicks so the seam stays shut while it sears, and press the edges lightly to seal the filling in place. If the filling is warm and soft, chill it for a few minutes first so it’s easier to handle.
Turning the Skillet into the First Layer of Flavor
Use an oven-safe skillet and heat the olive oil until it shimmers. Lay the chicken in and leave it alone for a few minutes so the surface can brown; if you move it too soon, it’ll stick and tear. You’re looking for a deep golden crust, not full cooking. The oven finishes the interior, but the skillet is what gives you that polished, savory exterior.
Finishing Without Drying Out the Center
Bake just until the thickest part of the chicken reaches 165°F. Pull it from the oven at that point, not later, because carryover heat will finish the job while the meat rests. Let it sit for 5 minutes before slicing so the juices settle and the filling thickens back up slightly. Drizzle with extra garlic butter right before serving for the best contrast between the browned crust and the molten center.
How to Adapt This Without Losing the Point of the Dish
Make It Gluten-Free Without Changing the Method
This recipe is naturally gluten-free as written, so the only thing to watch is seasoning blends. If your garlic powder or paprika mix contains anti-caking fillers, use plain spices instead. The texture and cook time stay the same.
Swap the Cheese for a Sharper Finish
You can replace part of the mozzarella with fontina or provolone for a more pronounced melt and a little less stretch. Keep some mozzarella in the mix so the filling still holds together. If you use only a hard cheese, the stuffing turns drier and loses that molten center.
Use Chicken Thighs Only if You Change the Shape
Boneless thighs can work, but they’re harder to stuff cleanly because they’re smaller and less uniform. If you go that route, make smaller parcels and secure them well with toothpicks. The flavor is richer, but the final dish won’t slice open with the same dramatic stuffed-chicken presentation.
Refrigerate the Filling for Easier Assembly
If the mushroom mixture feels loose after mixing in the cheese, chill it for 10 minutes before stuffing. That firms the filling just enough to keep it from squeezing out while you seal the pockets. It’s a small step, but it makes the whole process cleaner.
Storage and Reheating
- Refrigerator: Store leftovers in an airtight container for up to 3 days. The cheese will firm up, but the flavor stays good.
- Freezer: Freeze after baking if needed, tightly wrapped and packed in a freezer-safe container for up to 2 months. The texture of the mushrooms softens a bit after thawing, but it still reheats well.
- Reheating: Warm in a 325°F oven, covered loosely with foil, until the center is hot. The common mistake is blasting it in the microwave, which makes the chicken rubbery and can turn the filling greasy.
Questions I Get Asked About This Recipe
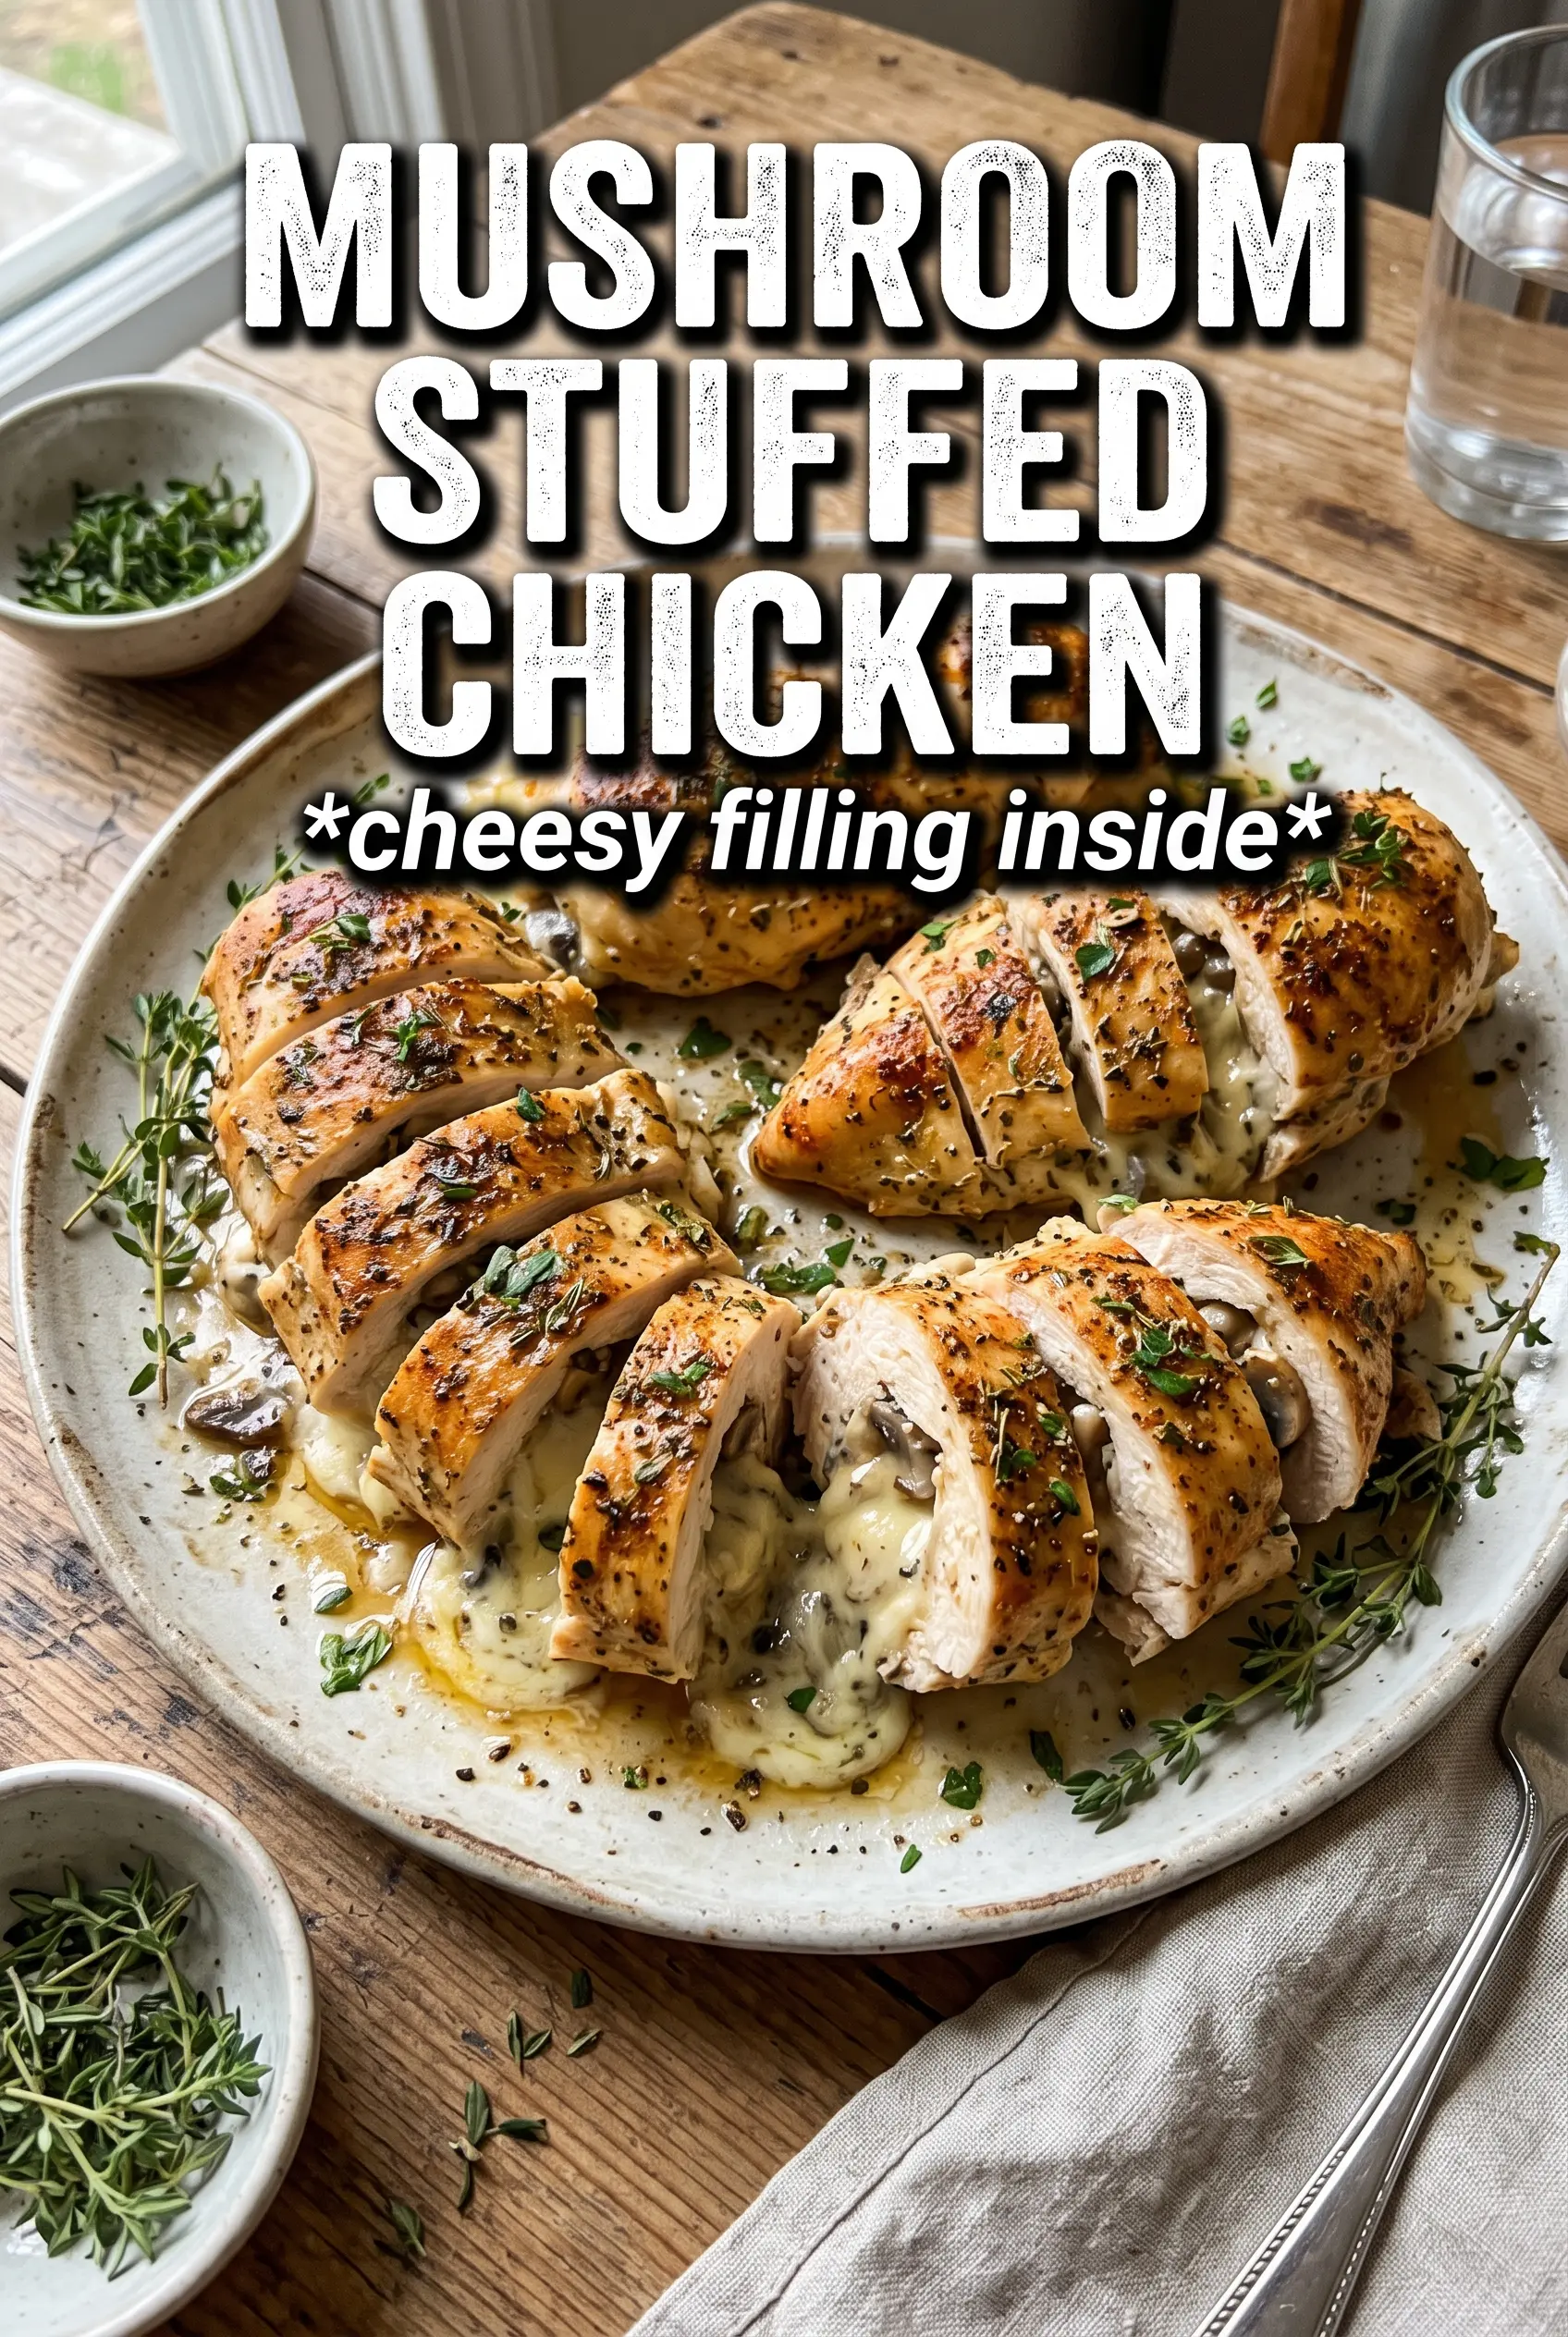
Cheesy Garlic Butter Mushroom Stuffed Chicken
Ingredients
Equipment
Method
- Melt 3 tablespoons butter in a skillet over medium-high heat, then add the finely diced cremini mushrooms and cook 5-6 minutes until all moisture has evaporated, scraping as needed. When the pan looks dry and the mushrooms have shrunk, proceed.
- Add the minced garlic and fresh thyme leaves, then cook 1 minute until fragrant. Stir constantly so the garlic doesn’t brown.
- Cool the mushroom mixture slightly, then stir in the shredded mozzarella and grated Parmesan until fully combined and glossy.
- Cut a deep pocket in each chicken breast, slicing from the side without cutting through, then season inside and out with salt, pepper, garlic powder, and smoked paprika. Make sure the seasoning is evenly spread, including in the pockets.
- Fill each pocket with the mushroom-cheese mixture and secure with toothpicks so the filling stays in place during searing and baking.
- Heat the olive oil in an oven-safe skillet over medium-high heat, then sear the stuffed chicken for 3-4 minutes per side until golden and deeply caramelized. The surface should look browned and set, not pale.
- Bake at 400°F for 18-22 minutes, until the internal temperature reaches 165°F. If you see excess browning too quickly, tent loosely with foil.
- Remove the toothpicks, drizzle with extra garlic butter, and rest 5 minutes before slicing. Resting helps the molten filling settle so it stays creamy and steaming when cut.