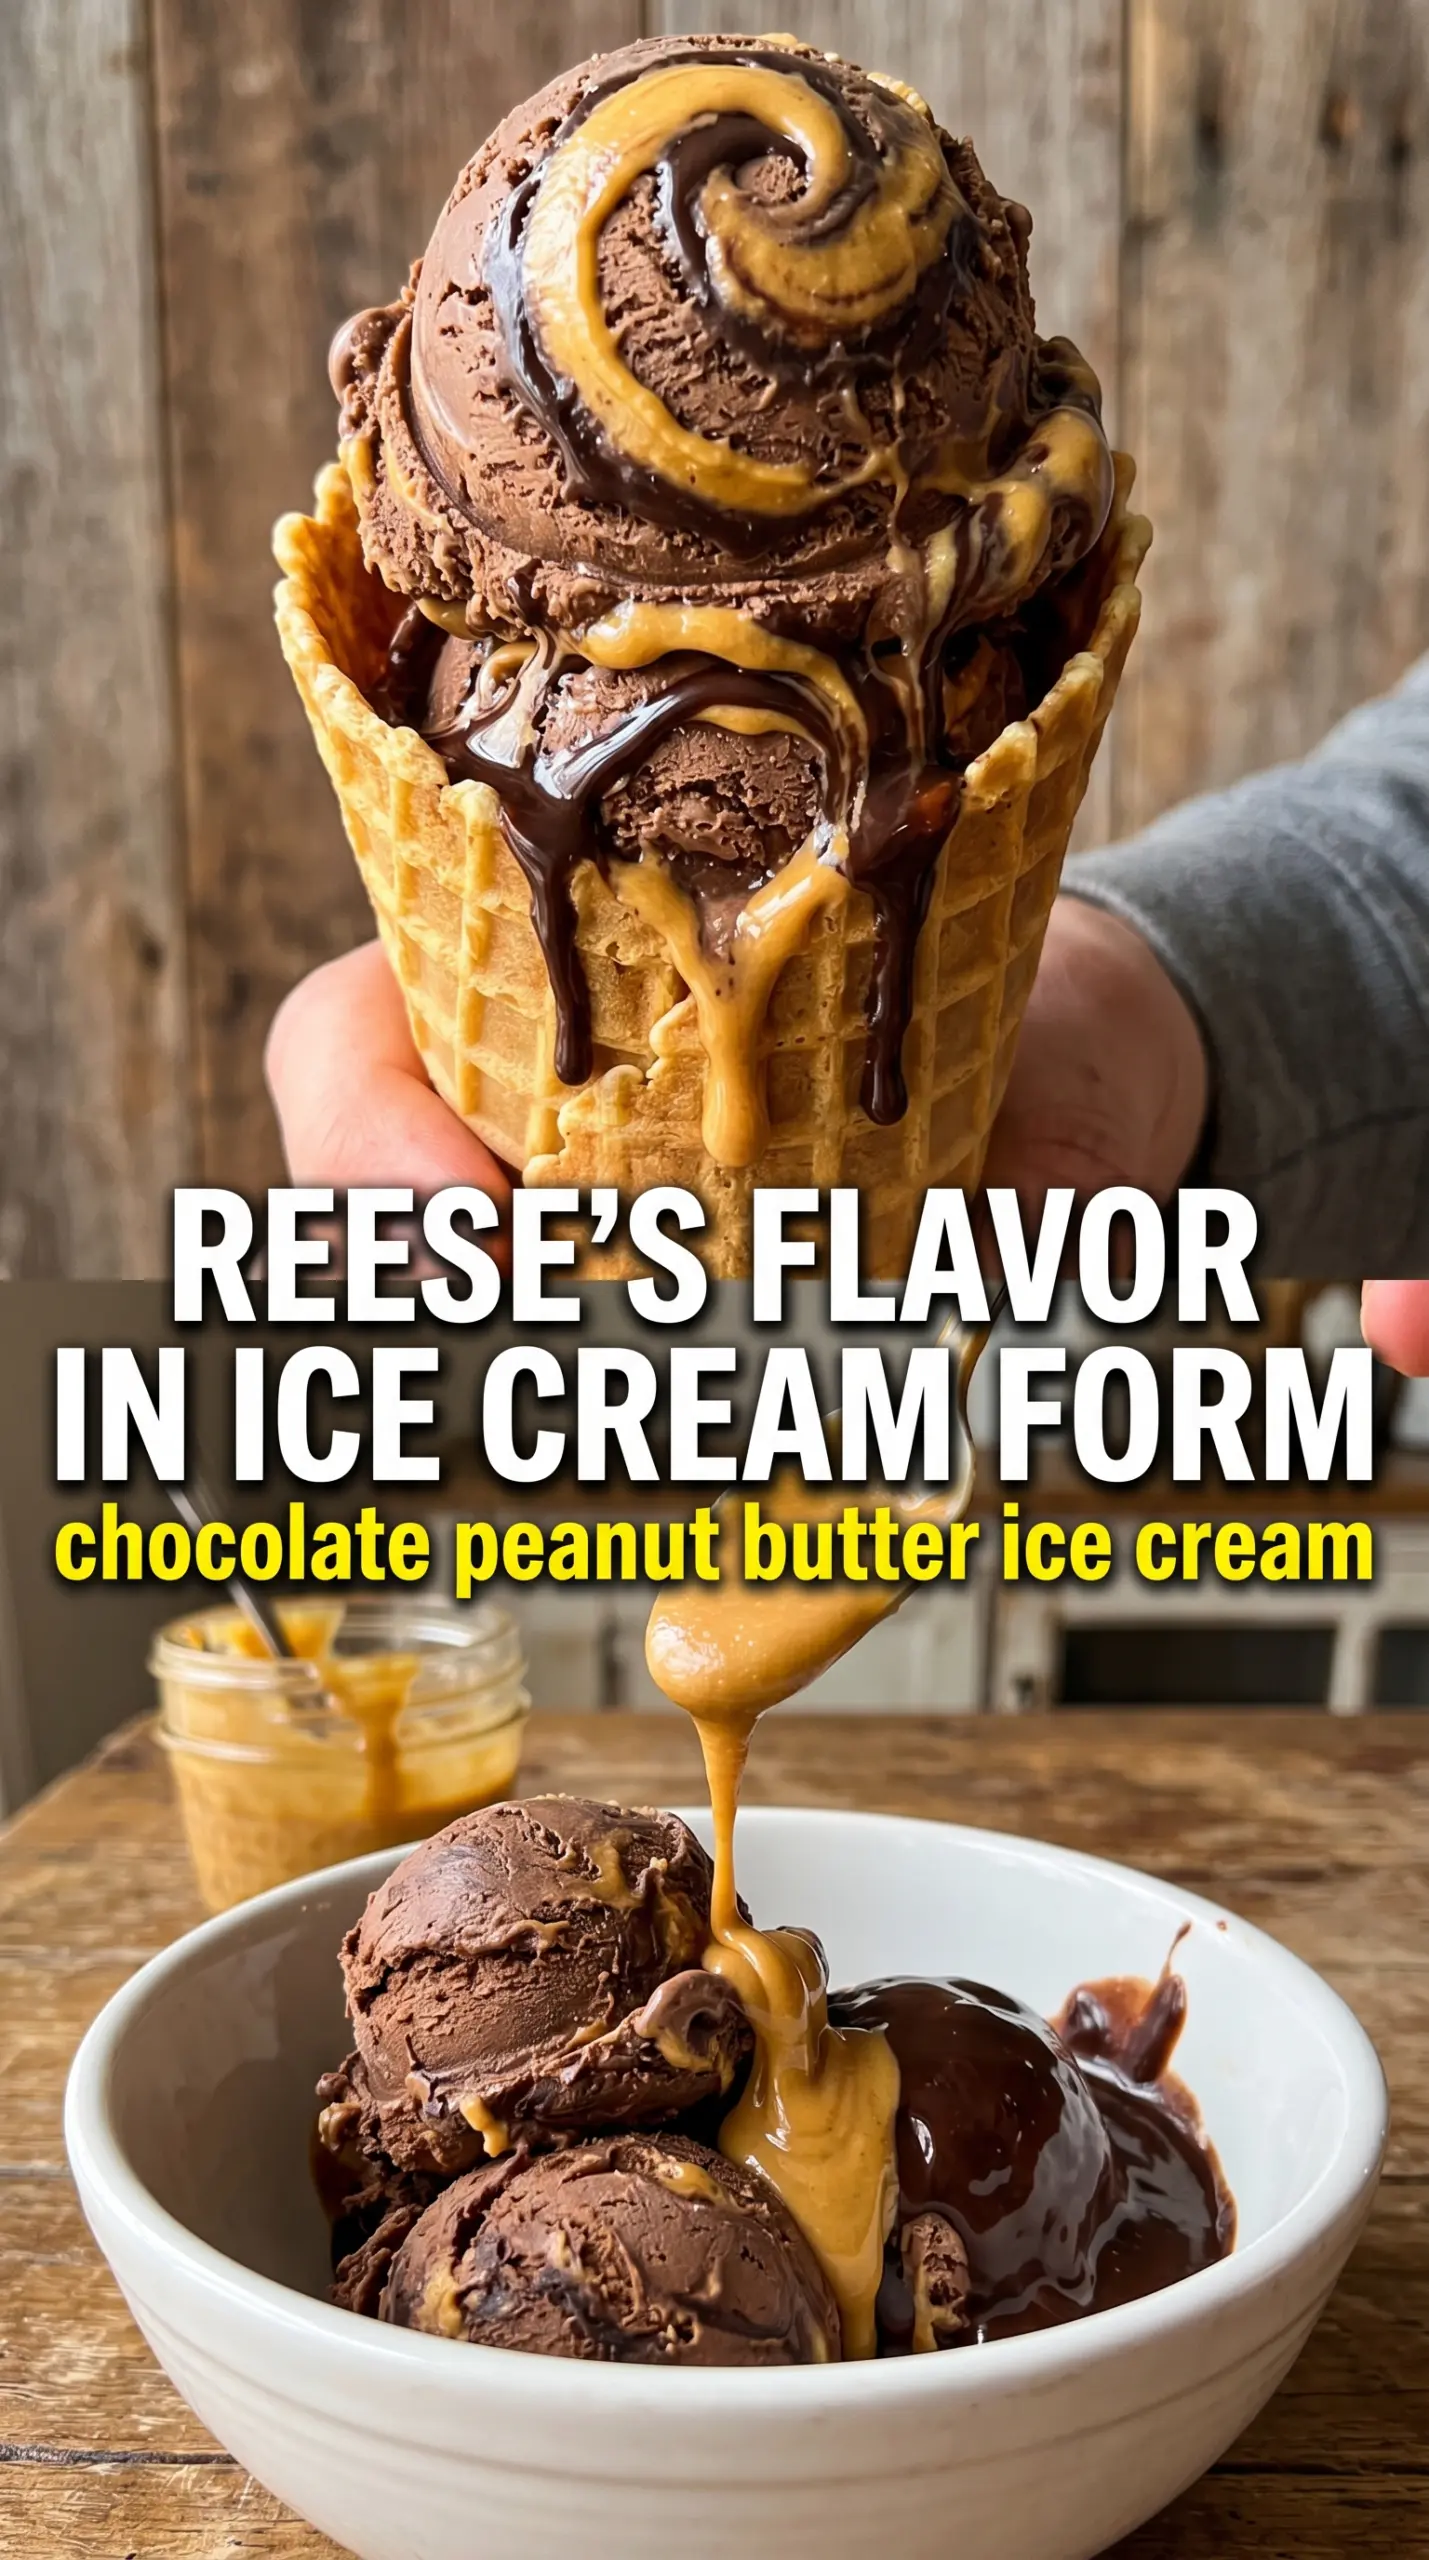
Deep chocolate ice cream with thick ribbons of peanut butter makes this one of those desserts people keep sneaking from the freezer with a spoon. The base is rich without turning heavy, and the peanut butter stays distinct instead of disappearing into the chocolate. Every scoop gets a little contrast: bittersweet, creamy, salty, and cold in the best way.
The trick is building a custard base that tastes like real chocolate, not just sweet cocoa. Heating the milk and cream with the cocoa first helps it dissolve smoothly, and the chopped dark chocolate gives the finished ice cream a fuller flavor and softer scoop. Cooking the yolks gently to 175°F gives you body without scrambling them, which matters more here than in a simpler no-custard ice cream.
Below, I’ve included the part that makes the swirl hold up, plus the small timing details that keep the peanut butter from sinking or turning muddy in the container. If you’ve ever ended up with flat chocolate ice cream and one sad peanut butter streak, this version fixes that.
The chocolate base churned up super smooth, and the warm peanut butter swirled in beautifully instead of hardening into little clumps. It tasted like a homemade peanut butter cup in ice cream form.
Save this chocolate peanut butter ice cream for the nights when you want thick chocolate scoops and a real peanut butter swirl.
The Step That Keeps the Chocolate Base Smooth Instead of Grainy
Chocolate ice cream can turn dusty or clumpy when the cocoa isn’t fully dispersed before the eggs go in. Whisking the cocoa into the cream and milk first gives it a head start, and heating that mixture just until steaming helps the cocoa bloom without scorching it. That’s where the deep chocolate flavor starts. If you dump dry cocoa straight into the yolks or let the dairy boil, you’ll fight lumps later.
The second thing that matters is heat control once the custard hits the pan. You want it thick enough to coat a spoon and register 175°F, not bubble hard. Overcooking gives you a custard that tastes eggy and can look a little curdled; undercooking gives you an ice cream base that freezes softer and less creamy.
What Each Ingredient Is Doing in This Ice Cream
- Heavy cream — This brings the fat that makes the ice cream taste plush and scoopable. I wouldn’t swap this for half-and-half unless you want a thinner, icier texture.
- Whole milk — It keeps the base from becoming too dense. Lower-fat milk will work in a pinch, but the final texture won’t be as creamy.
- Unsweetened cocoa powder — Cocoa gives the base its chocolate backbone and helps the flavor stay bold after freezing. Dutch-process cocoa will make it darker and smoother-tasting, while natural cocoa gives a sharper chocolate edge.
- Dark chocolate — This is the ingredient that makes the chocolate taste fuller and more like a good candy bar than plain cocoa. Use a bar you’d actually eat; the chocolate flavor gets concentrated once it’s frozen.
- Egg yolks — They thicken the custard and keep the ice cream from freezing into a hard block. There isn’t a substitute that gives quite the same silkiness, which is why this base tastes so rich.
- Peanut butter — Warm it until pourable so it ribbons through the churned ice cream instead of clumping. Natural peanut butter works, but a more stabilized creamy peanut butter gives the cleanest swirl.
How to Build the Custard and Swirl It So the Peanut Butter Stays Distinct
Blooming the Chocolate
Start by whisking the cocoa into the cream and milk, then heat it until the mixture is steaming and the cocoa no longer looks dusty on the surface. Add the chopped dark chocolate and whisk until it melts completely. If you see little specks, keep whisking off the heat for another minute instead of cranking the burner higher.
Tempering the Yolks
Whisk the yolks and sugar until they look pale and a little thick, then stream in the hot chocolate mixture slowly while whisking constantly. That gradual addition keeps the eggs from turning into scrambled bits. If the bowl feels too hot to hold comfortably, slow down and whisk harder — temperature control matters more than speed here.
Cooking to the Right Thickness
Return everything to the saucepan and cook over low to medium-low heat, stirring constantly, until the custard reaches 175°F and lightly coats the back of a spoon. Pull it from the heat the moment it hits temperature. If it gets too hot, the yolks can seize and the texture goes from silky to grainy fast.
Chilling Before Churning
Strain the custard, stir in the vanilla and salt, then chill it until completely cold. Four hours is the minimum, but colder is better for a faster churn and a smoother texture. Warm base in the machine turns slushy and won’t whip in enough air.
Layering in the Peanut Butter
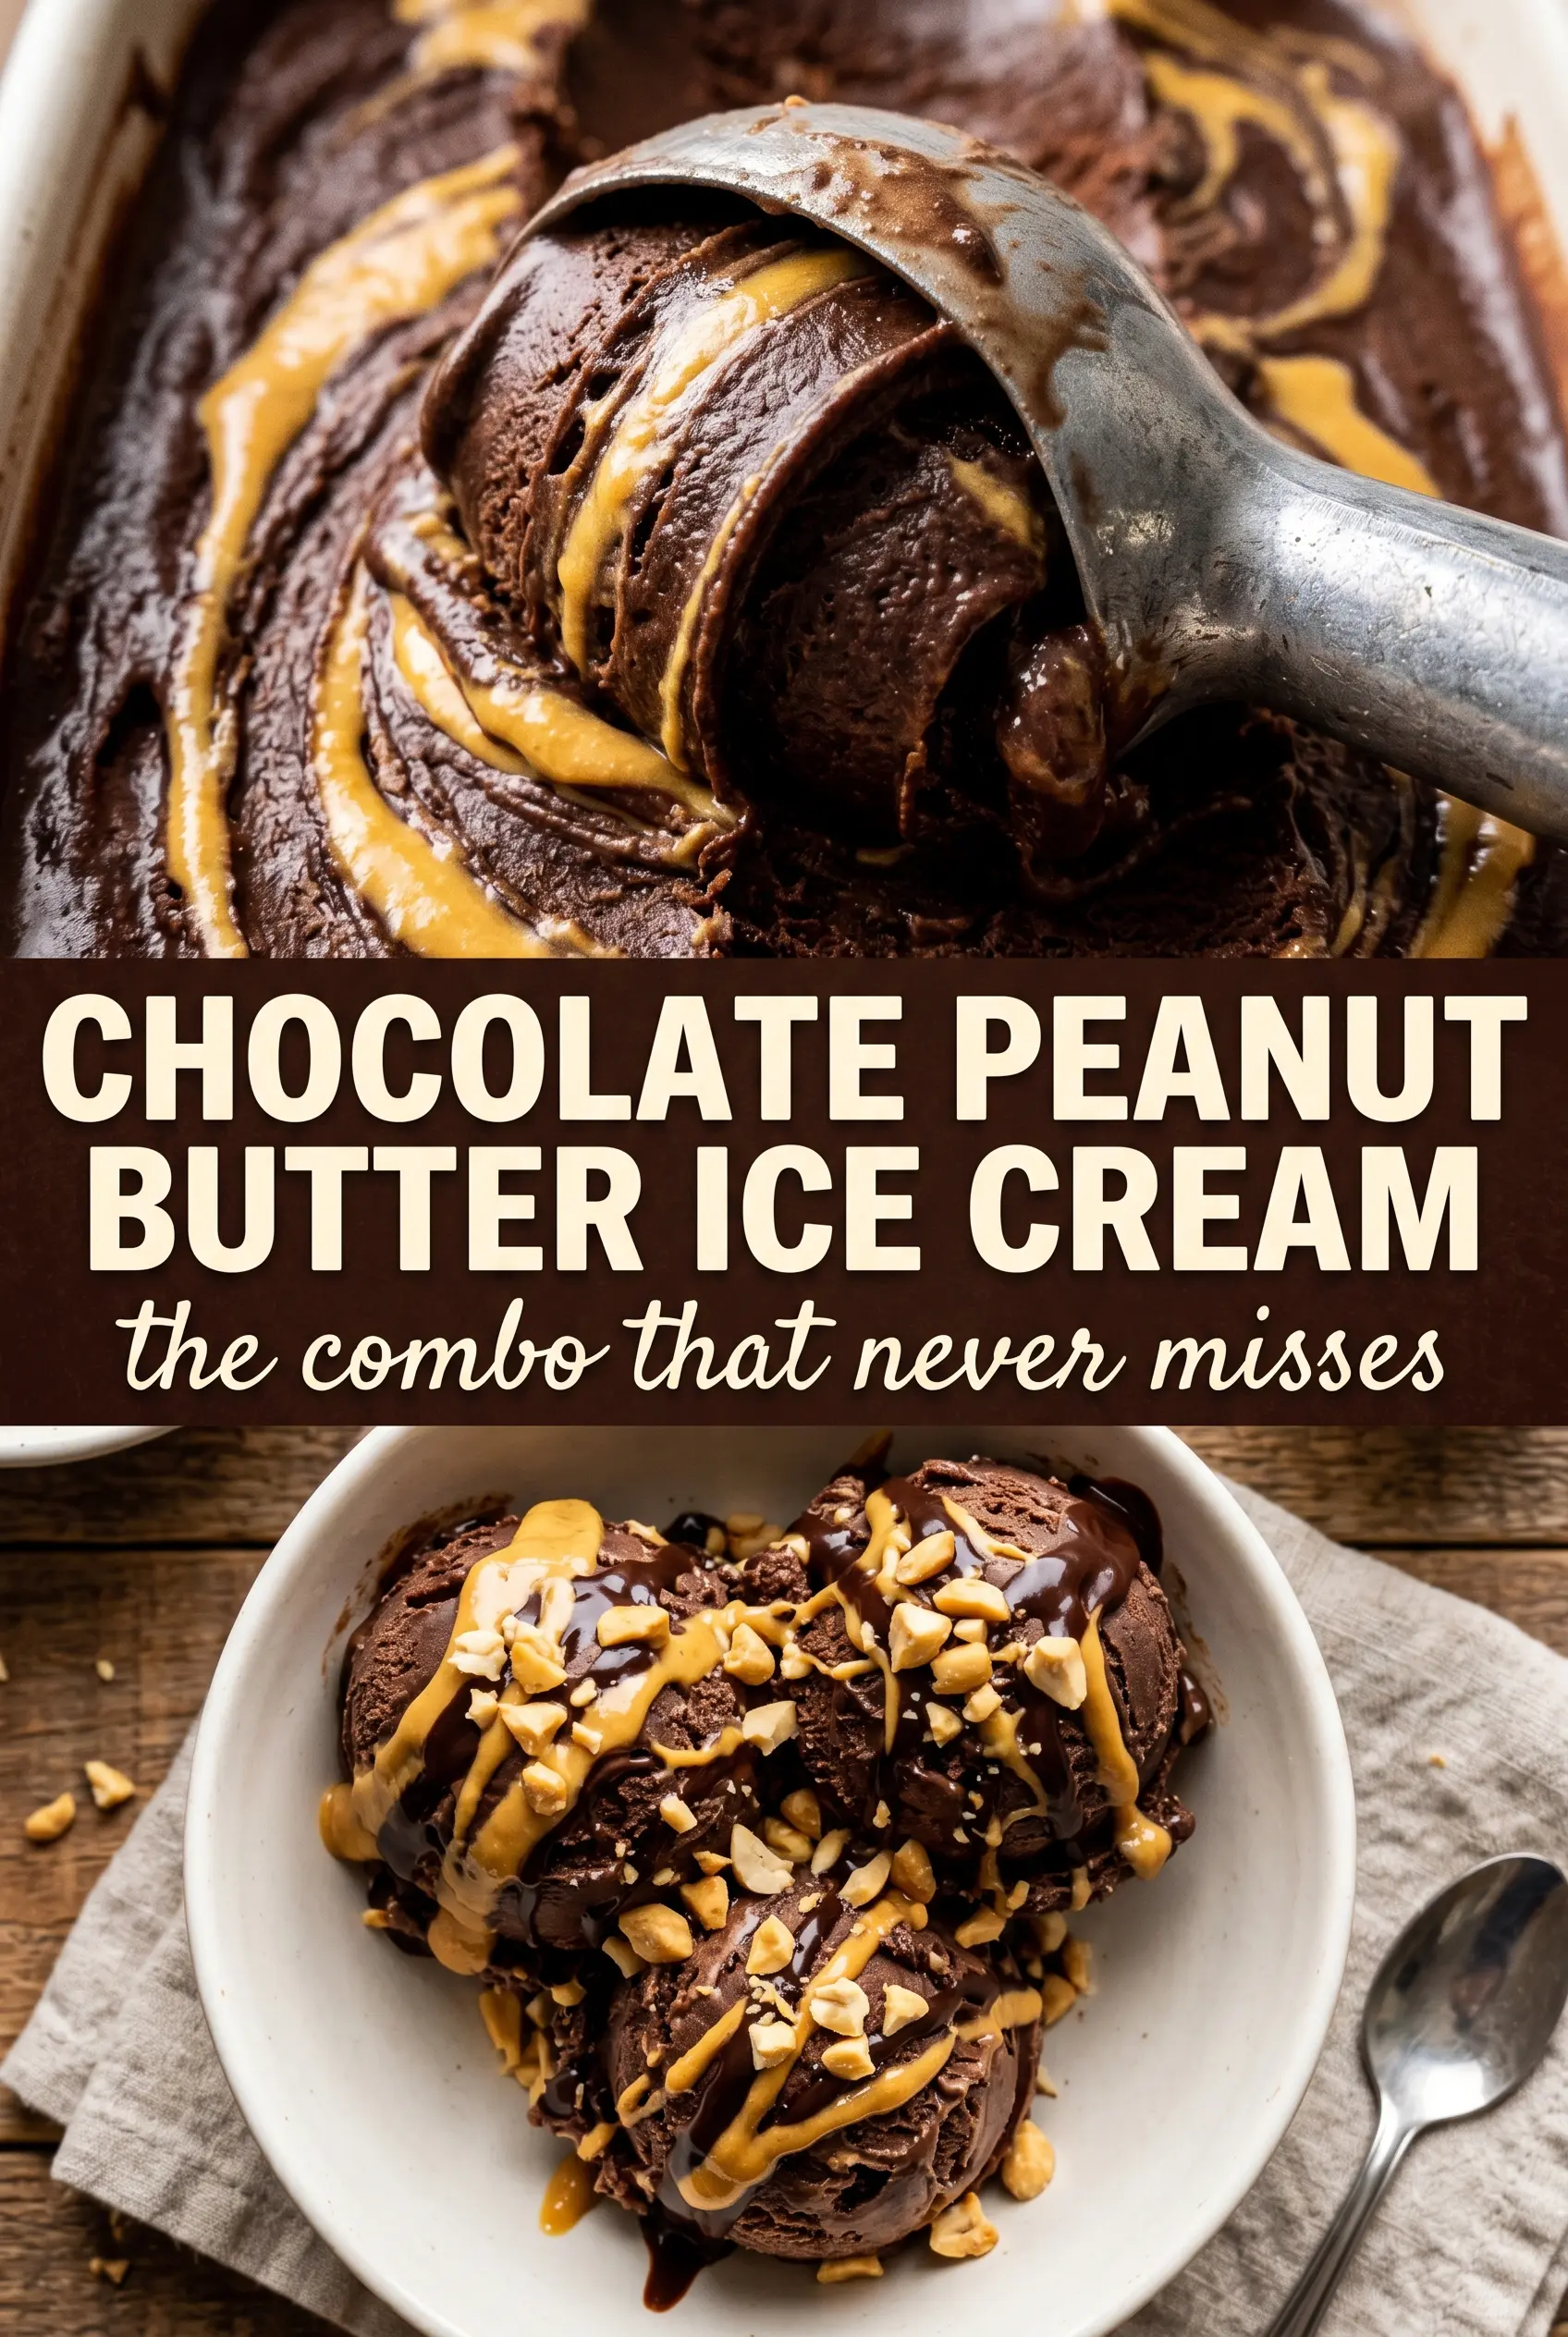
Once the ice cream is churned, layer it into a container and drizzle in warm peanut butter between layers. Swirl with a knife just a few times. If you overmix, the swirl disappears and the whole thing turns muddy; if the peanut butter is too cold, it hardens before you can spread it.
Make It with Crunchy Peanut Butter
Use crunchy peanut butter if you want little peanut pieces in every scoop. Warm it the same way so it still ribbons easily, but expect a more textured swirl and a slightly less clean finish in the container.
Dairy-Free Version
Use full-fat coconut milk in place of the cream and milk, then choose a dairy-free dark chocolate. The ice cream will be a little softer and carry a faint coconut note, but the peanut butter swirl still works well.
Make the Peanut Butter Ripple Fudgey
Stir 1 to 2 tablespoons of warm cream into the peanut butter before layering it in. That loosens it enough to spread in thinner ribbons, which gives you more of a fudge-ripple look and keeps it from forming thick peanut butter pockets.
How to Cut the Sugar a Little
You can reduce the sugar slightly, but don’t cut it too far. Sugar keeps ice cream from freezing rock-hard, so a big reduction gives you a firmer, icier scoop instead of the soft texture you want.
Storage and Reheating
- Refrigerator: Not applicable for serving, but the custard base can be chilled up to 24 hours before churning.
- Freezer: Store in an airtight container for up to 2 weeks for the best texture. After that, the chocolate base can pick up freezer flavor and the swirl gets harder to scoop.
- Reheating: No reheating needed. Let the container sit at room temperature for 5 to 10 minutes before scooping so the peanut butter ribbons don’t crack against the spoon.
Answers to the Questions Worth Asking
Chocolate Peanut Butter Ice Cream
Ingredients
Equipment
Method
- Whisk the cocoa into the heavy cream and whole milk until smooth, then heat the mixture until steaming.
- Add the chopped dark chocolate and whisk until fully melted and glossy.
- In a bowl, whisk the egg yolks and granulated sugar until pale.
- Slowly whisk the hot chocolate cream into the egg yolks to temper, then return the mixture to a saucepan.
- Cook, stirring constantly, until the custard reaches 175F.
- Strain the custard, then whisk in the vanilla and salt and cool completely.
- Refrigerate the cooled custard at least 4 hours.
- Churn in an ice cream maker until thick and the texture resembles soft-serve.
- Layer the churned ice cream into a container, drizzling warm peanut butter between each layer.
- Swirl the layers with a knife to create thick peanut-butter ribbons throughout.
- Freeze at least 2 hours until firm before serving.