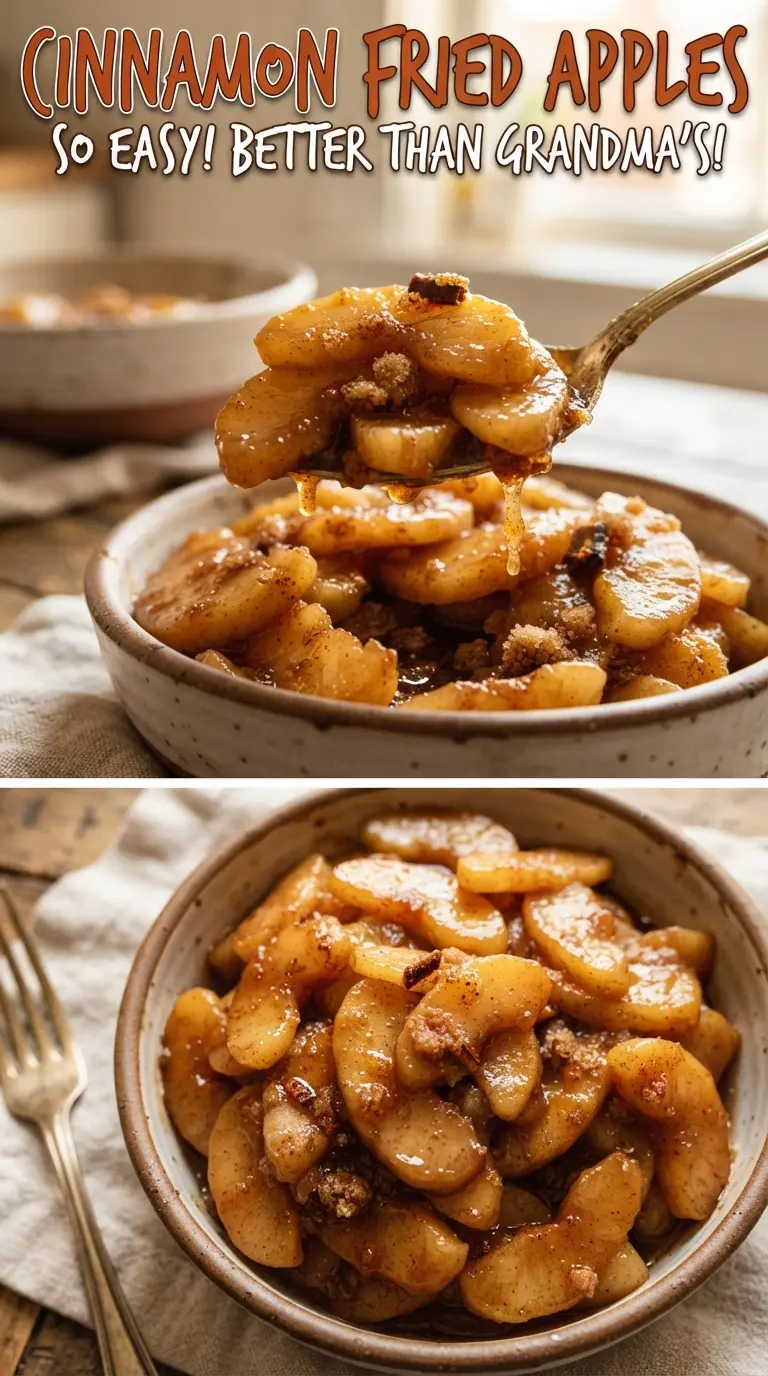
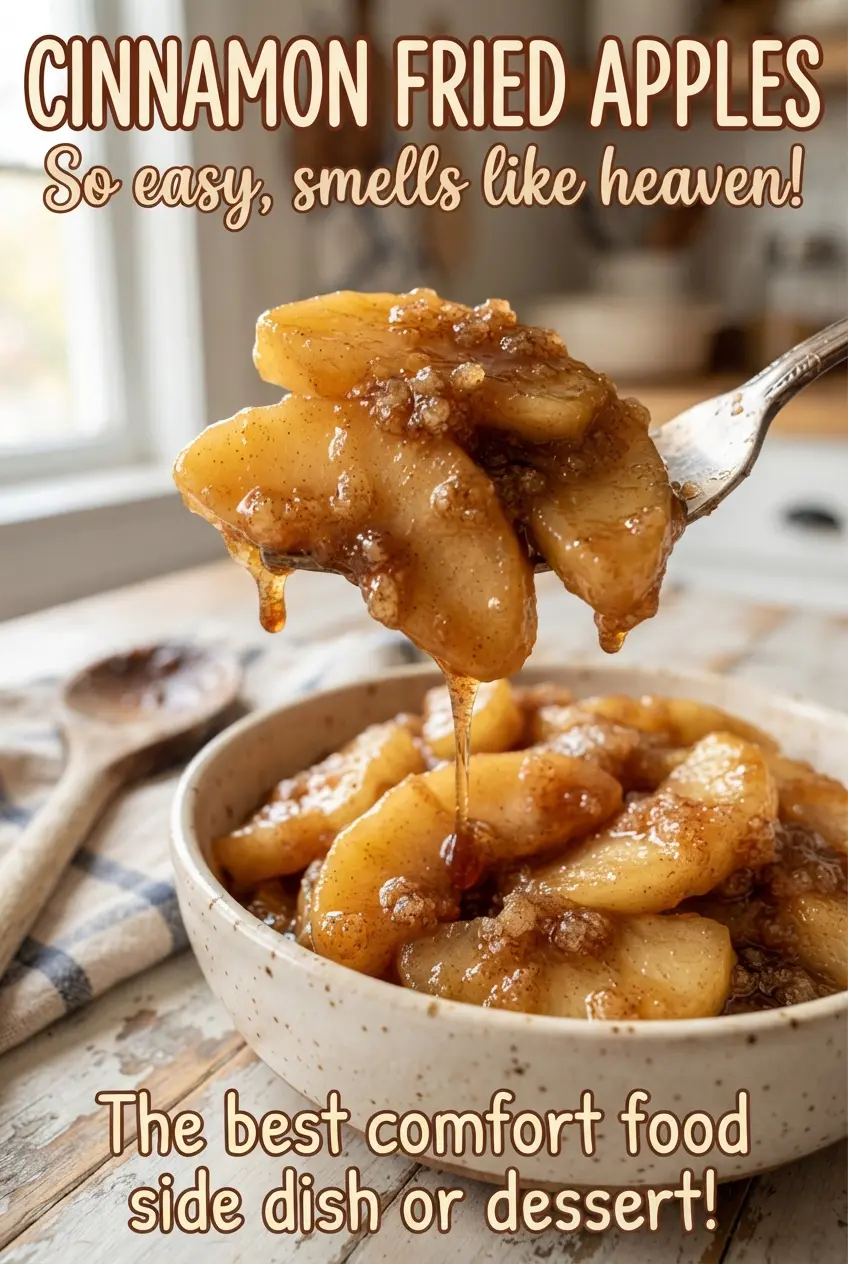
Cinnamon fried apples land somewhere between dessert and side dish, which is exactly why they disappear fast. The apples stay tender without turning mushy, and the pan ends up full of a glossy brown sugar syrup that clings to every slice. Spoon them over pork chops, spoon them over pancakes, or eat them straight from the skillet when nobody’s watching.
What makes this version work is the balance: firm apples that hold their shape, enough butter to carry the spices, and just a little cornstarch at the end to turn the juices into a sauce instead of a thin puddle. The cover-on cooking step softens the fruit evenly, then the uncovered simmer finishes the glaze without overcooking the apples. That last splash of vanilla smooths out the spice and makes the whole pan taste rounded instead of sharp.
If you’ve ever ended up with apples that collapsed into apple sauce or syrup that stayed watery, the notes below will help. There’s also a simple substitution guide and the one timing cue I rely on when I want the apples tender but still intact.
I used Granny Smith apples and the sauce thickened up exactly like you said. The slices stayed tender but didn’t fall apart, and it was perfect over pork chops.
Like these cinnamon fried apples? Save them to Pinterest for the nights when you need a fast skillet side with tender apples and glossy brown sugar sauce.
The Part Most People Get Wrong: Soft Apples Before the Syrup Sets
The tricky part here isn’t the spice blend. It’s the timing. If you cook the apples uncovered from the start, the moisture boils off before the slices have time to soften, and you end up with tough fruit sitting in a sticky but thin syrup. Covering the skillet first traps enough steam to tenderize the apples evenly, then the final uncovered simmer tightens the sauce without pushing the fruit past the point of holding its shape.
Firm apples matter here because they keep their structure while they cook. Honeycrisp gives you sweetness and a little snap; Granny Smith brings a sharper bite that stands up well to the sugar and butter. If your apples are already soft at the grocery store, this isn’t the recipe for them. They’ll turn mealy before the glaze finishes.
- Honeycrisp or Granny Smith apples — These hold their shape better than soft baking apples. Honeycrisp gives a rounder sweetness, while Granny Smith keeps the dish brighter and less dessert-heavy.
- Butter — Butter carries the cinnamon and nutmeg and gives the sauce its rich finish. Use real butter here; a margarine substitute won’t give the same depth or gloss.
- Brown sugar — Packed brown sugar melts into the pan juices and helps the syrup turn silky. Dark brown sugar makes the sauce deeper and molasses-forward, while light brown sugar keeps it a little cleaner and less intense.
- Cornstarch — This is what turns the loose juices into that spoon-coating glaze. Whisk it with cold water first, or you’ll get little starchy lumps instead of a smooth sauce.
- Vanilla extract — Stir it in at the end, off the heat if the pan is very hot. Vanilla loses its prettiest aroma when it cooks too hard, so late addition keeps it fragrant.
What Each Ingredient Is Actually Doing in This Recipe
- Primary ingredient (the star) — Quality matters most. Choose the best you can find.
- Cooking medium (oil, butter, or broth) — This carries flavors and prevents dryness.
- Seasonings (salt, pepper, spices, herbs) — Layer flavors so nothing overpowers. Build depth gradually.
- Aromatics (garlic, onion, herbs) — Cook with fat to bloom flavors. Become the foundation.
- Supporting ingredients — Complement the main ingredient without overpowering it.
- Sauce or liquid (if applicable) — Brings flavors together. Balance richness with acid.
- Acid (lemon, vinegar, wine, or other) — Brightens and prevents flat-tasting results.
- Final finish (garnish, glaze, or sauce) — Prevents one-dimensional taste and adds visual appeal.
How to Cook Them So the Apples Stay Tender, Not Mushy
Coating the Apples Evenly
Melt the butter over medium heat, then add the sliced apples, brown sugar, cinnamon, nutmeg, and salt. Stir until every slice looks glossy and coated, because the sugar starts drawing out moisture right away. If the mixture looks dry at first, that’s normal; the apples will release juice as they warm. Keep the heat at medium so the sugar melts without scorching on the bottom of the skillet.
Steaming the Fruit First
Cover the skillet and cook for 8 to 10 minutes, stirring occasionally. This is where the apples soften, and the lid does the heavy lifting by trapping steam. Lift the lid once to check for tenderness; the slices should bend slightly but still hold together. If the pan starts to look dry before the apples are tender, lower the heat a little rather than adding more water too early.
Thickening the Syrup
Whisk the cornstarch with the water until smooth, then pour it into the skillet and simmer for 2 to 3 minutes. The sauce should go from thin and cloudy to glossy and lightly thickened. If you add the cornstarch directly to the pan, it can clump and leave raw pockets in the syrup. Stir gently while it simmers so the apples don’t break apart.
Finishing With Vanilla
Stir in the vanilla at the end and serve warm. The aroma changes the moment it hits the hot syrup, giving the dish that classic baked-apple smell without needing an oven. If the sauce seems thicker than you want after standing for a minute, splash in a teaspoon or two of water and stir. It loosens fast and keeps the apples glossy.
How to Adapt These Fried Apples Without Losing the Glaze
Make Them More Tart and Less Sweet
Use all Granny Smith apples and reduce the brown sugar to 1/4 cup. The sauce will still thicken, but the finished dish will taste brighter and work better as a side for savory meals.
Dairy-Free Version
Swap the butter for a plant-based butter that melts cleanly. Coconut oil can work in a pinch, but it adds its own flavor and the sauce won’t taste as classic or round.
Make It Gluten-Free Without Changing the Texture
This recipe is already naturally gluten-free as written, as long as your cornstarch is certified gluten-free. That keeps the sauce just as glossy and thick as the original.
Storage and Reheating
- Refrigerator: Store in an airtight container for up to 4 days. The sauce will thicken as it chills.
- Freezer: It freezes, but the apples soften more after thawing, so the texture is best fresh. If you freeze it, use a freezer-safe container and expect a softer result.
- Reheating: Warm gently in a skillet over low heat with a splash of water. High heat makes the syrup seize and can push the apples past tender into mushy.
Questions I Get Asked About This Recipe
Cinnamon Fried Apples
Ingredients
Equipment
Method
- Melt the butter in a large skillet over medium heat, watching for it to turn fully liquid and lightly foamy.
- Add the firm apples, brown sugar, ground cinnamon, nutmeg, and salt, then stir to coat every slice in the dry sugar-spice mixture.
- Cover and cook for 8-10 minutes over medium heat, stirring occasionally until the apples are just tender.
- Whisk the cornstarch with the water until smooth, then pour it into the skillet and stir to combine.
- Simmer for 2-3 minutes, stirring now and then, until the sauce thickens and looks glossy with a light sheen.
- Stir in the vanilla extract and serve warm, with steam rising from the skillet as the sauce clings to the apples.