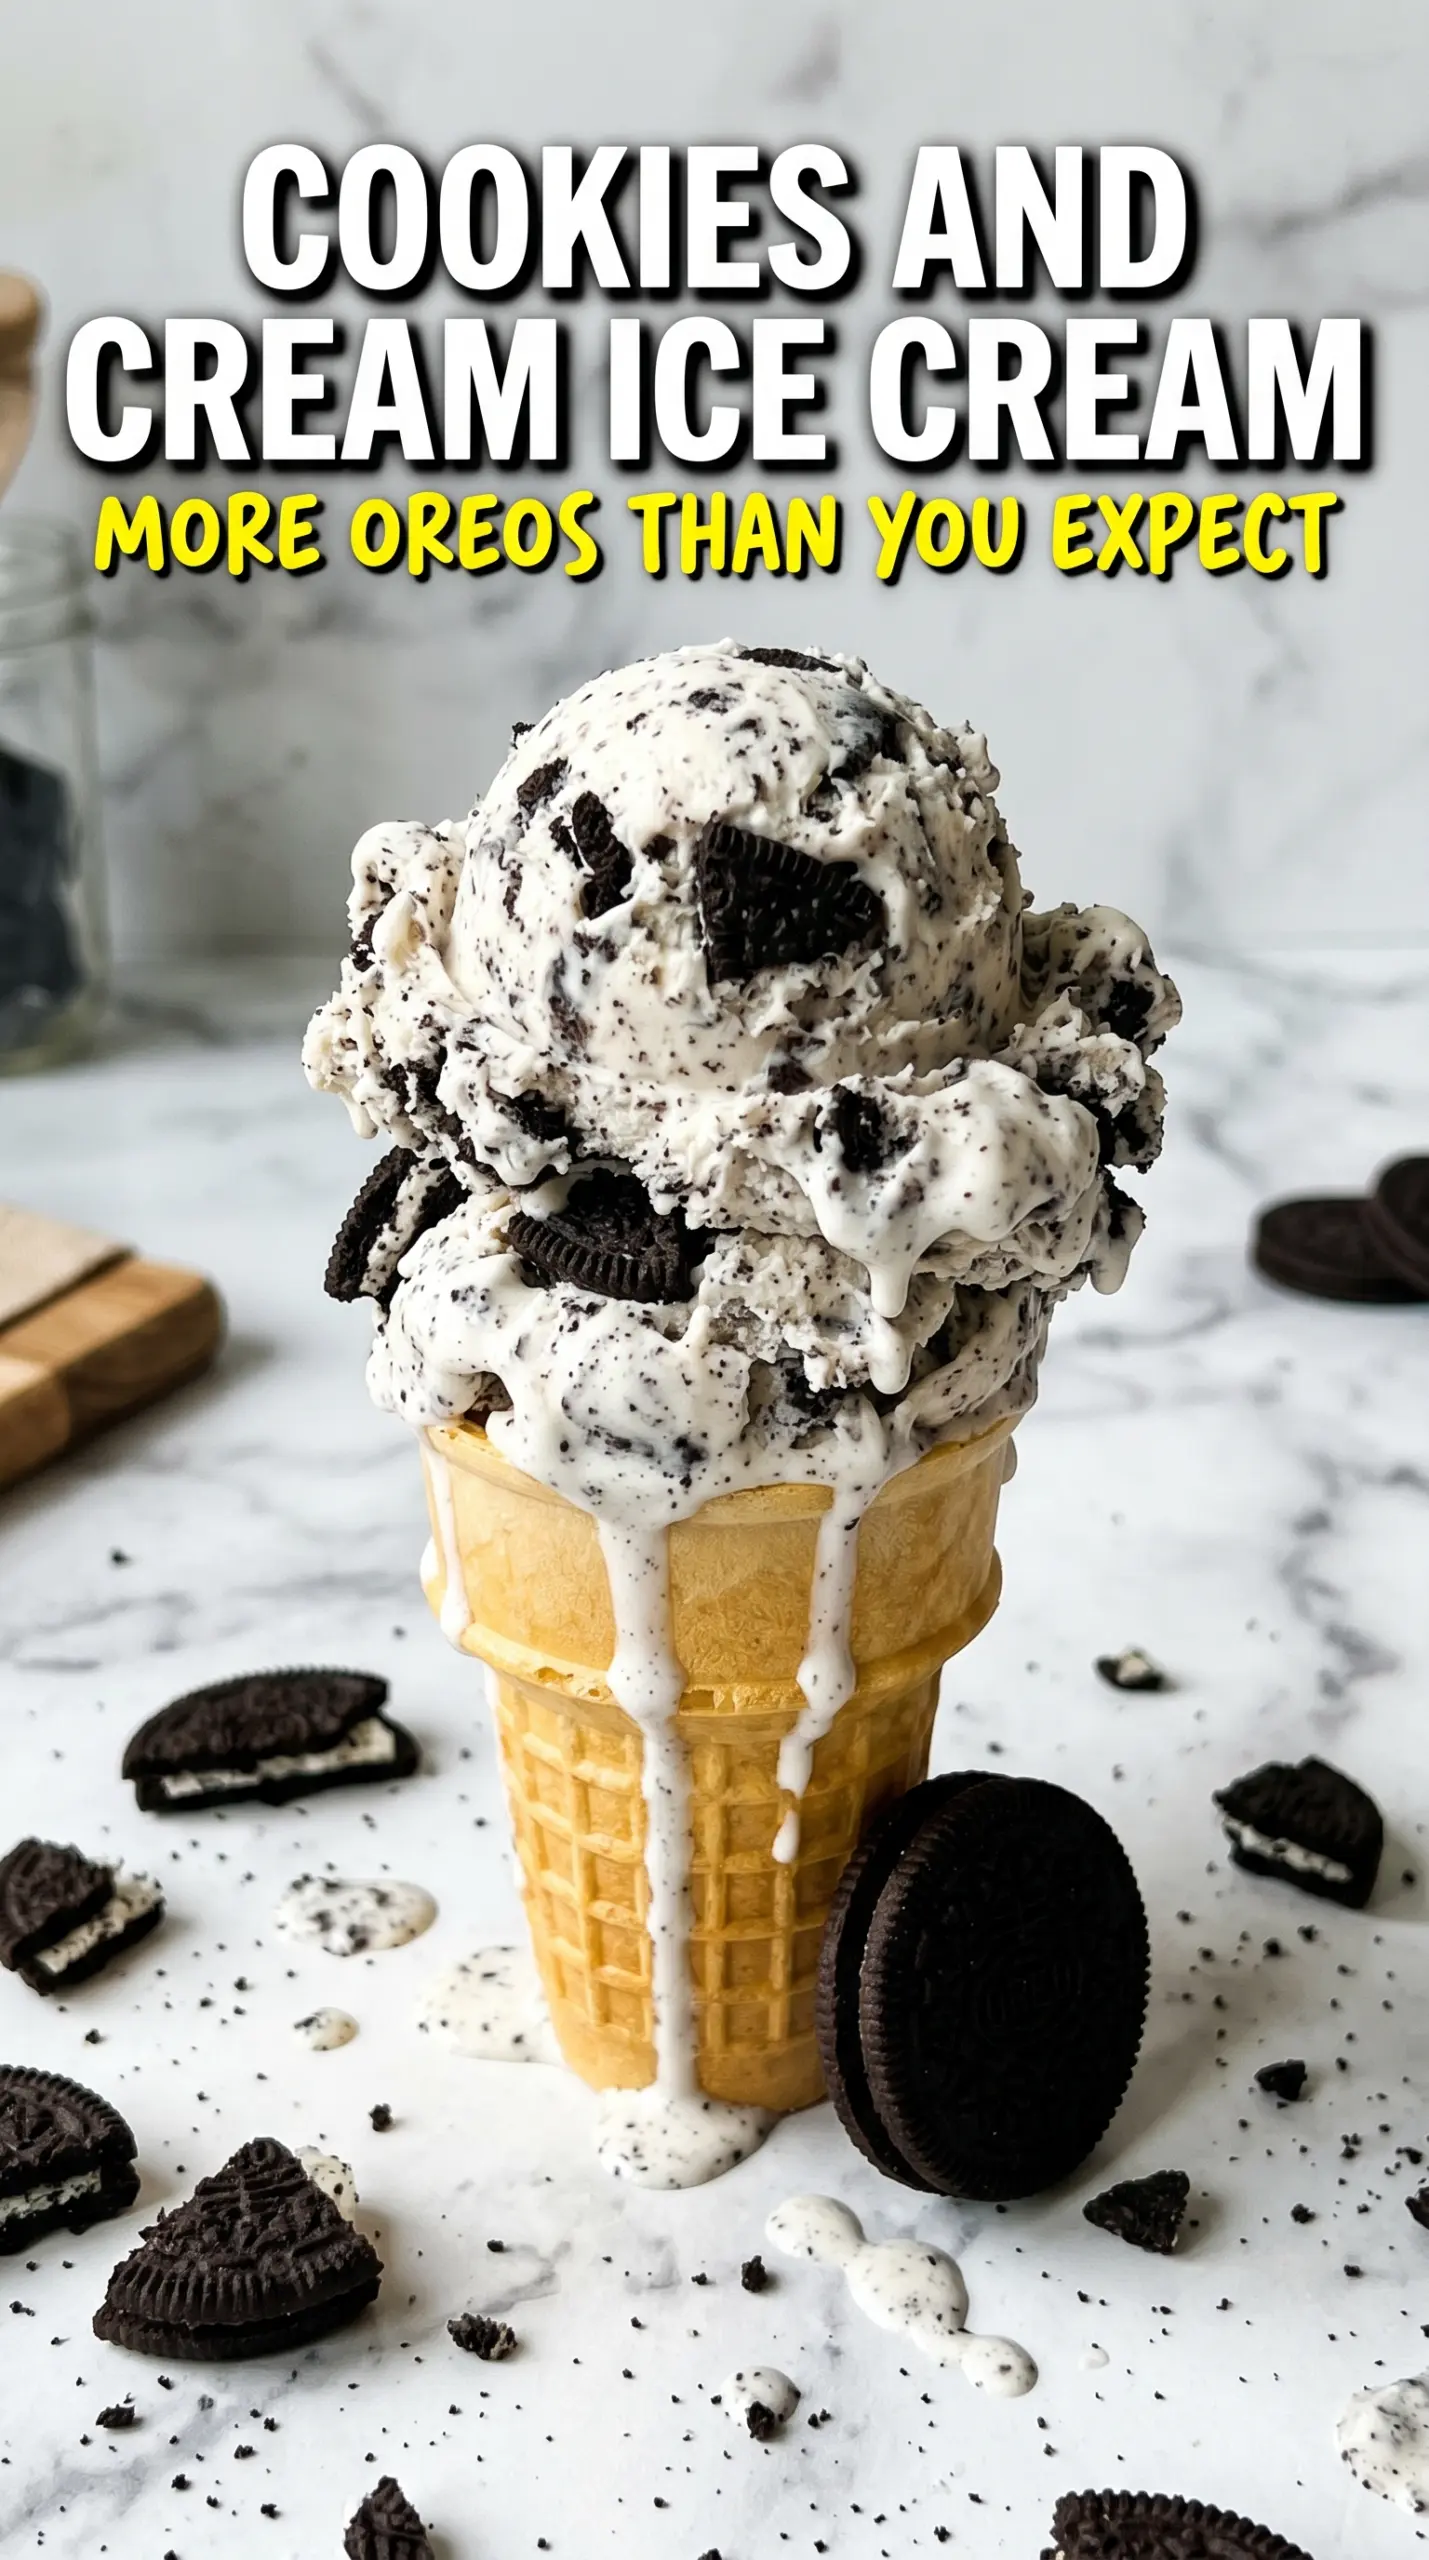
Cookies and cream ice cream hits the sweet spot between creamy and crunchy in a way that never gets old. The base freezes up smooth and rich, and the crushed chocolate sandwich cookies stay bold instead of disappearing into the custard. Every spoonful gets that clean vanilla note first, then the dark cookie bite right behind it.
The trick is treating the base like a real custard, not a shortcut. Cooking the yolks gently gives the ice cream body without turning it eggy, and straining the mixture keeps the texture silky. The cookies go in at the very end of churning so they keep some crunch, while the smaller crumbs melt into the base and give you that classic cookies-and-cream look.
Below, I’ll walk through the part that matters most: keeping the custard smooth, knowing exactly when to add the cookies, and how to freeze it so it scoops cleanly instead of turning icy.
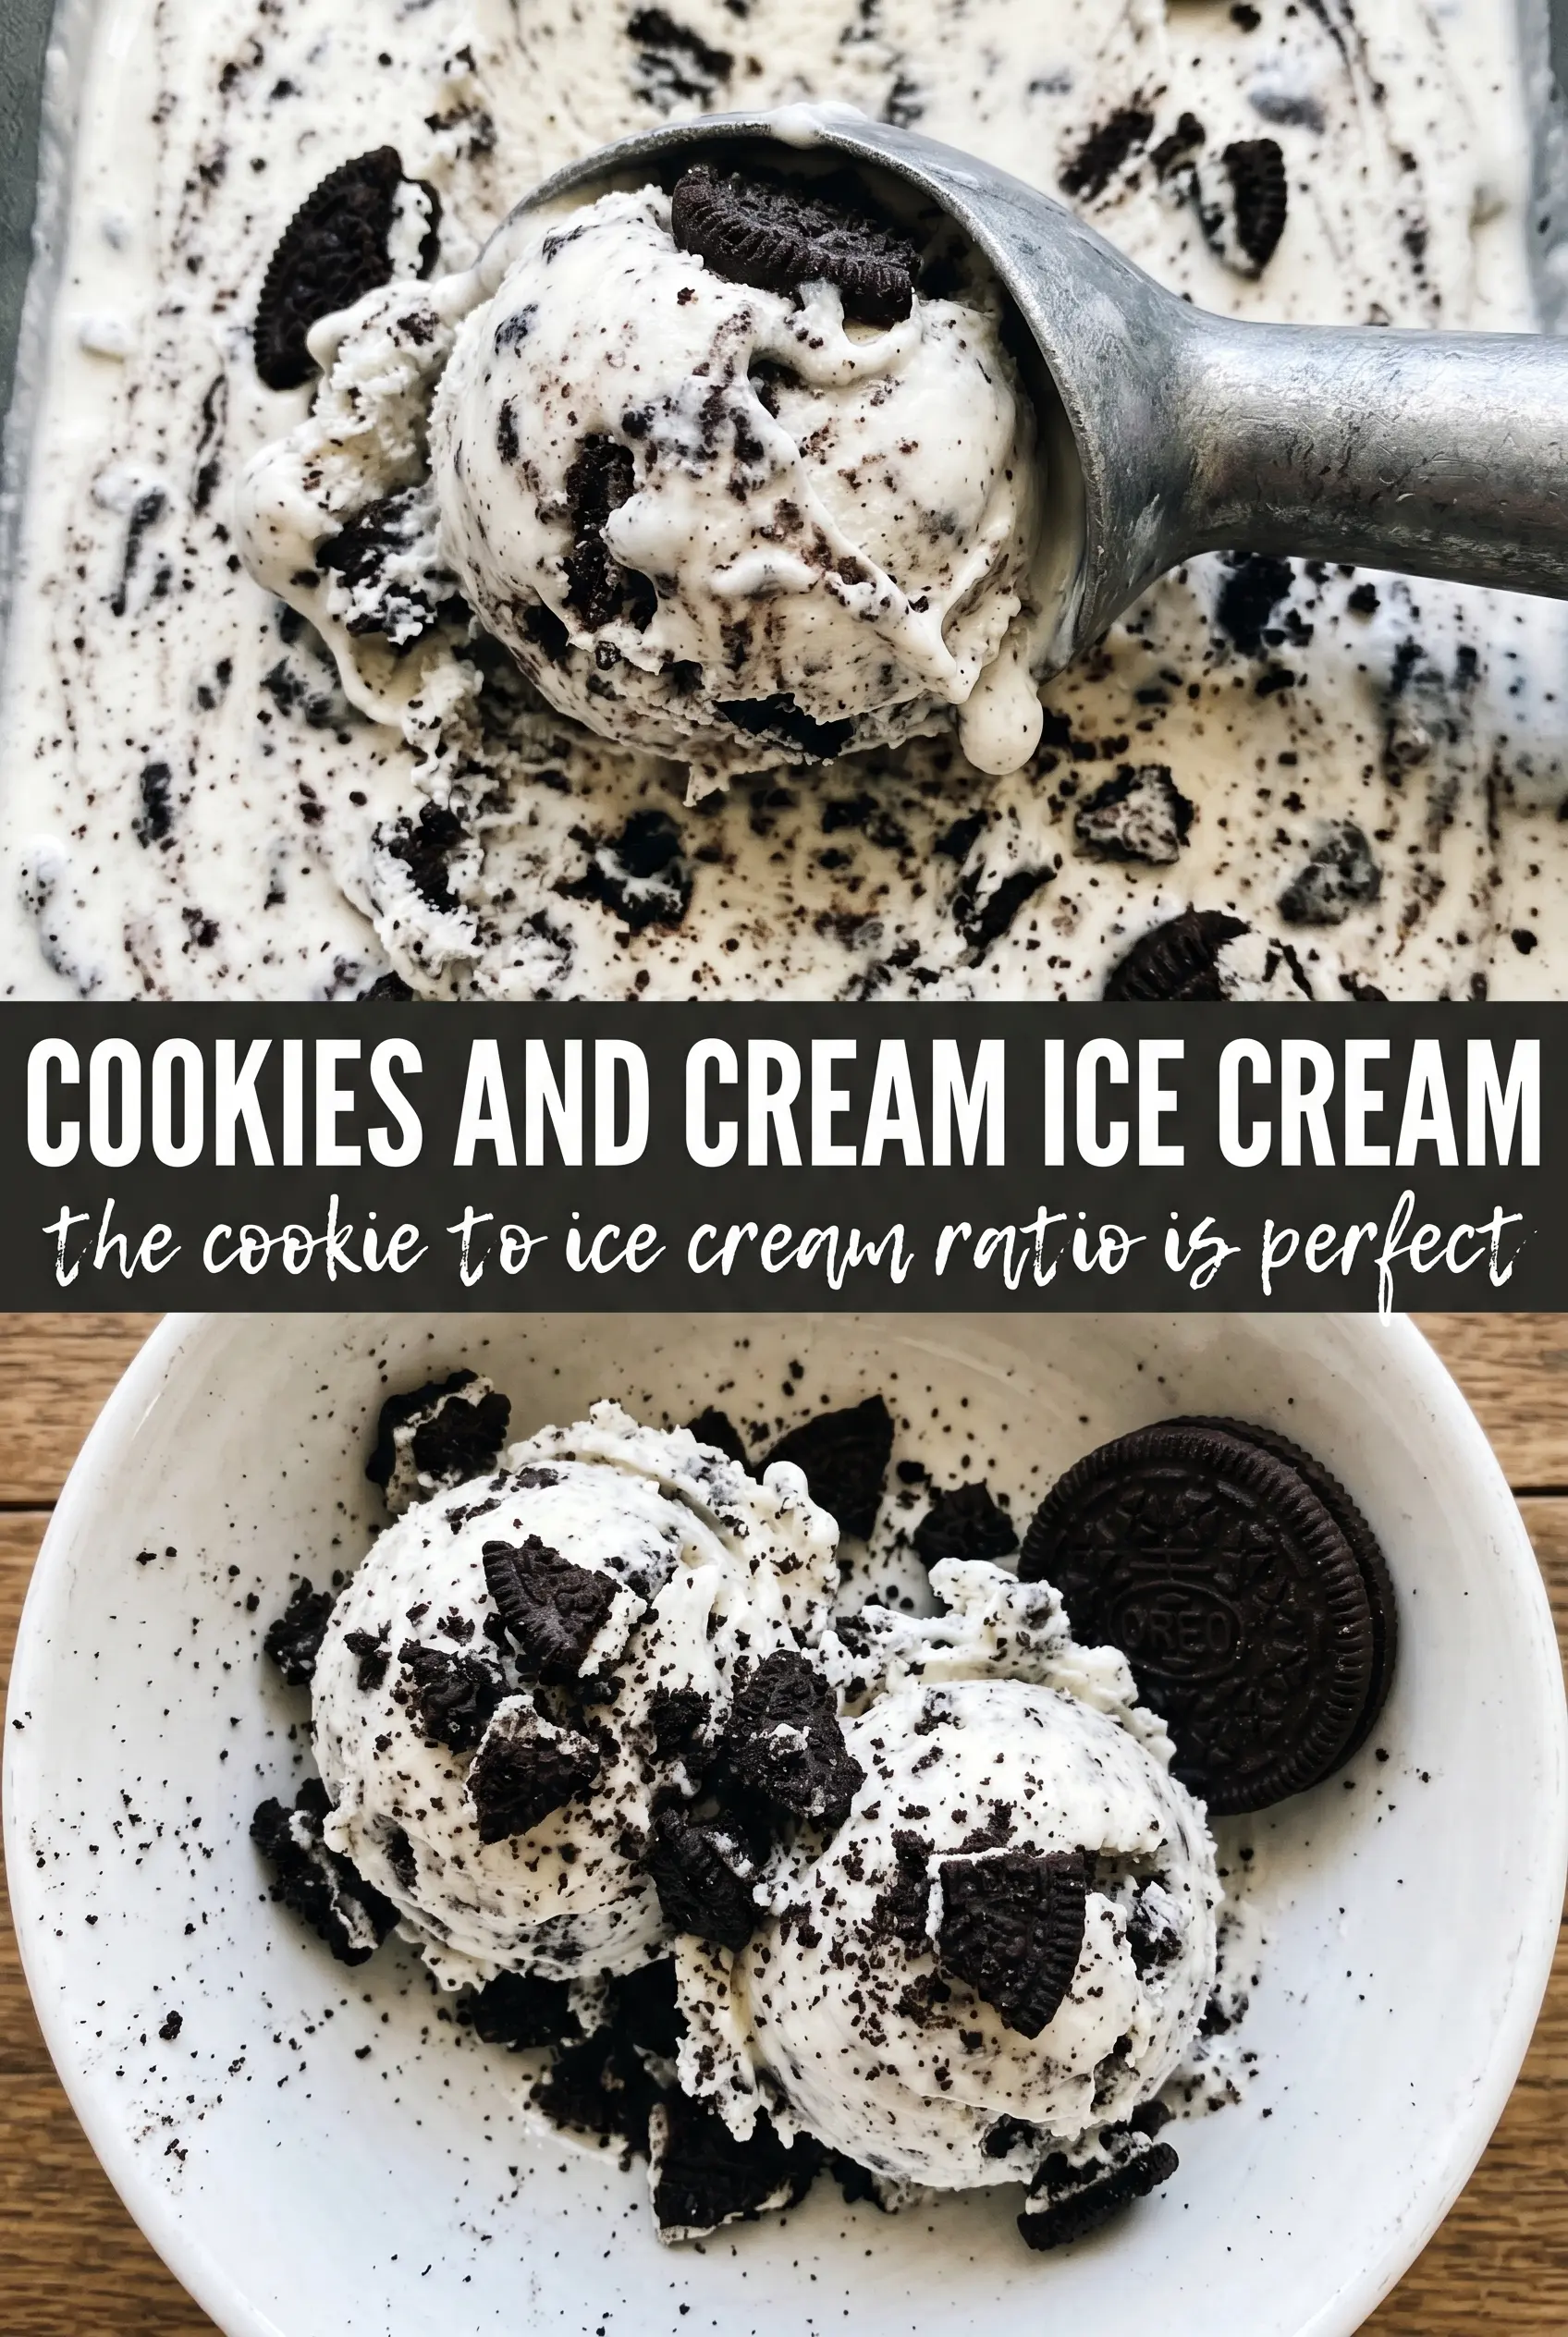
The custard turned out unbelievably smooth, and the cookie pieces stayed chunky instead of getting soggy. I chilled it overnight and it scooped like the good stuff from the shop.
Keep this cookies and cream ice cream on hand for the smooth custard base and big cookie chunks that stay snappy in every scoop.
The Difference Between Silky Custard and Grainy Ice Cream
The line between a smooth frozen custard and a grainy one usually comes down to heat control. Egg yolks thicken quickly once they hit the pan, but if the mixture gets too hot too fast, they scramble in tiny bits and you lose that clean, dense texture. A medium-low cook with constant stirring keeps the custard moving so it thickens evenly instead of catching on the bottom.
The other place people run into trouble is freezing a base that never fully chilled. Warm custard churns poorly and makes a looser finish with bigger ice crystals. Give it the full refrigeration time, even if it looks cool on top. Cold base plus steady churning is what gives this recipe that scoop-shop body.
- Slow heat — The custard should coat the back of a spoon and reach 175F, not boil. Once it bubbles, the yolks are already under too much stress.
- Straining — A fine mesh sieve catches the tiny cooked bits that can sneak in even when you stir well. Don’t skip it if you want the smoothest finish.
- Full chill — Four hours is the minimum, but colder is better. A well-chilled base churns faster and freezes with less iciness.
What the Dairy, Yolks, and Cookies Are Each Doing Here
- Heavy cream — This is what gives the ice cream its plush, rich body. Light cream won’t give the same thickness, and the finished texture will feel leaner on the tongue.
- Whole milk — Milk keeps the base from becoming heavy and overly dense. You can swap in 2 percent in a pinch, but the ice cream won’t feel quite as round or creamy.
- Egg yolks — Yolks make the custard stable and give it that soft, velvety finish. If you leave them out, you’ll get a looser base that freezes harder and can turn icy faster.
- Vanilla extract — Vanilla is not background here. It bridges the dairy and cookie flavors so the base tastes like real cookies and cream instead of just frozen cream with crumbs in it.
- Chocolate sandwich cookies — Roughly crushing them matters. If you powder them too fine, they melt into the base. If you leave them in huge slabs, they clump and freeze into hard chunks instead of bite-sized pieces.
Building the Custard, Chilling It, and Folding in the Cookies
Heating the Dairy Without Scorching It
Warm the cream and milk until they’re steaming and small bubbles form at the edge, then move straight into tempering the yolks. You want heat, not a boil. If the dairy boils, it picks up a cooked flavor and makes the next step harder to control. Keep the pan on low to medium-low so the mixture stays gentle from the start.
Tempering the Yolks the Right Way
Whisk the sugar into the yolks first so they lighten a bit, then stream in the hot dairy slowly while whisking constantly. That slow pour protects the yolks from scrambling. If you dump it in all at once, the egg mixture can curdle in an instant. After it’s tempered, return everything to the saucepan and keep stirring without walking away.
Cooking to the Point of Thickening
Stir over medium-low heat until the custard reaches 175F and lightly coats the spoon. It should look slightly thicker than cream, but not pudding-thick. If it starts to steam heavily or bubble, pull the pan off the burner and keep stirring for a moment. That pause can save the texture before the yolks overcook.
Cooling, Churning, and Adding the Cookies
Strain the custard, stir in the vanilla and salt, then chill it completely before it goes into the ice cream maker. A warm base churns poorly and makes soft, icy ice cream. Add the crushed cookies during the last 2 minutes so they distribute evenly without breaking down too much. Some crumbs will tint the base a little, and that’s what gives you the classic cookies-and-cream look.
Dairy-Free Cookies and Cream Ice Cream
Use full-fat canned coconut milk in place of the cream and whole milk, then keep the yolks for structure. The result is a little less classic and a little more coconut-forward, but it still churns into a rich, scoopable dessert.
No-Churn Shortcut
If you don’t have an ice cream maker, fold the cooled custard into whipped cream and freeze it in a loaf pan. You’ll lose a little of the dense churned texture, but you keep the same cookie flavor and creamy finish.
Gluten-Free Version
Use certified gluten-free chocolate sandwich cookies and crush them the same way. The texture and freezing behavior stay nearly identical, so this is an easy swap if you’re buying for guests or avoiding wheat.
Extra Cookie-Heavy Batch
If you want more cookie pieces in every bite, add up to 1/2 cup more crushed cookies, but don’t go much further. Too many dry crumbs can make the finished ice cream feel icy and stiff instead of creamy.
Storage and Reheating
- Refrigerator: The churned custard base before freezing can hold for up to 2 days, covered, after it’s chilled. Once the ice cream is fully frozen, keep it in the freezer instead.
- Freezer: It keeps well for about 2 weeks with the best texture. Press parchment or plastic wrap directly on the surface to slow down ice crystals and protect the cookies from getting soggy.
- Reheating: Not applicable, but for the best scoopable texture, let the container sit at room temperature for 5 to 10 minutes before serving. Cutting into it straight from the freezer is the fastest way to crack a spoon and leave the texture too hard.
Answers to the Questions Worth Asking
Cookies and Cream Ice Cream
Ingredients
Equipment
Method
- Heat the heavy cream and whole milk in a saucepan until steaming, not boiling. Keep the heat steady so the dairy warms evenly.
- Whisk the steamed dairy slowly into the egg yolks and granulated sugar. Pour gradually while whisking to prevent scrambling.
- Return the mixture to the saucepan and cook over medium-low heat, stirring constantly, until the custard reaches 175F. Scrape the bottom and corners to avoid overcooking.
- Strain the custard through a fine-mesh sieve into a clean container. Use the back of a spoon to press through the custard for maximum smoothness.
- Stir in the vanilla extract and salt, then let the custard cool completely. The surface should look glossy and smooth before chilling.
- Refrigerate the custard for at least 4 hours, until cold throughout. Chill until it feels thick and scoopable, not pourable.
- Churn the chilled custard in an ice cream maker according to the manufacturer’s instructions. Stop when it reaches a soft-serve consistency.
- In the last 2 minutes of churning, add the crushed chocolate sandwich cookies. Fold just enough to create a cookies-and-cream swirl—some pieces will stay chunky and some will dissolve slightly.
- Transfer the ice cream to a container and freeze until firm. Let it harden so scoops hold shape, not melt immediately.