Crack green beans come out glossy, salty-sweet, and just a little sticky at the edges, with bacon tucked through every bite. The beans stay bright and tender instead of turning to mush, and the sauce bakes down into a caramelized glaze that clings instead of pooling in the bottom of the dish.
The trick is in the sequence. A quick blanch keeps the beans crisp-tender before they go into the oven, and baking them uncovered gives the brown sugar mixture a chance to reduce and coat everything properly. If you skip the blanch, the beans can stay tough; if you cover the dish, the glaze steams instead of thickening.
Below, I’ve included the details that matter most: how to keep the sauce from turning grainy, which kind of green beans work best, and a few ways to adapt the dish when you need to stretch it for a bigger table.
The glaze thickened up perfectly and the bacon stayed crisp around the edges. I blanched the beans like you said, and they still had a little bite after baking.
Save these sticky brown sugar bacon green beans for the side dish that disappears before the main course does.
The Part That Keeps These Green Beans Crisp Instead of Soft
The biggest mistake with baked green beans is letting them go straight from raw to oven with a sweet sauce on top. They need that quick blanch first. Three minutes in boiling water is enough to set the color and start the texture, but not long enough to wash out the bean flavor. After that, draining them well matters just as much as the blanch itself, because excess water will thin the glaze and leave you with a syrupy puddle instead of a sticky coating.
- Blanched fresh green beans — Fresh beans hold their shape and stay snappy under the glaze. Frozen green beans can work in a pinch, but they release more water and tend to soften more in the oven.
- Bacon — This brings salt, smoke, and fat, and it seasons the whole dish as it bakes. Cook it mostly crisp before it goes in so it doesn’t go limp in the oven.
- Brown sugar — This is what gives the dish its signature sticky finish. Pack it when measuring, because a loose half cup won’t caramelize the same way.
- Soy sauce — It keeps the sweetness from going flat and adds the salty backbone that makes the glaze taste balanced. Use a regular soy sauce, not low-sodium, if you want the sauce to taste bold enough after baking.
- Butter and garlic — Butter helps the glaze cling and caramelize, while garlic keeps the sauce from tasting one-note sweet. Melted butter is the right form here; cold butter won’t whisk evenly into the sauce.
Building the Glaze So It Bakes Down Properly
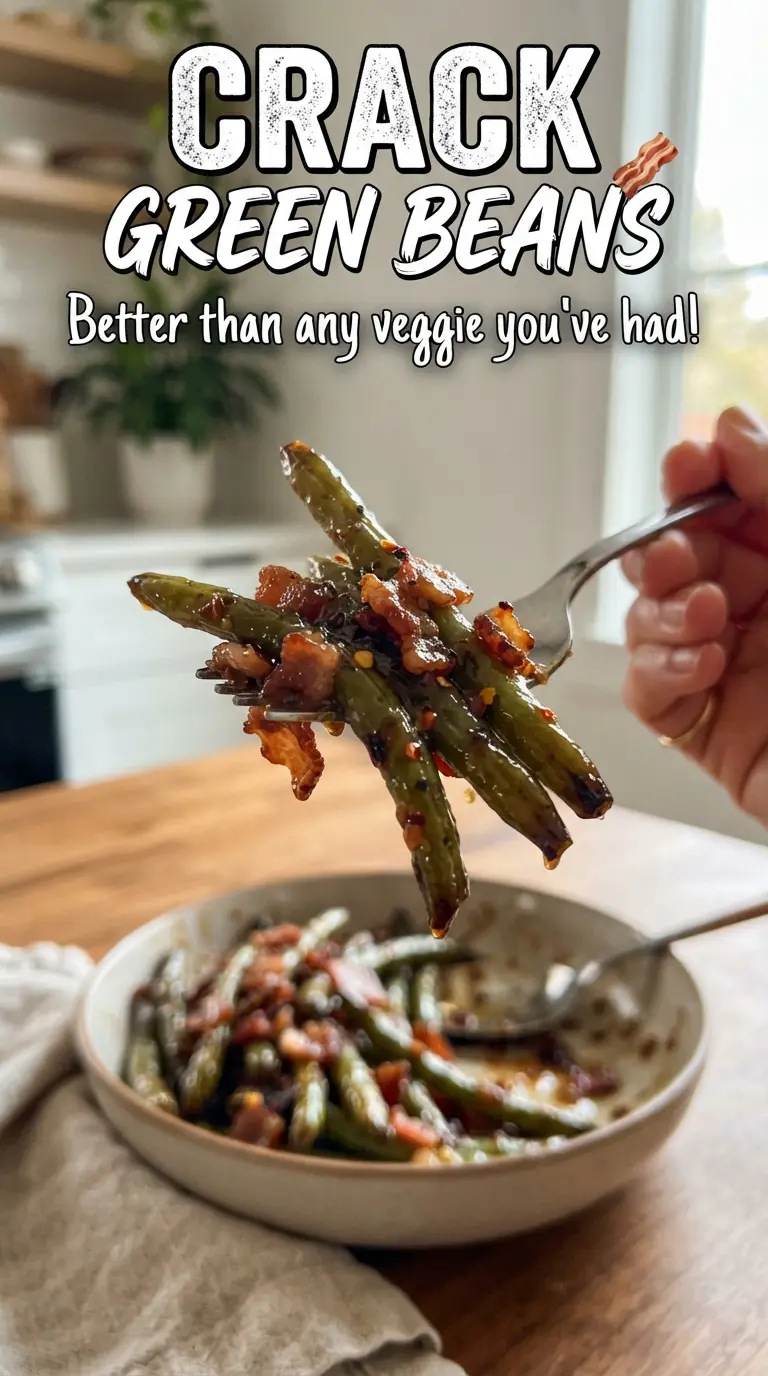
Preheat the oven first so the dish goes in hot and starts reducing the sauce right away. After the bacon is cooked and the beans are blanched, whisk the brown sugar, melted butter, soy sauce, garlic, and pepper until the mixture looks smooth and a little glossy. If the sugar stays grainy at this stage, it usually means the butter wasn’t warm enough or the brown sugar was packed loosely and never fully incorporated.
Getting the Beans Ready
Drop the trimmed beans into boiling water for about three minutes, then drain them well. They should look brighter and slightly softened, not fully cooked. If they stay in the water too long, they’ll turn dull and limp once they bake, and there’s no bringing that crunch back.
Layering the Dish
Spread the drained beans in a 9×13-inch baking dish and scatter the bacon over the top. Pour the glaze evenly over everything so it gets into the spaces between the beans instead of sitting only on the surface. The dish should look heavily coated, but not soupy.
Baking to the Sticky Finish
Bake uncovered for 30 to 35 minutes, stirring once halfway through. You’re looking for the sauce to bubble around the edges and darken slightly into a lacquered glaze. If it still looks thin at the end, it usually just needs a few more minutes uncovered; if it starts to look too dark too early, your oven runs hot and the pan should move to a lower rack.
Make It with Turkey Bacon
Turkey bacon works if you want a lighter version, but it won’t render the same smoky fat into the glaze. Cook it until crisp before adding it, and expect a slightly leaner, less rich finish.
Dairy-Free Version
The recipe is already close to dairy-free if you use a butter alternative with a neutral flavor. A good plant-based butter will still help the glaze cling, though the sauce may caramelize a little less deeply than it does with real butter.
Using Frozen Green Beans
Frozen green beans can stand in, but thaw and drain them first so they don’t water down the glaze. They’ll be a little softer than fresh beans, which is fine if you’re cooking for convenience and not chasing a sharp snap.
Storage and Reheating
- Refrigerator: Store in an airtight container for up to 4 days. The beans soften a bit as they sit, but the flavor stays strong.
- Freezer: This dish doesn’t freeze well. The beans turn mushy after thawing, and the glaze can separate.
- Reheating: Warm in a 325F oven, covered loosely with foil until hot, then uncover for a few minutes if you want the glaze to tighten back up. The microwave works, but it softens the bacon and loosens the sauce.
Answers to the Questions Worth Asking
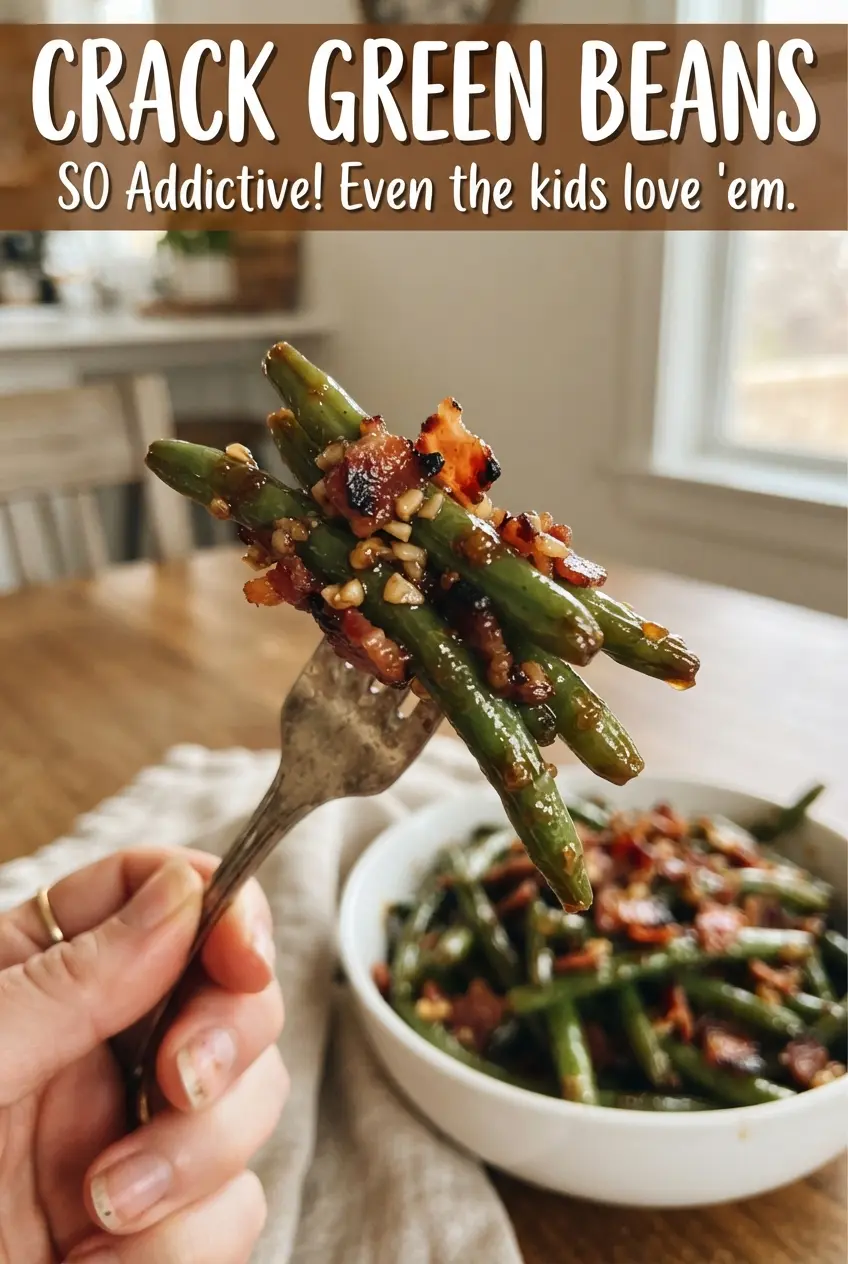
Crack Green Beans
Ingredients
Equipment
Method
- Preheat oven to 350F. Bring a large pot of water to a boil and blanch the green beans for 3 minutes, then drain.
- Cook the chopped bacon until mostly crisp. Drain on paper towels to remove excess grease.
- Place the blanched green beans in a 9x13-inch baking dish and top with bacon. Arrange them in an even layer so the glaze coats every bite.
- Whisk the brown sugar, melted butter, soy sauce, minced garlic, and black pepper in a bowl. Pour the glaze evenly over the beans.
- Bake uncovered for 30-35 minutes, stirring once during baking, until the glaze is sticky and caramelized. Let the dish cool for 5 minutes before serving so the glaze clings to the beans.