Shatteringly crisp chicken coated in a sticky honey garlic sauce is the kind of dinner that disappears fast. The chicken stays crunchy long enough to get to the table, and the sauce clings in a glossy layer instead of pooling at the bottom of the bowl. It tastes like takeout in the best possible way, but the texture is even better when you fry it fresh and toss it at the last second.
The key is the double texture: a thin flour-cornstarch coating for a brittle crust, then a sauce that’s cooked separately until it turns syrupy and lacquered. If the oil isn’t hot enough, the coating drinks it up and turns heavy. If the sauce is too thin, it slides right off. This version keeps both parts behaving the way they should.
Below you’ll find the timing that keeps the chicken crisp, the small ingredient choices that sharpen the sauce, and a few swaps if you want to adjust the heat, sweetness, or make it gluten-free.
The chicken stayed crisp even after I tossed it in the sauce, and the garlic honey coating thickened up into that sticky takeout-style finish I was hoping for. My husband kept picking at the bowl before I could even get the rice on the table.
Save this crispy Chinese honey garlic chicken for the night you want crackly fried chicken and sticky garlic glaze in one pan.
The Frying Temperature That Keeps the Coating Shatter-Crisp
Most fried chicken turns soggy for one of two reasons: the oil is too cool, or the chicken is crowded in the pan. At 375°F, the coating sets quickly and starts browning before the chicken has time to leak moisture into the crust. That’s what gives you a crust that feels light and crisp instead of thick and greasy.
The other thing that matters here is the cornstarch in the dredge. Flour gives structure, but cornstarch helps create that brittle, craggy finish Chinese-American takeout chicken is known for. If you skip it, the coating still works, but it won’t have the same snap.
- Chicken thighs stay juicier than breast meat and hold up better during frying. Breast works in a pinch, but it dries out faster and needs a shorter fry time.
- Cornstarch is what makes the crust light and crisp. There isn’t a direct swap that gives the same texture, though potato starch comes closest if that’s what you have.
- White pepper adds a sharper, more classic takeout-style bite than black pepper. Black pepper works, but it changes the look and flavor a little.
- Beaten egg helps the flour mixture cling evenly so the coating doesn’t fall off in the oil. Don’t skip it unless you’re changing the whole breading method.
What the Sauce Is Doing Before It Hits the Chicken
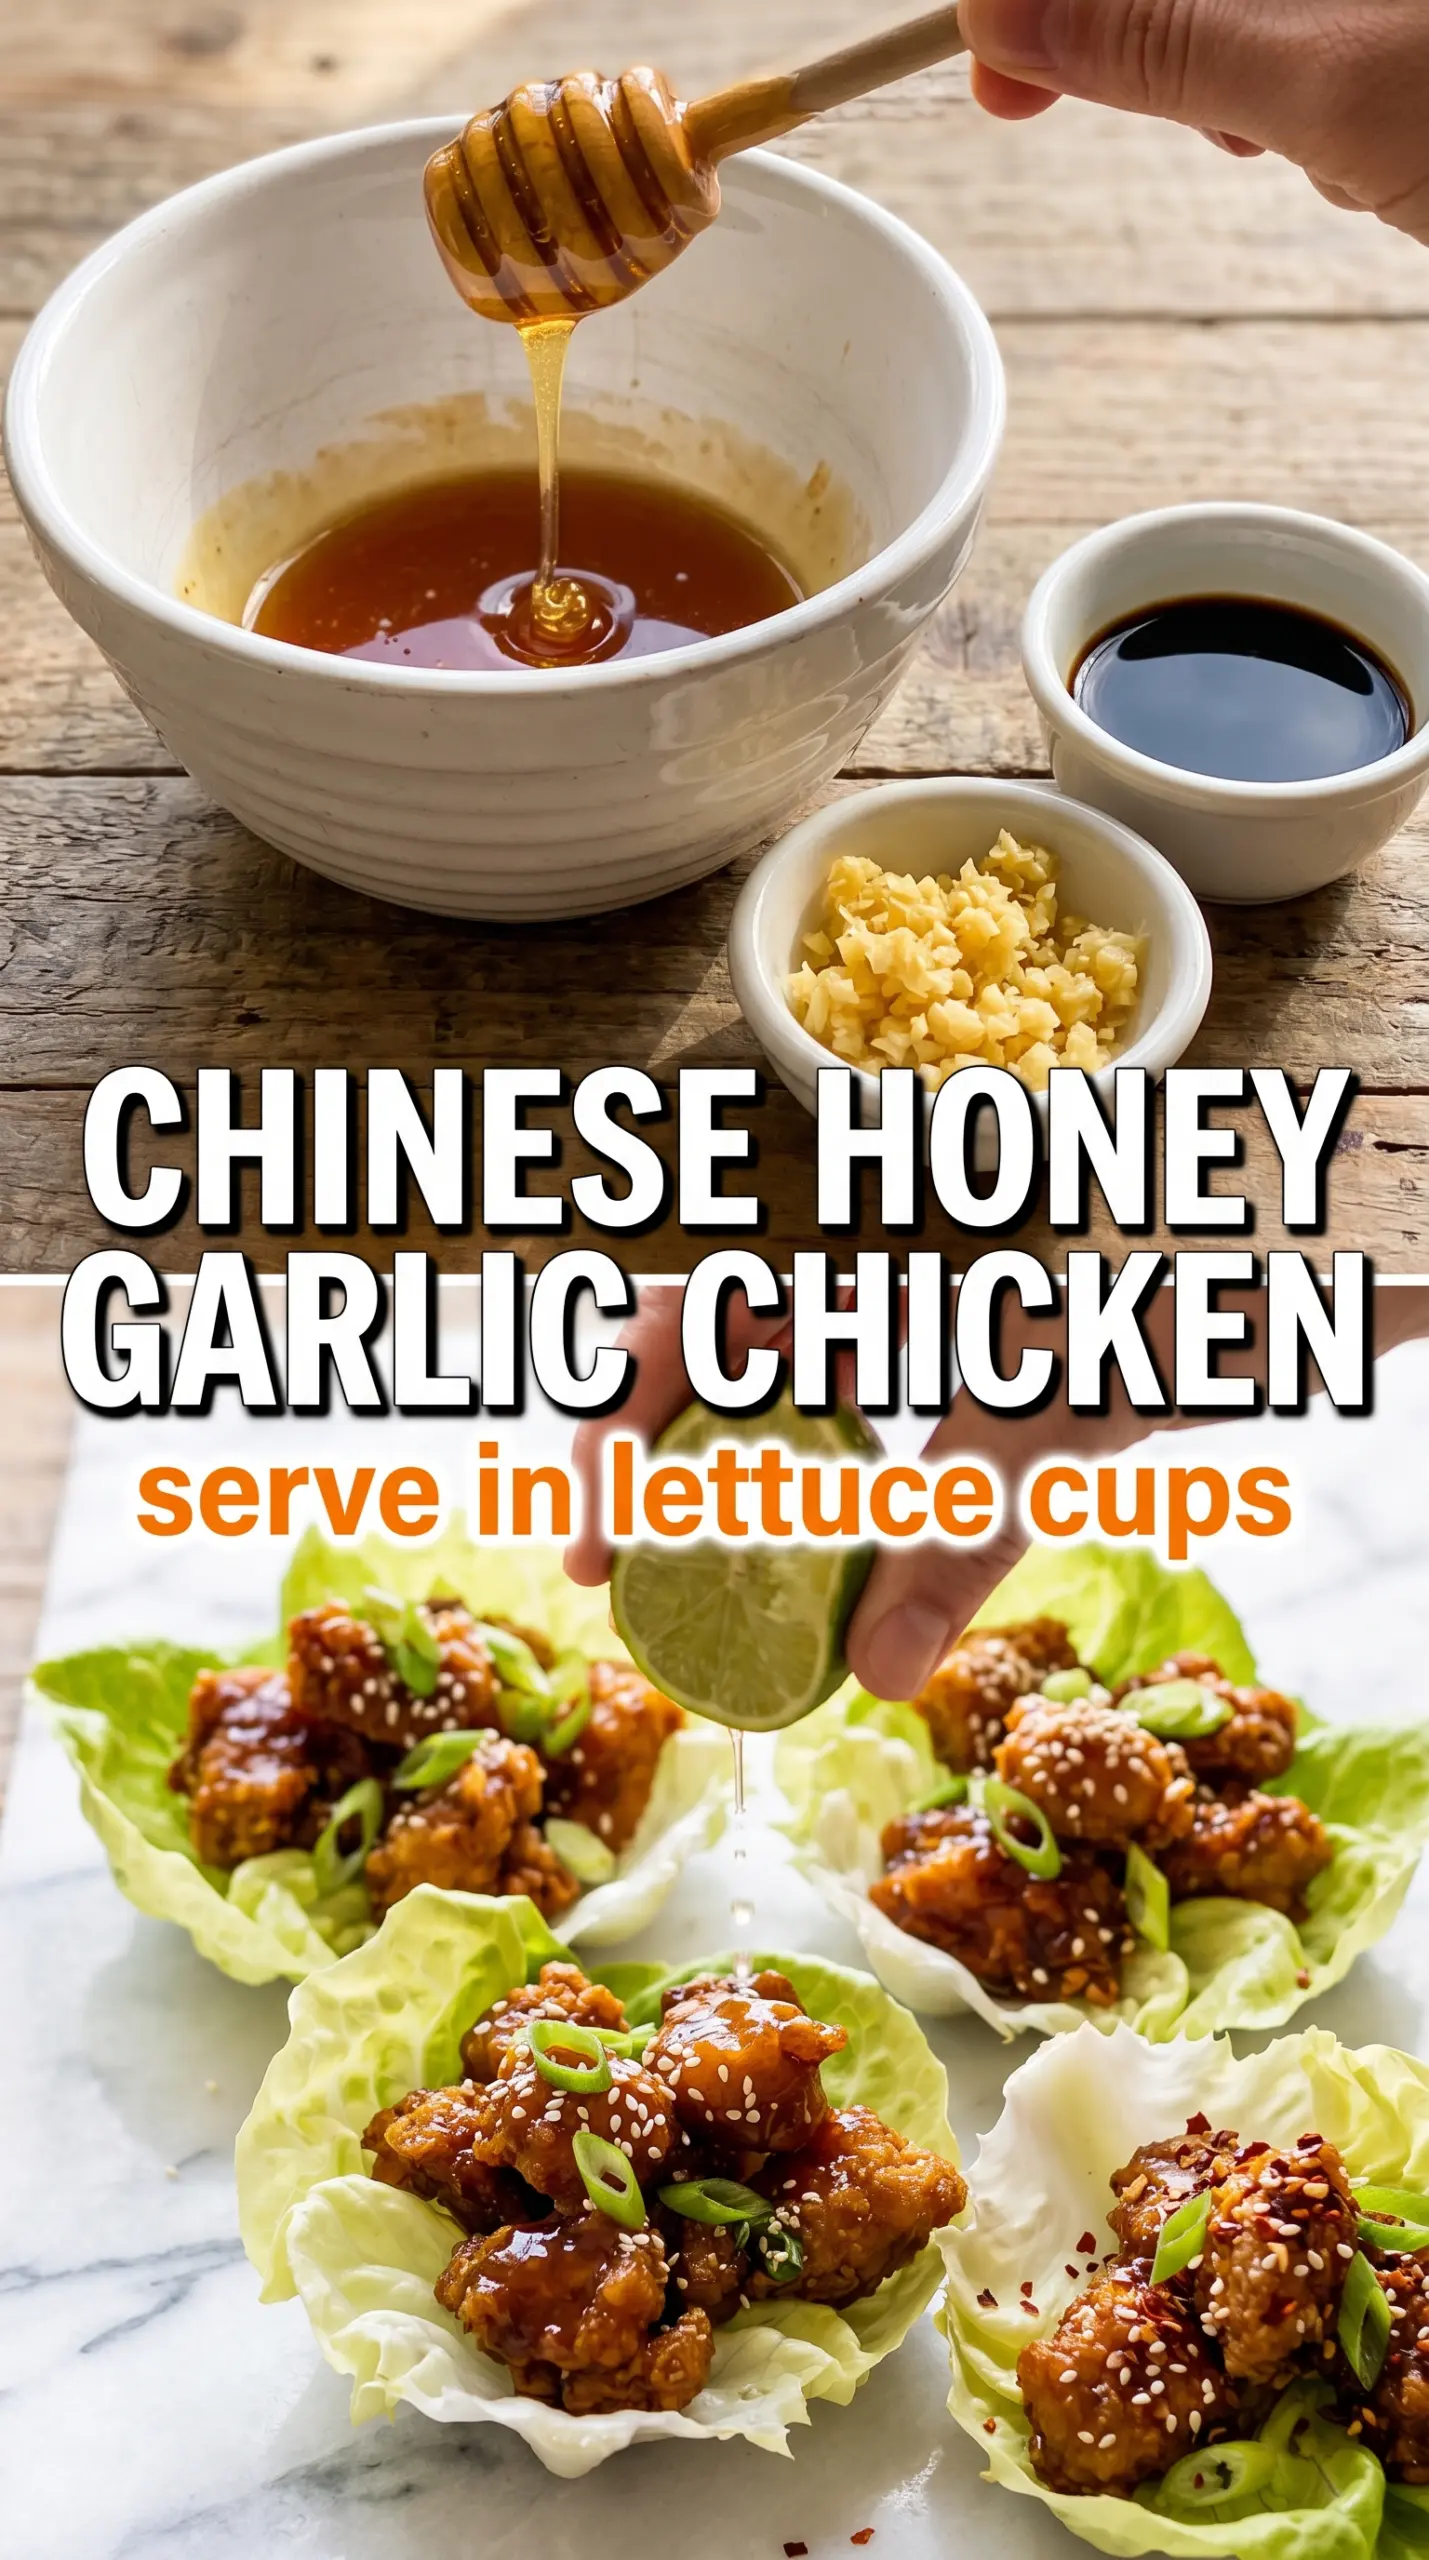
The sauce needs to be cooked to the point where it coats a spoon in a thin glossy layer. Honey alone is too thick and can burn; soy sauce alone is too thin and salty. The vinegar cuts the sweetness and keeps the glaze from tasting flat, while the sesame oil goes in off the heat so its aroma stays clean and nutty.
Garlic is where this sauce gets its depth. If you add it too early and let it cook hard for too long, it can turn bitter. The brief simmer is enough to mellow it without losing that sharp, savory edge.
- Honey gives body and shine. There’s no real substitute if you want that sticky finish, though maple syrup will work in a different, less classic way.
- Soy sauce brings salt and color. Use low-sodium if you want a little more control, especially since the glaze reduces quickly.
- Rice vinegar brightens the sauce and keeps the sweetness from taking over. Apple cider vinegar can step in, but it tastes a little rounder and less clean.
- Sesame oil is a finishing ingredient here, not a cooking oil. Stir it in after you pull the pan off the heat so its flavor stays noticeable.
Frying First, Saucing Last, and Why the Order Matters
Coat the Chicken Evenly
Whisk the dry coating ingredients together until they’re completely blended, then dip each piece of chicken in the egg before pressing it into the flour mixture. You want a thin, even layer, not thick clumps. If the coating looks pasty or heavy, it’s too wet and will fry up bready instead of crisp.
Fry in Small Batches
Slide the chicken into the hot oil in a single layer and leave space between the pieces. The bubbling should stay active and steady; if it drops off hard, the oil cooled too much and the chicken will absorb grease. Pull each batch when it’s deep golden and cooked through, then drain it on a rack or paper towels while you finish the rest.
Cook the Glaze Until It Napes
Bring the sauce to a simmer, then stir in the cornstarch slurry and let it cook until it turns thick and shiny. It should coat the back of a spoon and leave a clear line when you drag your finger through it. If it still looks watery, it won’t cling; if it cooks too long, it can turn gummy, so take it off the heat as soon as it thickens.
Toss Right Before Serving
Put the fried chicken in a wide bowl and pour the sauce over it just before it hits the table. Toss quickly so every piece gets coated, then stop. The longer it sits in the glaze, the more the crust softens, which is why this dish tastes best in the first few minutes after saucing.
How to Adapt This for a Bigger Crowd, a Lighter Plate, or Gluten-Free Dinners
Gluten-Free Version
Swap the all-purpose flour for a 1:1 gluten-free blend and use tamari instead of soy sauce. The crust will still crisp up nicely because the cornstarch does most of the heavy lifting, but don’t expect quite the same delicate shatter as the wheat version.
Lighter Oven-Finished Version
Fry the chicken for just a few minutes to set the coating, then finish it on a rack in a hot oven. You’ll lose some of the deep fry crunch, but you still get a crisp surface and a less heavy result. The sauce should still be added at the end, after the chicken is fully cooked.
More Garlic, Less Sweet
Increase the garlic by two cloves and cut the honey slightly if you want a sharper, more savory glaze. That makes the sauce less sticky-sweet and a little closer to a garlic-forward stir-fry sauce, which works well if you’re serving it with plain rice.
Storage and Reheating
- Refrigerator: Store leftovers for up to 3 days. The coating will soften in the sauce, which is normal.
- Freezer: The fried chicken freezes better before saucing. Freeze the cooked chicken pieces on a tray, then bag them. The glaze is best made fresh.
- Reheating: Reheat on a wire rack in a hot oven or air fryer until the chicken is hot and the edges crisp again. Microwaving makes the coating limp, so use it only if you don’t mind losing the crunch.
Answers to the Questions Worth Asking
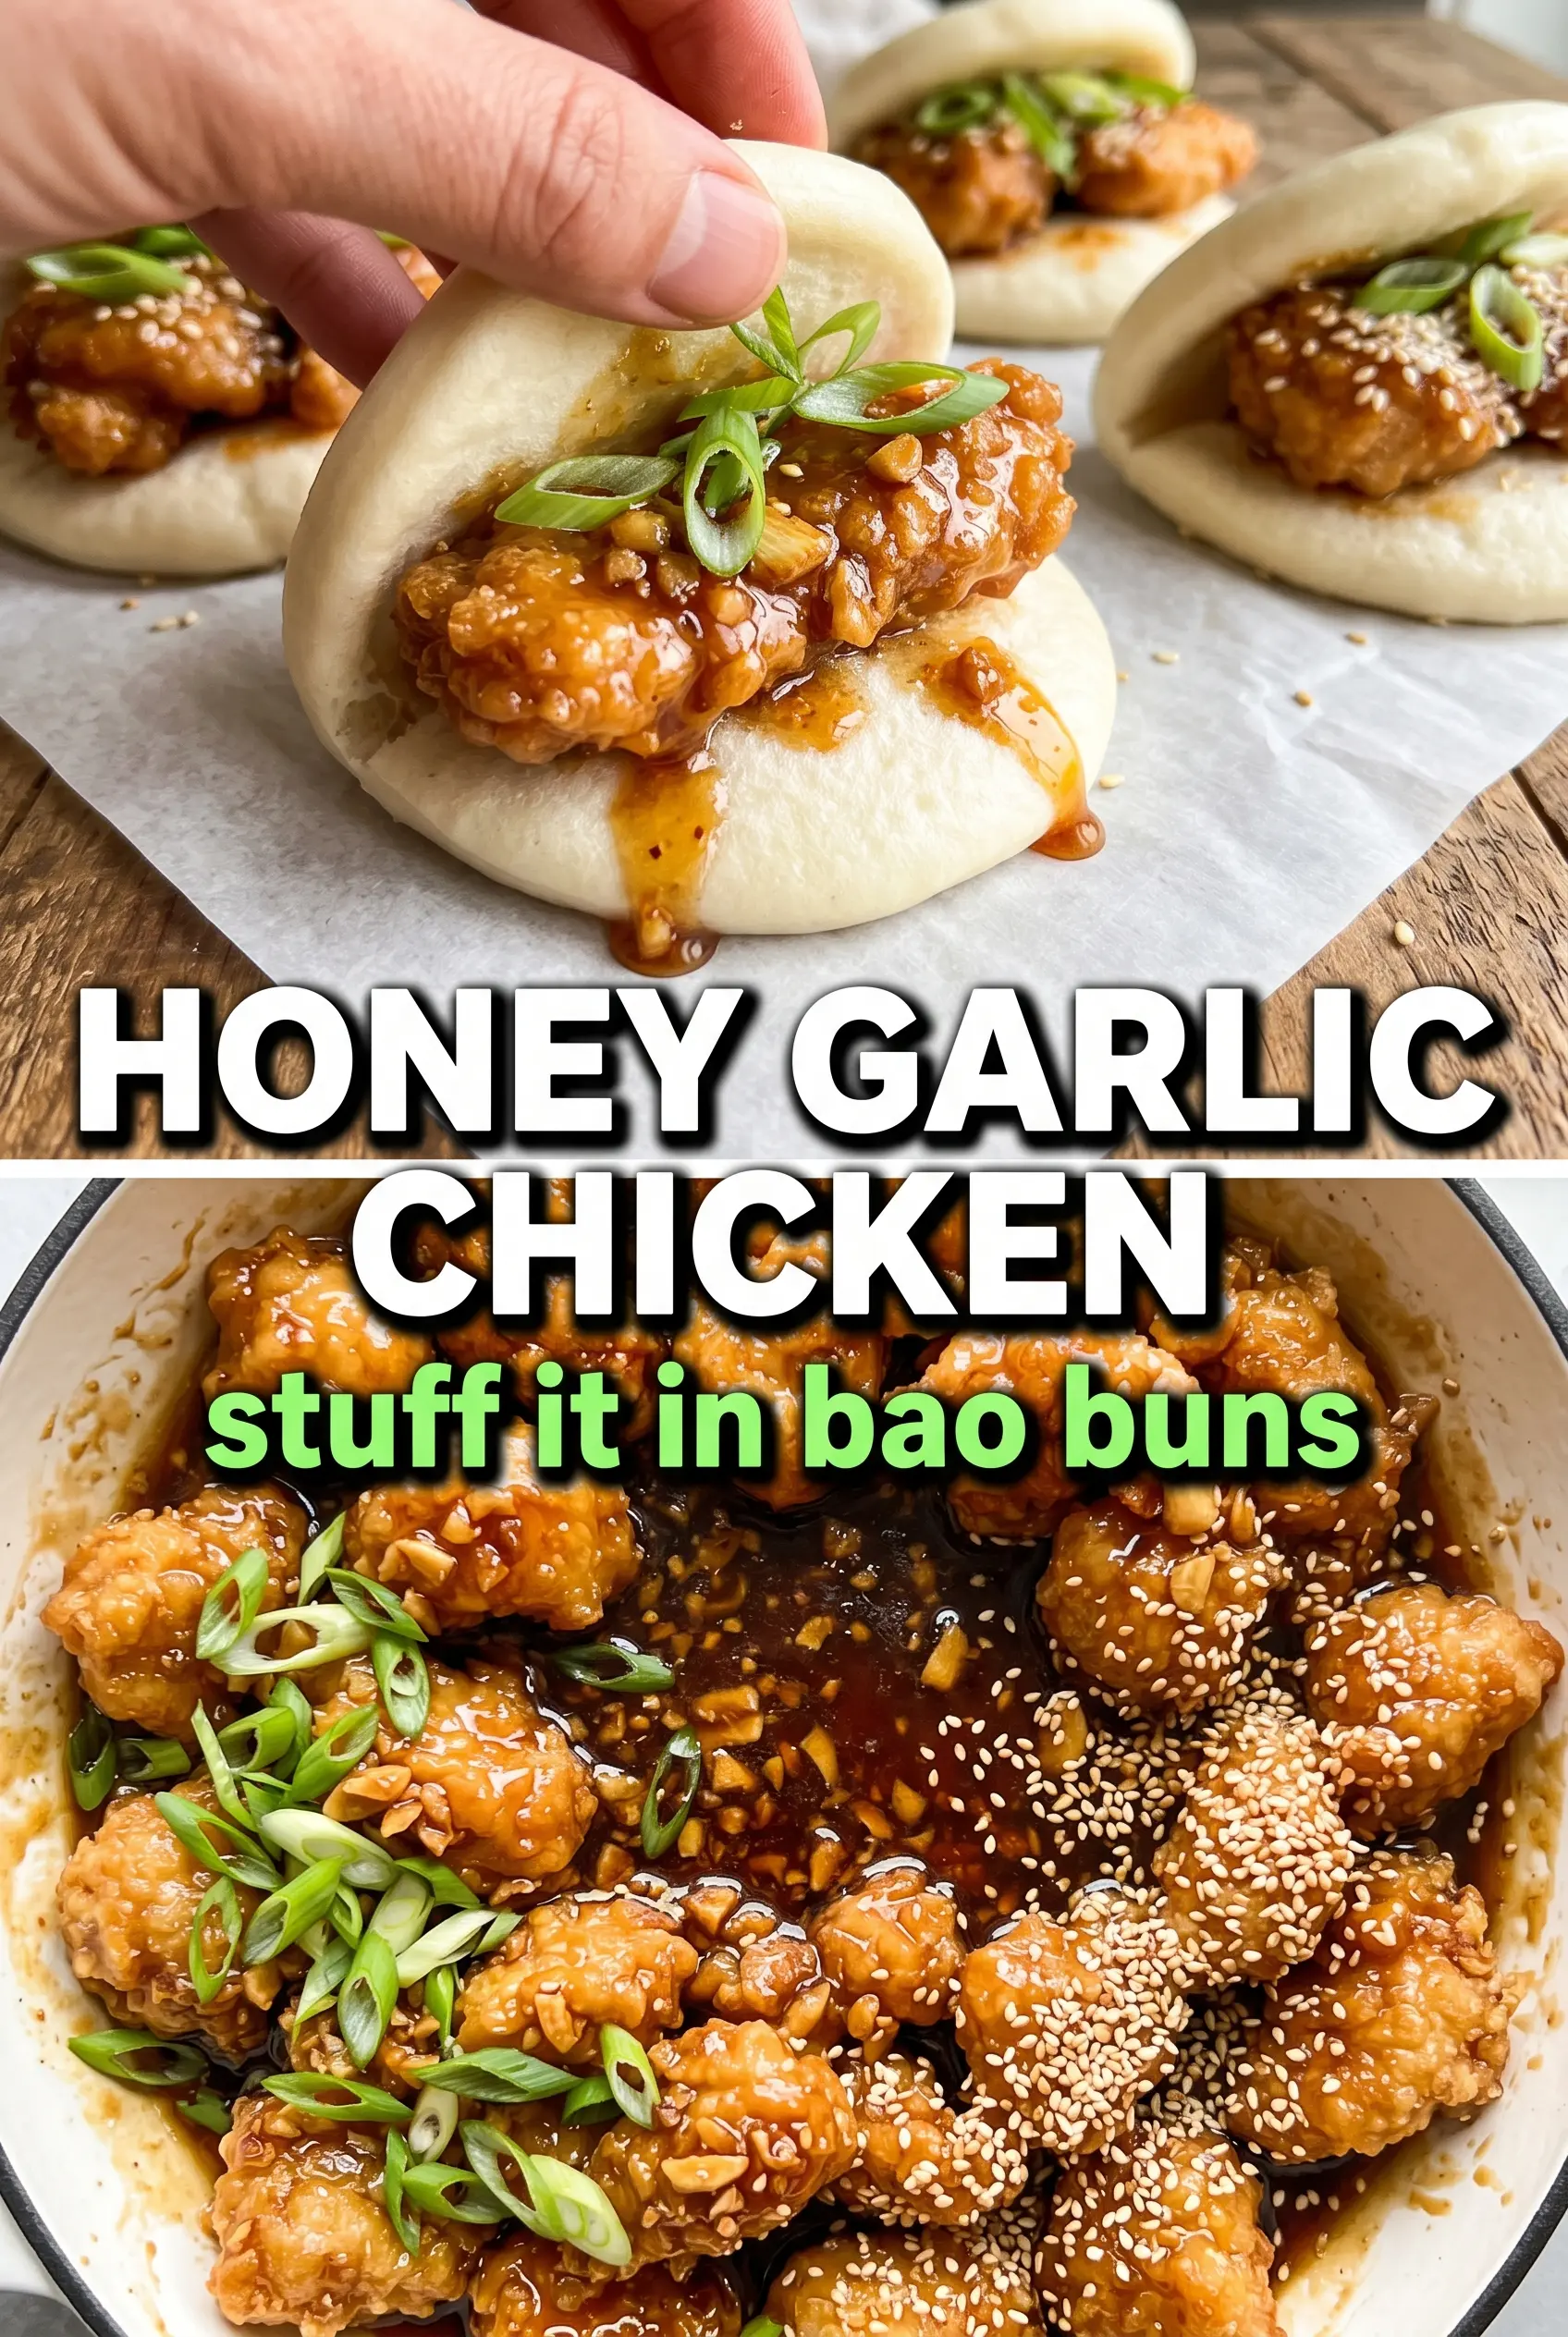
Crispy Chinese Honey Garlic Chicken
Ingredients
Equipment
Method
- Whisk together cornstarch, all-purpose flour, garlic powder, salt, and white pepper in a bowl until evenly combined; dip the beaten large egg into the mixture so the dry coating clings well.
- Dip the chicken thigh pieces in the beaten large egg, then dredge in the cornstarch-flour mixture until fully coated with a dry, even layer.
- Heat at least 2 inches of vegetable oil in a cast iron skillet to 375°F; use a quick visual check—oil should vigorously sizzle when a coated piece is added.
- Fry the chicken in batches for 5-6 minutes at 375°F until deep golden and cooked through, turning once if needed; drain on a rack or paper towels.
- Combine honey, soy sauce, minced garlic, and rice vinegar in a saucepan, then bring to a simmer over medium heat; keep stirring as bubbles form.
- Stir in the cornstarch slurry (cornstarch mixed with water) and simmer for 2-3 minutes until glossy and thick enough to coat the back of a spoon.
- Remove from the heat and stir in sesame oil; the sauce should look darker and shine like a glaze.
- Toss the crispy chicken in the honey garlic sauce until fully coated and sticky, with a glossy amber sheen.
- Serve over steamed rice and finish with sesame seeds and sliced green onions; garnish should sit on top for fresh color.