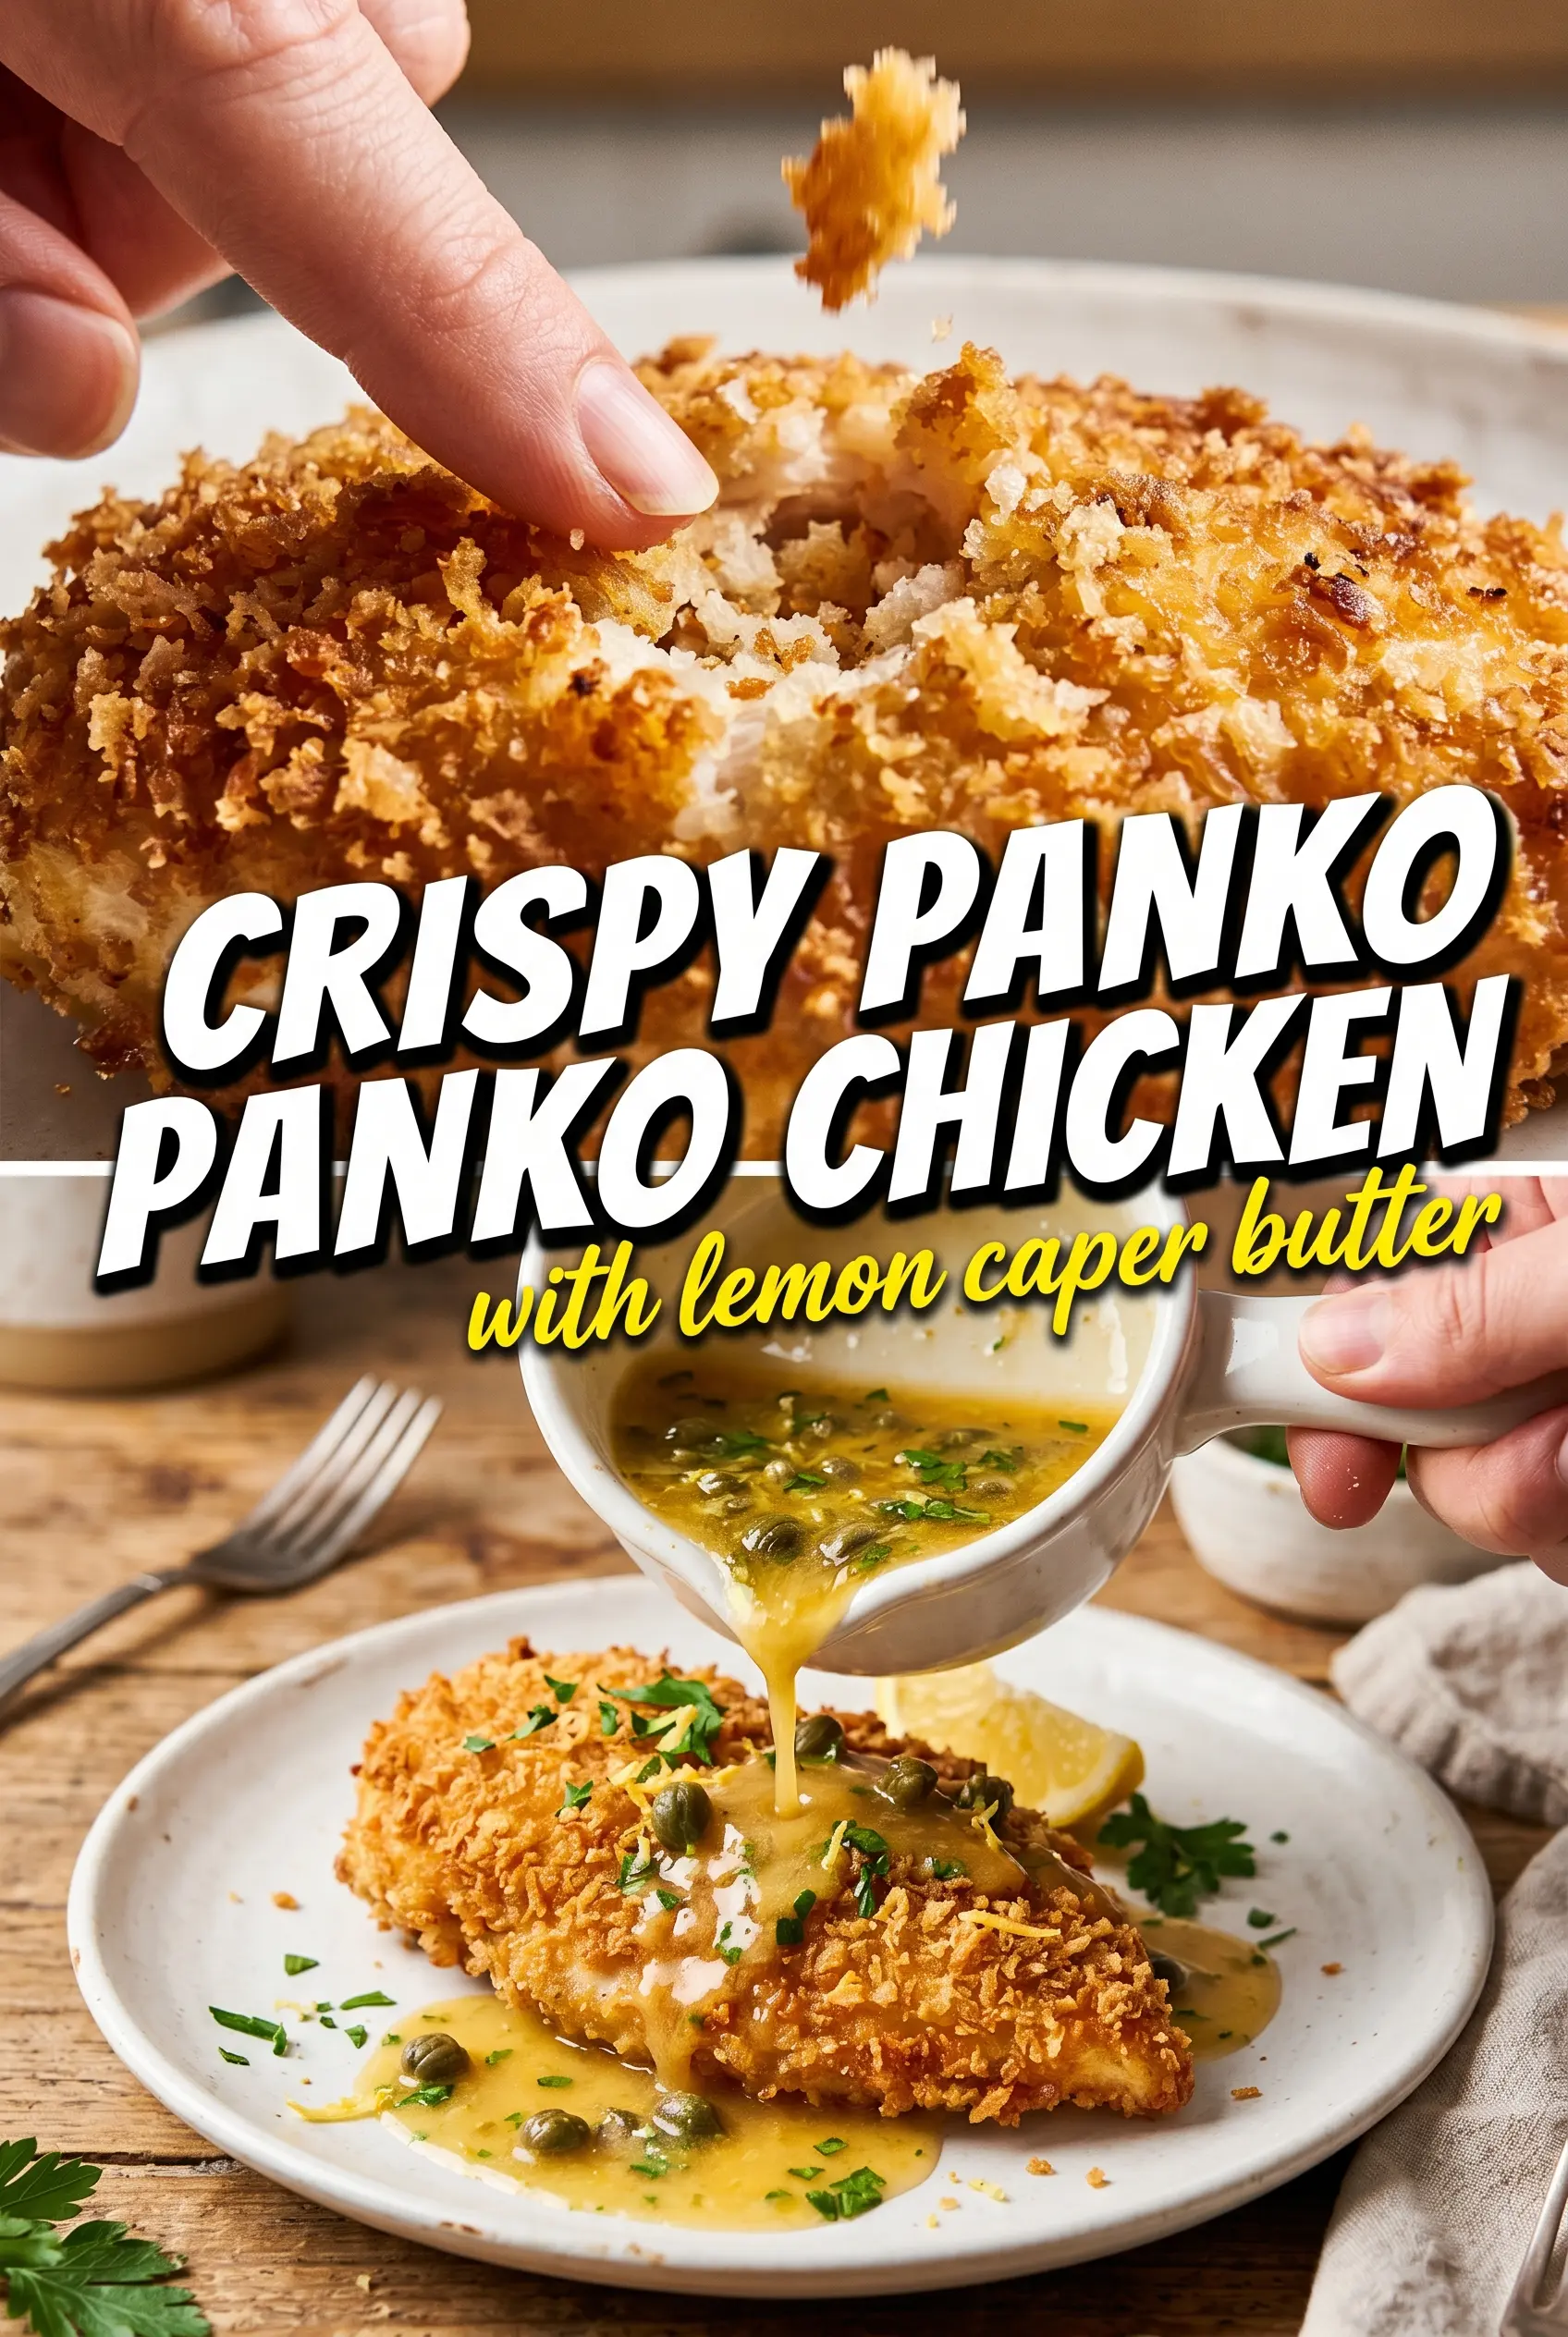
Crispy panko crusted chicken breasts come out with a shatteringly crisp, golden coating that stays airy instead of heavy. The crust bakes up bronze and rugged, with the kind of crunch that actually holds when you cut into it, while the chicken underneath stays juicy and tender.
The trick is in the layering. A light flour coat gives the egg something to cling to, and pressing the chicken firmly into seasoned panko builds those jagged little crumbs that brown beautifully in the oven. A little oil on top matters too; it helps the breading toast instead of drying out pale.
Below, I’ve laid out the small details that keep the crust crisp, plus a few smart swaps and a fix for the most common mistake people make with breaded chicken: a coating that looks good going in but turns dull by the time it hits the table.
The crust stayed crisp all the way to dinner, and the Parmesan in the panko gave it that extra salty bite. I baked it on a rack like you said, and the bottoms didn’t get soggy at all.
Crispy panko crusted chicken breasts with a deep golden crunch and juicy center are perfect when you want a baked chicken dinner that still eats like fried.
The Crust That Stays Crunchy After Baking
The difference between a crisp baked cutlet and one that goes limp usually comes down to moisture management. Panko is lighter and flakier than regular breadcrumbs, which gives you more surface area to toast, but it still needs help from a hot oven and a rack so the bottom doesn’t sit in steam. If the chicken goes straight onto a bare pan, the underside softens before the crust can set.
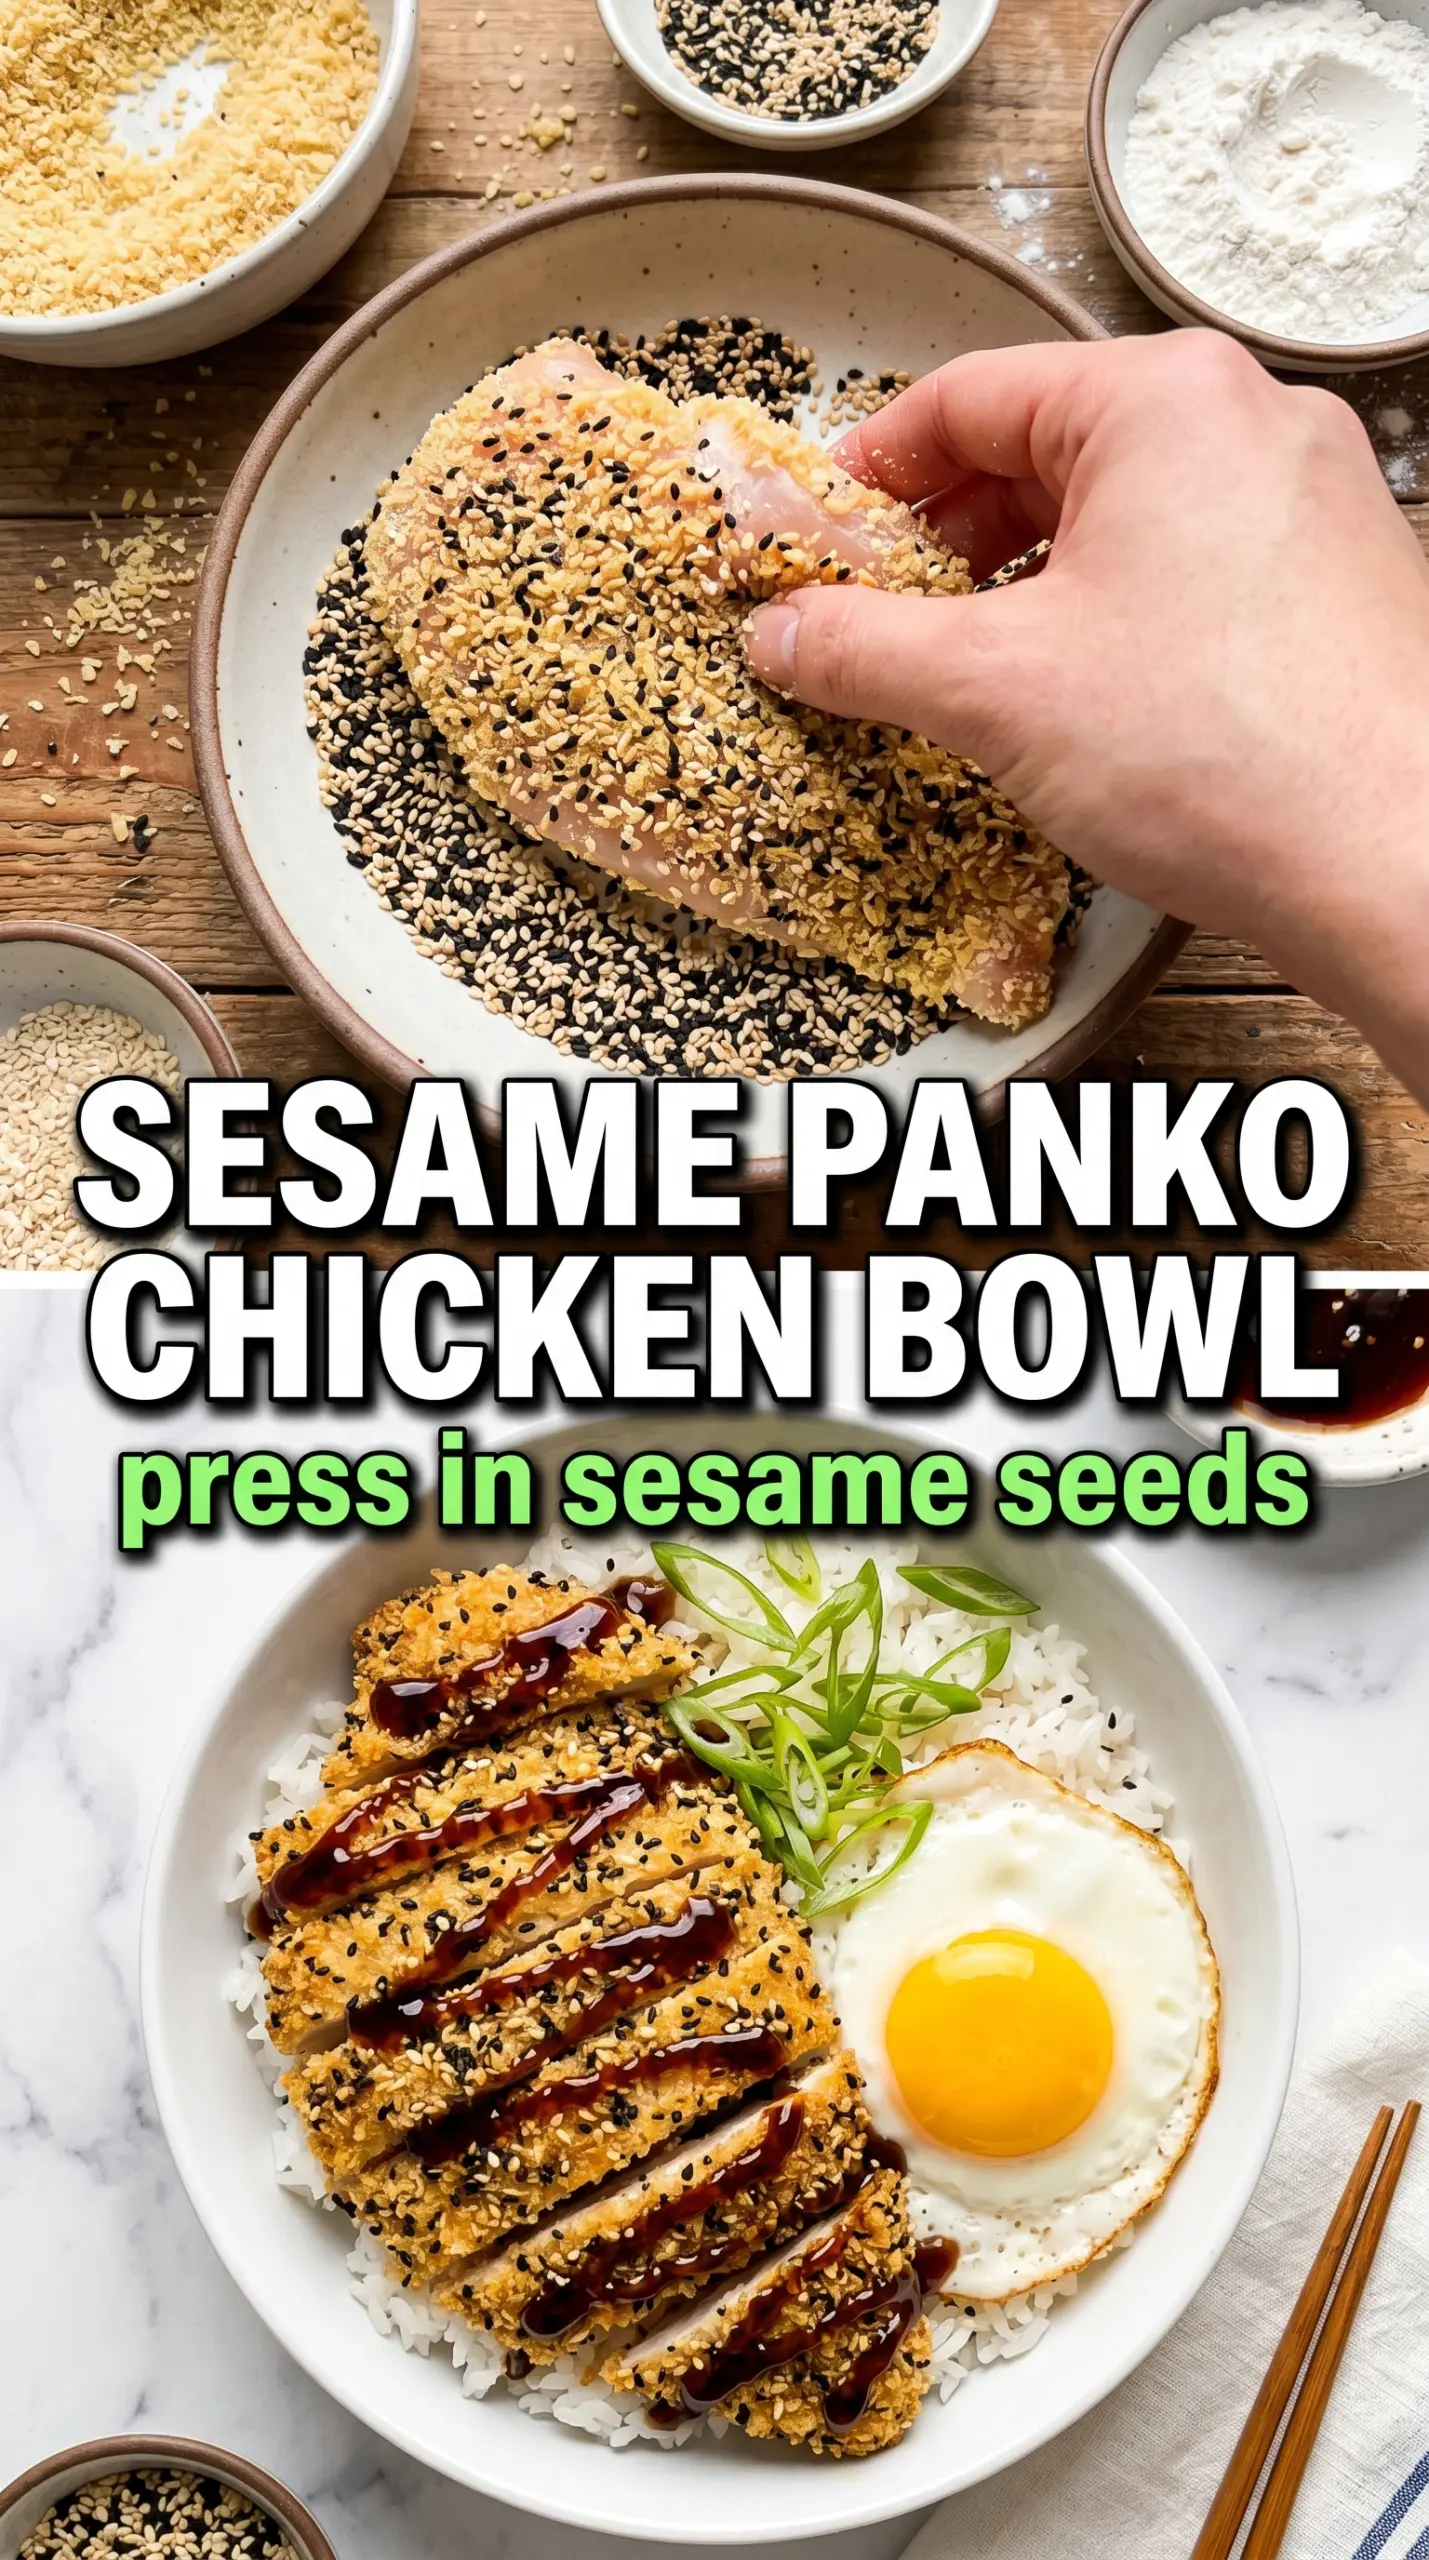
Pressing the crumbs on firmly matters more than people think. You want a thick, shaggy coating, not a thin dusting, because those ridges are what turn deeply golden and crackly. The seasoning also needs to live in the crumb mixture, not just on the chicken, so every bite carries that savory, peppery edge.
What the Flour, Egg, and Panko Are Actually Doing
- Chicken breasts — Pound them to an even thickness so the thickest part doesn’t overcook while the thin end dries out. This is one of those times where evenness matters more than size.
- Panko breadcrumbs — Regular breadcrumbs won’t give the same airy, craggy crust. Panko stays lighter and browns with a sharper crunch, which is exactly what you want here.
- Parmesan cheese — The grated cheese adds salt and helps the coating brown. Use the finely grated kind, not big shreds, so it blends into the crumbs instead of falling off.
- Olive oil or cooking spray — The coating needs fat on the surface to toast properly in the oven. Skip it and the crust can look dry and pale even when the chicken is cooked through.
- Italian seasoning, garlic powder, smoked paprika — These season the crust itself, so the breading tastes complete. If you swap paprika for more seasoning salt, the coating can get muddy and oversalted fast.
Building the Breaded Chicken So the Crust Doesn’t Fall Off
Seasoning and Set-Up
Start by salting the chicken before it ever touches the flour. That first seasoning layer gives the meat itself flavor, not just the coating. Set up three shallow bowls in this order: flour, beaten eggs, and seasoned panko. If the panko bowl gets wet from egg drips, the crumbs clump and you lose that dry, crunchy texture.
The Dredge That Actually Grips
Coat the chicken lightly in flour first, then shake off the excess. The flour should look like a thin veil, not a paste, because too much flour turns gummy once it hits the egg. Dip into the egg, let the extra drip off for a second, then press the chicken into the panko with real pressure so the crumbs adhere in a thick layer.
Oven Time and the Final Crunch
Set the coated chicken on a wire rack and drizzle or spray the top with oil before baking. That top layer of fat is what turns the panko deep bronze instead of dusty blond. Bake until the crust is firmly set and the thickest part reaches 165°F. Pull it out and let it rest for 3 minutes; cutting too early sends the juices out and softens the crust.
How to Adapt Crispy Panko Crusted Chicken for Different Nights
Gluten-Free Panko Chicken
Use a gluten-free all-purpose flour and gluten-free panko. The texture stays close to the original, though some GF panko brands brown a little faster, so watch the last few minutes in the oven.
Dairy-Free Version
Skip the Parmesan and add an extra 2 tablespoons of panko plus a pinch of salt. You lose a little savory depth, but the crust still bakes up crisp and light, especially if you keep the oil on top.
Air Fryer Method
Cook at 400°F in a single layer and flip once halfway through. The air fryer makes the crust extra crisp, but the breading can brown faster than the chicken cooks, so thinner breasts work best.
Make It Into Chicken Parmesan
Bake the chicken until almost done, spoon over warm marinara, add mozzarella, and finish just until melted. The panko crust won’t stay as shatteringly crisp under sauce, but you get a great contrast between the crunchy edges and the cheesy top.
Storage and Reheating
- Refrigerator: Store in an airtight container for up to 3 days. The crust softens a little in the fridge, but it will crisp back up in the oven.
- Freezer: It freezes well after baking. Cool completely, wrap tightly, and freeze for up to 2 months.
- Reheating: Reheat on a rack in a 375°F oven until hot and re-crisped, usually 10 to 15 minutes. The mistake to avoid is the microwave, which turns the panko coating soggy almost immediately.
Questions I Get Asked About This Recipe
Crispy Panko Crusted Chicken Breasts
Ingredients
Equipment
Method
- Preheat oven to 425°F and line a baking sheet with a wire rack, then spray the rack with cooking spray. Keep the rack ready so air can circulate under the chicken for crisp edges.
- Season chicken breasts with salt, pepper, and garlic powder, then pound as needed to even thickness. Aim for uniform thickness so all pieces cook at the same rate.
- Set up a breading station with flour, beaten egg, and panko mixed with Parmesan, Italian seasoning, garlic powder, and smoked paprika. Toss the panko until evenly speckled for consistent crunch.
- Dredge each chicken breast in flour, shake off excess, then dip into the beaten egg. The flour first layer helps the egg and crumbs adhere tightly.
- Press the chicken firmly into the panko coating on all sides. Use steady pressure so the crust clings in an even blanket.
- Drizzle or spray the breaded chicken with olive oil and place it on the prepared rack. Make sure pieces are not crowded so they bake crisp rather than steaming.
- Bake for 20-22 minutes at 425°F until the crust is deep golden brown and the internal temperature reaches 165°F. Look for a bronze-colored, crunchy surface and verify doneness with a thermometer.
- Rest the chicken for 3 minutes after baking. This short rest helps the crust set before slicing.
- Garnish with fresh parsley and serve with lemon wedges. Add the lemon at the table for bright, tangy contrast against the crisp coating.