Dark chocolate and pumpkin are a pairing that lands somewhere between elegant and comforting, with a filling that slices cleanly and tastes richer than the ingredient list suggests. The chocolate crust gives each bite a crisp, cookie-like snap before melting into a silky ganache layer that carries the pumpkin spice instead of burying it. It’s the kind of dessert that looks polished on the table but doesn’t ask for anything fussy in the kitchen.
The trick here is keeping the chocolate smooth while the pumpkin stays in the background, not the foreground. Warm cream and butter melt the chocolate into a glossy base, and the pumpkin goes in after that so it can flavor and lighten the filling without seizing the chocolate. A short bake on the crust keeps it sturdy enough for neat slices, and the long chill time does the rest.
Below you’ll find the small details that matter: how to keep the filling silky, which crust swap works best, and how to get those clean wedges with the cocoa and flaky salt still looking sharp.
The filling set up beautifully after chilling and the chocolate crust stayed crisp even under the pumpkin layer. I loved the little hit of flaky salt on top — it made each slice taste even more balanced.
Save this dark chocolate pumpkin tart for when you want a silky, sliceable dessert with a crisp chocolate crust and a polished finish.
The Secret to Keeping the Chocolate Filling Silky, Not Grainy
The filling only works if the chocolate melts gently. If the cream is boiling hard, the chocolate can seize or split, and if the pumpkin goes in before the chocolate is smooth, you end up fighting lumps instead of building a glossy tart. The goal is an emulsion that looks like thick ganache before the pumpkin is stirred through.
The crust matters too. Oreo crumbs or chocolate wafer crumbs both work, but the fine crumb and the melted butter need to be packed firmly into the tart pan so the slices release cleanly. A brief bake sets the structure and keeps the base from turning soft under the filling.
What Each Ingredient Is Doing in This Tart
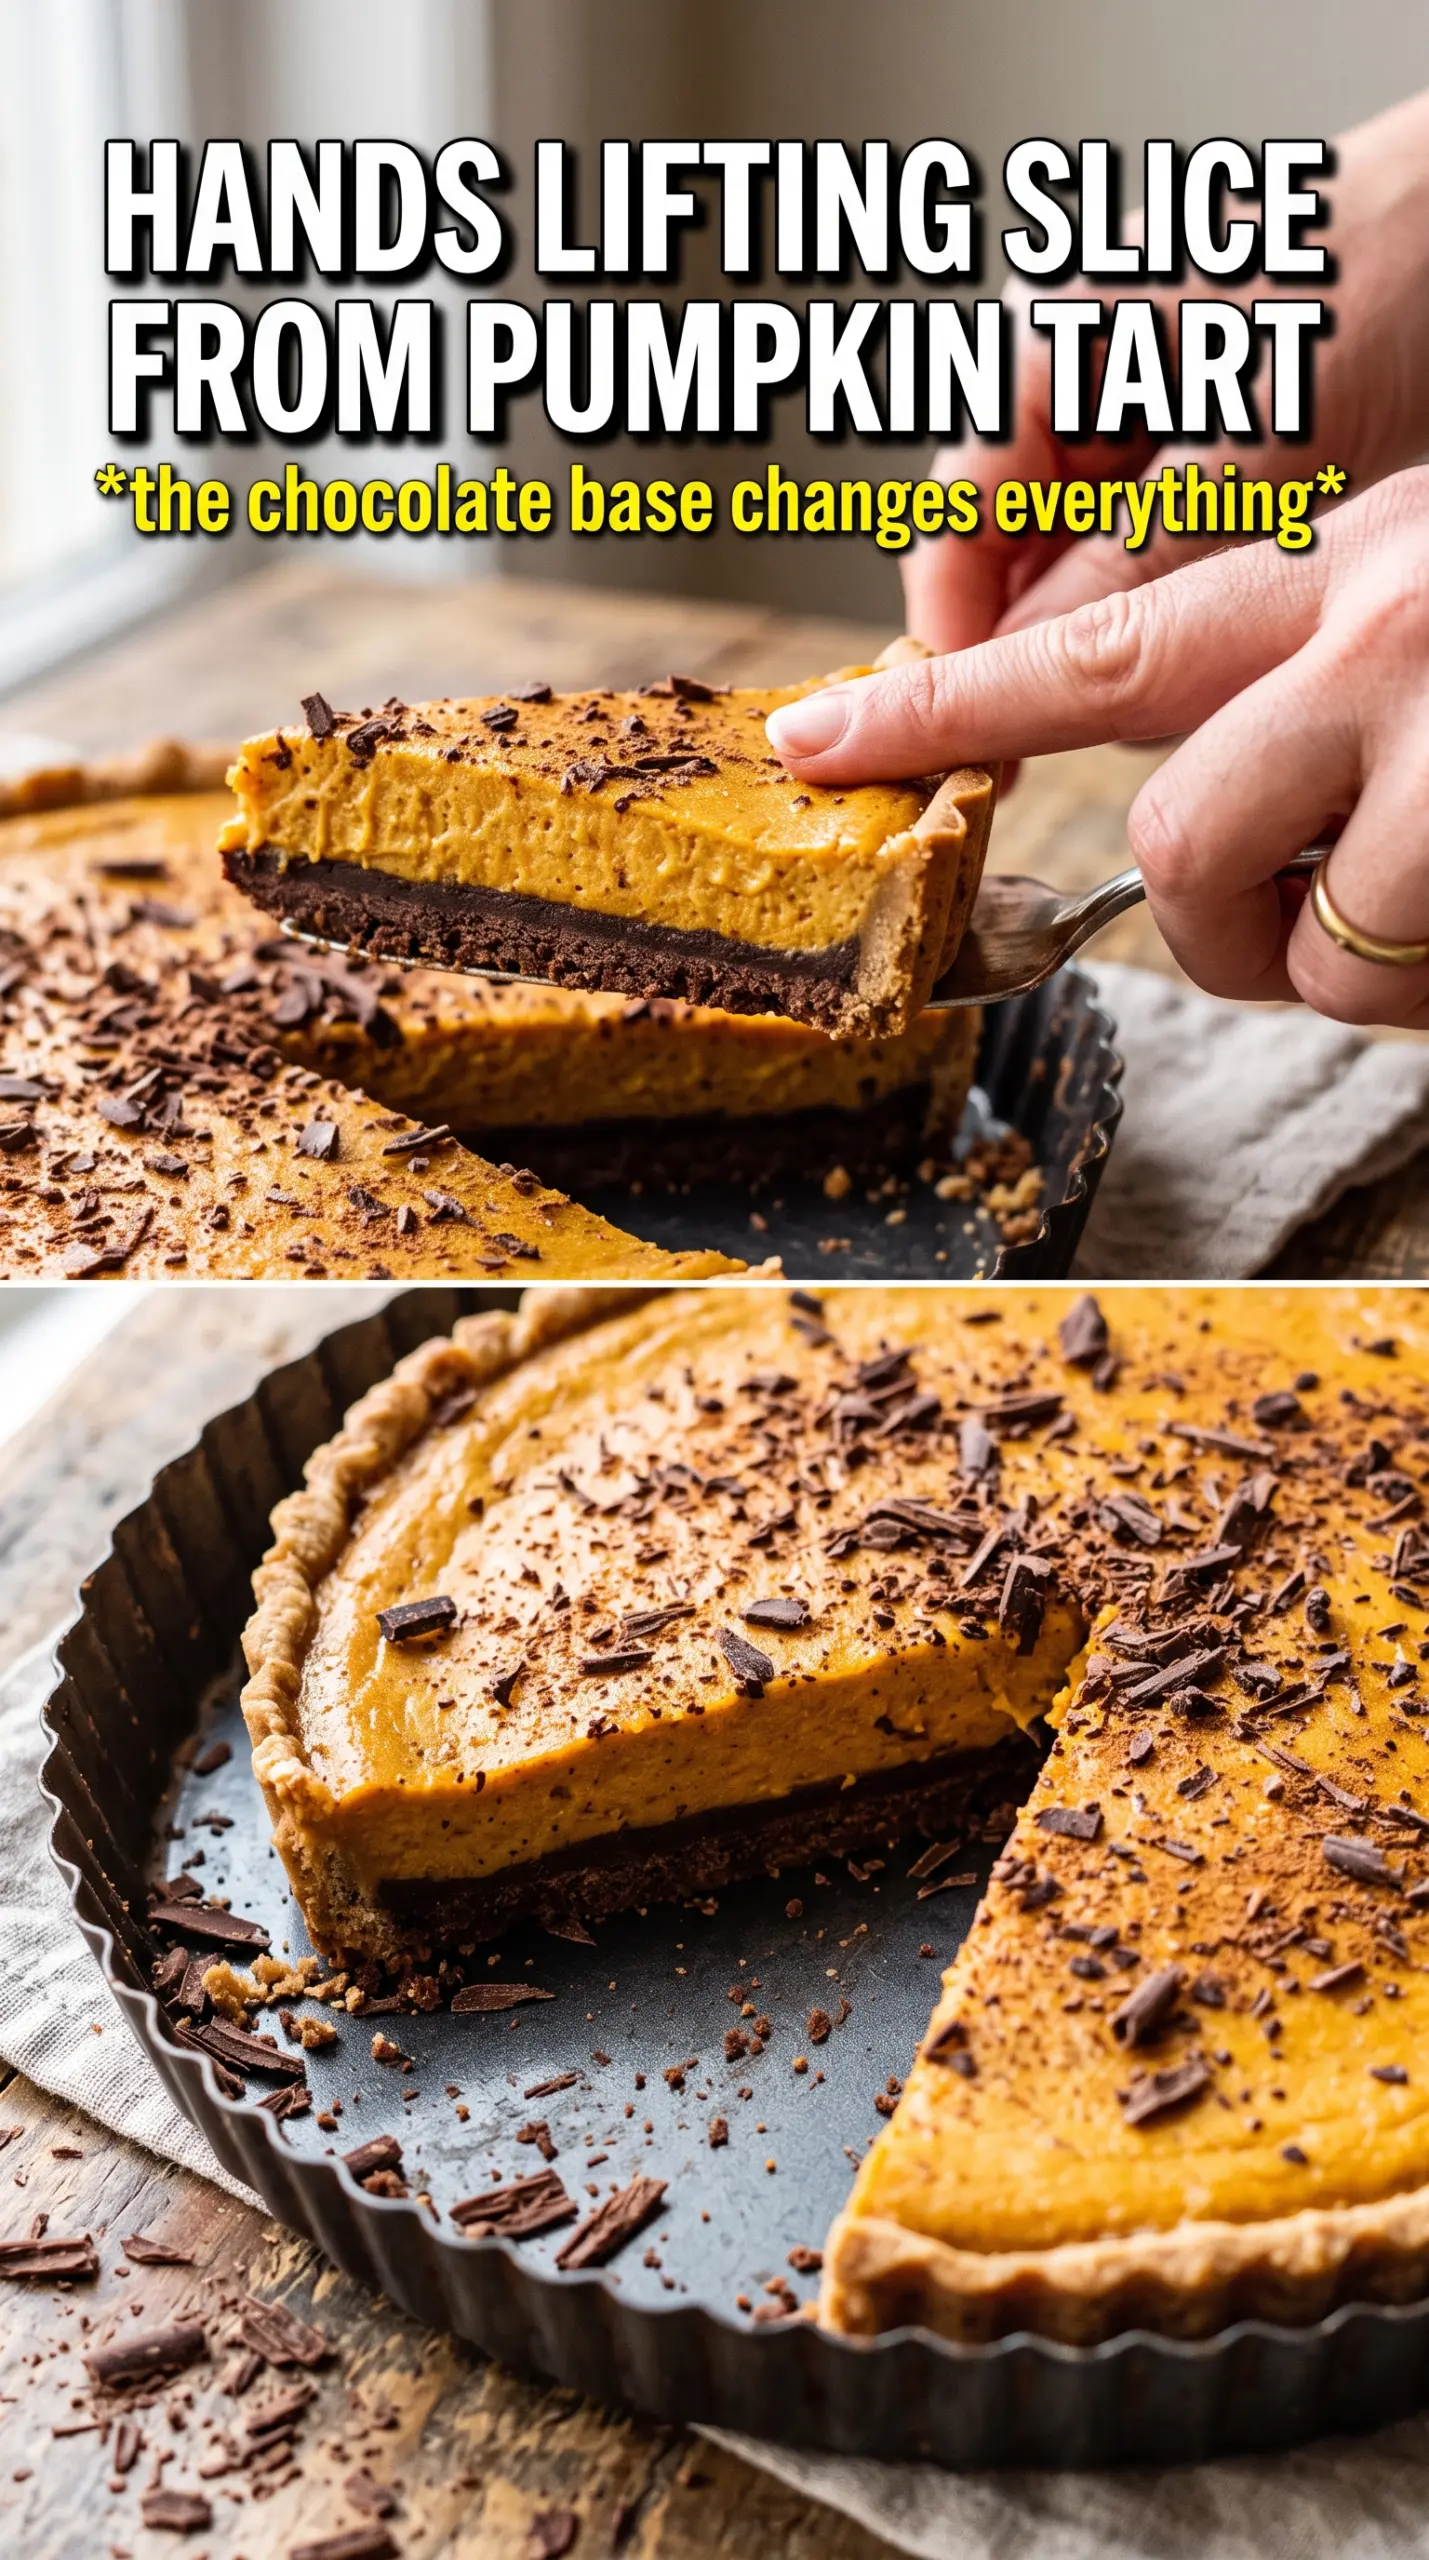
- Oreo crumbs or chocolate wafer crumbs — This is the crust’s structure and its flavor base. Oreo crumbs give a deeper cocoa note and a little extra sweetness, while chocolate wafers taste cleaner and less sweet. Either one should be finely crushed so the crust packs tightly and doesn’t crumble when sliced.
- Unsalted butter — Butter holds the crust together and gives the filling a glossy finish. For the crust, melt it fully so every crumb gets coated. In the filling, the butter adds richness and helps the chocolate stay smooth after the cream goes in.
- Dark chocolate, 70% — This is the backbone of the tart, so quality matters here. Use a chocolate you’d happily eat on its own, because the flavor is front and center. If you go much darker than 70%, the tart can turn bitter unless you add more sweetness.
- Pumpkin puree — Use plain pumpkin puree, not pumpkin pie filling. The puree brings body and that familiar earthy sweetness without making the filling loose. If it looks watery, blot it with paper towels first so the tart sets firmly.
- Heavy cream — Cream is what turns the chopped chocolate into a pourable ganache. Half-and-half won’t give the same plush texture, and milk is too thin for this style of tart. Heat it just to a simmer; that’s enough to melt the chocolate without breaking the emulsion.
- Maple syrup or brown sugar — This softens the dark chocolate and rounds out the pumpkin spice. Maple gives a cleaner, more elegant sweetness, while brown sugar adds a deeper caramel note. Both work, but maple keeps the tart tasting a little more refined.
The 20 Minutes That Matter Most
Pressing and Pre-Baking the Crust
Mix the crumbs, sugar, and melted butter until the texture looks like damp sand, then press it firmly into the tart pan, pushing it up the sides evenly. Use the bottom of a measuring cup to compact the base so it bakes into a shell instead of a loose pile of crumbs. Bake it until it smells toasty and looks set, then cool it completely before adding the filling. If the crust is warm, the filling softens at the edges and won’t set as neatly.
Melt the Chocolate Without Rushing It
Heat the cream and butter until they just begin to simmer, then pour them over the chopped chocolate and let it sit undisturbed for two minutes. That pause matters; it gives the heat time to work through the chocolate evenly. Stir from the center outward until the mixture turns smooth and glossy. If you stir too soon, you’ll end up with bits of unmelted chocolate and a streaky filling.
Stir in the Pumpkin After the Base Is Smooth
Add the pumpkin puree, maple syrup, spices, and vanilla only after the chocolate mixture is completely smooth. The filling should look thick and satin-like, not broken or oily. Stir until the pumpkin disappears into the chocolate and the color becomes a deep mocha brown. If you see tiny flecks, keep stirring gently; aggressive whisking can add air and make the tart surface less polished.
Chill Until the Center Holds Its Shape
Pour the filling into the cooled crust and smooth the top with an offset spatula or the back of a spoon. Refrigerate for at least four hours, and longer if your kitchen is warm or the tart pan is deep. It’s ready when the center feels firm to a light touch and the tart lifts cleanly from the pan ring. Dust with cocoa powder and finish with flaky salt right before serving so the top stays elegant.
How to Adapt This Tart Without Losing Its Character
Make It Gluten-Free
Use certified gluten-free chocolate sandwich cookies or gluten-free chocolate wafers for the crust. The filling is naturally gluten-free, so the texture stays the same and the tart still slices neatly once chilled.
Use a Dairy-Free Version
Swap in full-fat coconut cream for the heavy cream and use a plant-based butter that melts cleanly. The texture will be a touch softer and the flavor will pick up a faint coconut note, but the tart will still set well if it chills long enough.
Make the Chocolate Flavor Stronger
Use a 72% to 75% chocolate if you want a darker, more intense finish. The tart will taste less sweet and more grown-up, but you may want to keep the maple syrup in place so the pumpkin spice still reads clearly.
Storage and Reheating
- Refrigerator: Store covered for up to 4 days. The crust stays crisp for the first couple of days, then softens slightly under the filling.
- Freezer: Freeze the tart whole or in slices, wrapped tightly, for up to 1 month. Thaw it overnight in the refrigerator; don’t thaw it at room temperature or the top can sweat.
- Reheating: This tart is served chilled, not reheated. If you want a softer texture, let a slice sit at room temperature for 10 to 15 minutes before serving so the ganache loses its fridge chill without becoming messy.
Answers to the Questions Worth Asking
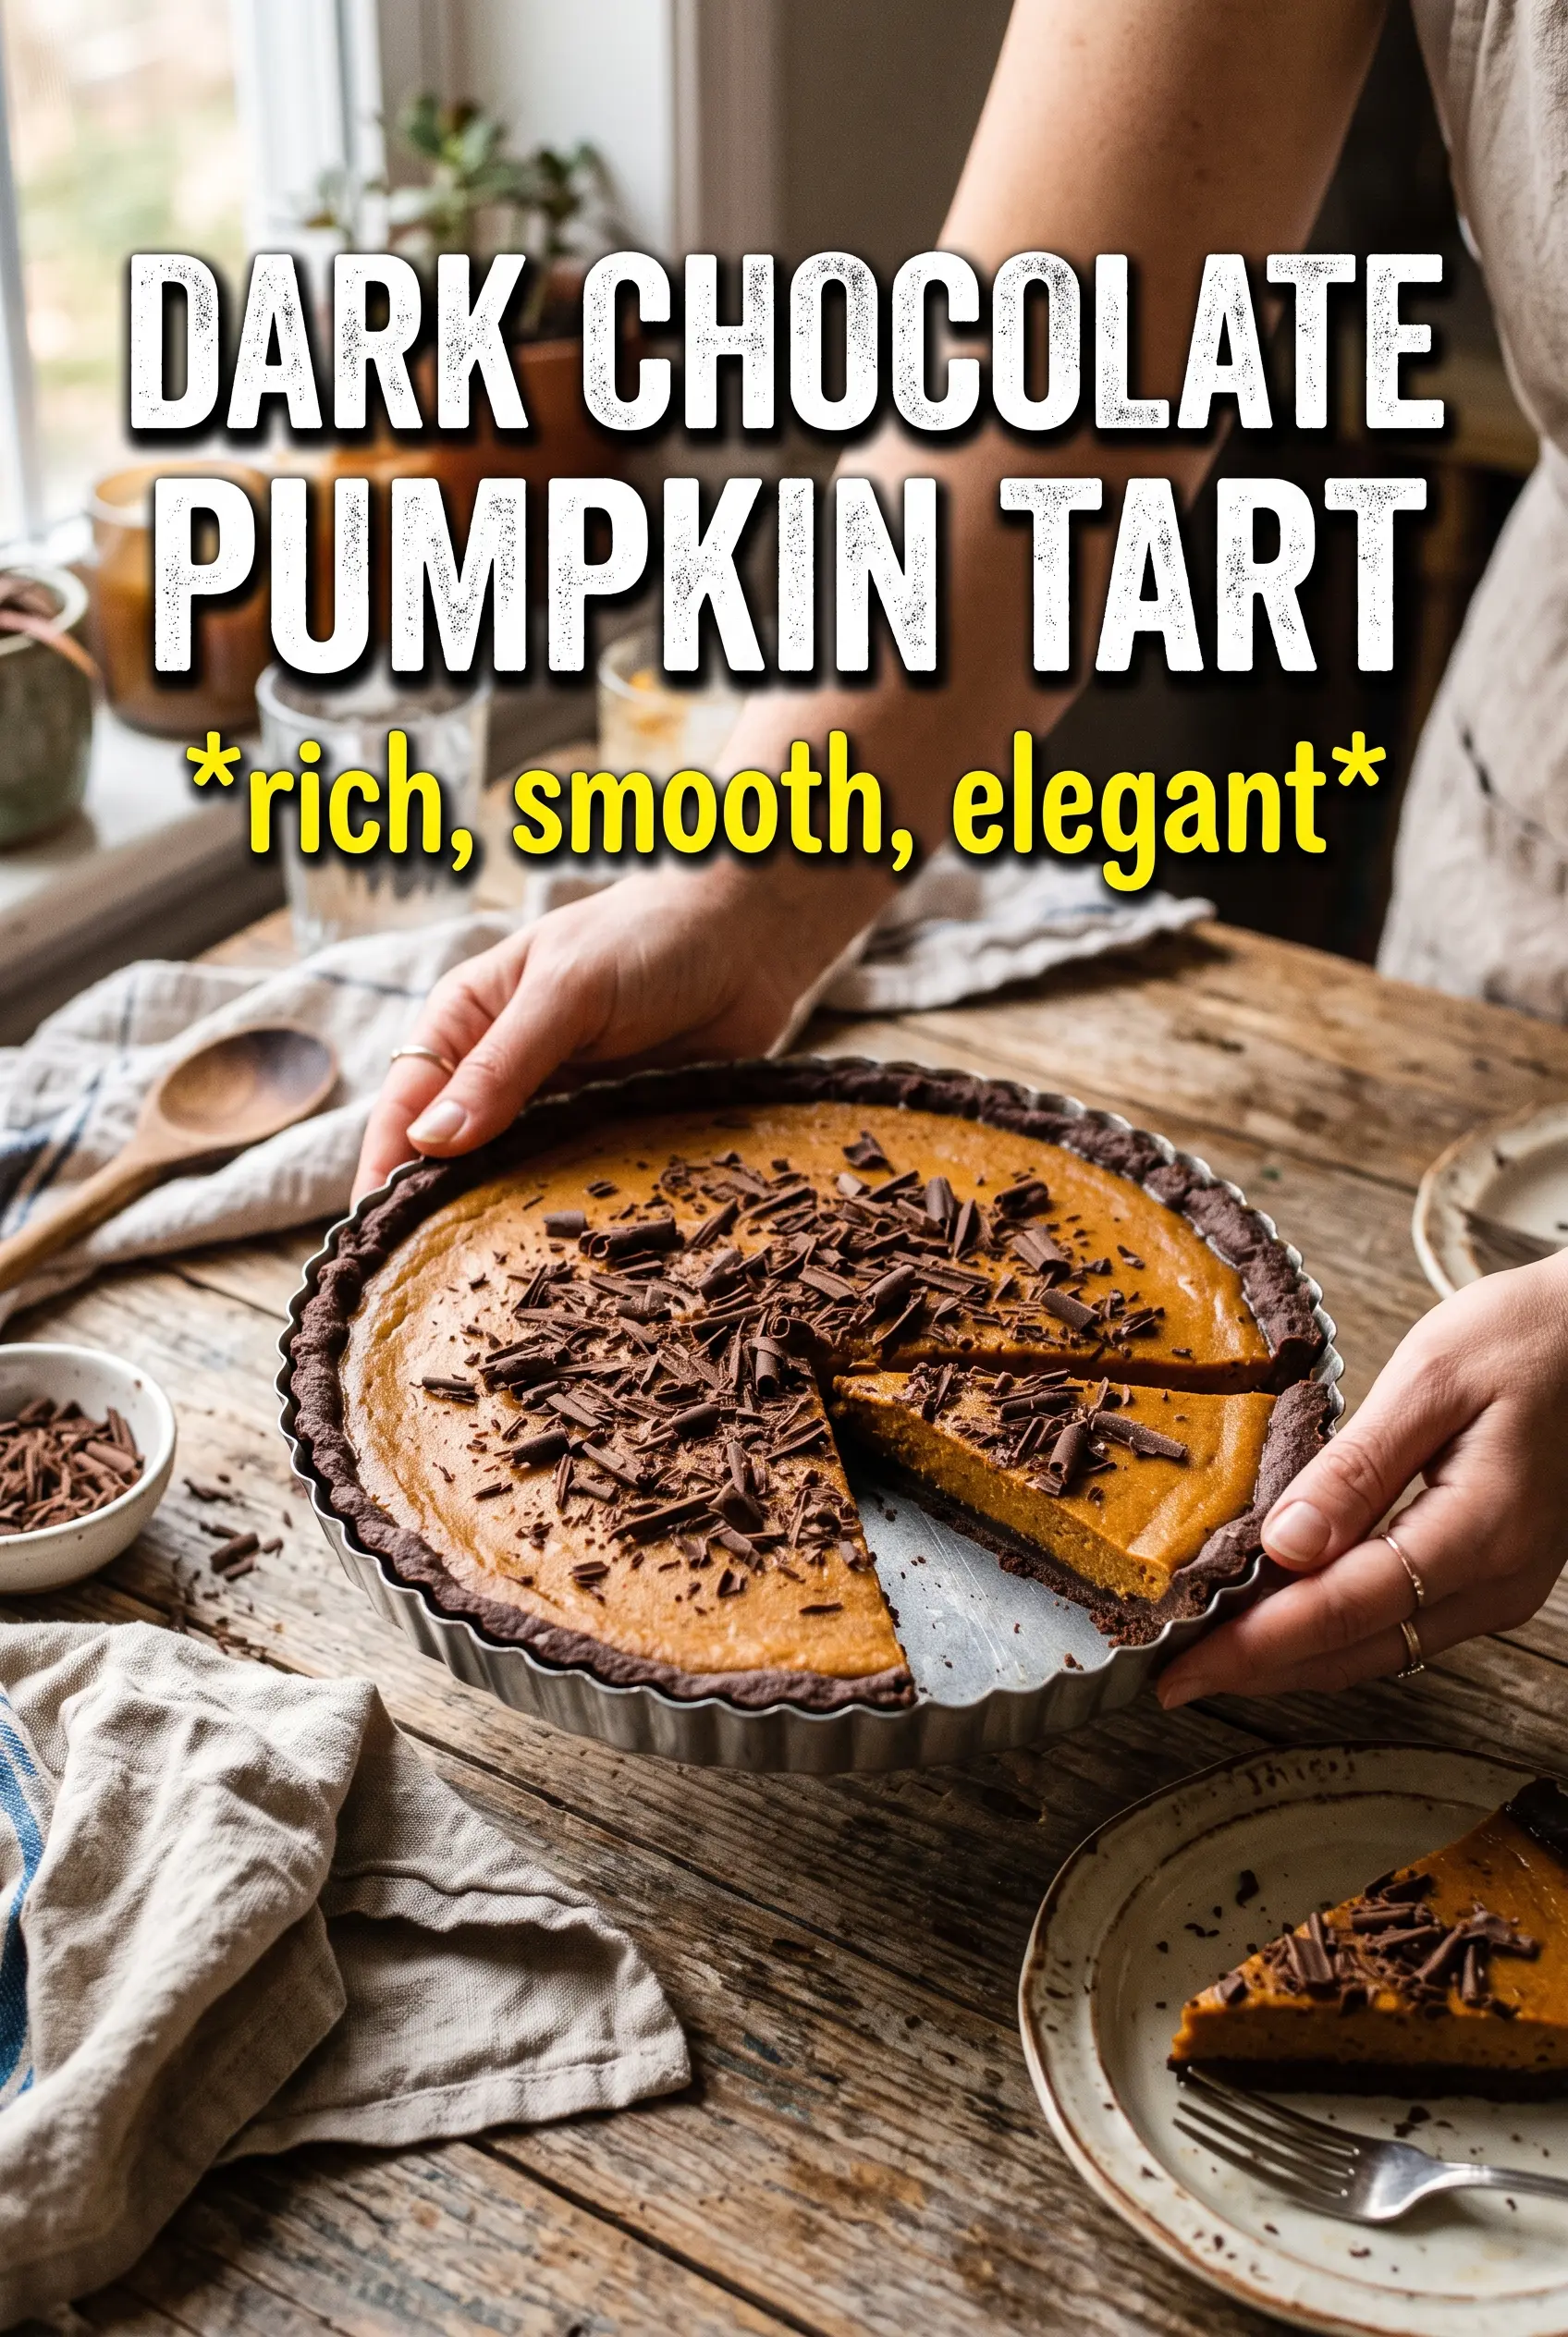
Dark Chocolate Pumpkin Tart
Ingredients
Equipment
Method
- Preheat the oven to 350F, then press the chocolate crumbs mixture into a 9-inch tart pan with a removable bottom until evenly packed and level.
- Bake for 10 minutes, then cool completely so the crust firms up before filling.
- Heat the heavy cream and butter in a saucepan until just simmering, then remove from heat.
- Pour the hot cream over the chopped dark chocolate, wait 2 minutes, and then stir until the mixture is smooth and glossy.
- Stir in the pumpkin puree, maple syrup or brown sugar, pumpkin pie spice, cinnamon, and vanilla until fully combined.
- Pour the filling into the cooled crust, making sure the surface is even.
- Refrigerate for 4 hours until set, with the tart holding its shape when gently shaken.
- Dust the top with cocoa powder, forming a light, even layer.
- Sprinkle with flaky sea salt for contrast, then slice and serve.