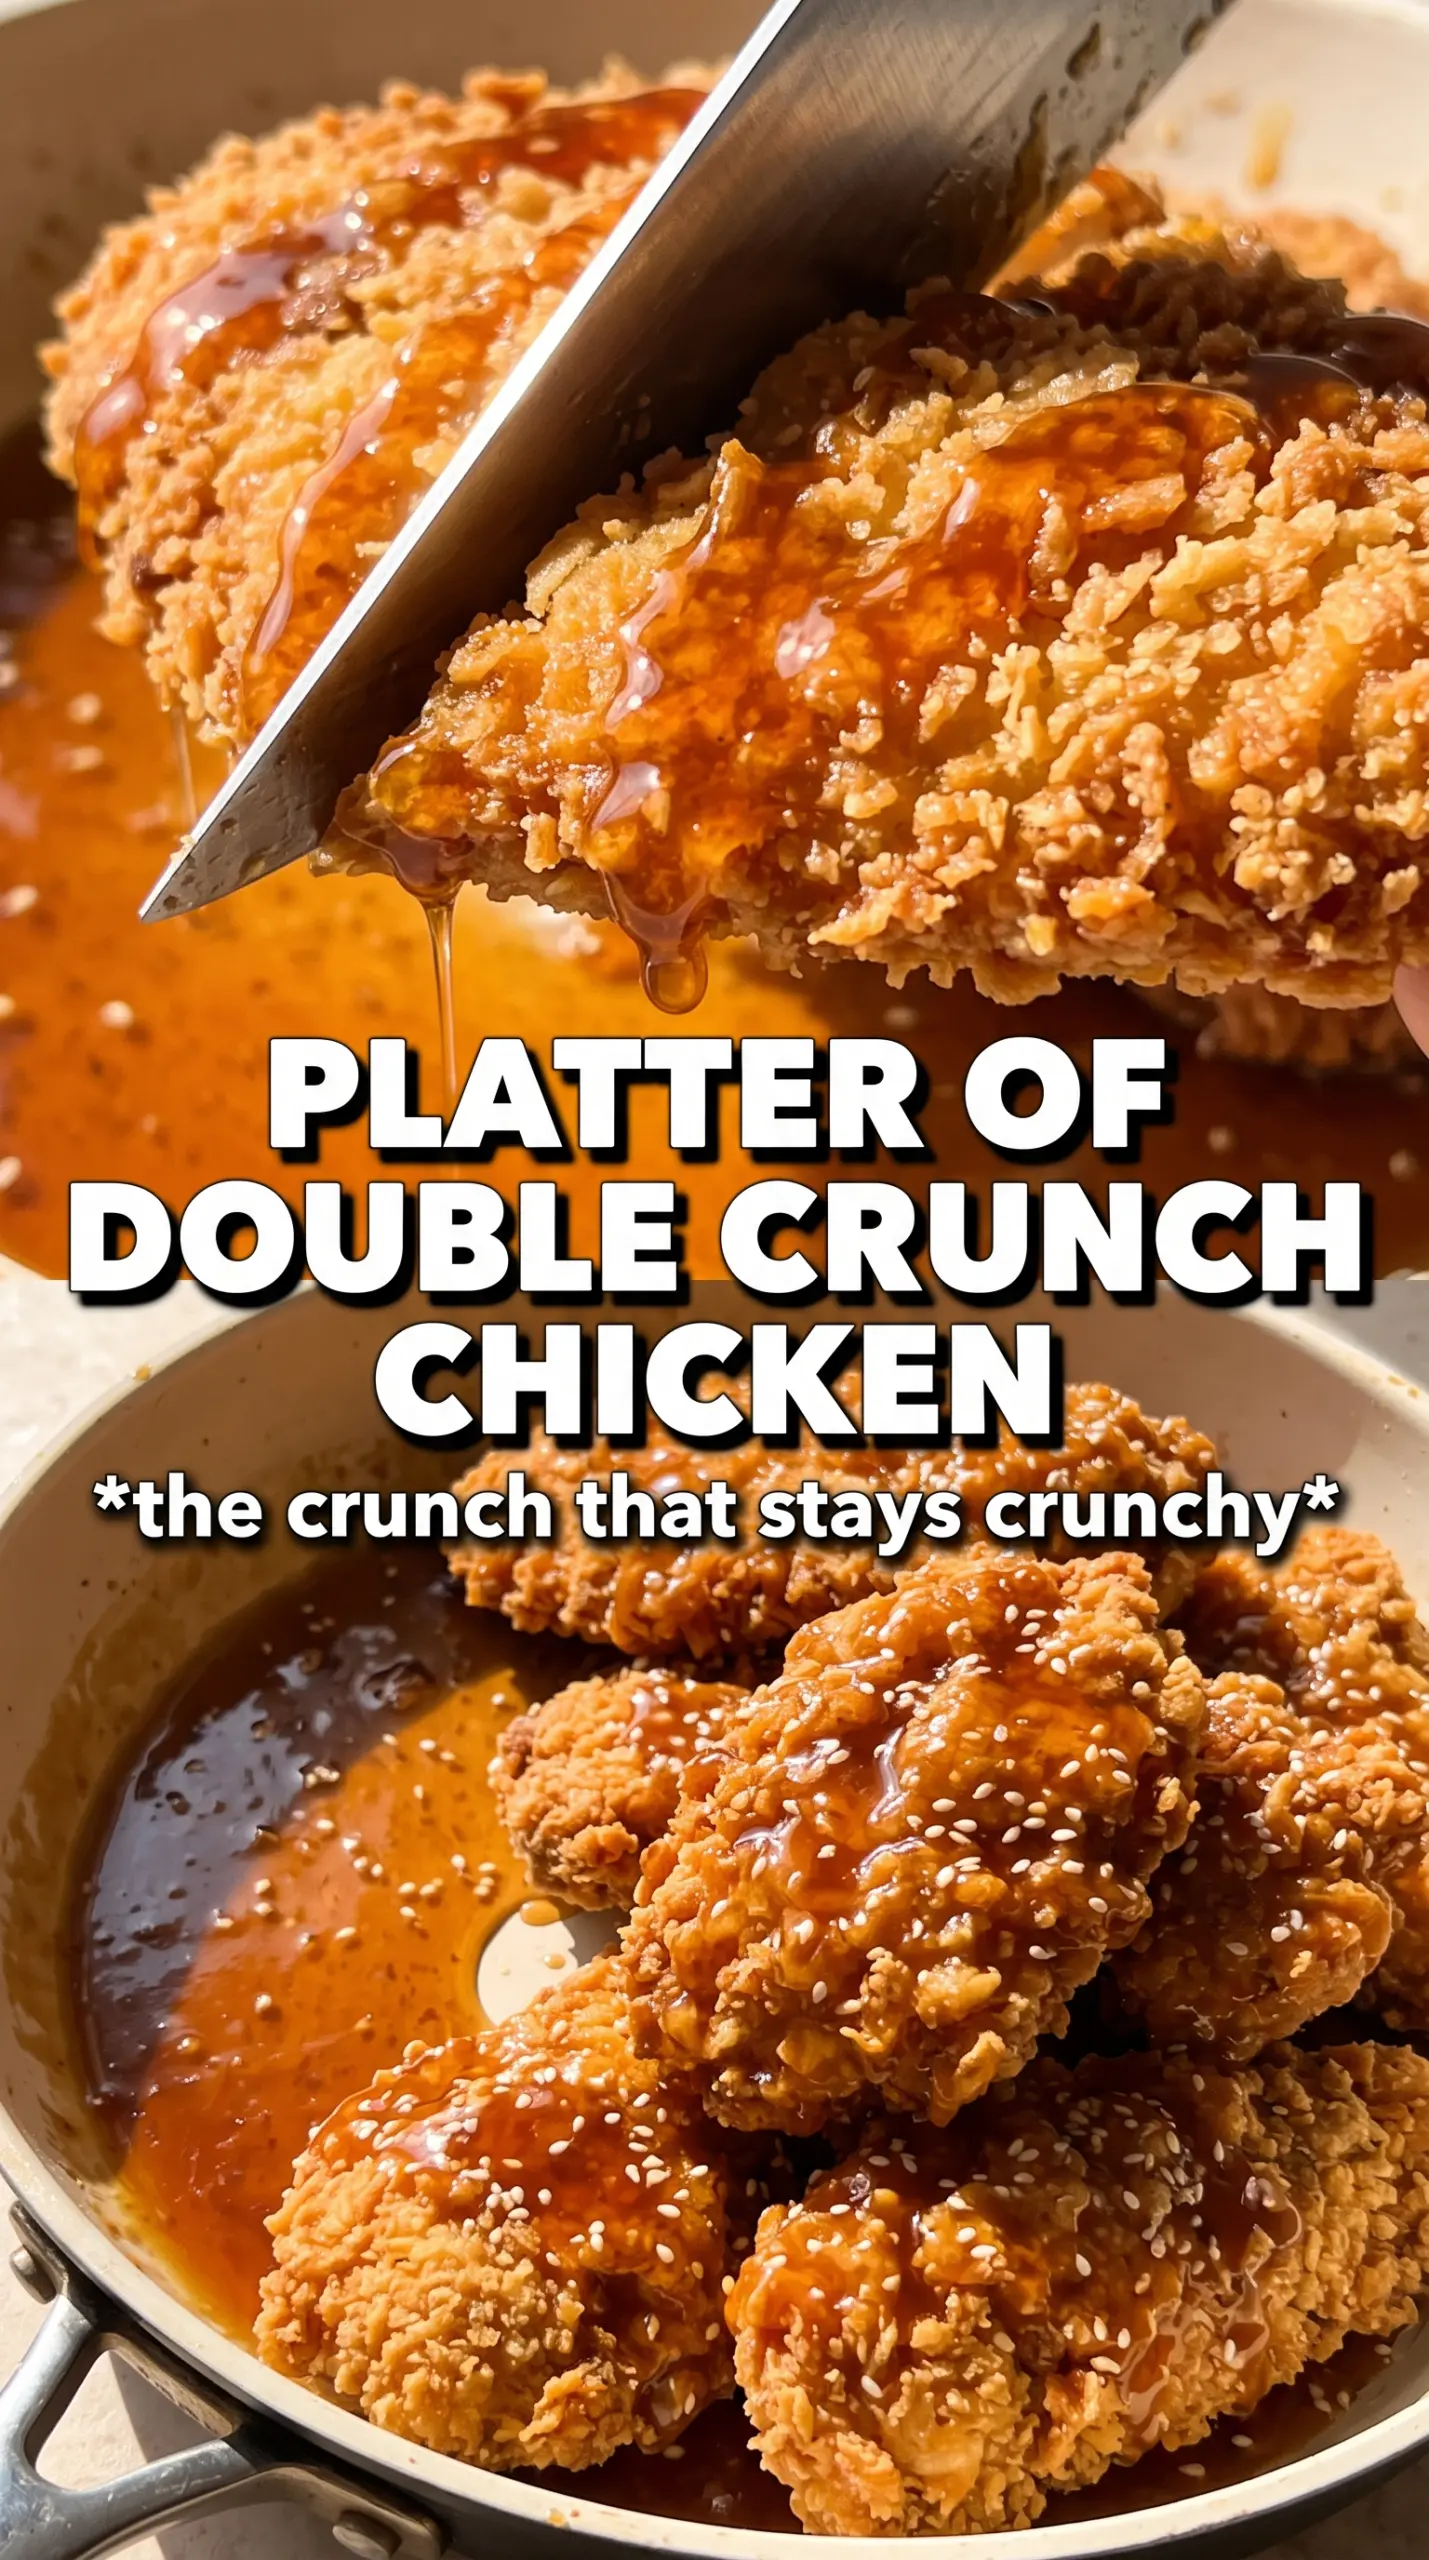
Double Crunch Honey Garlic Chicken Breasts hit that sweet spot between shattering-crisp coating and sticky, garlicky sauce. The first bite gives you crunch before the honey garlic glaze even registers, and that contrast is what makes this one earn a repeat spot. It feels like takeout comfort food, but the coating stays rugged and the sauce clings in a way that keeps every bite interesting.
The double dredge matters here. Flour, egg, then flour again gives the chicken that thick, craggy crust that holds up under the sauce instead of turning soggy the second it hits the plate. I also like using a little smoked paprika in the flour, because it adds color and a faint savory edge that keeps the sweetness in check.
Below, I’m walking through the part that makes the biggest difference: how to keep the coating crisp, how to get the sauce to thicken without burning the garlic, and what to change if you need to work with what’s already in your kitchen.
The coating stayed crunchy even after I poured the sauce on, and the honey garlic glaze thickened up in just a few minutes. My husband asked if I could put this on the rotation every week.
Love that ultra-crispy double coating? Save these Double Crunch Honey Garlic Chicken Breasts for the night you want sticky glaze and crunchy chicken in one pan.
The Double Dredge Is What Keeps the Crust From Going Flat
The biggest mistake with breaded chicken is stopping at one coat. A single dredge gives you a thin shell that softens fast once sauce touches it. The second pass in flour, after the egg, creates those rough little ridges that fry up into a thicker, crunchier crust and hold their texture longer.
The other thing that matters is the oil temperature. If the oil is too cool, the coating drinks it up and turns heavy. If it’s too hot, the outside browns before the chicken cooks through. Around 350°F is the sweet spot for a deep golden crust that stays crisp while the center reaches 165°F.
- Flour — All-purpose flour gives the coating enough structure to fry into a sturdy shell. A 1:1 gluten-free baking blend works if you need it, but the crust will be a little less rugged.
- Smoked paprika — This adds color and a deeper savory note under the honey sauce. Regular paprika works, but you’ll lose some of that subtle smoky edge.
- Egg — The egg is the glue that lets the second flour layer stick. Beat it until the white and yolk are fully combined so you don’t end up with patchy spots.
- Chicken breasts — Pounding them to even thickness matters more than people think. It keeps the cutlets cooking at the same rate, so the coating doesn’t burn while the center catches up.
What Each Ingredient Is Actually Doing in the Sauce and Coating
- Honey — This is what gives the sauce its glossy body and sticky finish. Use a mild honey if you want the garlic to stay front and center; darker honey will bring more flavor but can take over.
- Garlic — Fresh minced garlic is worth using here because it perfumes the sauce in the short simmer. Jarred garlic works in a pinch, but it tastes flatter and can turn a little harsh as it cooks.
- Soy sauce — This gives the sauce salt and depth so it doesn’t taste like straight honey. If you need a gluten-free version, use tamari and keep the amount the same.
- Butter and vinegar — Butter rounds out the sauce and helps it gloss over the chicken, while apple cider vinegar keeps the sweetness from feeling sticky-sweet. Don’t skip the acid; it’s the difference between balanced and cloying.
- Vegetable oil — Neutral oil is the right choice for frying because it lets the breading flavor stay clean. Save the extra-virgin olive oil for finishing another dish; its flavor is too assertive and its smoke point is lower.
Frying First, Then Glazing, So the Chicken Stays Crisp
Set Up the Dredging Line
Season the flour mixture well before the chicken goes anywhere near it. The flour should look evenly tinted from the paprika and smell savory, not dusty. Press the chicken into the flour on the second pass so the coating picks up those craggy bits that fry into texture. If the flour layer looks wet or gummy before frying, shake it off and dredge again lightly rather than going in with a paste.
Fry to a Deep Golden Finish
Cook the chicken in about half an inch of oil over medium-high heat until the crust is deeply golden and the chicken reaches 165°F at the thickest point. You’re listening for an even, steady sizzle, not a violent pop. If the outside is browning too fast, drop the heat a touch; if the chicken looks pale and greasy, the oil isn’t hot enough yet. Drain it on a rack or layered paper towels so the bottom doesn’t steam itself soft.
Cook the Sauce Just Until It Turns Glossy
Combine the honey, garlic, soy sauce, butter, and vinegar in a saucepan and keep the heat at medium or a little below. The sauce only needs a few minutes to bubble gently and thicken enough to coat a spoon. If the garlic starts browning hard or the sauce smells sharp, the heat is too high. Pull it off the burner as soon as it looks glossy and slightly syrupy, then pour it over the chicken while it’s still hot.
Three Smart Ways to Adjust This Without Losing the Crunch
Make It Gluten-Free
Swap the all-purpose flour for a cup-for-cup gluten-free flour blend and use tamari instead of soy sauce. The breading will still crisp, but it won’t have quite the same sturdy bite as wheat flour. Let the coated chicken sit for a minute before frying so the first layer hydrates and adheres.
Make It Dairy-Free
The chicken itself is already dairy-free, so the only thing to watch is the butter in the sauce. Replace it with a neutral dairy-free butter substitute or a tablespoon of oil, knowing the sauce will be a little less rich and glossy. The flavor stays close, especially once the garlic and honey come through.
Turn It Into Chicken Thighs
Boneless thighs work well if you want juicier meat and a slightly richer result. They may need an extra minute or two in the pan, depending on thickness, so go by temperature instead of the clock. The sauce and coating both work the same way, but the finished dish will taste a little less lean and a little more savory.
Storage and Reheating
- Refrigerator: Store leftovers for up to 3 days. The coating softens as it sits, but the flavor stays good.
- Freezer: Freeze the fried chicken before saucing for best texture. Wrap tightly and freeze up to 2 months, then thaw and reheat before adding fresh sauce.
- Reheating: Reheat on a wire rack in a 375°F oven or air fryer until hot and re-crisped. Microwaving makes the crust soggy fast, especially once the sauce is on it.
Answers to the Questions Worth Asking
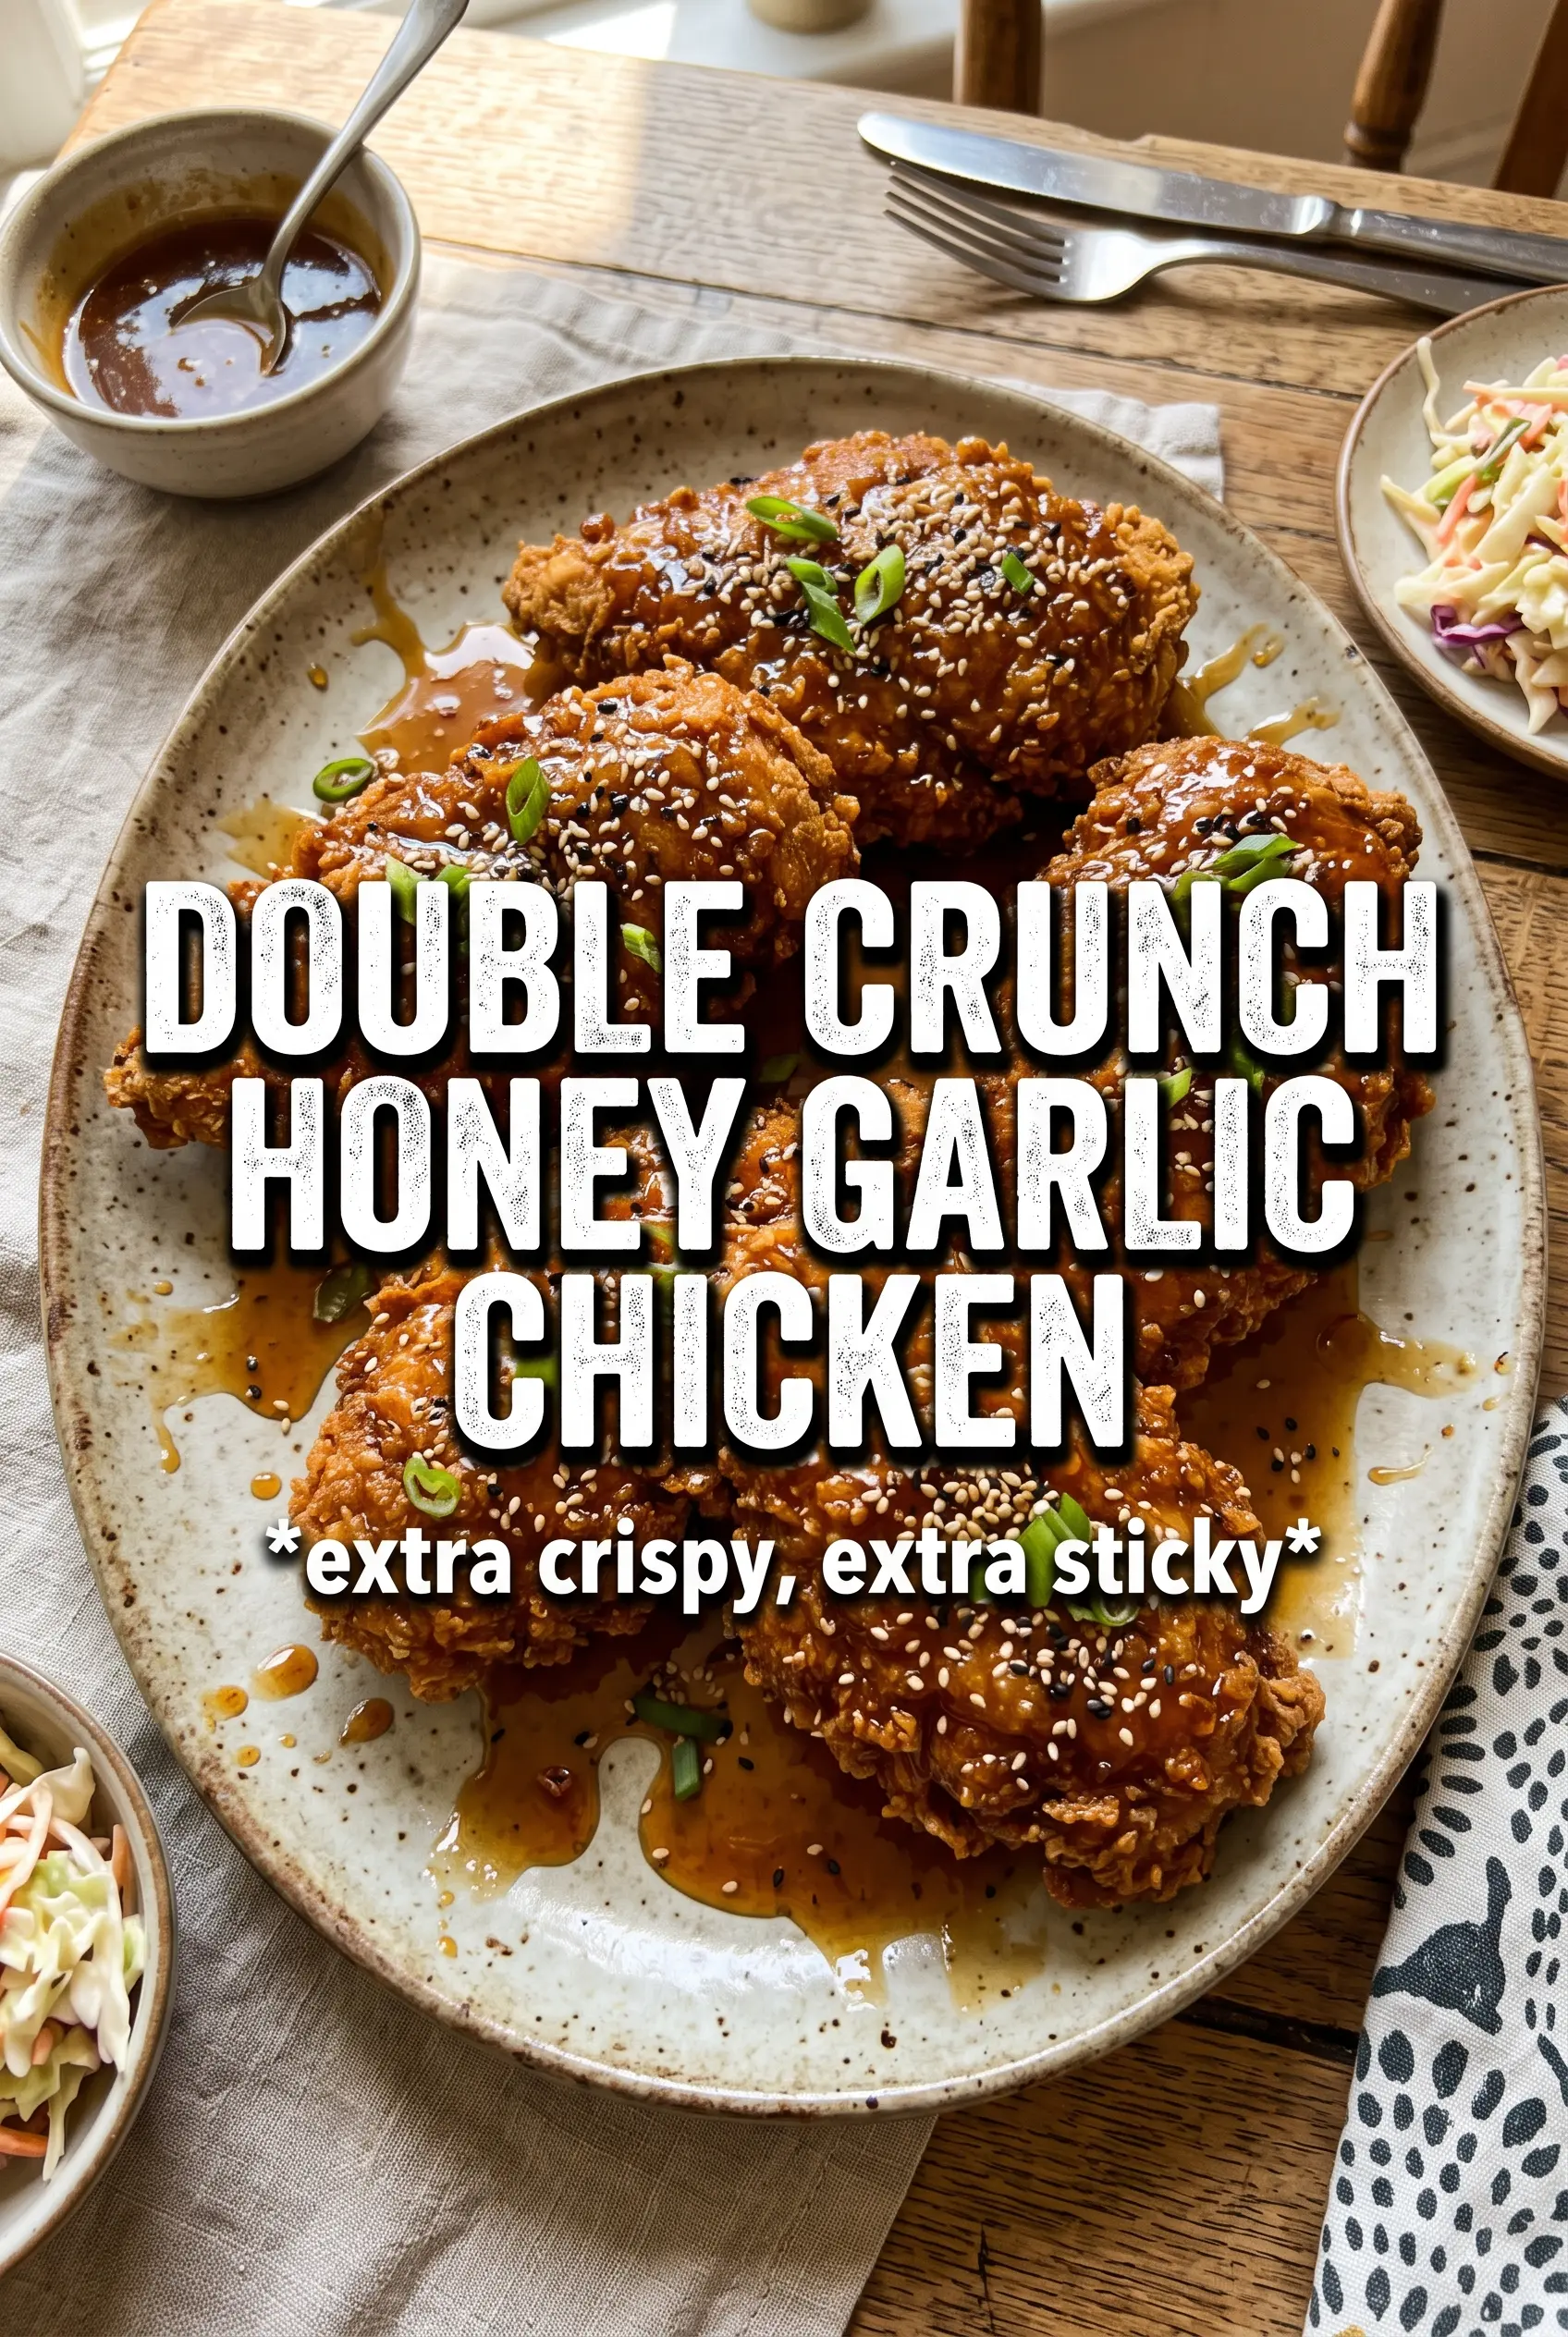
Double Crunch Honey Garlic Chicken Breasts
Ingredients
Equipment
Method
- Mix all-purpose flour with garlic powder, onion powder, smoked paprika, salt, and pepper in a mixing area until evenly colored; set up a dredging station. You should see a uniform speckled coating with no dry pockets.
- Dredge each pounded chicken breast in the seasoned flour, pressing lightly so it adheres. Coat should look opaque and dry, like a light crust.
- Dip the flour-coated chicken into the beaten large eggs, letting excess drip back down. The surface should look glossy and fully covered.
- Return the chicken to the seasoned flour and dredge again for the double crunch coat. The second layer should be thick and clinging, with a rough, shaggy texture.
- Heat 1/2 inch of vegetable oil in a large cast iron skillet over medium-high heat to 350°F. The oil should shimmer consistently when you move the pan.
- Pan-fry chicken for 5-6 minutes per side until golden and crunchy, reaching an internal temperature of 165°F. The coating should sound crisp and deepen in color as it fries.
- Transfer the chicken to a drain surface to remove excess oil. Let it rest briefly so the crust stays firm before saucing.
- Simmer honey, garlic, soy sauce, butter, and apple cider vinegar in a saucepan over medium heat for 3-4 minutes until slightly thickened. The sauce should coat the back of a spoon and look glossy.
- Pour the honey garlic sauce over the hot crispy chicken right before serving. The glaze should immediately start clinging and glistening over the crust.
- Garnish with sesame seeds and sliced green onions. Sprinkle on top so they look fresh and visible through the sticky glaze.