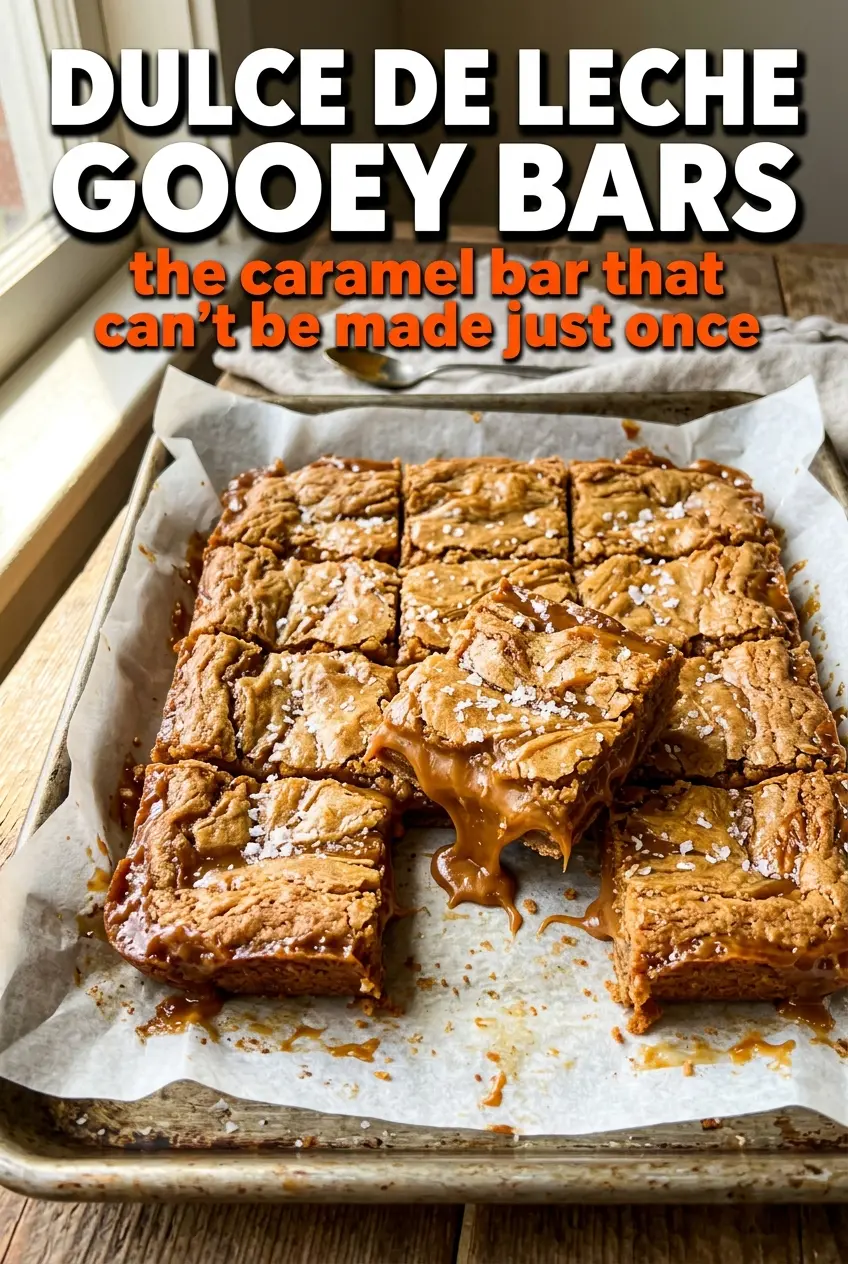
Golden shortbread, glossy dulce de leche, and a thin cap of dark chocolate make these bars hit that sweet spot between rich and not too sweet. The crust stays sturdy enough to lift cleanly, but the center stays soft and caramel-like, with just enough give that each square feels a little indulgent. The sprinkle of fleur de sel on top isn’t a garnish for looks alone. It sharpens the caramel and keeps every bite from turning flat.
What makes these bars work is the order of the layers. The crust bakes first so it can set before the filling goes on, and the dulce de leche goes over the crust while it’s still warm so it spreads without tearing the base. The chocolate gets a little butter melted in with it, which helps it spread in a thin, glossy layer instead of seizing into streaks. Cool them all the way down before cutting, or the center will slump and the layers will slide.
Below you’ll find the small details that matter most: how firm to press the crust, how to tell when the chocolate layer is just set, and the easiest way to get clean squares without smearing the caramel.
The crust held together beautifully and the dulce de leche stayed soft instead of running everywhere. I chilled them overnight and the squares cut perfectly clean with the caramel still gooey in the middle.
Save these dulce de leche gooey bars for the dessert nights when you want caramel layers, dark chocolate, and a clean-cut square.
The Layer Order That Keeps the Bars Gooey, Not Messy
The biggest mistake with bars like these is rushing the layers. If the crust hasn’t had a chance to bake and set, the dulce de leche sinks into it and turns the whole base soft. If the chocolate goes on too thick, it hardens into a slab that cracks when you cut the bars. This version stays balanced because each layer gets just enough heat to hold its shape without losing that soft center people come back for.
Warm crust is the key detail here. The dulce de leche spreads more evenly over a crust that’s fresh from the oven, and that means fewer torn spots and a smoother final slice. The short second bake does two jobs at once: it settles the caramel layer and gives the chocolate enough time to melt into a thin finish that sets cleanly once chilled.
- Press the crust firmly. Loose crumbs will look fine at first, then crumble when you slice the bars. Use the bottom of a measuring cup to pack it down evenly into the corners.
- Don’t overbake the base. You want pale gold with a little color at the edges, not deep brown. A darker crust turns dry once the bars cool.
- Chill before cutting. That rest time isn’t optional here. It gives the caramel time to settle so your knife goes through in clean squares instead of dragging through the middle.
What the Crust, Caramel, and Chocolate Each Need to Do
- All-purpose flour gives the crust structure without making it tough. A finer pastry flour would make it more delicate, but standard flour is exactly what you want for a shortbread base that can support the filling.
- Butter does the heavy lifting in both the crust and the chocolate layer. Softened butter in the crust helps the mixture come together into a sandy dough, while the tablespoon or two in the chocolate keeps the topping smooth and glossy.
- Dulce de leche is the center of the whole recipe. Use the canned version for the most reliable texture and spreadability; homemade works too, but it needs to be thick enough to hold its shape after baking.
- Dark chocolate chips keep the bars from tasting overly sweet. If you only have semisweet chips, they work fine. Milk chocolate will make the whole pan sweeter and softer.
- Fleur de sel adds the finish that makes the caramel taste deeper. Regular salt can work in a pinch, but use it sparingly since the flakes are much finer and sharper.
Getting the Layers Set Without Cracking the Top
Baking the Shortbread Base
Mix the flour, softened butter, sugar, and salt until the mixture looks crumbly but starts clumping when pressed. That texture tells you the butter is distributed enough to bake into a tender crust instead of a greasy one. Press it hard and evenly into the pan so the corners don’t bake up thinner than the center. Pull it when the edges are just turning golden; a pale crust becomes the right kind of sturdy once it cools under the caramel.
Spreading the Dulce de Leche
Spread the dulce de leche over the warm crust in an even layer. If it feels stiff, warm the can slightly in a bowl of hot water first so it loosens up without becoming runny. Work gently so you don’t tear the crust or pull crumbs into the caramel. An uneven layer will bake into high spots that make the bars hard to cut cleanly.
Finishing with Chocolate
Melt the chocolate chips with the butter until the mixture is just smooth and glossy, then spread or drizzle it over the caramel. If the chocolate gets too hot, it can turn grainy and thick, so stop as soon as the last few chips melt. The topping should be thin enough to set without forming a hard shell. Bake just until it’s no longer shiny in the center, then cool completely before chilling.
Cooling for Clean Cuts
Let the bars cool all the way before they go into the fridge. The room-temperature cool down helps the layers settle without trapping condensation under the chocolate. After chilling, use a sharp knife warmed under hot water and wiped dry between cuts for the cleanest squares. If the knife drags caramel, it needs a little more chill time.
How to Adapt These Bars for Different Needs
Gluten-Free Shortbread Base
Swap the all-purpose flour for a 1:1 gluten-free baking blend that includes xanthan gum. The crust will be a little more delicate at the edges, but it still holds together well if you press it firmly and let it cool completely before slicing.
Dairy-Free Version
Use a plant-based butter for both the crust and the chocolate layer, then check that your dulce de leche alternative is dairy-free before using it. The bars will still set, but the flavor is slightly less rich and the finish a little softer.
Extra Dark Chocolate Top
Use chopped 70% chocolate instead of chips if you want a deeper chocolate edge against the caramel. It melts smoother and tastes less sweet, but you’ll need to watch it closely so it doesn’t seize when mixed with the butter.
Storage and Reheating
- Refrigerator: Store in an airtight container for up to 5 days. The caramel firms up a bit in the fridge, which makes the bars easier to cut and serve.
- Freezer: These freeze well. Wrap individual squares tightly and freeze for up to 2 months, then thaw in the fridge so the chocolate doesn’t sweat.
- Reheating: These bars are best served chilled or at room temperature, not warmed. Heating softens the caramel too much and can make the chocolate top smear.
Questions I Get Asked About This Recipe
Dulce de Leche Gooey Bars
Ingredients
Equipment
Method
- Mix all-purpose flour, softened butter, granulated sugar, and salt until the mixture is crumbly.
- Press the crumbly dough firmly into an 8x8 baking dish so it’s even and compact.
- Bake at 350°F for 12-15 minutes, until the shortbread is golden.
- Spread dulce de leche over the warm crust in an even layer.
- Melt dark chocolate chips with 2 tablespoons butter, then drizzle or spread the chocolate over the dulce de leche.
- Bake at 350°F for 8-10 minutes, until the chocolate is set.
- Cool completely, then refrigerate for at least 30 minutes to firm up the bars.
- Cut into 16 squares and sprinkle with fleur de sel.
- Serve at room temperature or chilled.